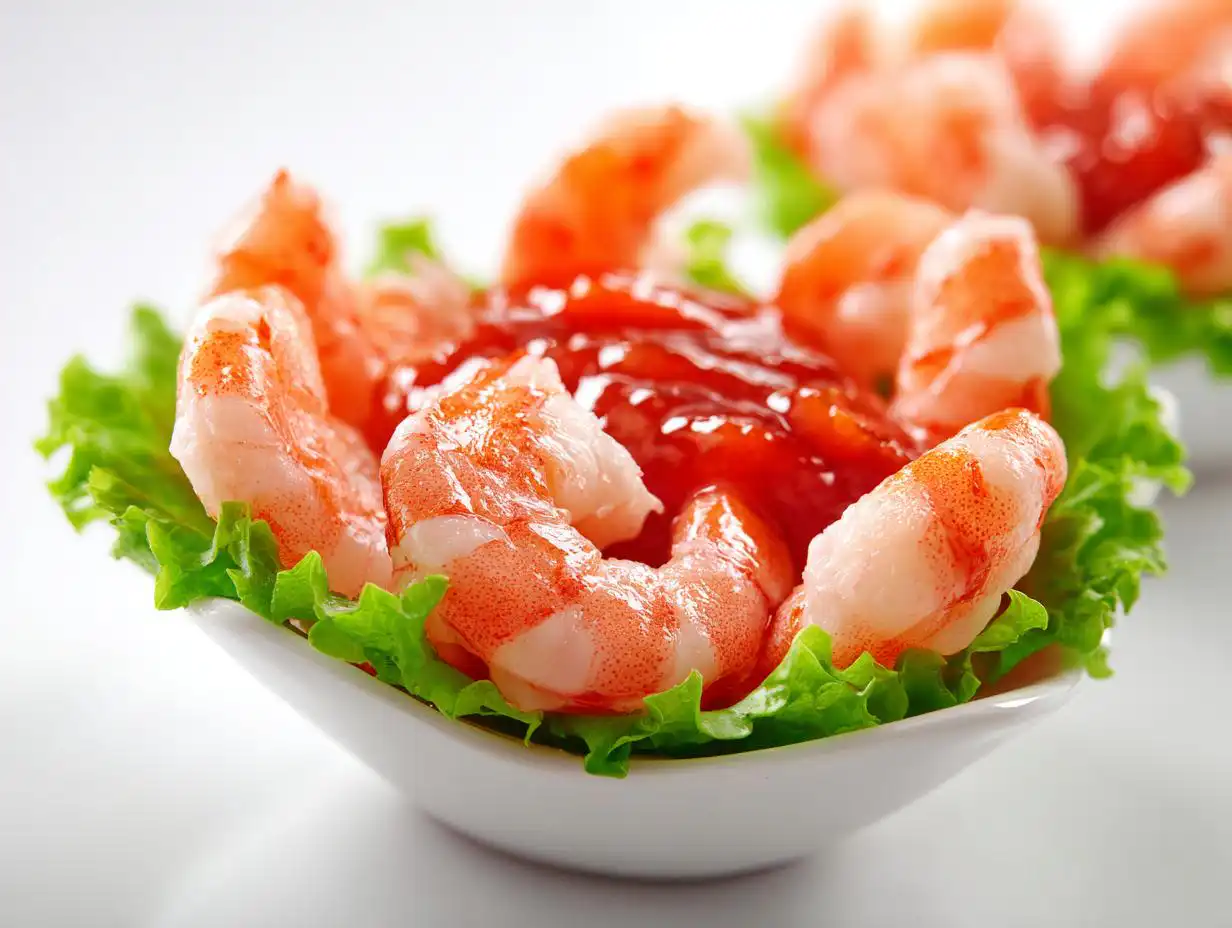
Raise your hand if you’ve ever had a cocktail party where passing the main appetizer felt like a chaotic mess! I swear, traditional shrimp cocktail platters are guaranteed traffic jams around the dip bowl. That’s why I completely fell in love with serving them individually. When I started making my famous shrimp cocktail cups, everything changed. Suddenly, appetizers were neat, stylish, and so easy for guests to grab without juggling a plate and a giant cracker. Serving shrimp in cups truly made the whole experience cleaner and much more elegant. Trust me on this one—it’s a total game-changer for holiday parties and summer bashes alike!
Why You Will Love These Shrimp Cocktail Cups
Honestly, these cups are my go-to when I need something impressive in a total rush. People always think they took forever, and that’s my favorite little secret! They look so fancy, but when you see how fast they come together, you’ll be hooked. Here’s why I keep reaching for this method:
Perfect for Easy Party Food
Because the shrimp and sauce are portioned out, there’s no mess! Everyone can grab one cup and mingle. It’s the ultimate Easy Party Food solution because cleanup is literally just throwing away the little cups. No huge platter to scrub later!
Quick Assembly for Bite Size Appetizers
You seriously cannot beat the speed here. From start to finish, the whole process is done in about 13 minutes. If you’re scrambling before guests arrive or need something fast for a last-minute gathering, these make stunning Bite Size Appetizers without stealing your afternoon.
Essential Ingredients for Classic Shrimp Cocktail Cups
When you’re making something simple, the ingredients really have to shine! Since we aren’t cooking a massive, complicated dish here, using good quality stuff makes all the difference. I always keep these on hand because they are so simple, but the quality matters more than the quantity, I promise. We only need five main things, plus a couple of garnishes to make them look presentation-perfect.
Ingredient Clarity and Preparation Notes
First off, the shrimp! You need about one pound, and they absolutely must be peeled and deveined before you start. Trust me, nobody wants to be dealing with that right before guests arrive. I like using medium to large shrimp because they sit nicely around the edge of the cup; tiny ones disappear!
For the poaching liquid, you’ll need one whole lemon, sliced—that’s my secret for keeping the shrimp tasting bright and fresh, not just boiled. Don’t forget the salt; one teaspoon is perfect for seasoning the water. Then, of course, you need your cocktail sauce—half a cup is plenty for four servings, but always have extra on the side!
For the base of the cup, I recommend crisp lettuce leaves, like butter lettuce or even frisée if you want a little more texture. Those leaves are there to keep the sauce from soaking the bottom of your cup too fast, and they give the appetizer height!
Equipment Needed for Perfect Shrimp Cocktail Cups
You won’t need your stand mixer or half your spice drawer for this recipe, which is part of the fun! The equipment list here is super short, which means less cleanup later—my favorite kind of recipe. You really only need two main things to make these work beautifully as individual servings.
First up, you definitely need a pot. It doesn’t have to be big, just big enough to hold the water, lemon, and one pound of shrimp so they can cook evenly in a single layer. Make sure it’s a pot you trust to come to a rolling boil quickly!
Next, the star of the show: the small cups. This is where you get to play presentation queen! While any small vessel works, I highly recommend using clear shot glasses or little glass tumblers if you have them.
Why clear glasses? Because you want people to see the layering! Guests should see that crisp green lettuce peeking through, then that beautiful pink shrimp arranged delicately around the rim. If you don’t have dedicated glasses, inexpensive plastic sampling cups work perfectly well, too. Just make sure they hold about 4 to 6 ounces so you have room for the lettuce foundation before you add the sauce and shrimp!
Step-by-Step Instructions to Make Shrimp Cocktail Cups
Okay, this is where the magic happens, and honestly, it moves so fast you might blink and miss it! We have to work quickly to keep those shrimp plump and tender—nobody likes rubbery shrimp, right? The whole cooking part flies by in three minutes flat, so have your ice bath ready to go beside your stove. That shocking cold step is critical. Seriously, don’t skip the ice water; it locks in that amazing texture we worked so hard for!
Cooking the Shrimp Perfectly
First things first: get your pot on the heat. You want the water to come to a full, rolling boil with your lemon slices and one teaspoon of salt floating in there. As soon as that water is bubbling hard, toss in your peeled and deveined shrimp. Now, set a timer! They only need about two to three minutes. You’ll see them curl up and turn that gorgeous opaque pink color. That’s your cue!
Expert Tip: The second they look done, use a slotted spoon to pull the shrimp out immediately and plunge them right into a big bowl of ice water. This stops the cooking process instantly. If they sit in the hot water even for a minute too long, they firm up too much. Once they are totally chilled—that takes maybe three minutes—drain them well and pat them dry with paper towels. Dry shrimp means the sauce sticks better!
Assembling Your Shrimp Cocktail Cups
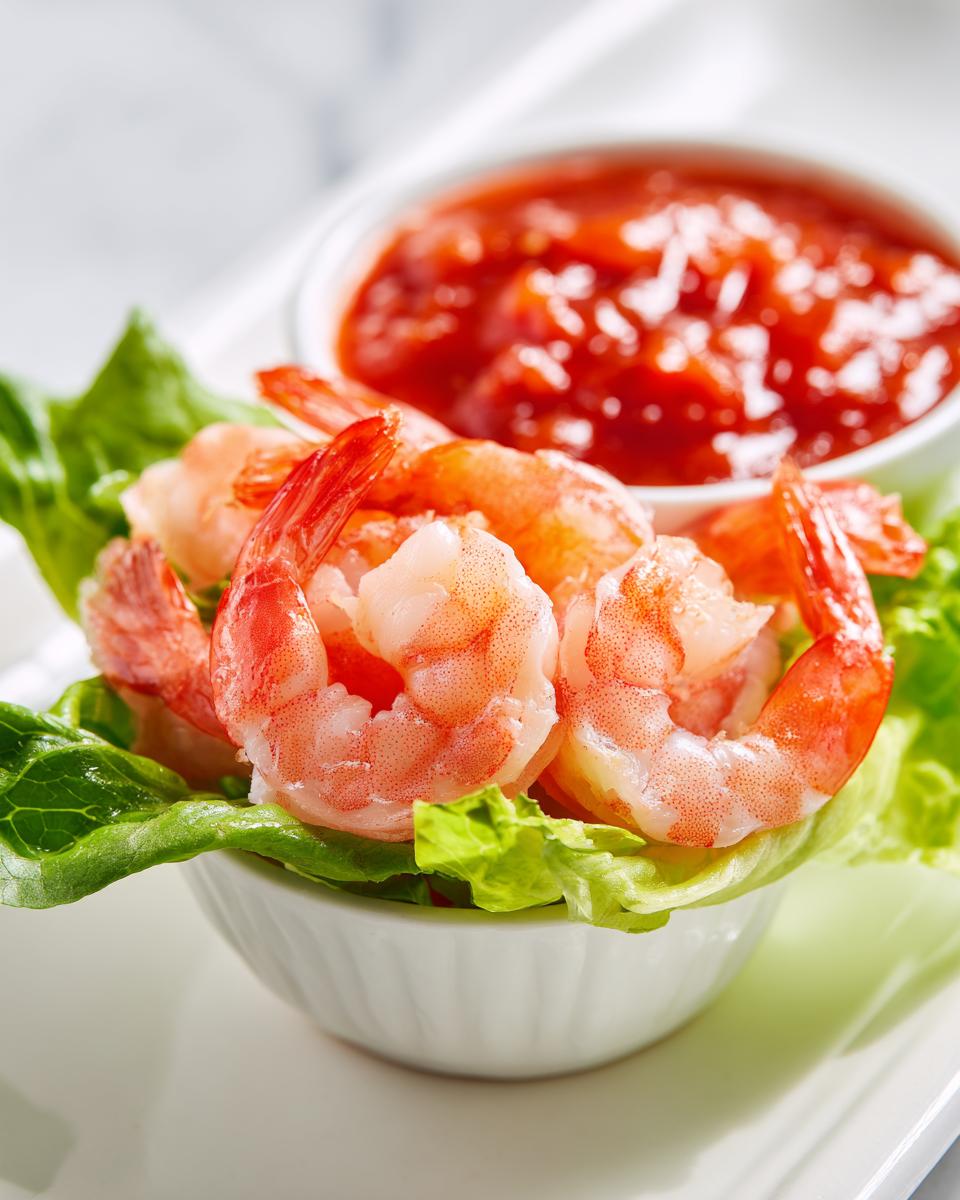
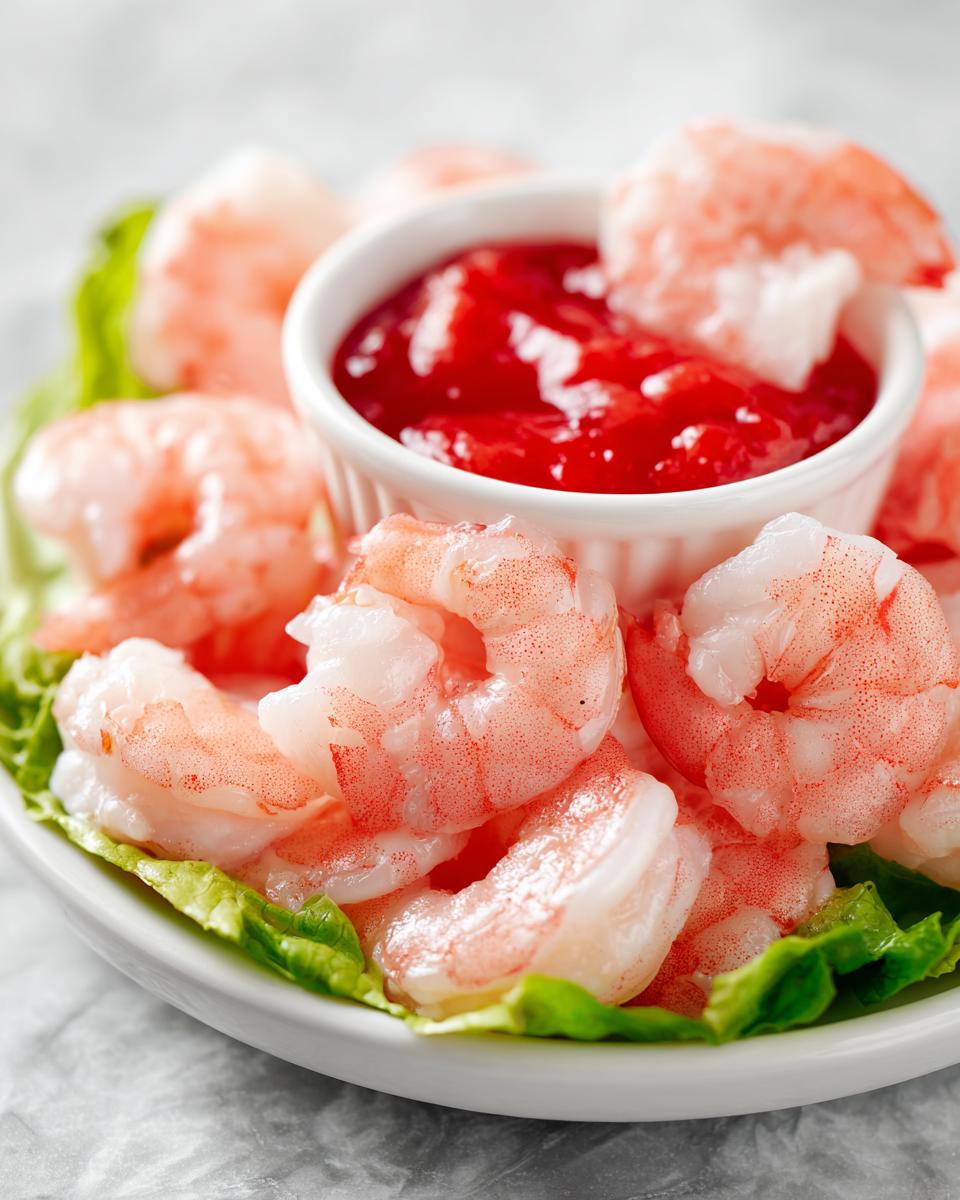
Now for the fun presentation part! Grab your small cups and start building the layers. You want to lay a crisp lettuce leaf (I use butter lettuce) down first in the bottom of each cup. This acts as a little green bed for a bit of color separation.
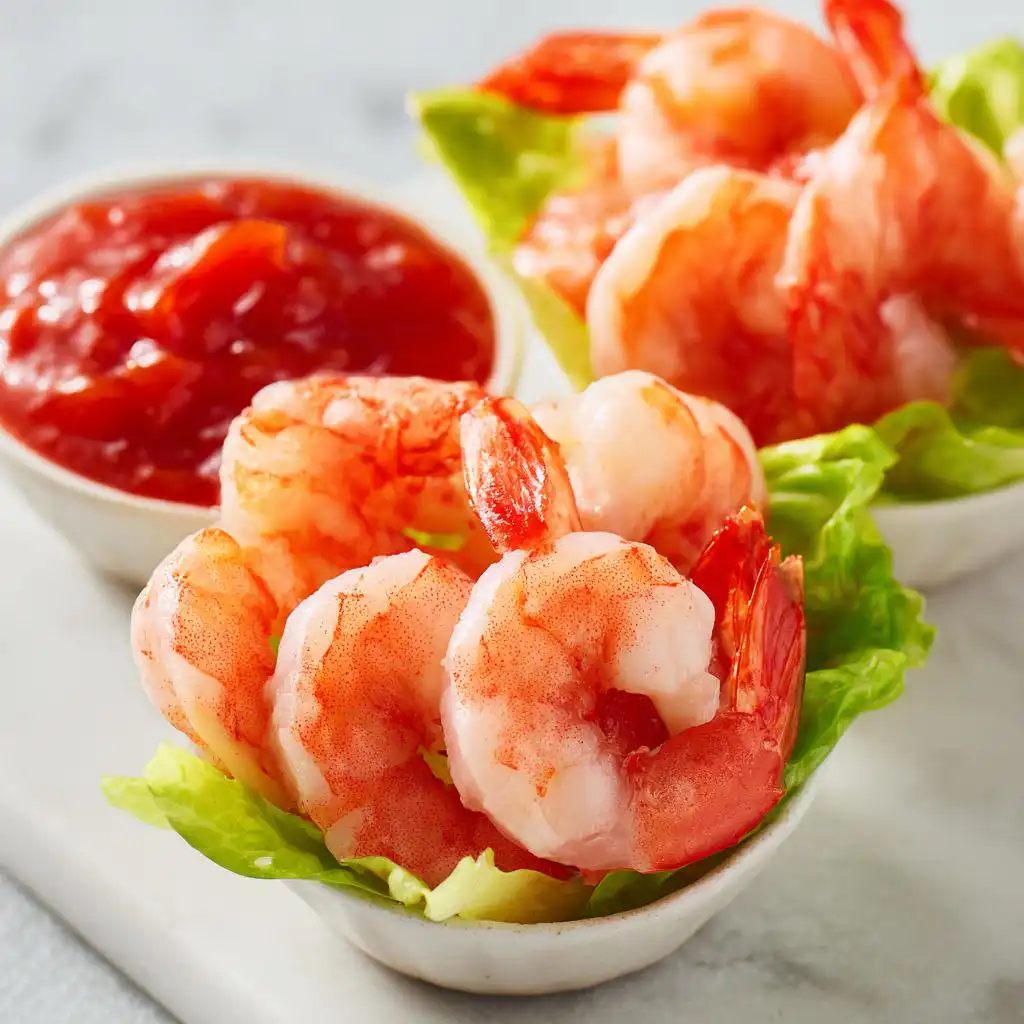
Next, spoon a dollop of cocktail sauce right on top of that lettuce layer. I usually aim for enough sauce so you get flavor in every bite, but not so much that it drowns the cup! Finally, the presentation: arrange three or four of those perfectly cooked, chilled shrimp around the very edge of the cup, leaning them slightly against the glass.

Make sure they look like they are hugging the rim! If you have extra lemon slices or some parsley sprigs hanging around, tuck a tiny wedge right into the sauce or sprinkle some parsley over the top. That little bit of green elevates these from simple snacks to elegant appetizers immediately, and they are ready to go! Don’t forget you can find great sauce ideas here: the best sauce to eat with shrimp.
Tips for Making Ahead Appetizers
I know, I know, sometimes you just can’t do everything right before the doorbell rings. The beauty of these Make Ahead Appetizers is that you can split the work over a day!
Here’s my trick: You can absolutely poach your shrimp up to a day in advance. Cook them just like I said, shock them in the ice bath, drain them well, and keep them tightly sealed in the fridge. They stay super plump and perfect.
But listen closely—don’t you dare assemble the cups ahead of time! The lettuce will get soggy, and the cocktail sauce will weep. Keep the prepared shrimp cold, store the cocktail sauce in a separate jar, and wash and dry your lettuce leaves.
When your guests arrive, it takes literally five minutes to layer everything back into those gorgeous cups. It gives you that fresh-from-the-stove flavor, even though you did the hard work yesterday. It’s the secret to looking relaxed when you’re actually running behind!
Variations for Your Shrimp Cocktail Cups
While the classic recipe is just wonderful—light, zesty, and pure—sometimes you want to jazz it up, right? I love having a little remix in my back pocket, especially when I’m making these for the same crowd two weekends in a row. You don’t have to change the fundamental elegance of the cup presentation to give it a fresh twist!
The easiest place to switch things up is right in that pool of cocktail sauce. If you have folks who always say the classic sauce is too mild, I have a simple fix. Just stir a hefty teaspoon of prepared horseradish directly into your cocktail sauce. It gives everything a wonderful little kick that makes those plump shrimp sing! You can find some other neat ideas for protein dishes here, like my high-protein shrimp taco bowl recipe, if you’re looking for more seafood inspiration!
For garnishes, besides the parsley, try adding some color right on top of the sauce before you stick the shrimp on. Diced avocado is heaven—it adds a creamy, subtle fat that balances the acidity of the lemon. Another thing I adore is using tiny snipped chives sprinkled over the top just before serving. If you’re feeling adventurous, you can swap out the classic lemon for a lime slice in the poaching water; it gives the shrimp a slightly different, sharper citrus note that’s fantastic!
Storage and Reheating Instructions for Shrimp Cocktail Cups
Okay, this is important because these Shrimp Cocktail Cups are definitely best when they are crisp and just put together. Since this is a cold appetizer, we aren’t going to worry about reheating at all—reheating shrimp that’s already been chilled and sitting in sauce is just asking for trouble! We want that fresh, snappy texture, remember?
If you followed my advice in the “Make Ahead” section, you’re golden! The absolute best way to handle these is to keep all components separate until the very last minute. You can poach those shrimp according to the directions, chill them down completely in the ice bath, and then dry them off really well. Store those perfectly cooked shrimp in an airtight container in the fridge. They hold up beautifully for a good two days this way, keeping that nice, firm texture.
But please, for the love of good appetizers, do NOT assemble the cups ahead of time! If you put the lettuce and the cocktail sauce into those little cups ahead of time, the lettuce wilts faster than you can say “Happy Hour.” The moisture from the sauce seeps into the greens, and you lose all that beautiful crispness that makes the presentation pop.
So, the rule of thumb is this: cook the shrimp early, store them cold and dry. Keep the sauce chilled separately. When it’s time to serve, grab your lettuce, layer, spoon, place the shrimp, and serve immediately. It takes maybe four minutes max to assemble the entire batch, and the payoff in freshness is huge!
Frequently Asked Questions About Shrimp Cocktail Cups
I always get questions about these little gems, especially when folks are planning big parties! It’s smart to plan ahead, so let’s tackle the most common concerns about making these perfect little Shrimp Cocktail Cups!
Can I use frozen shrimp for these Shrimp Cocktail Cups?
Absolutely, you can! Most of us keep frozen shrimp tucked away for emergencies. If you do use frozen, just make sure you thaw them properly first. I always recommend thawing them overnight in the fridge, not on the counter. Once they are thawed, pat them really dry before you toss them into the poaching water. Seriously, dry shrimp equals perfect texture!
What is the best way to serve these as Make Ahead Appetizers?
If you want them to shine as Make Ahead Appetizers, you have to keep your components separate! Poach the shrimp, chill them completely, and keep them covered in the fridge. Keep the cocktail sauce cold in its own container, and keep your lettuce clean and dry. Only assemble the cups—lettuce, sauce, shrimp—right before your guests arrive. It makes you look like a superstar host without all the last-minute stress!
How can I make the cocktail sauce spicier?
Oh, I love a little fire in my dip! It’s so easy to amp up the heat in that cocktail sauce. My favorite trick is mixing in one teaspoon of prepared horseradish—you know, the creamy kind—into the half-cup of sauce. It blends right in and gives the sauce a wonderful, building heat that cuts through the sweetness of the shrimp. If you want even more immediate punch, a couple of dashes of your favorite quality hot sauce works like a charm, too!
Sharing Your Experience with These Shrimp Cocktail Cups
I’ve shared all my secrets for getting those perfect, plump shrimp and keeping your presentation looking neat and elegant. Now, I truly want to hear from you! Baking and cooking is so much more fun when we can share the results, isn’t it? Did you use tall shot glasses or cute little flutes for your cups?
If you whip up a batch of these Shrimp Cocktail Cups for your next gathering, please snap a picture and tag us! I absolutely love seeing how you style them for your parties. Or, if you have a different garnish that you think works better than lemon, let me know in the comments below. Your feedback helps me keep making recipes that work perfectly for everyone!
Don’t hesitate to leave a rating or a quick note about how easy your party cleanup was! Happy cooking, everyone!
By Clara Bennett, Lead Plate Designer at Recipes by Betty.
Shrimp Cocktail Cups
Equipment
- Pot
- Small cups
Ingredients
- 1 lb Shrimp peeled and deveined
- 1 Lemon sliced
- 1 tsp Salt
- 1/2 cup Cocktail sauce
- Lettuce leaves
Instructions
- Bring water, lemon slices, and salt to a boil in a pot.
- Add shrimp and cook for 2 to 3 minutes until pink and curled.
- Immediately transfer the shrimp to ice water to stop cooking and maintain a tender texture.
- Drain the shrimp and pat them dry.
- Add lettuce to small cups, spoon cocktail sauce over the lettuce, and place shrimp around the edges.
- Garnish the cups with lemon wedges and parsley before serving.