Oh, I just love eating outside, don’t you? There’s nothing quite like spreading a blanket and enjoying good food under the sun. But let’s be honest, packing for picnics can feel like a total chore—so many little containers and bags!
That’s why I swear by building one gorgeous platter instead of juggling ten different things. This whole approach lets you serve up all that wonderful variety without the hassle. Trust me when I say assembling the perfect **Picnic Food Board** is the secret weapon for stress-free outdoor feasts.
I used to dread packing up a million little Tupperware containers for the park. Now, I just style this board, wrap it up tight, and boom! Instant elegant meal for six people featuring grilled chicken, fresh strawberries, and everything nice. It makes outdoor dining so much simpler, and I know you’re going to love it too. You can check out some other great outdoor ideas over at Country Living for inspiration!
Why This Picnic Food Board is Perfect for Summer Picnics
If you’re planning for family outings, this method just can’t be beaten. Forget trying to keep track of eight different plastic containers that all slide around in the basket! When you build a **summer picnic board**, everything stays together beautifully. It feels so much more intentional than just packing up sad little sandwiches.
For those of us who are planning meals for big groups or busy weekends, this assembly style saves so much energy. We get that gorgeous visual appeal of a full **snack board picnic** without spending hours in the kitchen beforehand. It’s all about making life easier, remember?
Quick Assembly for Your Picnic Food Board
Seriously, this entire board comes together in about 20 minutes. Twenty! Since most of our ingredients are just things we slice up—like the grilled chicken or the fruit—there’s no cooking you have to worry about right before you head out. You just arrange and go.
You can even prep the chicken ahead of time (check out my favorite grilling technique here). That means you spend less time fussing over individual portions and more time enjoying the sunshine. Making a stunning **Picnic Food Board** that feeds six people literally takes minutes!
Gathering Ingredients for Your Ultimate Picnic Food Board
Alright, it’s time to talk food! Honestly, the magic of this **Picnic Food Board** isn’t just the arrangement—it’s using ingredients that taste amazing together. You want variety here, folks! We are feeding six happy people, so we need enough color, texture, and flavor to keep everyone reaching for more.
Don’t just grab the basics; think about what tastes great at room temperature because that’s where it’s going to live once we get outside. Since everything is meant to be eaten casually, quality ingredients make all the difference here. If you want a fantastic platter, you have to start with fantastic components. You can find some great ideas for making your own healthy snack plates as a starting point right here!
Board Components for the Perfect Picnic Food Board
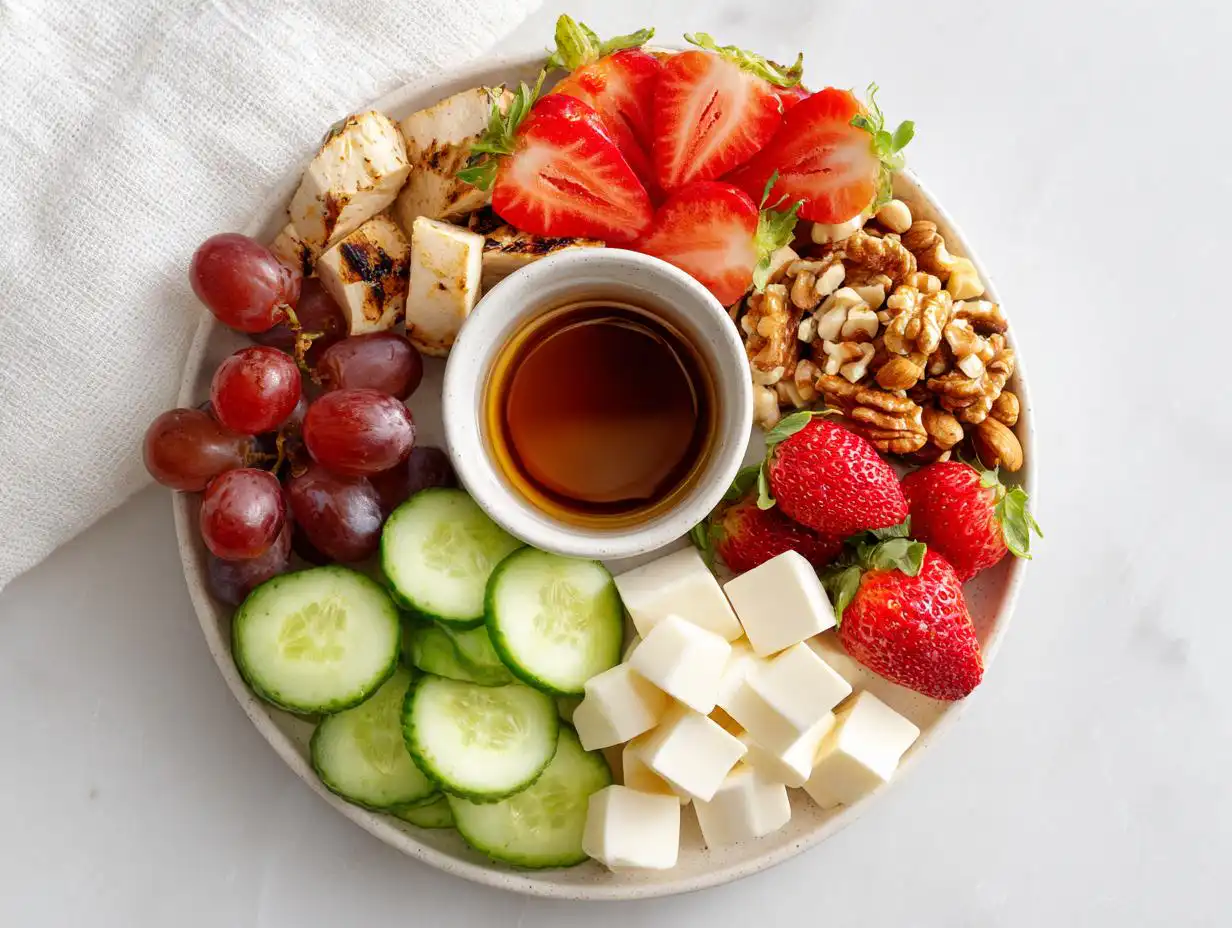
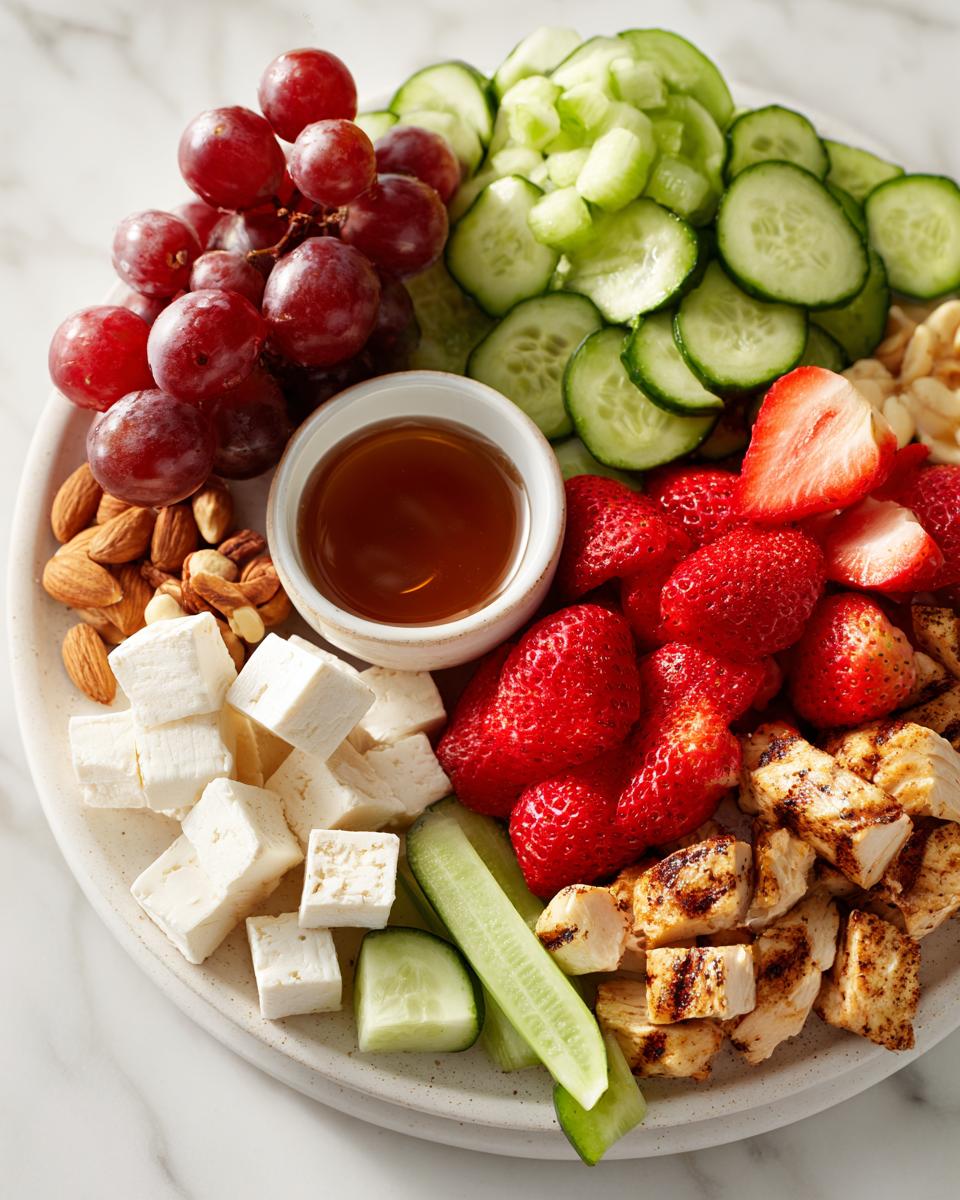
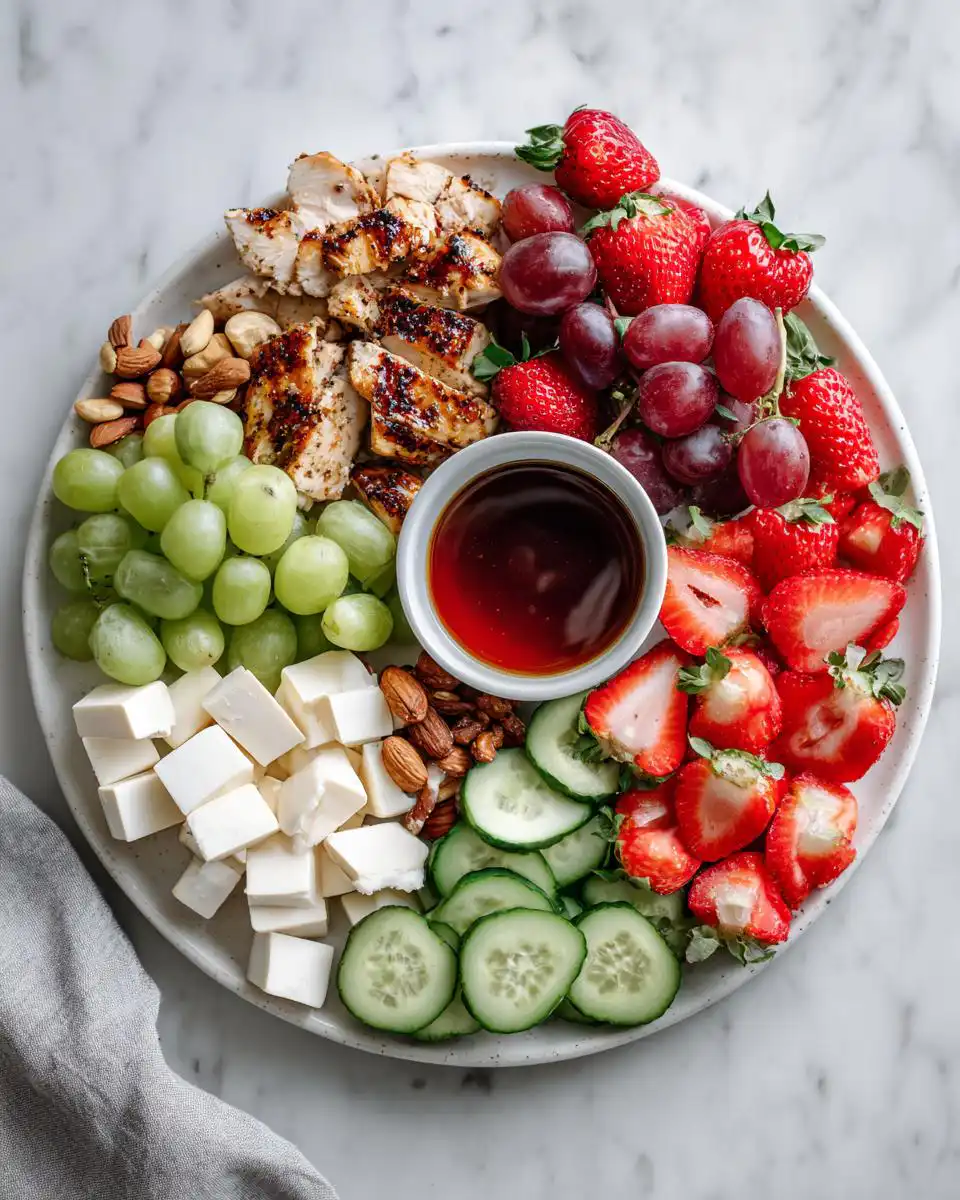
Since this board doesn’t require any actual cooking time, the prep is all about slicing and arranging. Here’s what you need to grab:
- Grilled chicken slices – and please, slice these thinly! Nobody wants to wrestle a giant piece of chicken while sitting on a blanket.
- Cheese cubes – Grab two kinds! Maybe a sharp cheddar and something mild like a Havarti.
- Crackers – Make sure you bring plenty, because they disappear the fastest.
- Grapes – Keep them on the vine for a prettier presentation.
- Strawberries – Washed and ready to go. Let’s aim for bright red ones!
- Nuts – A small handful of salted almonds or pecans for crunch.
- Cucumber slices – They add that fresh, cool crunch we need when it’s warm out.
- Dip – Think about what holds up best! A good hummus or maybe a cream cheese-based vegetable dip is perfect. Don’t forget what kind you brought so you can tell everyone!
Essential Equipment for Building Your Picnic Food Board
You don’t need a million fancy gadgets for this, thank goodness. The star of the show, unsurprisingly, is the board itself! If you try to build a glorious **Picnic Food Board** on tinfoil or paper plates, you are just setting yourself up for disaster. You need structure, honey!
Since we are serving about six people, you want a board that gives you real estate without being impossible to carry. I always suggest reaching for something at least 14 by 18 inches, maybe even bigger if you love to overdo it like I do! The wooden board gives that naturally rustic, warm look that just screams ‘happy outdoor eating.’
If you don’t have one huge board, don’t panic! You can totally use two medium ones side-by-side if you’re hosting a bigger crowd. Just make sure the wood is clean and you know exactly where you’re going to place it once you get to your picnic spot. You want it stable so nobody knocks your beautiful arrangement over before everyone gets a chance to graze!
Step-by-Step Assembly of Your Picnic Food Board
Okay, now for the fun part—the actual styling! This is where we turn a bunch of ingredients into that stunning **Picnic Food Board** everyone talks about. It seems intimidating, but it’s really just about layering things thoughtfully. Think of your board like a visual symphony; every little piece has to play nicely together!
We’re going for maximum visual payoff in about 20 minutes flat, so you have to work in stages. If you’ve prepped your boxes for meal prepping before, you already know the secret: get your little piles ready, and then it’s just placing them strategically. You can see some great ways to organize small snacks in containers here, but now we put it all on display!
Preparing Components for the Picnic Food Board
Before anything touches that beautiful wood, make sure everything is ready to go. I can’t stress this enough: slice that grilled chicken! Cold chicken is always a little tougher to cut neatly, so do it ahead of time. We want thin, easy-to-grab pieces, not chunks.
Also, wash those grapes and strawberries, drain them well, and have your cucumber slices ready. The key to making this whole arrangement smooth is having all your chopping and dicing done first. Once you grab that board, we move fast to prevent anything from looking droopy while you’re still working on the arrangement.
Arranging the Picnic Food Board for Maximum Appeal
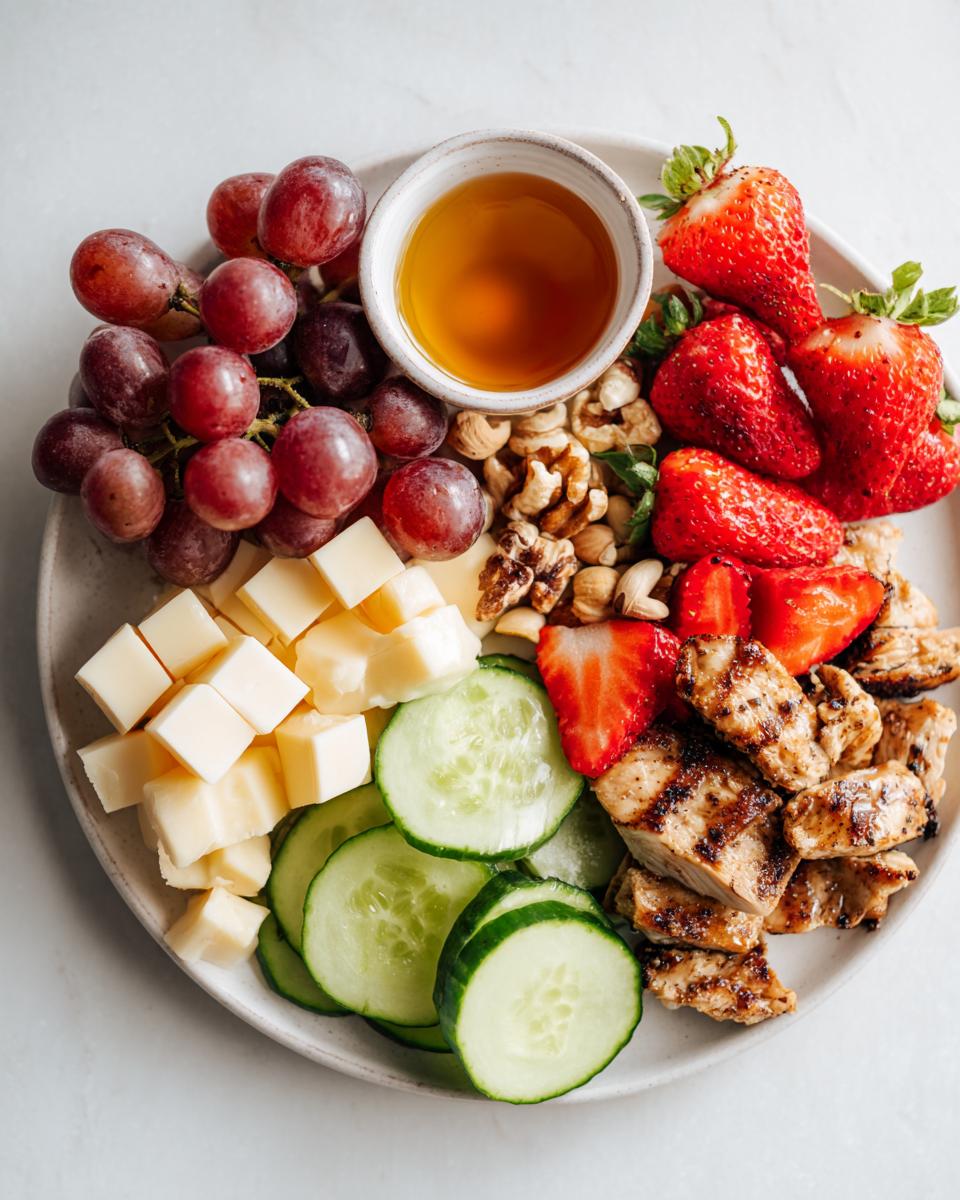
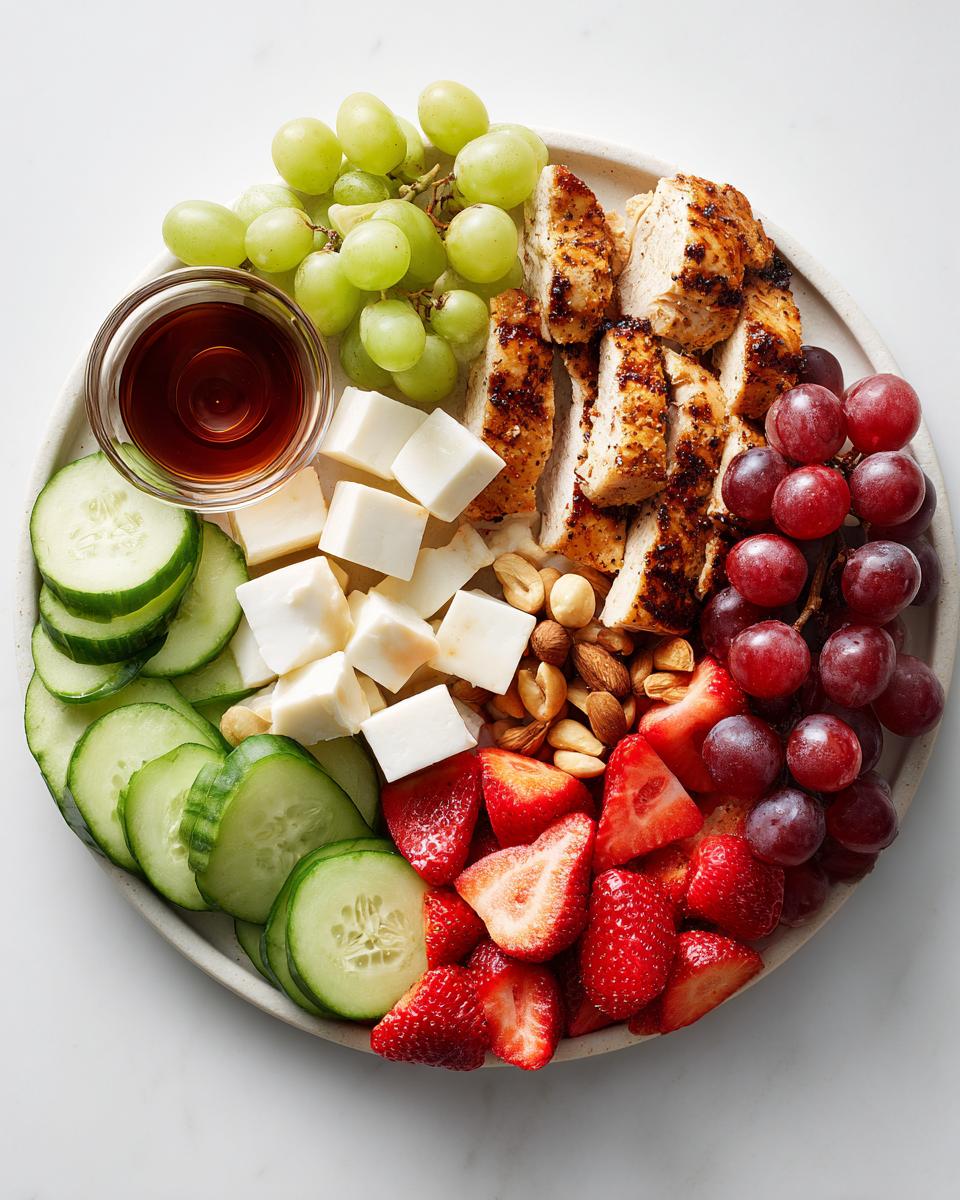
This is where the artistic side comes out! You always want to start with the anchor points—that means placing your dip bowl (or container) down first, and then slotting in the largest items, like your piles of cheese cubes and the meat slices. These items create the structure for your **snack board picnic**.
Once the big items are placed with some good space between them, you fill in all the empty spots—and trust me, you want to fill every nook and cranny! That’s where the grapes and strawberries come in to add pops of color. Toss the nuts into any tiny remaining gaps so you don’t see bare wood. Balance out the colors too—don’t put all the red next to each other! If you need more inspiration for portable food, check out these amazing ideas from BBC Good Food for transportable treats.
Tips for Creating a Transport-Ready Picnic Food Board
Okay, you’ve made the most stunning **Picnic Food Board** ever, but now comes the real challenge: getting it safely to the park without everything shifting and turning into a multicolored mess! This is crucial, especially when you’re planning for a family out in the sunshine.
The biggest secret, and this is my pro tip for transport, is containment. You can’t just lay the board flat in the trunk and hope for the best. Temperature control is vital, especially with that grilled chicken and the dip!
Here’s how I make sure my **snack board picnic** stays perfect until serving time. First, use little decorative bowls or ramekins for anything that could roll or ooze. That means your dip needs its own dedicated, lidded container placed firmly on the board, or tucked snugly beside it in your basket. I love using reusable silicone baking cups for things like nuts or olives—they keep everything tidy!
For the actual board transport, you have two main options. If you are only driving a very short distance, you can carefully wrap the entire board tightly in plastic wrap. Make sure the wrap presses down gently onto the food items like the fruit so they don’t slide around when you take a corner. You might even want to secure the wrap to the sides of the board with a big rubber band underneath.
My favorite method, though, is to assemble the board at the picnic site. If you’re driving 30 minutes or more, pack the same items neatly arranged in separate, small containers. Then, once you arrive, you just unpack those containers right onto your beautiful wooden board. Quick assembly on arrival is better than a melted mess!
And hey, if you are packing up components separately, maybe throw in a few of my energy bites—they travel perfectly and handle the heat way better than some of the fruit!
Making Your Picnic Food Board a Summer Picnic Board Favorite
Since this whole concept is perfect for eating outside, we really want to lean into that warm weather vibe! To truly make this your go-to **summer picnic board**, you should think about what tastes freshest when the sun is shining. Sure, we included strawberries, but let’s amp up the cooling, refreshing items!
For swaps, ditch the heavier cheeses and maybe swap one cube variety for fresh mozzarella balls packed in water—they add such a lovely soft texture. If you prep ahead, consider adding slices of chilled watermelon or cantaloupe. They look gorgeous and they’re mostly water, which is exactly what you want on a hot day.
My best tip for keeping the whole **Picnic Food Board** feeling cool, especially if you are picnicking somewhere without much shade, is bringing along a small, frozen ice pack wrapped in a tea towel. You can slip that ice pack underneath the corner of the board for a little extra thermal buffer. It won’t keep things frozen, of course, but it helps slow down the warming process on your cheese and dip.
Also, don’t forget to think about lighter flavor pairings. Instead of a heavy roast beef, stick with that pre-grilled chicken, or maybe swap it entirely for cold shrimp skewers if you’re feeling fancy! If you’ve been looking for light meal ideas that fit this vibe, I have some fantastic light summer dinner recipes that can inspire other additions to your board!
Storing and Managing Leftovers from Your Picnic Food Board
Ugh, sometimes we pack way too much food, right? That’s not a bad problem to have, but we definitely don’t want to waste any of that beautiful setup. Since this **Picnic Food Board** usually involves perishable items like sliced chicken and that amazing dip, smart storage is key for safety and taste.
The absolute first rule when you get home: don’t leave the board just sitting on the counter while you unpack the blankets! You have to deal with the perishables right away. If you didn’t assemble the board on-site, transfer everything back into sealed, airtight containers as soon as you get home. That grilled chicken especially needs to get chilly fast.
For things like the cucumber and grapes, they might start looking a little sad after sitting out in the sun, even for a couple of hours. Just give them a quick rinse when you get back and store them in the fridge. Honestly, if the fruit looks totally tired, maybe just dry it off and toss it into your morning smoothie tomorrow—zero waste!
My biggest concern is always that dip. Whether it’s hummus or something dairy-based, it’s the first thing to go bad. Make sure you scrape out any leftover dip into a proper storage container. Don’t just stick the whole bowl in the fridge if it got messy on the board! These little steps ensure that when you plan your next **snack board picnic**, you feel good about the food you’re starting with.
The hard cheeses and nuts? Those are the easiest cleanup! They can usually handle being wiped down and stored in a cool pantry drawer for a little while longer, but I usually just tuck the cheese back into the fridge myself, just to be safe.
Frequently Asked Questions About the Picnic Food Board
I get so many questions after posting this on social media! Everyone wants to make sure their **Picnic Food Board** turns out looking as good as the pictures, and that covers everything from setup to transport. Here are some of the things I hear most often about making this kind of spread work for a fun day out.
Can I prepare the Picnic Food Board the night before?
This is where you have to use your best judgment! Can you prep components? Absolutely! You can totally slice the chicken, wash your fruit, and portion out your nuts the night before. Keep all those items in separate, sealed containers in the fridge.
But here’s where I draw the line: I almost never assemble the entire **Picnic Food Board** the night before. Why? Because those crackers will get soft sitting out, and the fresh fruit starts to weep moisture onto the board overnight, making everything look damp by morning. It takes 15 minutes to assemble when you get to the park, and that little bit of effort makes the final presentation so much better!
What non-perishable items work well on a snack board picnic?
If you’re trying to pack for a long day where you can’t keep things super cool, leaning into the dry goods is key! These items are the workhorses of the **snack board picnic** because they don’t sweat in the heat.
Definitely load up on sturdy crackers—think water biscuits or plain rye crackers that won’t crumble easily. For protein without refrigeration worries, jerky is a fantastic addition! And dried fruit is your best friend; apricots, dried cranberries, or dried mango slices add such great color and chewy texture.
For a little extra something, you can always include some high-quality dark chocolate chunks. They melt a little, sure, but they taste amazing when they are fudgy! If you need some more brilliant, easy-to-pack snack ideas that are perfect for grazing bins like this, check out my guide to easy healthy snack ideas!
How far in advance should I slice the grilled chicken?
Oh, I always slice the chicken the morning of the picnic, maybe an hour before we leave. If you slice it too far ahead—like the night before—it starts to dry out on the edges, which ruins the texture we worked so hard for! You want that satisfying, tender bite on the board.
Can I skip the grapes and use another small fruit?
Please do! The grapes are mostly there because they are visually stunning on the board and they stay perfectly firm. But if you hate grapes, no problem! Try small bowls of blueberries or even high-quality jarred olives marinated in herbs. The main goal is to fill those little gaps with something colorful and small so the board looks abundant.
Sharing Your Picnic Food Board Experience
Well, there you have it! We’ve taken a simple collection of ingredients and turned them into what I hope will be your new favorite way to dine al fresco. This **Picnic Food Board** should make your next outdoor adventure feel a little bit more special and a whole lot less messy.
I’m genuinely so excited for you to try this out for your next family gathering or impromptu park stop! Once you nail the arrangement of your perfect summer picnic board, you’ll never go back to packed sandwiches again. Seriously, try it and tell me I’m wrong!
When you make this, please don’t keep it a secret! Snap a picture of your stunning arrangement—did you go heavy on the fruit, or did you make your dip the star? Rate this recipe below so other folks who are trying to simplify their serving know it works, and tag me in your photos! I love seeing how you all interpret these designs. If you ever want to send me specific questions about plating or picnic planning, the best way to reach me is through my contact page.
Author Insight from Clara Bennett
By Clara Bennett, Lead Plate Designer at Recipes by Betty.
Picnic Food Board
Equipment
- Wooden board
Ingredients
Board Components
- Grilled chicken slices Thinly sliced
- Cheese cubes
- Crackers
- Grapes
- Strawberries
- Nuts
- Cucumber slices
- Dip
Instructions
- Prepare all components fresh. Slice the chicken thin.
- Arrange the board starting with the larger items first.
- Fill the remaining gaps with fruits and nuts.
- Keep a balance of colors and textures across the board.
- Use a wooden board and create sections for visual appeal.