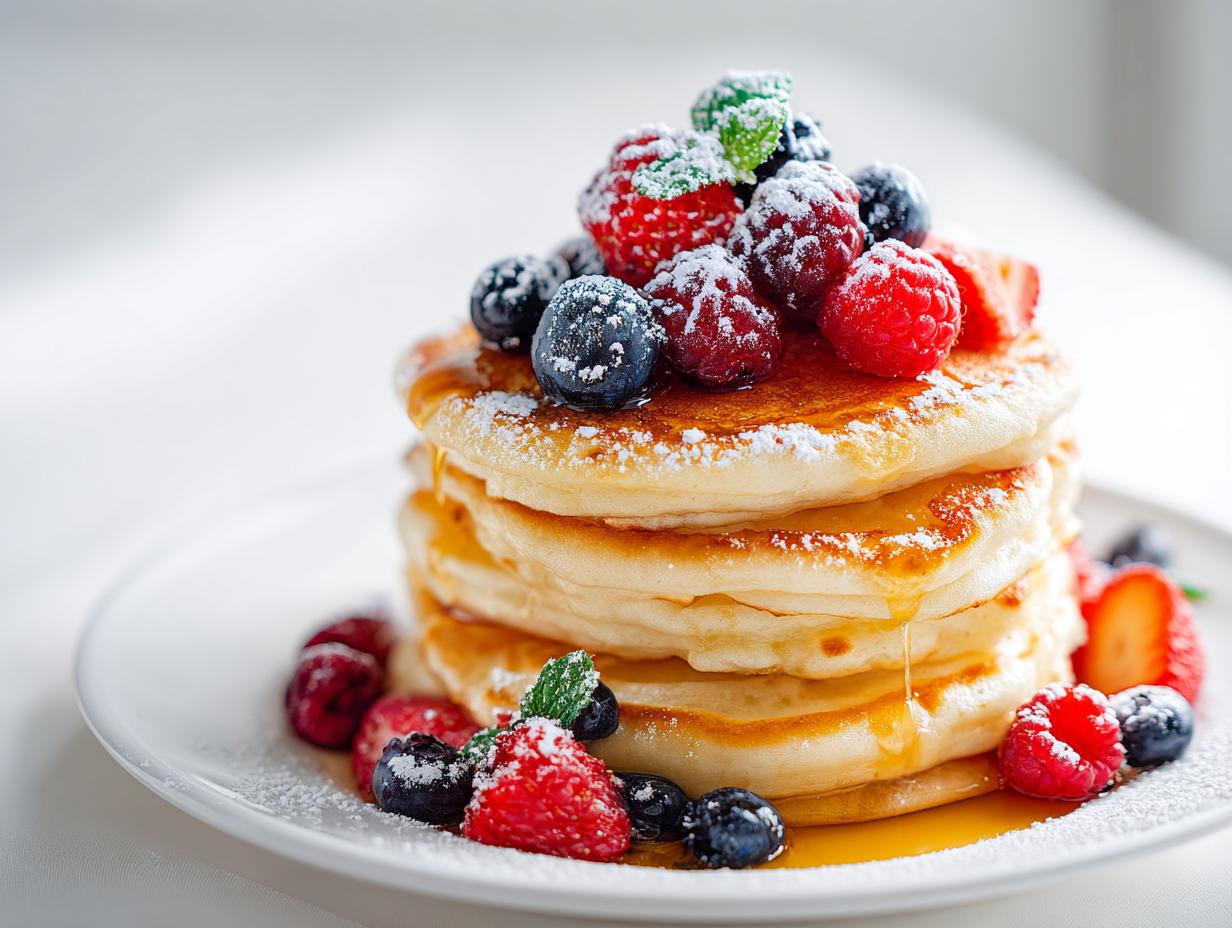
When I make breakfast for my family now, it’s not just about filling hungry bellies—it’s about stopping for a minute and making something that looks absolutely gorgeous! We all know those mornings where you need something fast but still want that wow factor, right? Well, this recipe is my go-to because it delivers the perfect Aesthetic Pancake Breakfast that’s stunning and totally delicious. Stacking the pancakes high with colorful toppings always creates such a beautiful presentation that makes even a rushed Tuesday feel special. As the Efficiency & Testing Coordinator here at Recipes by Betty, I’ve fine-tuned this mix so your pancakes are always wonderfully fluffy. Trust me, you’re going to love how easy it is to make a morning worth photographing!
Gathering Ingredients for Your Aesthetic Pancake Breakfast
Okay, listen up, because ingredients are where the *aesthetic* starts! If you want those gorgeous, vibrant photos for your feed, you need to treat your ingredients like precious jewels. Seriously, fresh berries make all the difference here—don’t go grabbing the sad, wrinkly ones from the bottom of the carton! We split everything into two simple groups: the batter foundation and the show-stopping toppings. We’re keeping the recipe simple since the presentation does the heavy lifting. I’ve tested this mix dozens of times to ensure it browns perfectly, which you can read more about in this pancake recipe that feels like dessert!
Pancake Batter Ingredients
For the pancakes themselves, you probably have everything already. We are using just one egg—the perfect amount to bind without making the batter tough. Make sure that tablespoon of butter is fully melted and slightly cooled before you add it in, otherwise, it can shock your milk! Here’s the quick list:
- 1 cup Flour
- 1 tbsp Sugar
- 1 tsp Baking powder
- 1 Egg
- 3/4 cup Milk
- 1 tbsp Butter, fully melted
Essential Toppings for an Aesthetic Pancake Breakfast
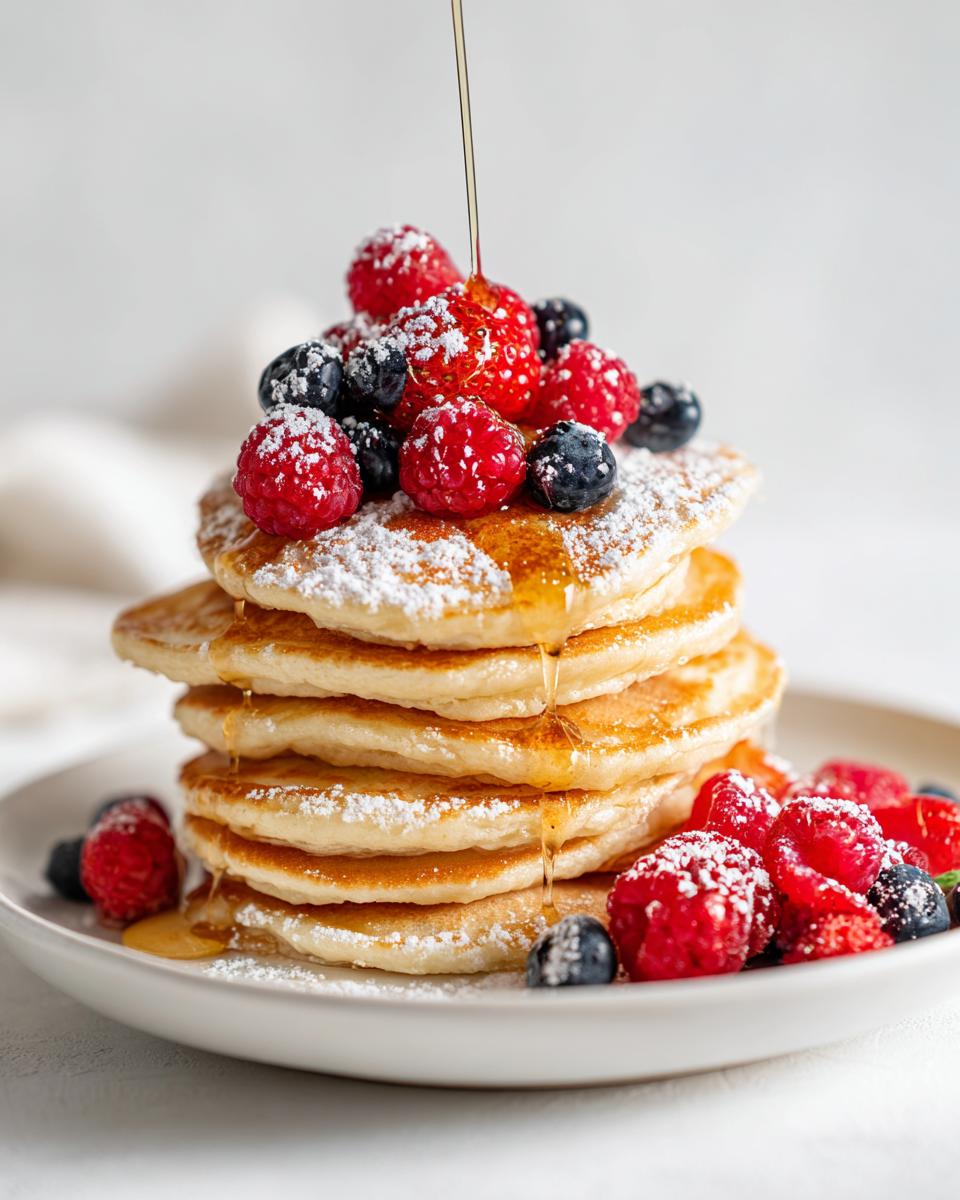
This is where you get creative, but keep it focused! For the best visual appeal, your toppings need high contrast. Think bright reds and deep purples against that golden-brown pancake stack. Syrup must be ready for that slow, glorious drizzle shot, and we want plenty of berries scattered artfully. Don’t forget the sugar!
- Syrup (ready for topping!)
- Fresh Berries (for vibrant color)
- Powdered sugar (for a classic, light dusting)
Equipment Needed for the Perfect Aesthetic Pancake Breakfast
You don’t need a million fancy gadgets for this recipe, which is great for those quick mornings! Honestly, the whole process is pretty minimalist. We only need basic tools to mix everything up and a good surface to cook on. But here’s a trick I learned while testing hundreds of batches: the surface matters way more than you think when you’re going for that perfect, even color.
If you want that seamless photographable surface—the hallmark of a true breakfast aesthetic—you absolutely have to use a quality non-stick griddle or a good heavy-bottomed frying pan. That expert tip? Medium heat is the sweet spot. If it’s too high, you get those dark, burnt edges before the center is cooked, and nobody wants a patchy stack! A non-stick surface ensures every pancake releases cleanly and browns uniformly, making stacking way less stressful.
- Mixing bowl (a medium one is fine for just two servings!)
- Whisk or fork (don’t overthink the whisk; smooth lumps are okay!)
- Griddle or frying pan (non-stick is the dream here!)
Step-by-Step Guide to Making Fluffy Pancakes Breakfast
Now for the fun part—we turn simple pantry items into breakfast magic! Getting the process right is what separates a sad, flat pancake from one of those beautiful, tall stacks you see online. Remember, we are aiming for that signature fluffy pancakes breakfast feel. We move from mixing gently to cooking precisely. Once you see the bubbles, you know you’re on the right track! For the best cooking results, you can see some of my insights on making healthier versions in this post about protein pancakes, but the technique stays the same.
Mixing the Batter for Your Aesthetic Pancake Breakfast
We start by isolating the dry ingredients: flour, sugar, and baking powder go right into one bowl. Whisk those together so the leavening agent is totally distributed. In a separate bowl—don’t skip this separating step!—you mix your egg, milk, and that melted butter. Then, we marry the two bowls together. This is your most crucial moment for fluffiness, so listen up: mix them just until they are combined. I mean it! A few lumps are totally fine, even desirable. If you mix until it’s perfectly smooth, you’re developing gluten, and that makes your beautiful pancakes tough instead of light and airy.
Cooking for the Best Fluffy Pancakes Breakfast Results
Get your griddle warm over medium heat. Don’t rush this; if the pan is too cold, the pancakes spread too thin. The perfect temperature means your batter sizzles just slightly when it hits the surface. Pour about a quarter cup of batter for each pancake. You are waiting for visual confirmation before you flip, okay? Watch closely! When you see bubbles forming all over the top surface and the edges start to look cooked, slide that spatula underneath and flip quickly. That first side usually takes about two to three minutes. Flip it, cook the other side for another minute or two until it’s golden brown, and then immediately move it to the plate where you’re building your stack!
Plating Techniques for a True Aesthetic Pancake Breakfast
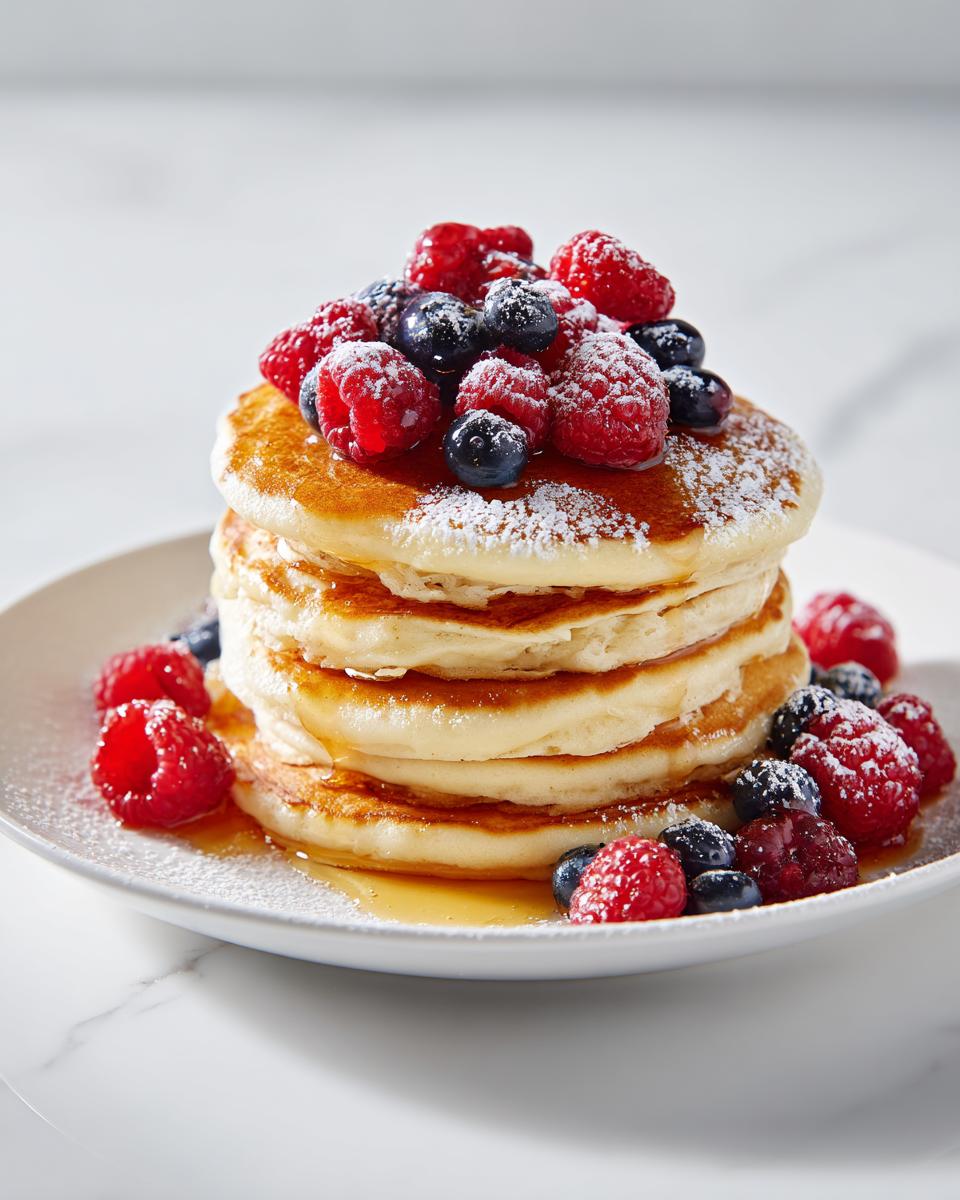
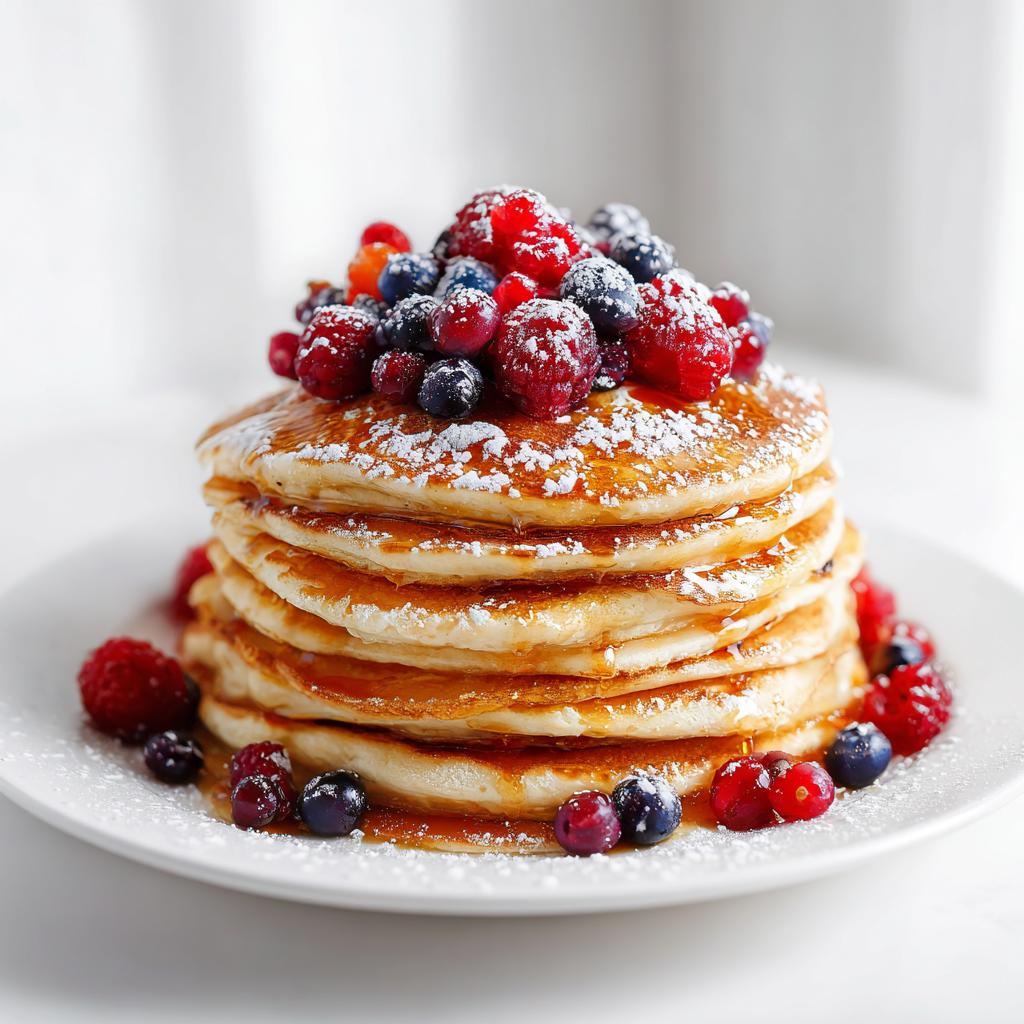
Okay, we’ve cooked golden-brown beauties, so now we have to commit to the final look! The entire point of the Aesthetic Pancake Breakfast is how you arrange everything on the plate. It’s not just dumping them on there; it’s culinary architecture! Start by stacking your pancakes directly in the center of the plate. I like three or four, staggering them just slightly so you can see the edges of each one peeking out. This height gives you that impressive vertical element.
Next up is the topping placement. Don’t just drown them! Drizzle your syrup slowly over the top pancake, allowing it to cascade naturally down the sides. It should look intentional, not accidental. I arrange my berries—usually a mix of raspberries and blueberries for color pop—around the base and gently place a few on top. Finally, take a small mesh sieve and give the whole stack a whisper-light dusting of powdered sugar. It adds that perfect soft-focus finish. It’s totally worth the extra minute of arranging to make your meal look this fantastic. If you love presentation tips, you should check out my thoughts on plating my aesthetic breakfast sandwich too!
Tips for Achieving Next-Level Breakfast Aesthetic
You’ve nailed the batter and you’re cooking them perfectly round, but if you really want to elevate this to a truly next-level breakfast aesthetic, you need to think about visual tricks. These little hacks are stuff I learned while trying to make every single batch look like magazine quality, which is certainly needed when you’re coordinating a full feature on dessert-style pancakes!
Don’t just rely on the syrup to make things look dark and interesting. Color coordination is your best friend here. If you’re using pale strawberries, make sure your syrup is dark maple, or try adding a few small mint leaves right where the stack meets the plate—that little bit of green pops like crazy against the maple tones.
Here are a few ways you can stop feeling like you’re just making breakfast and start feeling like you’re staging a photo shoot:
- Use a Ring Mold: If you struggle with a perfectly circular pancake, use a metal ring mold placed on your hot griddle. Pour the batter inside it. You’ll get impossibly uniform circles every time. Just gently remove the mold right after you flip!
- Control the Drizzle: Don’t just pour syrup everywhere. Try wrapping a piece of parchment paper around the stack with some tape to create a clean band around the middle, then drizzle the syrup only over the top half. Peel the paper off slowly for super clean lines.
- Texture Play: Contrast is everything. If your pancakes are soft, make sure something else is crisp! Think a few toasted, slivered almonds scattered around the base, or even crushed, freeze-dried raspberries instead of fresh ones for a jagged, textured look.
- Temperature Matters for Toppings: If you are using whipped cream, make absolutely certain it’s cold and holds its shape. If it’s melting down the sides before you can finish arranging your berries, the whole effect gets messy fast.
These professional little touches ensure that your simple morning meal looks absolutely intentional and totally feeds that desire for a beautiful breakfast moment!
Ingredient Notes and Substitutions for Your Aesthetic Pancake Breakfast
I know not everyone keeps the exact same pantry staples, and sometimes you have dietary restrictions, right? That’s totally fine! While this recipe is tested and true using standard milk and white sugar, we can absolutely make smart swaps without ruining that beautiful stack. Remember, even small changes affect the final texture, so we want to be smart about it, especially since the batter needs to stay fluffy enough for a magazine-worthy photo!
When I’m playing around with modifications, I always refer back to my notes on protein content, even in standard recipes, because it changes how the batter behaves. For those interested, you can read more about how different nutritional profiles impact baked goods in my write-up on are protein pancakes healthy.
Milk Swaps for Dairy-Free Aesthetics
If you need to skip the dairy milk, you’ve got great options! Almond milk works perfectly fine, as it’s thin and won’t muddy the flavor profile. Soy milk is a little heartier, which can actually give you a tiny bit more structure, which I like. Here’s a warning, though: coconut milk can sometimes mute the flavor of the vanilla if you decided to add it, and sometimes it adds an odd richness that isn’t what we want for a clean, bright breakfast aesthetic.
Sugar Substitutions and Their Effect on Browning
For sweetness, honestly, pure white granulated sugar is best here for the texture we want. It creates those perfect little golden-brown spots when it caramelizes on the griddle. If you absolutely must swap it out, use a pure cane sugar or maybe a 1:1 erythritol blend, but be prepared for slightly less browning unless you use a trick.
If you use a sugar substitute that doesn’t brown well, here’s my trick: add an extra half-teaspoon of melted butter to the wet ingredients. That extra fat helps the exterior of the pancake develop color even without molasses or regular sugar content—it’s a total cheat, but it keeps the look flawless!
Flour Choice and Maintaining That Fluffy Look
We specify plain all-purpose flour because it has the right amount of protein for that fluffy rise. If you swap it for cake flour, your pancakes will be even softer, which is great, but they might be a bit *too* delicate to stack high without collapsing. If you use a gluten-free blend, you usually need to add a tiny bit more milk or an extra egg yolk just to give it the structure it naturally lacks, otherwise, you might end up with flat discs instead of fluffy cakes.
Storing Leftovers of Your Aesthetic Pancake Breakfast
Look, sometimes you just make too many pancakes, or maybe you just want to save time tomorrow morning—I totally get it! The last thing you want is to reheat your beautiful stack only to have it turn into dense, sad sponges. Texture is everything, especially when you are aiming for that high-quality breakfast look, so we have to treat leftovers right. This only works if your pancakes cooled completely, by the way; hot pancakes steam in the container and get soggy immediately!
Short-Term Refrigeration Storage
If you think you’ll eat them within three or four days, the fridge is your friend. You want to keep them flat, not stacked directly on top of each other! That’s the key mistake everyone makes. If you stack them warm or even just slightly cooled, the moisture gets trapped between the layers, and you’re guaranteeing a gummy texture. Instead, lay them out on a baking sheet lined with parchment paper and let them chill for about 20 minutes until they firm up.
Once they are fully chilled and firm, you can stack them, but you *must* put a small square of parchment paper or wax paper between *every single pancake*. Then, slide the whole stack into an airtight container or a heavy-duty zip-top bag. This prevents them from sticking together into one giant pancake brick!
Freezing for Future Aesthetic Breakfasts
This recipe freezes like a dream, honestly! If you’re planning ahead for a quick weekend brunch in a few weeks, freezing is the way to go. Follow the exact same chilling and separating process mentioned above—parchment paper between every pancake is non-negotiable here. Once they are separated on the baking sheet, transfer the whole sheet to the freezer until the pancakes are rock solid, usually an hour or two.
Then, you can transfer those frozen, separated discs into a large freezer bag. When you go to reheat them, you don’t even need to thaw them! Just pop two or three straight from the freezer right onto a warm toaster slot or a preheated griddle. They will heat up perfectly without losing that essential fluffiness.
The Best Reheating Method for Texture
Microwaving is fast, but it steams the pancakes, which ruins the lovely browning we worked so hard to achieve. My rule is this: if you have five extra minutes, skip the microwave completely! A toaster oven or a standard toaster is your best bet for reviving leftovers. You just want to dry the surface out gently while warming the center.
If you have a griddle, warm it back up to low heat—don’t go medium heat like you did when cooking them fresh. Let the pancake warm through for just a minute on each side until it’s hot all the way through. This quick, gentle dry heat will restore just enough of that slightly crisp edge we love for a great presentation, making them almost as good as fresh!
Common Questions About Creating a Breakfast Aesthetic
When you’re dedicated to making the perfect Aesthetic Pancake Breakfast, you inevitably run into little roadblocks. Don’t worry, that’s perfectly normal! Even as someone who coordinates recipe testing daily, I still get questions about everything from the best berries to use to keeping things from sticking to the pan. Getting that flawless photo finish sometimes takes a little extra knowledge, but these common issues are easily solved. We want your final stack to look like something right out of a magazine, not a messy pile!
How do I stop my pancakes from sticking to the griddle?
This is probably the number one reason people give up on making beautiful breakfast spreads! The key here isn’t just adding more butter to the top every time; it’s about pan preparation and heat control. First, make sure your pan is fully preheated over medium heat—too cold is bad, too hot is worse. If you used my advice above and cooked them on a good non-stick surface, you should be golden.
If you are still having trouble, try wiping the pan lightly with a paper towel dipped in a neutral oil *before* you pour the batter in. You want a microscopic layer of fat, not a slick pool. This technique ensures a clean release and promotes that beautiful, even golden color we need for the best breakfast aesthetic.
What are the absolute best berries for creating a vibrant look?
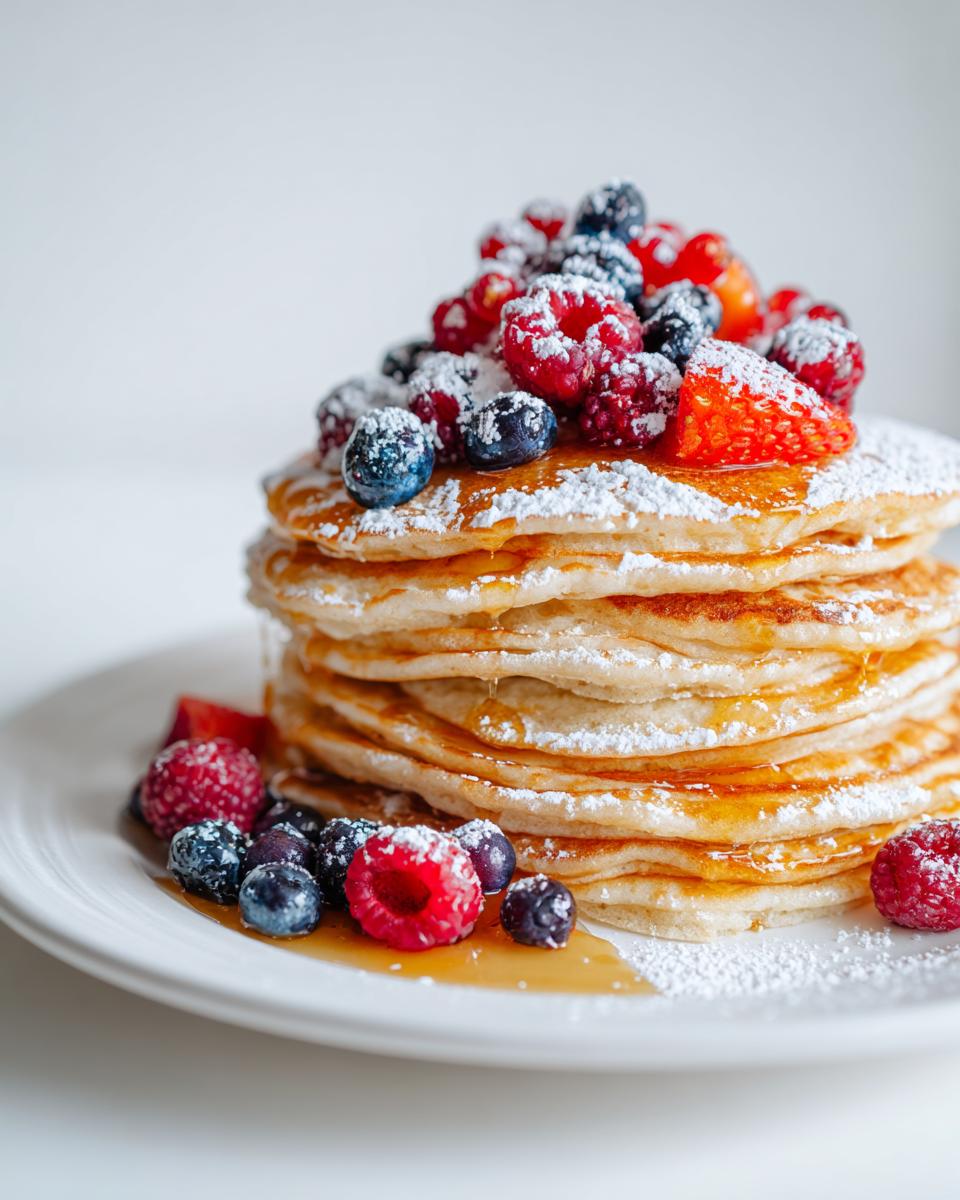
For high contrast in photography—which is what we are aiming for with the aesthetic pancake breakfast—you really need colors that pop against that golden background. My absolute favorites are a mix of deep purple and bright red. Blueberries and raspberries are superstars here because they hold their shape well once they hit the warm pancake. If you use sliced strawberries, make sure they are firm and cut them relatively thick so they don’t bleed their juices all over!
Pro tip to make them look even better: don’t just pile them on. Place one or two perfect berries right near the edge where the syrup is dripping down. It gives the eye a natural place to rest.
How can I ensure my pancakes are fluffy and look tall?
If you are asking this question, you probably skimmed past my warning about overmixing—it happens to the best of us! The secret to getting that desirable height and fluffiness for your fluffy pancakes breakfast stack lies entirely within the batter mixing stage. You must leave the lumps! Seriously, stop whisking when you still see traces of dry flour. Those little pockets of unmixed flour absorb steam during cooking and create beautiful, uneven air pockets that give you that iconic height.
Also, don’t press down on them after you flip them! That instantly deflates the air you worked so hard to create. A gentle flip and then let them be. Stacking them immediately after cooking also helps the lower pancakes support the weight of the upper ones, making the whole tower look more stable and impressive.
If you want more general tips on amazing breakfast creations, you can always browse my full collection of breakfast recipes right here: breakfast recipes.
Nutritional Estimates for This Recipe
So, we’ve talked about how stunning these are and how delicious they taste, but I know some of you are curious about the numbers. Since this recipe is so flexible depending on what kind of syrup you drown it in (and let’s be real, we all do that!), these figures are just rough estimates based on standard pantry items and a light topping of berries and a teaspoon of maple syrup poured over the whole stack for two people. I’m only able to coordinate so much testing, after all!
It’s super important to remember that for things like the aesthetic pancake breakfast, your toppings—especially if you go heavy on the fancy drizzles or add chocolate chips—can swing these numbers wildly. These counts are based on the base recipe for two servings.
Here are the general ballpark figures we came up with for two servings:
- Calories: Approximately 450-500 per serving
- Fat: Roughly 14g per serving (thanks mostly to that lovely melted butter!)
- Protein: Around 15g per serving (the egg and milk help here)
- Carbohydrates: About 65g per serving (standard for flour-based goods)
- Fiber: Low, usually under 2g per serving unless you add extra fruit
This estimate is based on the core recipe ingredients only—we aren’t counting the massive drizzle of syrup or the extra dusting of powdered sugar that makes the picture perfect! If you’re adding whipped cream or using protein powder in place of some flour, you’ll absolutely need to recalculate. Enjoy your beautiful meal, and don’t let the numbers stress you out too much!
Aesthetic Pancake Breakfast
Equipment
- Mixing Bowl
- Whisk or fork
- Griddle or Frying Pan
Ingredients
Pancakes
- 1 cup Flour
- 1 tbsp Sugar
- 1 tsp Baking powder
- 1 Egg
- 3/4 cup Milk
- 1 tbsp Butter, melted
Toppings
- Syrup For topping
- Berries For topping
- Powdered sugar For dusting
Instructions
- Mix the flour, sugar, and baking powder in a bowl.
- In a separate bowl, whisk the egg, milk, and melted butter together.
- Combine the wet ingredients with the dry ingredients. Mix until the batter is smooth.
- Heat a griddle or frying pan over medium heat.
- Pour batter onto the hot surface to form pancakes. Cook for 2 to 3 minutes per side, until golden brown.
- Stack the cooked pancakes on a plate.
- Top the stack with syrup, berries, and a dusting of powdered sugar for visual appeal.