Oh, sweet mercy, do I have a treat for you today! You know how sometimes you want that gorgeous, elegant dessert but the thought of slicing and plating sends you into a panic? Well, forget that mess! These Strawberry Dessert Mini Cups are my absolute favorite way to serve something stunning without any fuss. I remember trying to serve a big trifle at a garden party once—it was a disaster, bowls everywhere! Since then, I’ve been obsessed with the small-format approach. These little beauties are truly the perfect party dessert cups. They look fancy, taste divine, and they let everyone grab exactly what they need. This recipe comes straight from Clara Bennett, our Lead Plate Designer here at Recipes by Betty, and she truly nailed making elegance simple.
Why You Will Love These Strawberry Dessert Mini Cups (Primary Keyword Focus)
Honestly, I make these because they solve so many serving problems! Seriously, these tiny treats are game-changers for entertaining. You absolutely need to try these for your next get-together:
- They are virtually zero-mess once they’re chilled. No slicing necessary!
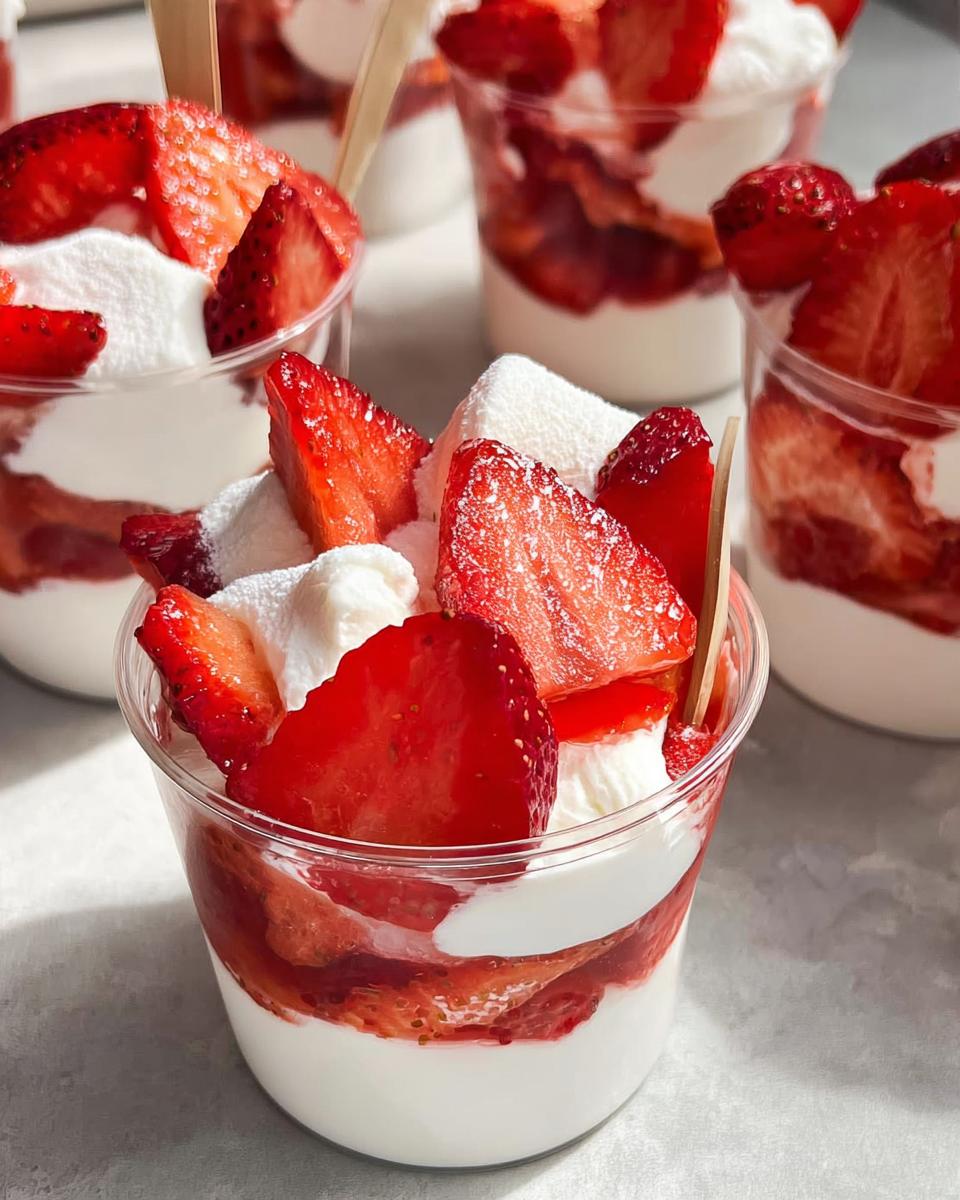
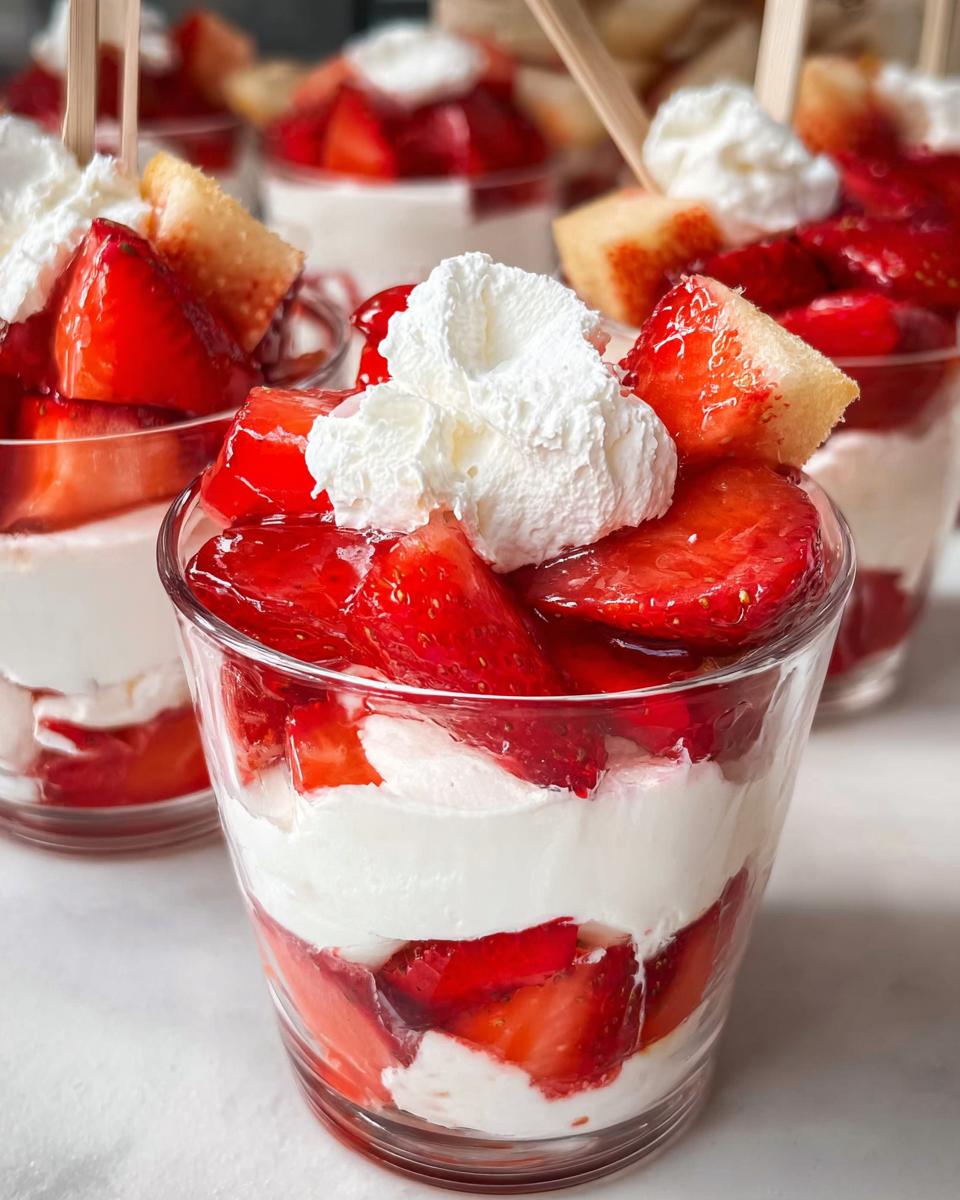
- The layers look incredible in clear glass—so bright and appealing.
- They are perfectly portion-controlled, so you don’t have to worry about over-serving.
- These are the ultimate party dessert cups because guests can easily grab one while mingling. You can see more of my favorite mini desserts here!
Essential Ingredients for Perfect Strawberry Dessert Mini Cups
You won’t believe how simple the shopping list is for these beauties! That’s part of the magic—minimal effort equals major payoff. I always like to have everything measured out before I start mixing because it keeps things moving smoothly, especially when you fold in that whipped cream. You’ll need to grab these four main components, but trust me, the result looks like you spent hours!
Here is exactly what you need to gather for this recipe. Make sure your cream cheese is softened a little bit so it mixes up beautifully smooth. You can find some great tips on using strawberries in all our other strawberry recipes!
- 1 cup Cream cheese (make sure it’s softened up just right)
- 1/2 cup Sugar (just regular granulated works perfectly here)
- 1 cup Whipped cream (I usually use a nice, stable brand or make my own fresh)
- 1 cup Strawberries (make sure these are either sliced or chopped, whatever you prefer!)
That’s it! No gelatin, no crusts, just pure, light, creamy strawberry goodness ready to be chilled.
Equipment Needed to Assemble Your Strawberry Dessert Mini Cups
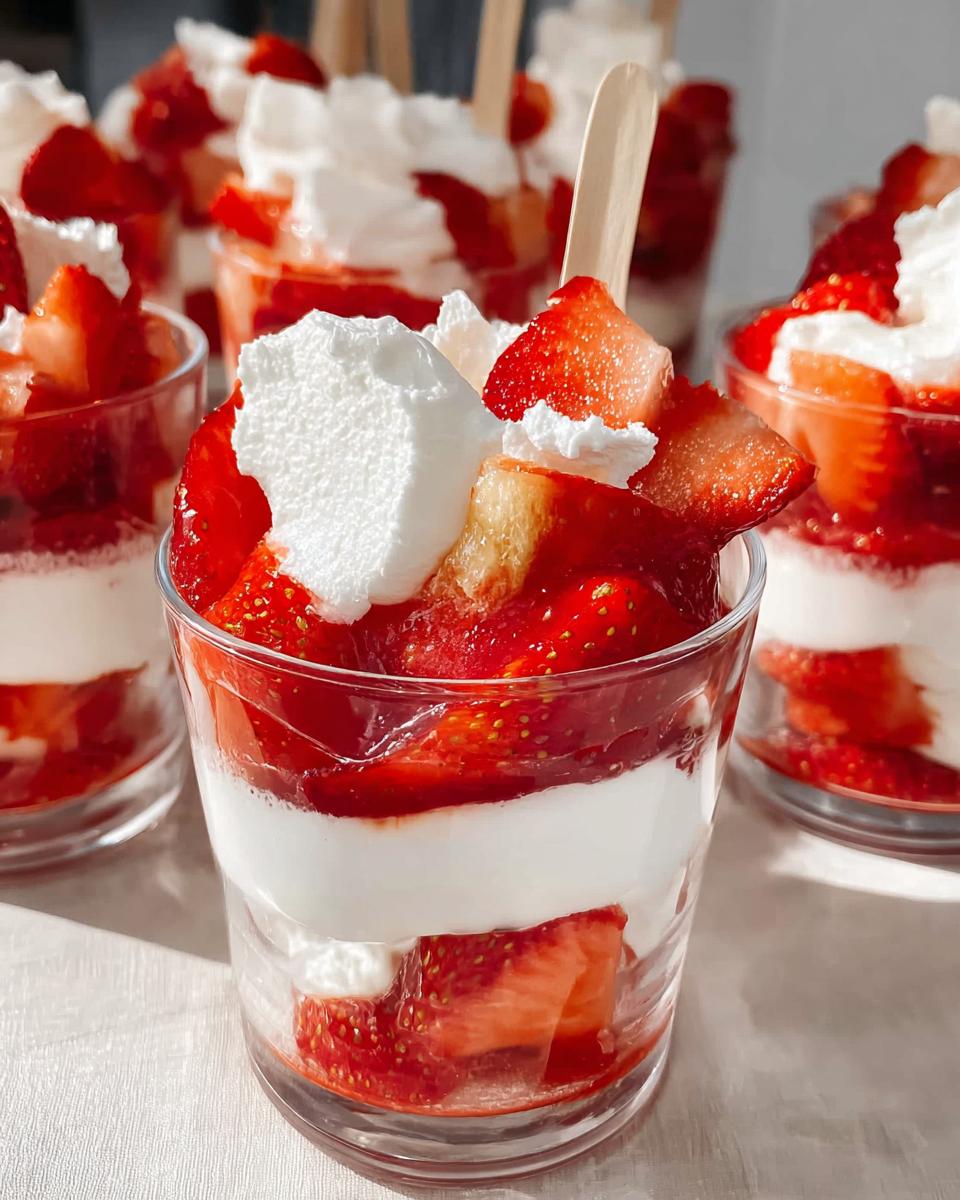
You don’t need a million fancy gadgets for these, which is another huge win, right? I like to use clear glass cups or small jars so you can see those beautiful layers we’re about to make. Having the right tools just makes the whole process feel less sloppy!
Here are the bare necessities for getting these Strawberry Dessert Mini Cups put together nicely:
- A good sturdy Mixing bowl for beating the cream cheese and sugar until they are totally smooth. We don’t want any lumps!
- Your individual serving cups. I usually pull out my little clear glass tumblers for the best look, but any small dish works.
- A Piping bag fitted with a large star tip, if you want those fancy swirls on top. If you skip this, a Ziploc bag with the corner snipped makes a decent substitute, but the piping bag gives the ultimate elegant finish.
That’s surprisingly simple, isn’t it? Getting your tools ready first means you can dive right into mixing the filling!
Step-by-Step Instructions for Making Strawberry Dessert Mini Cups
Okay, now for the fun part—putting it all together! Since there’s no baking involved, this whole process flies by. I always like to have my sliced strawberries ready in a small bowl right next to my mixing station. Remember, the real secret to making these look professional is in how you treat the whipped cream; you have to keep the air in it! If you want an even more foolproof guide on similar chilled treats, you can check out my recipe for No-Bake Strawberry Cheesecake Cups.
Preparing the Cream Base for Your Mini Strawberry Dessert
First things first, grab that mixing bowl! You need to beat your softened cream cheese and the sugar together until it’s completely lump-free. I whip mine until it looks light and fluffy, maybe like thick frosting. Next, and this part is crucial for a light texture, you’re going to gently fold in that cup of whipped cream. Use a spatula and cut down the middle, turning the bowl as you go. We don’t want to deflate all that lovely air we just paid for! This gentle folding makes the final mini strawberry dessert creamy without being dense.
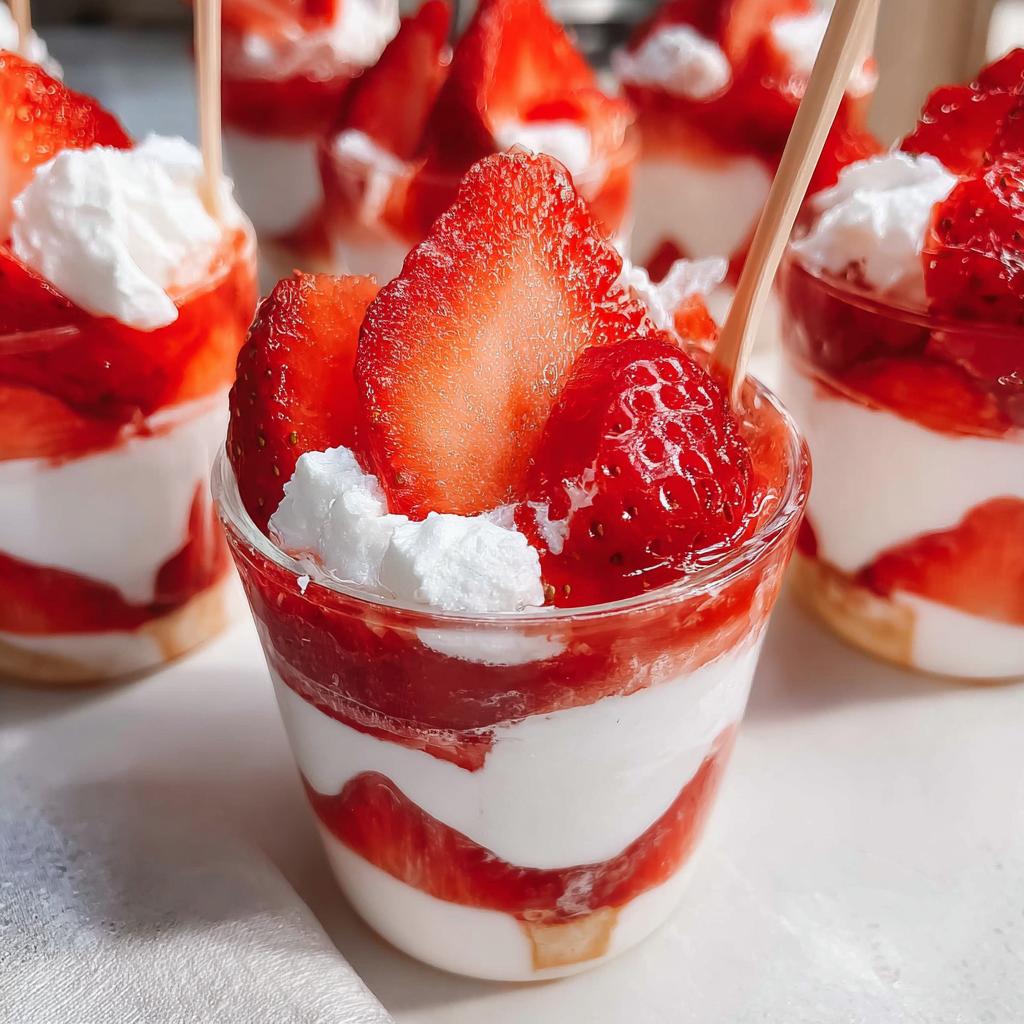
Layering and Presentation of the Strawberry Dessert Mini Cups
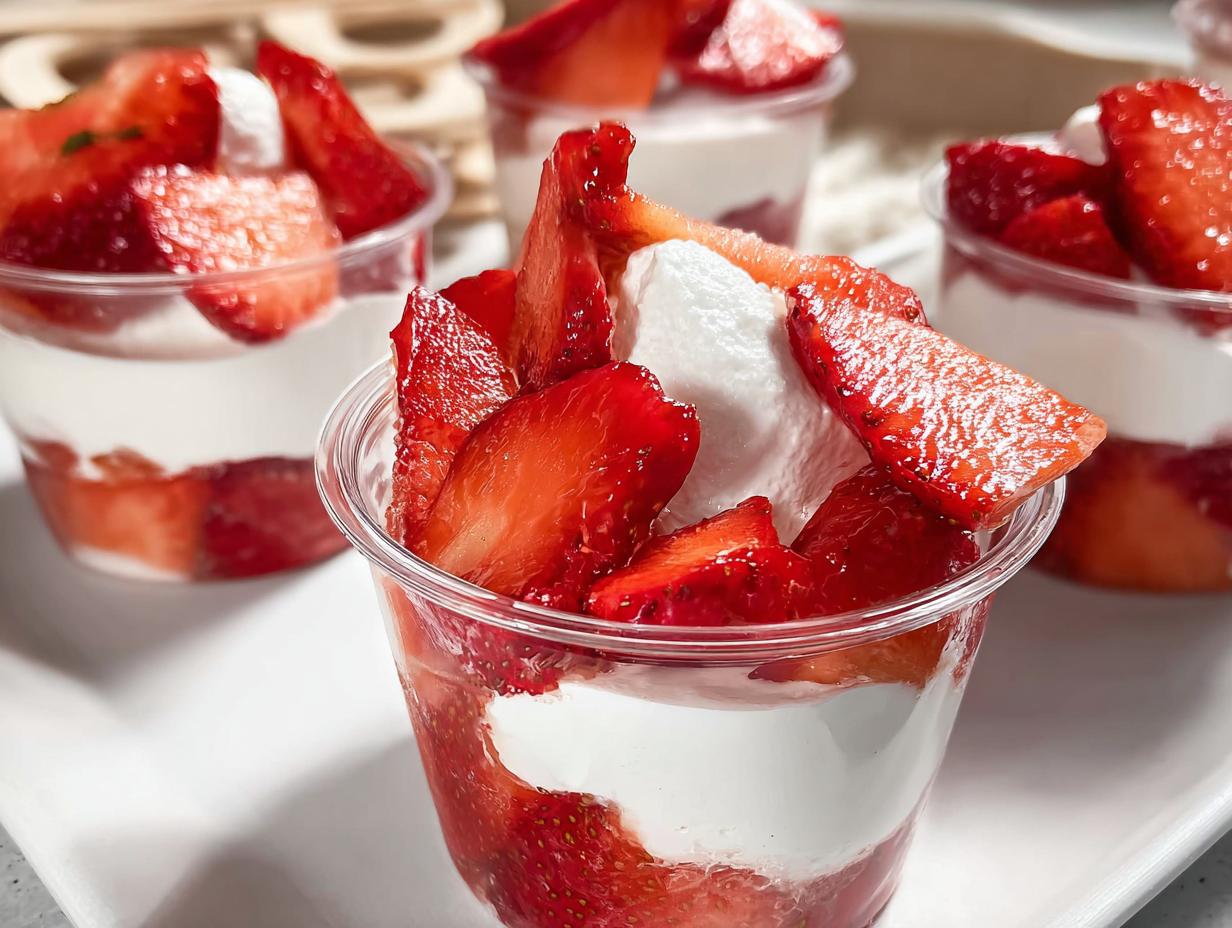
Now we assemble! You can alternate layers of the cream mixture and the chopped strawberries directly in your cups. Put a dollop of cream, then a sprinkle of fruit, then more cream, and so on. For the prettiest show, especially when serving these as party dessert cups, take your time loading your cream into that piping bag. Pipe swirls of the topping on the very top layer instead of just spooning it on. Garnish with one perfect strawberry slice on top—instant elegance!
The very last, and perhaps most important, step is patience. Cover them up and let these cups chill in the fridge for at least 60 minutes. That chilling time is non-negotiable; it lets those flavors totally marry and sets the filling firm enough to handle!
Expert Tips for Perfect Strawberry Dessert Mini Cups
When you’re making something this simple, the small details really stand out, you know? I’ve tested this recipe dozens of times for parties, and I picked up a few tricks that just elevate these Strawberry Dessert Mini Cups from good to absolutely unforgettable. You’ve got to treat the ingredients right!
My first major tip involves those lovely strawberries. If they are too juicy, they will bleed right into your cream layers and make everything look a bit muddy after chilling. I always give my sliced strawberries a quick pat with a paper towel to wick away any excess moisture. It takes five seconds, I promise!
Second, don’t rush the cream cheese! If it’s too cold, you’ll end up fighting hard lumps instead of getting that silky smooth base. Let it sit on the counter for about 30 minutes before you start beating it. When you’re done mixing with the sugar, you want it light, airy, and ready to hug that whipped cream without fighting it.
Lastly, if you happen to have any fresh basil or mint, mince up a tiny, tiny bit. Seriously, just a whisper mixed in with the strawberries adds a cool, unexpected zip that people always comment on! It’s one of those secrets I learned from reading a cookbook on fresh strawberry cream puff techniques, and it works wonders here too.
Ingredient Notes and Substitutions for Strawberry Dessert Mini Cups
Sometimes we’re out of one thing, or maybe we just need to tweak a recipe for dietary reasons, right? That’s totally fine! These bases are flexible, but you have to know the right way to swap things out so you don’t ruin that beautiful creamy texture we worked so hard to achieve.
If you’re out of regular heavy cream to whip, you can definitely use a tub of stabilized whipped topping, but try to keep it cold until the very last minute so it doesn’t melt into the cream cheese mixture too fast. When it comes to the strawberries, the biggest rule is freshness! If you can’t find beautiful ripe ones, frozen thawed strawberries can work in a pinch, but you MUST drain them extremely well, or you’ll end up with soupy layers.
For those who are watching their sugar, cutting back on the half-cup of sugar in the base is possible, but you might need to add a tiny splash of vanilla extract to compensate for the lost flavor depth. I actually found a great recipe that uses lemon zest in a similar cream filling, which you might enjoy checking out if you like a little citrus zing!
Storage and Make-Ahead Planning for Your Strawberry Dessert Mini Cups
The best thing about these cups is that they are absolutely perfect for making ahead of time! Honestly, they taste even better the next day once everything has settled down in the fridge. The chilling time—that minimum of 60 minutes we talked about—is crucial because it firms up the cream cheese filling so it doesn’t get runny when your guests pick them up.
For optimal texture, I always recommend assembling these the morning of your party, or even the night before. They hold up great in the refrigerator for easily 24 hours. Since they are no-bake, the fresh strawberries stay nice, and the cream base stays perfectly light and airy.
Now, can you freeze them? That’s where I get a little cautious. If you freeze them with the fresh strawberries intact, the strawberries can get really mushy and weird when they thaw. If you absolutely have to freeze them, I’d suggest assembling the cream base and freezing that portion alone. Then, just slice and add fresh strawberries right before serving. You can find a similar concept using my recipe for No-Bake Strawberry Mousse, which also does better when topped with fresh fruit just before serving!
But honestly, for the best experience, just plan to make them the day before, keep them covered tightly with plastic wrap in the fridge, and serve them chilled. They come out tasting just heavenly!
Serving Suggestions to Complement Your Strawberry Dessert Mini Cups
These mini strawberry dessert cups are so light and refreshing; they really shine next to something simple and perhaps a little warm. Because the filling is already cool and creamy, you don’t want to weigh it down with anything too heavy or rich!
My absolute favorite pairing, especially for an afternoon gathering, is a really good, strong cup of black coffee—the slight bitterness cuts through the sweetness of the cream perfectly. If you’re serving these later in the evening, a delicate herbal tea works wonders too. If you need a little crunch, skip the heavy cake and go for something crispy like a thin shortbread cookie or a wafer. If you’re feeling decadent, you could even set up a small dipping station with some melted chocolate; you can get some ideas on dipping fruit over here!
Frequently Asked Questions About Strawberry Dessert Mini Cups
I get so many questions every time I post these beauties online! People are always wondering about logistics, especially when they plan on making a ton for a big crowd. Honestly, that’s what makes these Strawberry Dessert Mini Cups so perfect—they solve serving problems we didn’t even know we had!
I’ve pulled together the most common things people ask. If you ever have another question, just pop down to the bottom and let me know! You can browse through all our other dessert guides for more inspiration!
Can I make these Strawberry Dessert Mini Cups ahead of time?
Yes, you totally can, and I actually encourage it! Remember that 60-minute minimum chilling time? That’s essential to firm things up. If you assemble them the night before, cover them tightly with plastic wrap, they hold up beautifully for up to 24 hours in the fridge. Don’t let them sit much longer than that, though, just to keep the strawberries tasting their freshest!
What makes these mini strawberry dessert options great for large gatherings?
Oh, this is the best part! When you’re serving a crowd, the mess factor goes way up, but not with these. Since they are already in individual containers, they offer perfect portion control—no sneaking second slices! Guests can just reach in, grab their perfectly layered mini strawberry dessert, and mingle. They are the ultimate self-serve, elegant party dessert cups!
Also, because they require zero last-minute assembly or oven time, you just take them out of the fridge when it’s time to serve. It literally frees you up to enjoy your own party!
Nutritional Information Estimate for Strawberry Dessert Mini Cups
Now, listen, because this is important: I am a home cook, not a nutritionist, okay? I can tell you this tastes like heaven, but I can’t guarantee the exact macro breakdown when you use your favorite brand of cream cheese or your gigantic fresh strawberries. These numbers are just a general guideline based on the standard ingredients listed in the recipe.
If you’re counting every little thing, you should definitely check the labels on your specific whipped cream and cream cheese. But for a general idea of what you’re enjoying when you dive into one of these lovely cups, here is my best estimate for one serving out of the four:
- Calories: Roughly 280–310 kcal
- Total Fat: Around 18–20g (Mostly from that wonderful cream cheese!)
- Protein: About 4–6g
- Total Carbohydrates: Approximately 25–28g
See? It’s a nice, manageable treat! It has enough richness from the dairy to feel satisfying for a dessert, but since it’s fruit-based and no-bake, it doesn’t feel heavy like a full slice of cake. Just take this as friendly advice from the kitchen—for official tracking, always double-check those main components!
Share Your Experience with These Party Dessert Cups
I truly hope you get a chance to whip up these delightful party dessert cups soon! Once you’ve tasted how easy elegance can be, you’ll be making them all the time. Did they impress your guests? Did you find a creative way to layer them?
Don’t be shy—I absolutely love hearing from you! Please leave a rating down below and share your photos on social media, tagging us so we can see your beautiful creations! Let me hear all about it!
Recipe created by Clara Bennett, Lead Plate Designer at Recipes by Betty.
Strawberry Dessert Mini Cups
Equipment
- Mixing Bowl
- Piping Bag
Ingredients
- 1 cup Cream cheese
- 1/2 cup Sugar
- 1 cup Whipped cream
- 1 cup Strawberries Sliced or chopped
Instructions
- Beat the cream cheese and sugar together until smooth.
- Gently fold the whipped cream into the cream cheese mixture.
- Layer the cream mixture and the strawberries into individual serving cups.
- Chill the cups for at least 60 minutes before serving.
- Pipe the cream mixture neatly for a clean presentation, if desired.