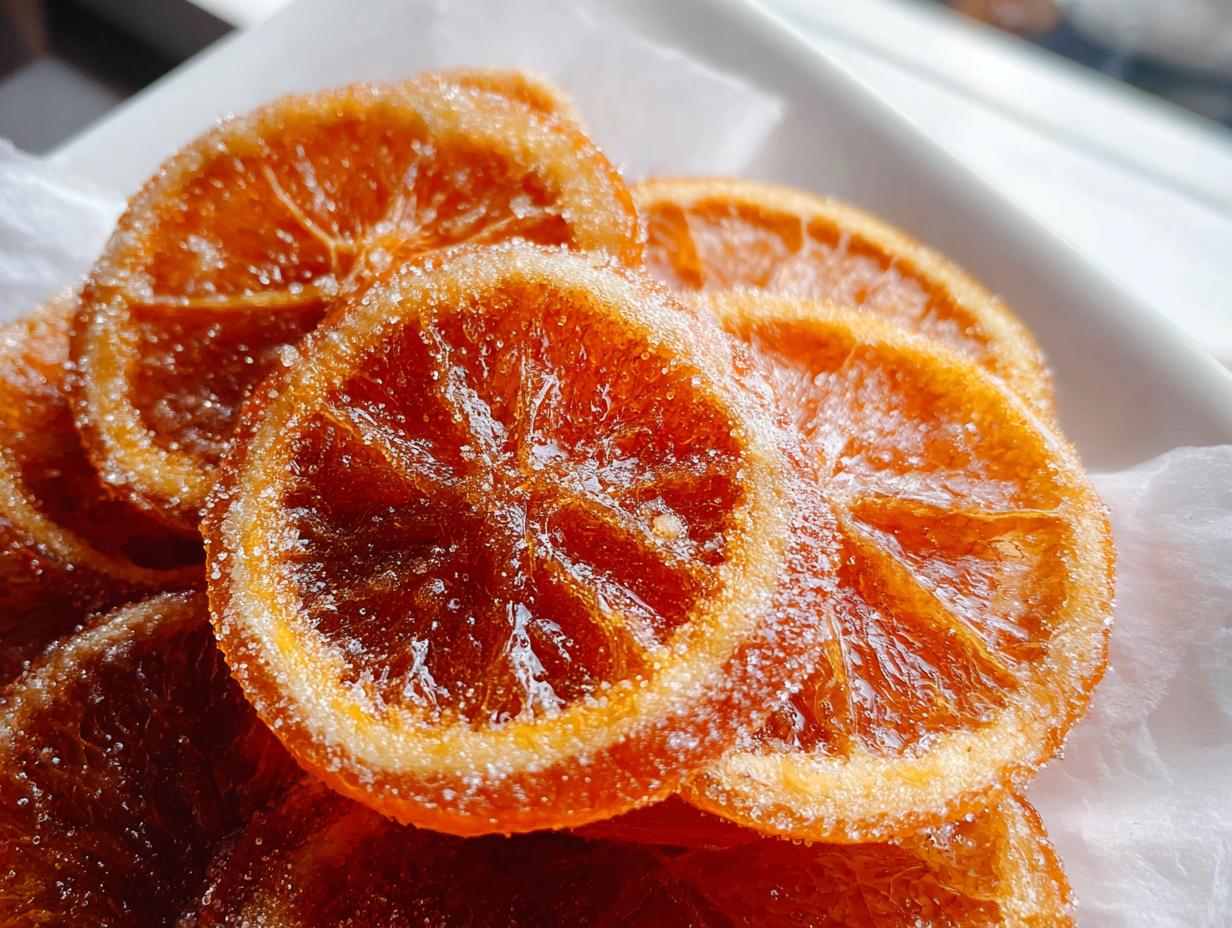
Oh, if you’ve only ever tried candied orange slices made with plain white sugar, you are missing out on something truly special! These Candied Orange Slices with Brown Sugar bake up with this deep, gorgeous caramel glow that just feels like a warm hug on a chilly afternoon. It’s the brown sugar, trust me, that darkens the syrup just a bit and adds that rich, cozy sweetness we all crave.
I think this twist makes them perfect for garnishing cakes or just snacking straight off the cooling rack. They photograph beautifully, but honestly, the warm, mellow flavor is what really sets them apart from the usual bright, sharp recipes. This is the version that sticks around my kitchen all winter long.
Why You’ll Love These Candied Orange Slices with Brown Sugar
I really think once you try this brown sugar version, you won’t go back to the plain stuff. It just adds this layer of cozy depth that makes snacking on them feel indulgent. Since the instructions are so straightforward, even if you’re new to candying fruit, these Candied Orange Slices with Brown Sugar will turn out gorgeously.
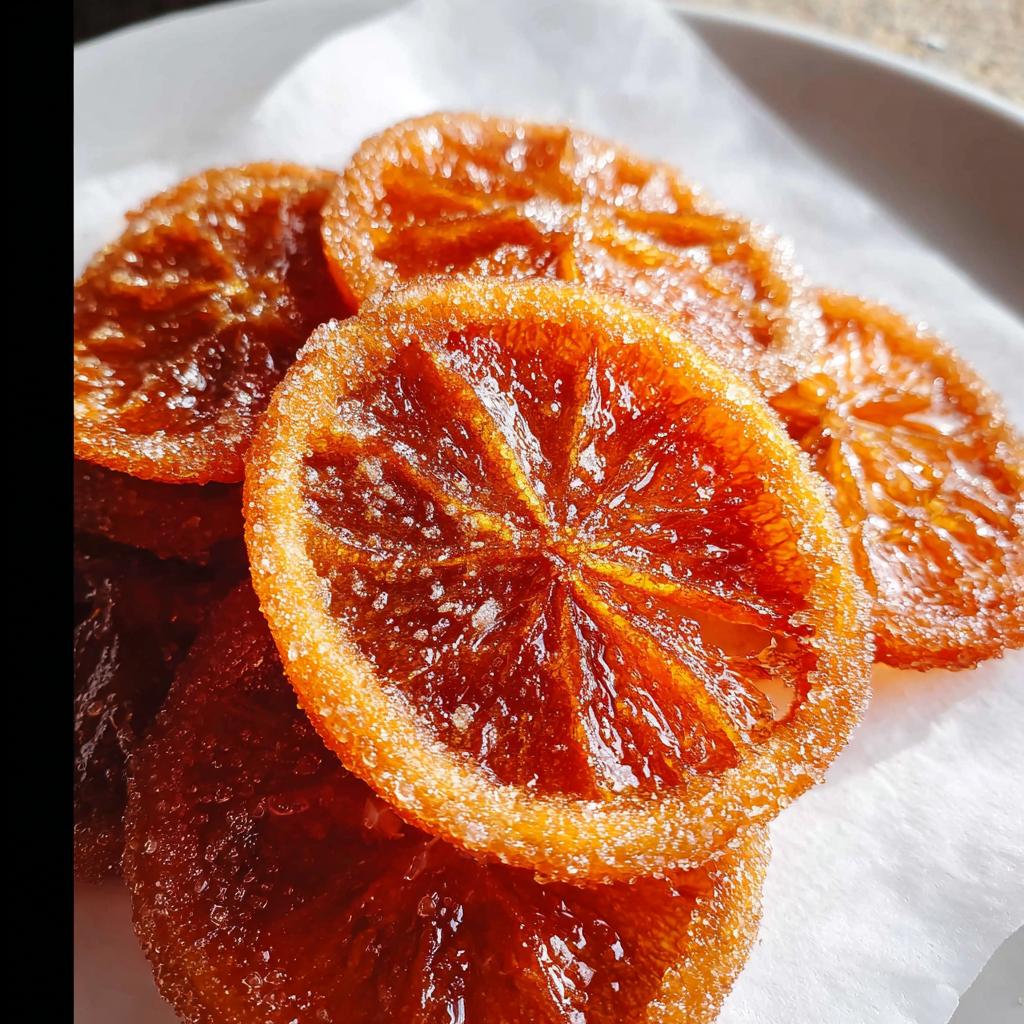
- The flavor is so much richer! That hint of molasses comes through, creating a true caramel note instead of just pure sweetness.
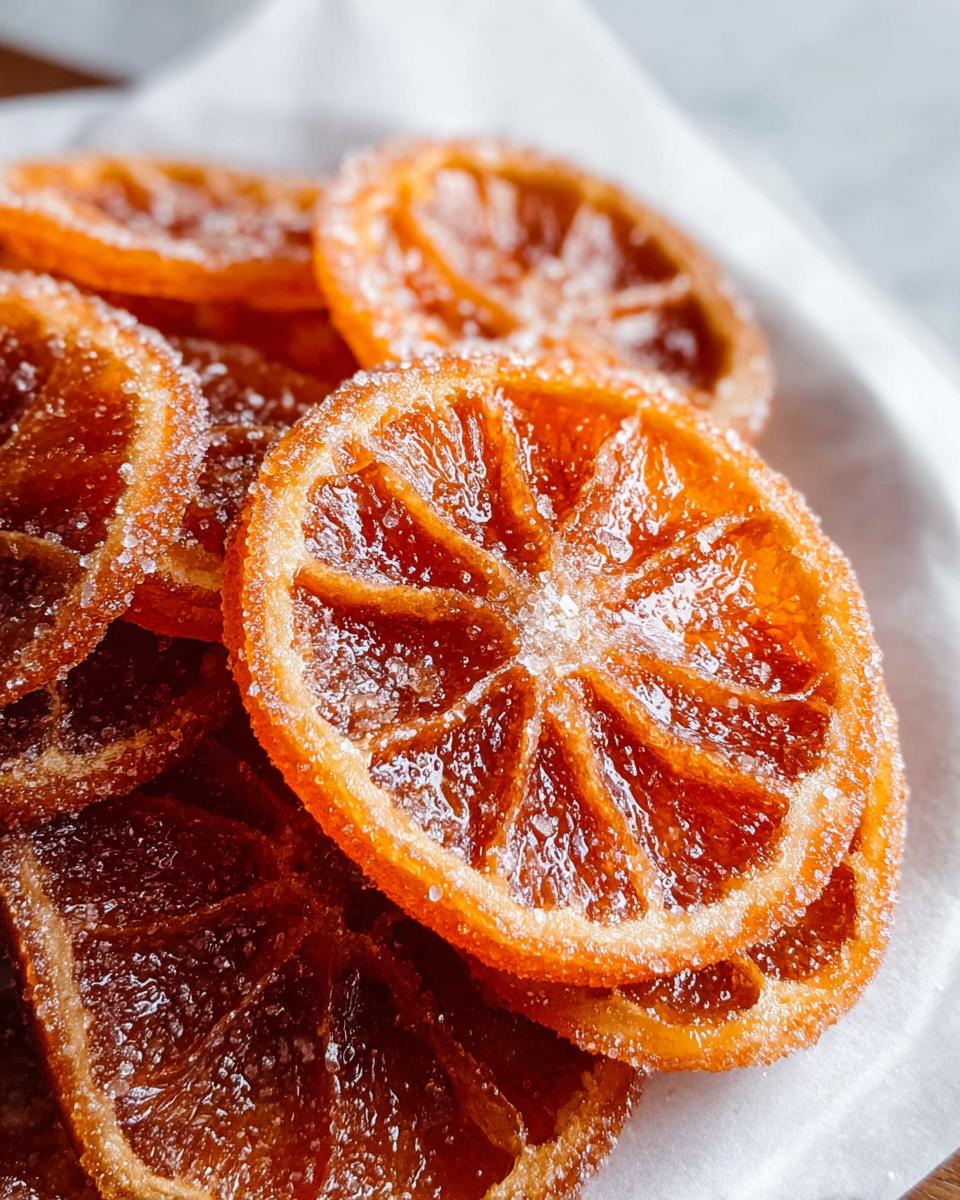
- They look stunning! The dark syrup coats the slices in this beautiful, almost burnished amber color—perfect for tossing atop a cake or dessert.
- Prep time is practically nothing. Seriously, it’s just slicing and boiling; the oven (or counter!) does the heavy lifting while you relax.
- You get to use up citrus! If you have a random pile of oranges, this is one of the easiest and most satisfying recipes using oranges you can make. You might even start looking up homemade orange rolls just to use up more fruit!
- They last forever! If you get them truly dry, you have beautiful homemade citrus candy ready to go whenever you need a little pick-me-up.
Essential Equipment for Perfect Candied Orange Slices with Brown Sugar
You don’t need a lot of fancy gadgets for these Candied Orange Slices with Brown Sugar, which is one reason I love them so much. It’s mostly things you should already have lurking in your cupboards. But, having the right pot makes a surprisingly big difference in getting that perfectly clear, consistent syrup.
Here’s what you’ll need to gather:
- A good, sturdy saucepan – this is crucial!
- Parchment paper for drying the slices afterwards.
Now, let me tell you about the saucepan tip Grandpa always drilled into me. You absolutely want to use the widest, shallowest saucepan you own, preferably one with a thick, heavy bottom. Why? Because the sugar syrup heats much more evenly that way.
If your pot has thin sides or is too deep and narrow, you get hot spots that can scorch the brown sugar or cause the syrup to crystallize fast on the sides. We want a gentle, rolling simmer across the entire surface for that 45 minutes of cooking time, not aggressive boiling in one spot. Getting that heat distribution right helps keep the sugar from seizing up, saving you a major headache. It’s one of those little secrets that makes recipes like this—and even my scone recipes—turn out perfectly every time!
Ingredients for Rich Candied Orange Slices with Brown Sugar
One of the best things about making these Candied Orange Slices with Brown Sugar is how few ingredients you actually need. It’s simple, but using the right type of sugar is everything! We’re relying on the natural sweetness of the oranges combined with that deep, earthy molasses flavor from the brown sugar.
When you’re gathering everything, make sure your oranges are sliced consistently thin. That makes the biggest difference in how they absorb the syrup and how well they dry later on!
Here is exactly what you need:
- 2 Oranges – make sure these are sliced very, very thinly!
- 1.5 cups Brown Sugar – this is our star ingredient!
- 1.5 cups Water
See? So simple! If you’re curious about what kind of salt I use in my baking in general, I wrote a whole piece about Kosher Salt versus Sea Salt, but honestly, for this recipe, you don’t need any salt at all!
Ingredient Notes and Substitutions
Let’s talk oranges for a minute. You want firm, relatively thin-skinned citrus, so Navel or Valencia oranges are wonderful choices here. Avoid super thick-skinned varieties if you can, because you want the syrup to penetrate the flesh easily.
Now, about the brown sugar. I know some folks might think, “Do I really need the brown sugar?” If you absolutely must, you can swap it out for the same amount of plain white granulated sugar. But—and this is a big *but*—the result will be completely different! White sugar gives you that classic, brightly sweet, almost clear-looking candied orange peel. The brown sugar version, though? That’s where you get the rich, slightly toasted, caramel flavor that deepens the whole experience. It adds complexity that plain sugar just can’t touch!
Also, because we are cooking these slices for a good while, make sure your water is fresh, as it makes up half the syrup base!
Step-by-Step Instructions for Candied Orange Slices with Brown Sugar
Okay, watch closely! Making these Candied Orange Slices with Brown Sugar is really about patience during the cooking stage. Once you get past the initial prep, it’s mostly just waiting for that beautiful caramelization to happen. Follow these steps exactly, and you’ll end up with perfect, chewy candied citrus slices.
Preparing the Oranges and Syrup Base
First things first, we need to remove some of that intense bitterness from the peels. Bring a small pot of water to a boil and drop in your thinly sliced oranges. Let them blanch—that means just a quick boil—for about two minutes, and then don’t waste a second; drain them really well immediately!
Next, grab that heavy-bottomed saucepan we talked about. Pour in your water and all that lovely brown sugar. Put that on the stove and stir it over medium heat until the sugar is completely dissolved and the mixture is just starting to simmer gently. You want it smooth before we do anything else.
Simmering and Coating the Candied Orange Slices with Brown Sugar
Now, carefully add your blanched and drained orange slices into that warm brown sugar syrup. You want them submerged as much as possible. Turn the heat down so you just have a very low, lazy simmer happening—nothing hard!
This is where patience comes in for making your Candied Orange Slices with Brown Sugar. You need to cook these gently for a full 45 minutes. Don’t just walk away, though! You must turn the slices every ten minutes or so. This ensures every bit of the orange surface gets coated evenly in that deep brown sugar syrup. If you see the syrup start to look like it might bubble too aggressively, pull the pan off the heat for thirty seconds to calm it down. We are cooking, not crystallizing!
Drying and Setting the Candy
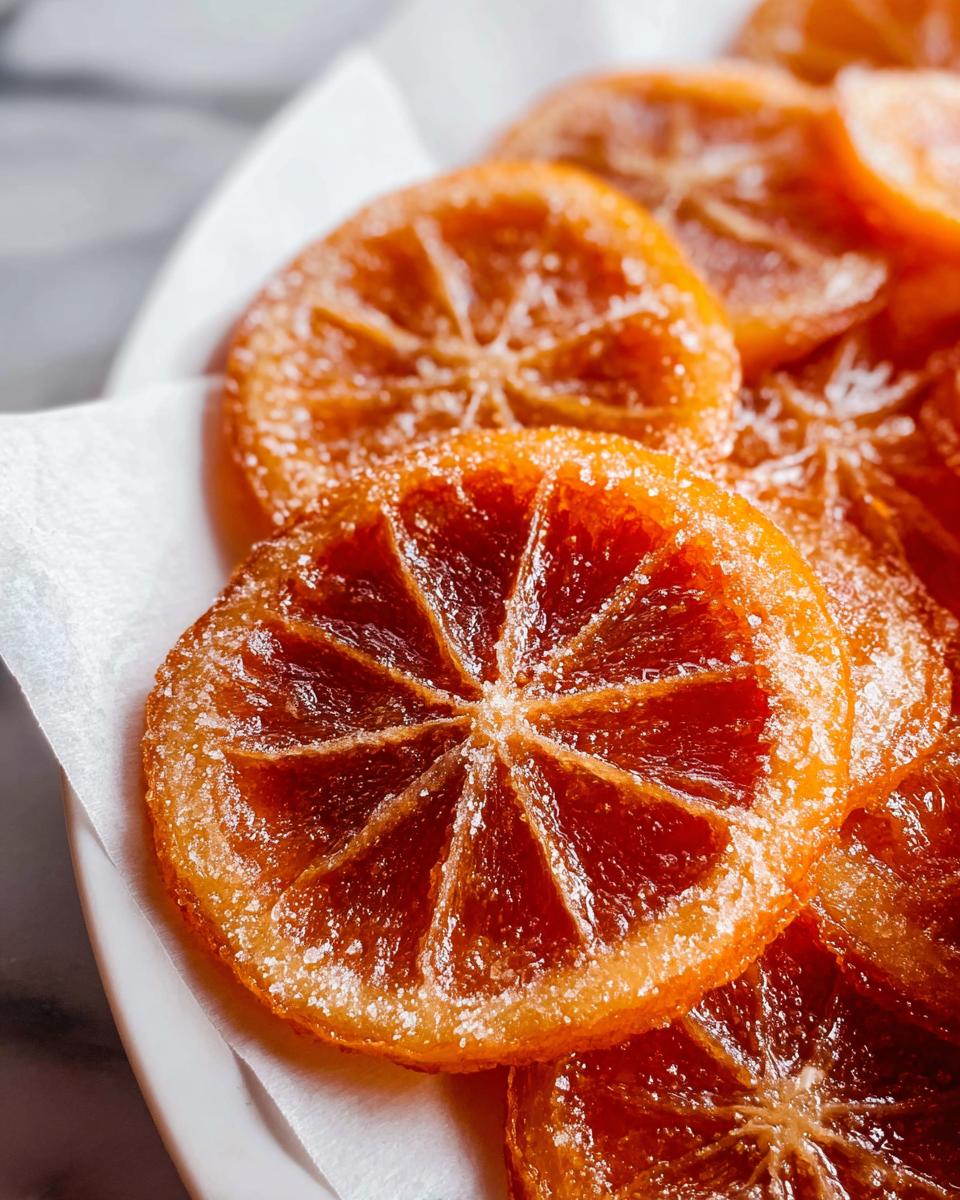
Once those 45 minutes are up, use a pair of tongs to fish out the slices one by one. Lay them flat in a single layer onto a baking sheet lined with parchment paper. Don’t overlap them, or they’ll fuse together as they dry, which nobody wants. If you’re doing a big batch, use two sheets!
This final step is crucial! They need time to dry out completely. Set them somewhere cool and dust-free and let them sit for at least two hours, maybe even longer if your kitchen is humid. You’ll know they’re done when they feel tacky, not wet, and you can no longer press down on the center easily. I sometimes even sneak a few of these directly at this stage—they’re great when they are still slightly sticky, though a full dry lasts much longer. If you need more tips on getting things to dry perfectly, check out my guide on making homemade fruit roll-ups!
Tips for Perfect Candied Orange Slices with Brown Sugar
Getting the best Candied Orange Slices with Brown Sugar really comes down to a few key technical spots where most home cooks might slip up. Because we’re dealing with fruit and sugar, timing and heat management are everything. Don’t let the simple look of the recipe fool you; precision during the cooking stage pays off huge!
If you follow these pointers, you’ll get those beautiful, chewy slices that aren’t too hard and aren’t too sticky.
- Slice Thickness is Non-Negotiable: I can’t stress this enough: slice those oranges paper-thin. Use a sharp knife or, better yet, a mandoline if you have one, set to about 1/8th of an inch. If they are too thick, the syrup will never fully penetrate the pith, and you’ll end up with tough, bitter centers. Super thin slices collapse beautifully and become totally tender after simmering.
- Low and Slow Heat Wins the Race: During that 45-minute cook time, you should barely see bubbles breaking the surface of the syrup. If you crank the heat up to get a rolling boil, two bad things happen immediately: the sugar crystallizes, and the orange skin burns before the inside softens. Keep it just barely simmering—a gentle, lazy bubble—and be patient. This low heat allows the sugar to slowly infiltrate the fruit cells instead of just hardening on the outside.
- Drain Immediately After Blanching: Remember we blanch them for just two minutes? Their job is done the second they hit the colander. Any extra time sitting in hot water just softens the fruit too much before it even hits the sugar, causing them to fall apart later on the cooling rack.
- Watch That Drying Time: If your kitchen is humid, or if you rushed the turning process during cooking, the slices might still be sticky after two hours. If you see any wet pooling syrup on the parchment paper, give them an extra hour uncovered on the counter. If you store them while they are even slightly damp, they will leach moisture and revert to a sticky mess very quickly. For more tips on keeping baked goods moist longer, check out my notes on preventing pumpkin bread from drying out—the principles of moisture control are the same!
Storage and Keeping Your Candied Orange Slices Fresh
This is where the payoff comes! If you properly dried your citrus—and I mean truly dried them—they’re going to last for ages. You’ve already put in all that work simmering and waiting, so don’t let bad storage ruin them.
The absolute golden rule here is air exposure. You need to keep moisture out, but if you seal them up when they are even slightly tacky, that trapped humidity will cause them to melt back into sticky puddles within a day. It’s the worst feeling when that happens!
For short-term storage, just keep them in a single layer in an airtight container at room temperature. Honestly, if you’re eating them within a week, this works wonderfully. However, if you’re hoping these last through the holidays, you need to get them completely dry first.
I always recommend drying them for longer than you think you should. If they are fully set and dry to the touch, you can stack them layered between sheets of wax paper inside that airtight container. Keep that container in the coolest, driest spot in your pantry.
Because they are essentially preserved fruit, they’ll keep for several weeks, sometimes even a couple of months, if you keep them dry! If you notice any condensation inside the container, that’s your cue to pull them out and give them a few more hours on the counter to re-dry. It works the same way as keeping things fresh in my guide on the secret to moist bread; controlling that environment is how you extend the life of baked or cooked goods!
Creative Uses for Candied Orange Slices with Brown Sugar
Now that you have these gorgeous, chewy Candied Orange Slices with Brown Sugar, the real fun begins! They might be delicious enough to eat straight from the cooling rack, but they are also fantastic when used to elevate other desserts. Seriously, don’t just let them sit in a jar!
I love experimenting with how these rich, dark slices can bring a little caramel-citrus kick to my baking. Here are a few of my favorite ways to use them up:
- Chocolate Dipping: This is classic for a reason! Once they are completely dry, take your slices, melt down some good quality dark chocolate (I prefer 70% cocoa or higher), and dip them halfway. Lay them back on parchment paper, and let that chocolate shell set. They are divine—like a gourmet treat! This variation is even better if you use the peel rather than the thick whole slice to create something like chocolate covered candied orange peels.
- Cake & Bread Inclusions: Roughly chop a few slices and fold them into a fresh batch of butter cake batter or even a sturdy quick bread recipe. They add pockets of chewy flavor. They work especially well in places where you might normally use dried cranberries or cherries, giving your baked goods a beautiful, deep color.
- Garnish Game-Changer: Use a whole slice, or a half-slice, right on top of frosted cakes, custards, or even just plain vanilla ice cream. They look so elegant and signal that you made something special, not just store-bought topping!
- Trail Mix Boost: Mix them with nuts and maybe some high-quality chocolate chips—perhaps some leftover from my fudge cookie recipe exploration—for an intense homemade trail mix.
What To Do With Orange Peels Beyond Candying
I know what you’re thinking: What if I didn’t use the whole orange? Sometimes you only want the peel, or perhaps you ended up with trimmings while slicing down to 1/8th of an inch. Don’t let those bits go to waste! Orange peels have so much flavor packed into them, and there are tons of other orange peels uses around the kitchen.
If you have scraps or thicker pieces, try two things:
- Infuse Alcohol: Toss those scraps into a jar of good vodka or neutral grain spirit. Let it sit for about two weeks, shaking it gently every day or two. Strain it out, and you’ve created a wonderfully bright orange liqueur perfect for cocktails!
- Zest and Dry: If you have thinner pieces of peel without much white pith, throw them on a low heat rack in the oven (or in a dehydrator) until they are bone dry and brittle. Then, you can crush them up with dried herbs to use as a potent seasoning blend, or store them to add a sharp burst of flavor to savory dishes later in the year.
Frequently Asked Questions About Candied Orange Slices with Brown Sugar
I’ve been making these citrus treats for years now, and trust me, you guys ask the very same excellent questions every time I post a picture on social media! Dealing with sugar and fruit can sometimes feel tricky, but once you know the answers, making perfect Candied Orange Slices with Brown Sugar is a breeze. Here are the ones I hear most often!
Why are my candied orange slices sticky even after drying?
Nine times out of ten, this comes down to one thing: they weren’t cooked long enough in the syrup, or they weren’t exposed to air long enough afterward. If the slices aren’t fully dehydrated, that sugary syrup is still liquid on the inside or on the surface. Did you shake the excess syrup off before laying them on the parchment? If they are still tacky after 4 hours, just leave them out another two hours. Don’t rush the dry time; it’s the most important step for shelf stability!
Is the flavor profile of these slices really that different from white sugar versions?
Oh, absolutely! It’s a total flavor shift. When you use white sugar, you get a very clean, bright, sharp citrus sweetness, like a lollipop. But with the brown sugar, you get the molasses notes underneath. It mellows out that tartness significantly, giving you a deep, almost toffee-like finish that makes these Candied Orange Slices with Brown Sugar feel much more robust and comforting. They are fantastic for colder months!
How long will these candied slices last if stored correctly?
If you follow my advice and make sure they are bone dry before storing them in an airtight container, they last for ages! Properly dried, they should keep perfectly well at room temperature for about 3 to 4 weeks. Keep them away from heat and humidity—the pantry, not next to the stove! If you stacked them between wax paper sheets, you should be good to go for over a month. For longer storage, some folks freeze them, but I find the texture gets a little softer when thawed.
Can I use grapefruit or lemons instead of oranges for this recipe?
You sure can experiment! This is where you get to play around with other citrus candies. Grapefruit works well, but you might want to dial back the cooking time slightly because grapefruit pith can be thicker. Lemons are intense! If you try lemons, you might want to increase the water slightly or add an extra 15 minutes of blanching to tame that sharp sourness. Just remember that the brown sugar really shines brightest when paired with the sweetness of the orange.
What’s the best way to ensure I don’t crystallize the brown sugar syrup?
Crystallization is the enemy! As I mentioned in the instructions, make sure you are using a heavy-bottomed pan because it distributes heat evenly. Also, don’t stir the mixture once it starts simmering hard! Only gently turn the orange slices to coat them. If you stir the syrup excessively while it’s boiling, you introduce nucleation points, which causes the sugar to form crystals. Keep your simmer gentle, and don’t scrape the sides of the pan while it’s hot, and you should be fine! If you’re interested in more advanced candy-making tips like this, you might enjoy reading my thoughts on macaron structure—heat control is key there, too!
Estimated Nutritional Information
Okay, let’s talk numbers for a second. Since these Candied Orange Slices with Brown Sugar are essentially fruit cooked down in a LOT of brown sugar, they aren’t exactly diet food—but they are a delicious, homemade treat! I always prepare this section with a big asterisk because homemade ingredients, especially fruit size and exactly how much syrup clings to the final product, can change things dramatically.
I whipped up an estimate of what you can expect per serving (assuming the recipe yields about 12-15 decent-sized candied slices, which is what I count as one serving). If you go heavy on the sugar soak, the numbers go up, so treat this as a guideline, not a hard science!
Here is a rough breakdown based on what I usually see from this batch:
- Calories: Approaching 180–220 Calories
- Total Fat: Less than 0.5g (practically none, since we use no added fat!)
- Protein: Around 0.5g
- Total Carbohydrates: 45g – 55g (This is where most of your sugar content lies!)
A quick note on accuracy! I try to keep things as transparent as possible here on the blog. Because we aren’t using commercial ingredients, and the final weight of the candy changes drastically based on how long you dry them, these figures are just estimates. They should give you a good idea, but for certified nutritional counts, you’d need lab testing. I always encourage you to check out my privacy policy page if you’re curious about how I handle data, but for nutrition, just know that these are a sweet indulgence!
Share Your Candied Orange Slices with Brown Sugar Creations
Now that you’ve gone through all the steps—from blanching to waiting impatiently for those two hours of drying time—I would just absolutely love to hear how your batch of Candied Orange Slices with Brown Sugar turned out!
Did that brown sugar give you the deep, caramel note I was raving about? Are they chewy yet firm? Please, please leave your thoughts down below in the comment section. A quick rating helps other bakers decide if they should try this method next! And if you took a gorgeous picture of your shining, amber-coated citrus, snap it and tag me! I always enjoy seeing your beautiful results.
If you have any lingering questions or want to share a twist you tried, like maybe dipping them in white chocolate instead of dark, head over to my contact page and let me know! We’re all learning in the kitchen together.
Happy baking (and candying)!
By Clara Bennett, Lead Plate Designer at Recipes by Betty.
Candied Orange Slices with Brown Sugar
Equipment
- Saucepan
- Parchment paper
Ingredients
- 2 oranges thinly sliced
- 1.5 cups brown sugar
- 1.5 cups water
Instructions
- Blanch the orange slices for 2 minutes, then drain them.
- Combine the brown sugar and water in a saucepan and bring the mixture to a simmer.
- Add the orange slices and cook gently for 45 minutes.
- Turn the slices occasionally to coat them evenly in the syrup.
- Remove the slices and place them on parchment paper.
- Allow the slices to dry completely before you store them.