Childhood Memories and Kitchen Joys with Homemade Fruit Roll Ups
A Taste of Summer All Year Round
I still remember the excitement of opening my lunchbox and finding one of those glossy, fruit-swirled roll-ups tucked inside. They were the highlight of any school day. But as I grew older and began reading labels, I realized how far removed those treats were from real fruit. That’s when I started experimenting in my own kitchen to recreate that same delicious experience—only this time with wholesome ingredients.
Making homemade fruit roll ups brings me back to those carefree days, but now with the satisfaction of knowing exactly what’s going into each bite. Whether I’m using strawberries fresh from the farmer’s market or ripe mangoes in the peak of summer, the joy of transforming fruit into a chewy snack never gets old.
And when my kids tug at my apron, eager to taste their favorite fruit roll flavors as they come out of the oven, I know I’ve done something right. These aren’t just snacks—they’re edible memories.
You can use this recipe as a healthier alternative to store-bought candies, and they’re perfect for lunchboxes or afternoon pick-me-ups. Plus, they’re naturally gluten-free and free of artificial colors or additives.
Why Homemade Wins Every Time
When you make fruit roll ups from scratch, you’re in full control. You can skip the corn syrup and food dyes and instead highlight the true flavor of ripe fruit. With just three ingredients—fruit, a touch of lemon juice, and optional sweetener—you can craft a treat that’s better in every way.
Recipes like my strawberry mousse cake or no bake lemon cheesecake cups reflect the same idea: simplicity, freshness, and flavor that shine through. Just like those, fruit roll ups offer a chance to reconnect with real ingredients and real joy.
Table of Contents
Table of Contents
Ingredients and Technique for Perfect Homemade Fruit Roll Ups
Only Three Ingredients, Truly
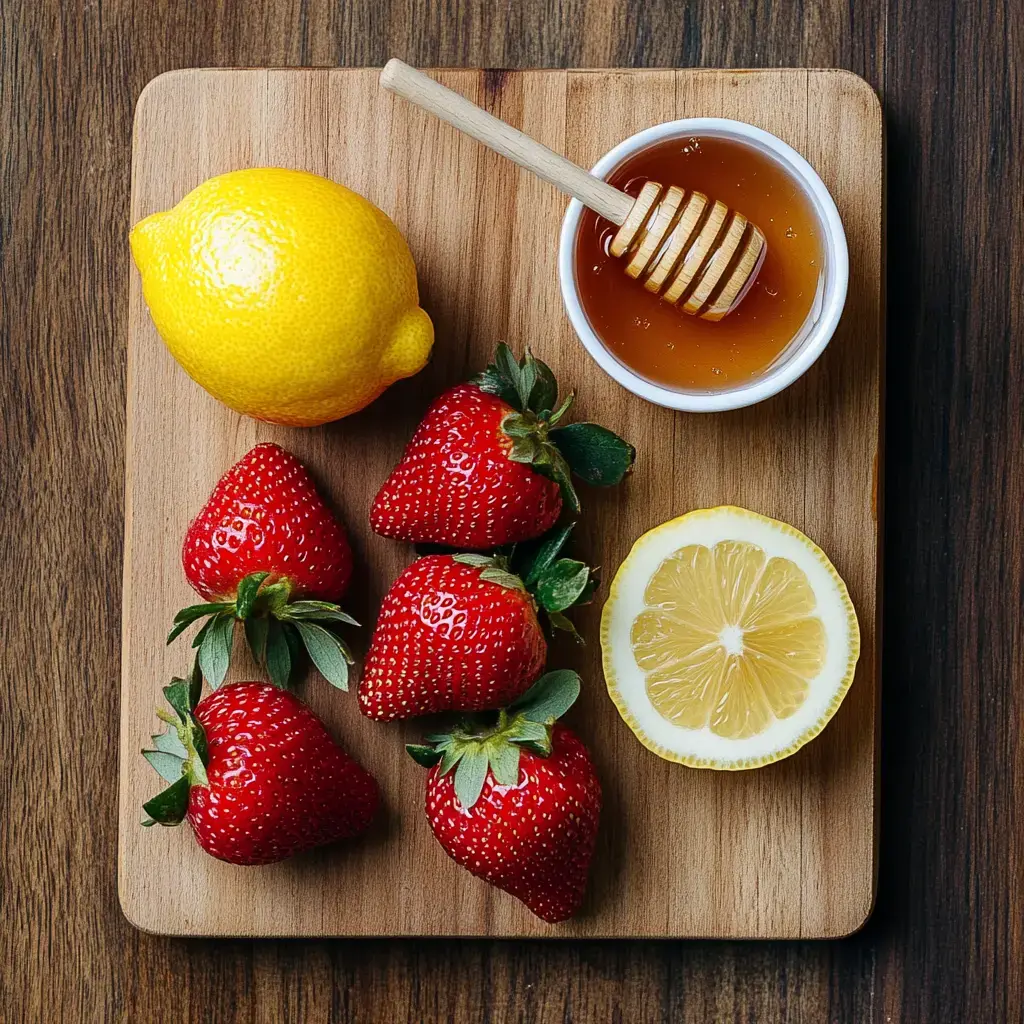
One of the best things about homemade fruit roll ups is how simple and pure the ingredients are. You only need three: fruit, lemon juice, and an optional sweetener. That’s it—no artificial dyes, no preservatives, and no mystery syrups. That’s the beauty of making homemade fruit roll ups in your own kitchen—you know exactly what’s inside every strip.
Here’s a quick breakdown of what you’ll need to make the best homemade fruit roll ups at home:
- Fruit: Use ripe fruit like strawberries, mangoes, or peaches. The riper, the better—they’re naturally sweeter and full of flavor.
- Lemon juice: Just a teaspoon preserves color and adds brightness.
- Sweetener: Optional, but if your fruit is tart, a tablespoon of honey or maple syrup smooths it out.
Unlike processed snacks from the store, homemade fruit roll ups allow you to skip the additives and focus on real ingredients. I use the same approach in my apple cinnamon overnight oats and fresh peach cobbler—because real flavor always comes from real food. Once you try making homemade fruit roll ups, you’ll never look back. first.
Blending, Spreading, and Drying
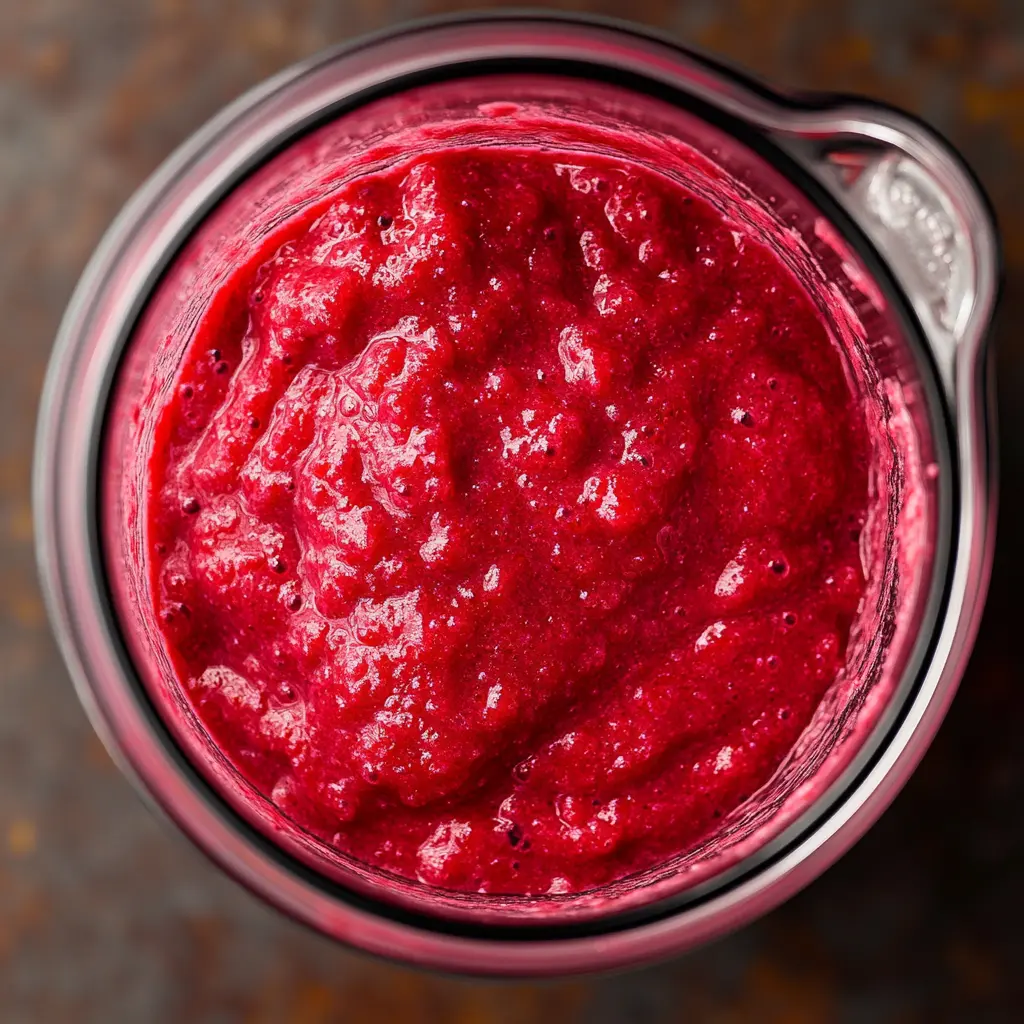
Once your ingredients are prepped, the process is easy. Start by blending the fruit and lemon juice until smooth. Taste it—if you want more sweetness, now’s the time to add it.
Spread the mixture evenly over a parchment-lined baking sheet. Keep it thin and uniform—this ensures even drying. Bake at 170°F (75°C) for 4 to 6 hours, depending on your oven and the fruit’s water content.
You’ll know it’s ready when it feels tacky but no longer wet. Let it cool before slicing into fun strips or rolling in parchment. For ideas on presentation and creative flavors, check out my Pinterest board where I share seasonal fruit roll up combos and kitchen inspo.
Creative Twists and Seasonal Fruit Roll Up Variations
Flavor Pairings That Shine
One of the biggest joys of making homemade fruit roll ups is how customizable they are. Whether you’re using peak-summer produce or frozen fruit in winter, there’s always room to get creative.
Try these seasonal pairings to keep your snacks fresh and fun:
- Summer: Strawberry + basil, mango + coconut
- Fall: Apple + cinnamon, pear + ginger
- Winter: Orange + cranberry, kiwi + lime
- Spring: Pineapple + mint, peach + vanilla
Each combo brings its own personality and color, making your roll ups as beautiful as they are delicious. If you love layering flavor like this, check out my no bake strawberry cheesecake parfaits for another fruit-forward treat you can customize endlessly.
You can also blend multiple fruits together for a marbled effect—just swirl the purees lightly before baking. It’s a great way to use up small leftover amounts of fruit.
Presentation & Fun for Kids
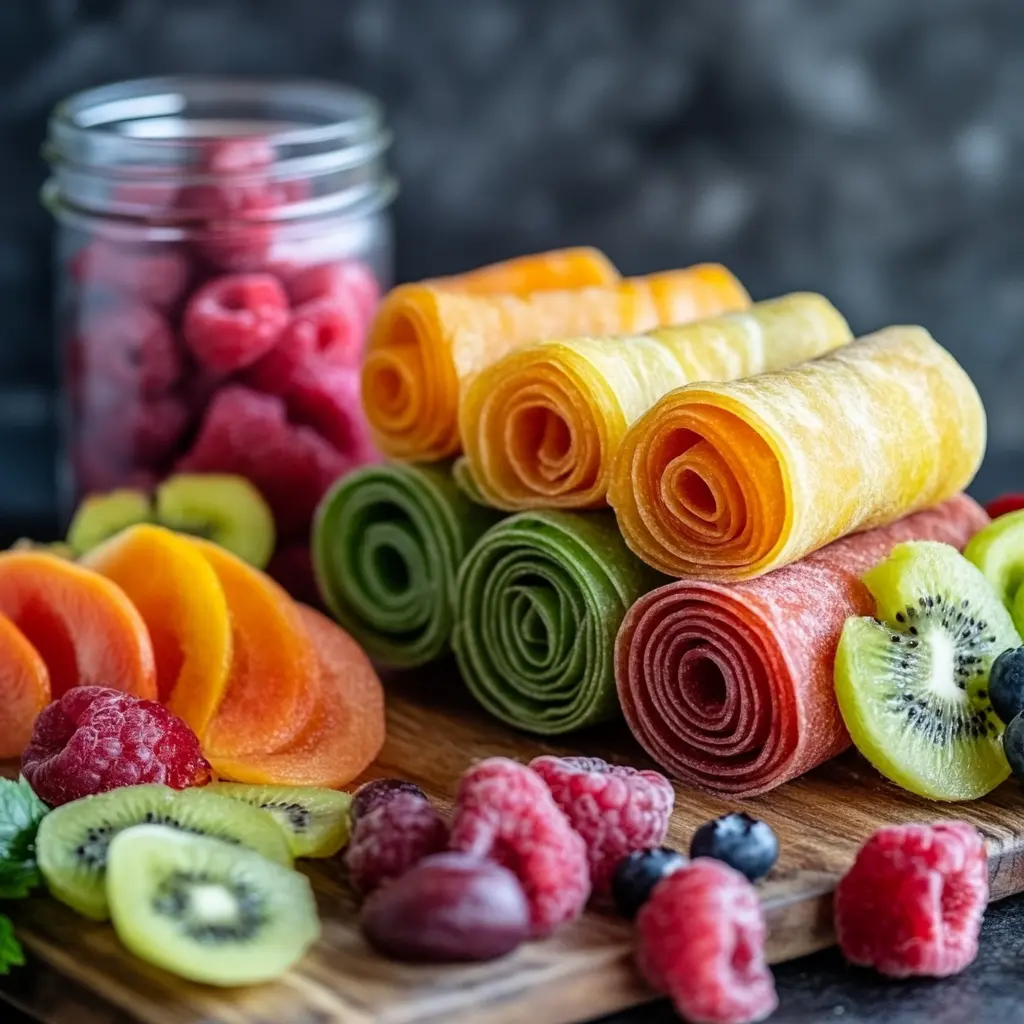
Get creative not only with flavor but also with shape and presentation. Once dried and cooled, you can cut your homemade fruit roll ups into strips, shapes, or even spirals. Kids especially love colorful rainbow strips using layered fruit blends.
For holidays or themed lunches, use cookie cutters to shape them into hearts, stars, or animals. Not only are they a healthy snack, but they’re also a playful, hands-on kitchen activity—just like making my buttery raspberry crumble cookies.
And for visual inspiration, don’t miss the fun ideas I’ve curated on Pinterest. You’ll find roll-up art, flavor boards, and storage tips all in one place.
How to Store Homemade Fruit Roll Ups the Right Way
Keep Them Fresh for Weeks
Once you’ve put in the time to blend, bake, and roll your delicious treats, the last thing you want is for them to dry out or go bad too soon. The good news? Storing homemade fruit roll ups is easy with the right method.
First, make sure the fruit leather is fully cooled before storing. If it’s still warm or sticky, it may trap moisture and spoil more quickly. You can either roll them with strips of parchment paper or cut them into squares for stacking.
For short-term storage, place them in an airtight container or zip bag and keep at room temperature. They’ll stay fresh for up to 2 weeks. For longer storage, refrigerate them—this extends their life to 1 month or more.
And if you plan to store a big batch, you can even freeze them. Just stack them with parchment in between layers and store in a freezer-safe bag for up to 3 months.
I use the same airtight method for treats like my coconut cloud cake to retain moisture and flavor. The same logic applies here—less air = longer shelf life.
Perfect for Lunchboxes and On-the-Go Snacks
One of my favorite things about homemade fruit roll ups is how portable they are. You can roll them in parchment, twist the ends like candy wrappers, or cut and tuck them into snack boxes. They’re ideal for school lunches, hikes, or afternoon pick-me-ups.
They also make wonderful homemade gifts—bundle a few rolls with a ribbon and a handwritten label. I often include them in my kids’ lunchboxes alongside a few whipped pink lemonade cubes as a refreshing drink treat.
No refrigeration needed during the day, and they don’t melt. Just toss them in your bag and go.
Frequently Asked Questions About Homemade Fruit Roll Ups
What are the three ingredients in a fruit roll up?
The three basic ingredients in homemade fruit roll ups are ripe fruit, a splash of lemon juice, and an optional sweetener like honey or maple syrup. That’s all it takes to make a naturally sweet, chewy treat.
What ingredients are in a fruit roll up?
Store-bought versions often include corn syrup, artificial flavors, and food coloring. But in homemade fruit roll ups, you control the ingredients—typically just fresh fruit, lemon juice, and a touch of natural sweetener if needed.
What is the first ingredient in fruit roll ups?
In most homemade fruit roll up recipes, the primary ingredient is fruit—usually strawberries, mangoes, or peaches. Choose the ripest fruit available for the best flavor and texture.
How to store homemade fruit rollup?
Let the roll ups cool completely, then store them in an airtight container at room temperature for up to 2 weeks. For longer storage, refrigerate them for up to a month or freeze them for up to 3 months.
Conclusion
Homemade fruit roll ups are more than just a snack—they’re a return to real ingredients, homemade care, and flavors you can feel good about. With only three simple ingredients, this recipe brings together fun, health, and childhood nostalgia in one chewy strip. Whether you’re experimenting with seasonal fruit blends, packing school lunches, or creating edible gifts, the joy of making your own roll ups is unmatched.
If you enjoyed this recipe, you’ll love my other fruity favorites like strawberry mousse cake or no bake lemon cheesecake cups. Happy rolling!

Homemade Fruit Roll Ups
Equipment
- Oven
- Blender
- Baking Sheet
- Parchment paper
Ingredients
Main Ingredients
- 2 cups ripe fruit e.g. strawberries, mangoes, peaches
- 1 tsp lemon juice
- 1 tbsp honey or maple syrup optional
Instructions
- 1. Preheat oven to 170°F (75°C) and line a baking sheet with parchment paper.
- 2. Blend the fruit and lemon juice until completely smooth.
- 3. Taste and add sweetener if needed. Blend again.
- 4. Pour the mixture onto the lined sheet and spread evenly to 1/8 inch thick.
- 5. Bake for 4–6 hours until set but still pliable.
- 6. Cool completely, peel off parchment, and slice or roll as desired.
- 7. Store in an airtight container at room temp or refrigerate.