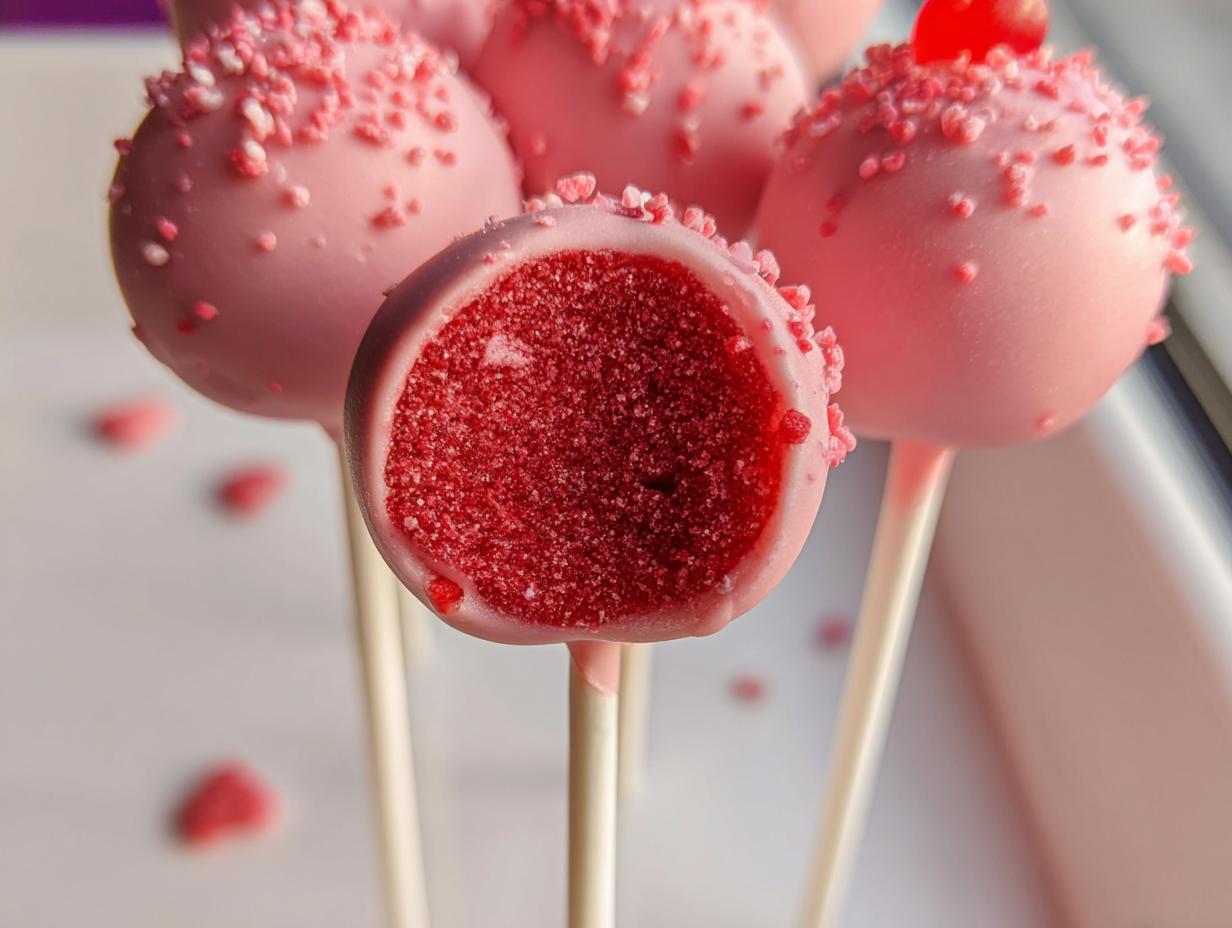
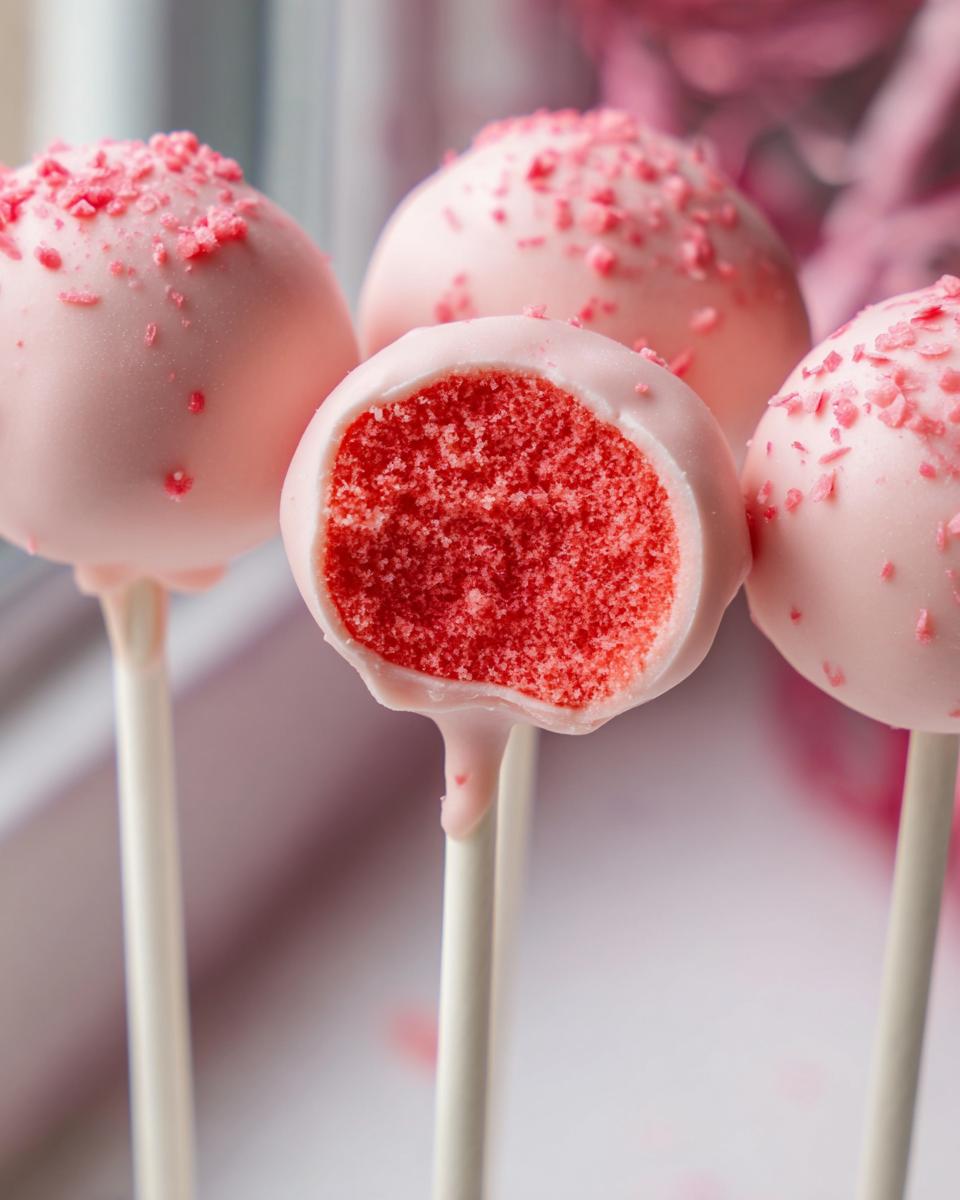
Oh, who doesn’t love a perfectly portioned, bite-sized dessert? They just make everything feel a little more celebratory, don’t they? If you’re looking for something fun, incredibly easy, and guaranteed to wow a crowd, you have hit the jackpot today. We’ve developed the ultimate recipe for **Strawberry Cake Pops**, and trust me when I say these are keepers.
I tested the strawberry version three times because sometimes fruit flavors just vanish during the baking and chilling process. But wow! The color stayed so vibrant, and that sweet strawberry flavor absolutely shines through in every single bite. These are such simple desserts, and they look way fancier than the minimal effort they require. You’re going to adore making these for holidays or just because it’s Tuesday.
We talk all about the magic behind keeping that color strong in the tips section, but for now, just know that these little guys are the easiest treats you’ll make all year. If you need another bright idea, check out my recipe for No-Bake Strawberry Mousse!
Why You Will Love These Strawberry Cake Pops
I’m telling you, these little spheres of joy are everything you need in your baking repertoire. They are seriously some of the best easy treats I’ve ever whipped up!
- They are the definition of Simple Desserts—just cake, frosting, and chocolate!
- The look is so impressive, but they use so few ingredients.
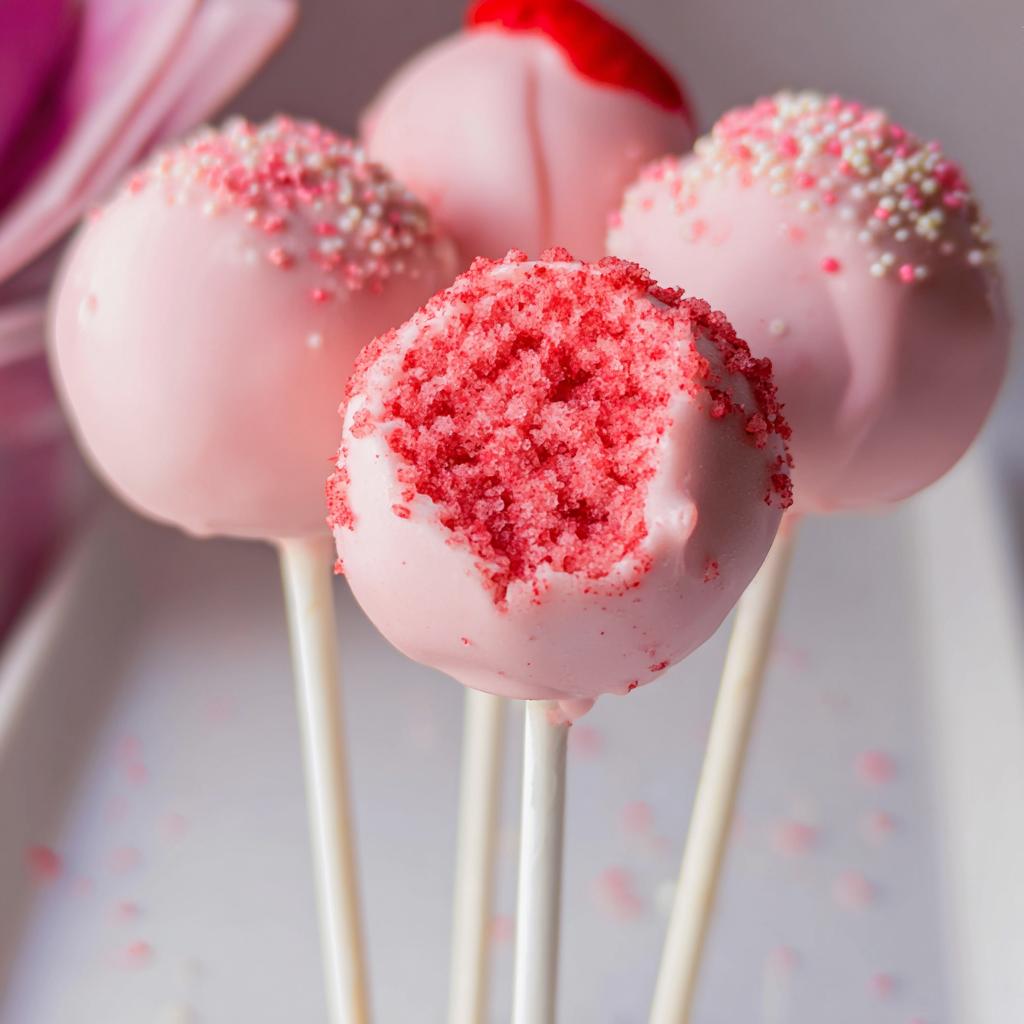
- That bright strawberry flavor really pops!
- Perfect Easy Dessert Ideas for making ahead of time for gatherings.
If you love fuss-free baking, you simply must check out some other great no-bake ideas on the blog!
Essential Ingredients for Perfect Strawberry Cake Pops
When you are aiming for something this simple, the ingredients matter! Thankfully, we only need three main things to make the actual pops, which makes this recipe fantastic when you’re short on time or need Easy Desserts With Few Ingredients. I always keep these staples on hand just for emergency baking sessions.
Make sure you follow my notes on the state of the ingredients! That’s where most people accidentally run into trouble when making these delicious bites.
For the Cake Pop Base
- 1 box of strawberry cake (must be baked and completely cooled)
- 4 oz (120 g) cream cheese frosting (room temperature is best for mixing!)
For the Coating
- 10 oz (300 g) quality pink or white chocolate (make sure it’s good melting chocolate)
Step-by-Step Guide to Making Strawberry Cake Pops
Okay, now for the fun part! Making these **Strawberry Cake Pops** is really just three main stages: mixing, chilling, and dipping. The secret to getting that perfect rolling texture happens right at the start, so pay attention when we mix the base!
Preparing the Strawberry Cake Pops Mixture
First up, you absolutely must have completely cooled cake—if it’s even a little warm, the frosting will just melt everywhere, and you’ll end up with sludge instead of dough. Take that cooled strawberry cake and crumble it right into your mixing bowl. I mean really break it down with your hands until there are no big chunks left. Then, add in that cream cheese frosting. Mix it gently at first. Stop mixing the second it comes together into a uniform ‘dough.’ I need you to remember this: you want it tacky enough to hold its shape, but not so wet that your fingers get totally gloppy. If it feels too dry, add just a tiny bit more frosting, teaspoon by teaspoon. Trust me on this consistency check; it makes the whole dipping process seamless later!
Chilling and Shaping Your Strawberry Cake Pops
Once you have that perfect dough, it’s time to roll! Scoop out little portions—aiming for about 1 to 1.5 tablespoons each—and gently roll them between your palms into uniform balls. This might take a minute to get consistent, but the kids love helping with this part! Place all your perfect little spheres onto a baking sheet covered with parchment paper. Now, this chilling step is non-negotiable! Pop them into the refrigerator for a solid 30 minutes. This firmness is what stops them from falling apart when you try to dip them into that warm, melted chocolate.
Coating Your Delicious Strawberry Cake Pops
When your cake balls are nice and firm, it’s time to melt your chocolate. Once it’s smooth, take a cake pop stick and dip just the very tip into the melted chocolate—only about half an inch. This acts like glue! Gently insert that chocolate-dipped end into one of your chilled balls, going about halfway down. Let that little bit of chocolate set up for just a minute.
Now, hold the stick and dip the entire cake ball into the melted chocolate, turning it to coat completely. Quickly lift it out and gently tap the stick against the side of the bowl to shake off any thick excess chocolate. You want a thin, even shell! Set them stick-up in a foam block or prop them up on parchment paper to let that gorgeous coating harden completely. If you need more help with baking precision, check out my deep dive on expert baking tips!
Tips for Success When Making Strawberry Cake Pops
Even though these **Strawberry Cake Pops** are incredibly easy, there are a couple of little secrets that make the difference between a good pop and a GREAT pop. Seriously, don’t skip these little pointers—they are born from my own messy experiments!
First up: chocolate temperature is everything. Your melted chocolate coating should be smooth and fluid, but not piping hot! If it’s too hot, it will melt your chilled cake ball instantly, and BAM—you’ve got a stick with nothing on it. Use a low setting on your microwave for melting and stir often.
Second, don’t worry if your first few dips look messy. That’s totally normal! You can use a small offset spatula to gently smooth out any big drips right after you pull the pop out of the chocolate. If you’re looking for a fun topping idea instead of plain chocolate, maybe try sprinkling these with a cookie crumble before the coating sets!
Ingredient Notes and Substitutions for Strawberry Cake Pops
One of the best things about making **Strawberry Cake Pops** is how forgiving they are if you don’t have *exactly* the right cake mix on hand. If you happen to look in your cupboard and only see vanilla cake waiting for you—don’t panic! That is totally fine. You can use vanilla cake, but you need to give it a strawberry boost.
Here’s the tip: Mix about one teaspoon of strawberry extract right into your cream cheese frosting before you combine it with the crumbled cake. It fills in beautifully. I wrote a whole post on why ingredients matter so much, like when I compared different kinds of salt, and adjusting extracts is similar—it makes that flavor punch through!
For the coating, if you can’t find pink chocolate, just melt white chocolate—it coats just as nicely. You can even add a tiny drop of red or pink food coloring to the white chocolate if you want that vibrant look without needing specialized candy melts.
Serving and Storing Your Homemade Strawberry Cake Pops
Now that you have these adorable, perfect **Strawberry Cake Pops**, the big question is: how do we keep them fantastic until party time? Since these are wonderful homemade desserts, we want to treat them right!
For short-term storage, like keeping them fresh until the next day, the refrigerator is your best friend. Pop them upright in a tall container or styrofoam block so the coating doesn’t smear. They should be good for up to a week in the fridge, though honestly, they rarely last that long!
When you are ready to serve, let them sit on the counter for about 15 to 20 minutes before guests arrive. This softens the cake just a tiny bit inside, making them even better to eat. If you are prepping for a big event, make sure you check out my ideas for other mini desserts in a cup, too!
Frequently Asked Questions About Strawberry Cake Pops
I get so many wonderful questions after people try these pops for the first time! It’s clear everyone is looking for super fun and **Easy Dessert Ideas** that don’t take all day. Here are a few things I hear all the time when folks are trying to nail down their perfect batch!
Can I make Strawberry Cake Pops without using pre-made cake?
Absolutely, you totally can bake your own cake from scratch! That’s when you get to really customize the flavor, maybe adding extra strawberry puree or even using a box mix if you prefer simplicity over making a full layer cake. The crucial part isn’t *what* cake you use, but that it MUST be completely baked, cooled down to room temperature, and then crumbled finely before you mix it with the frosting. If your cake is warm or even slightly damp, it just won’t hold the ball shape!
What is the best way to transport these treats for a party?
Transporting these treats when you’re preparing Easy Desserts For A Crowd can be nerve-wracking, I know! The absolute best way is to use a sturdy cardboard box lined with a thick piece of styrofoam or an actual cake pop stand. If you don’t have a stand, you can always poke holes into a nice, heavy-duty piece of cardboard that fits inside a container. Poke the sticks through so the balls sit firmly but don’t touch each other. Keep them cool in a cooler bag until you arrive if it’s warm outside. You want to avoid jostling them at all costs!
If you’re hunting down even more amazing, quick recipes for your next event, wander over and check out my main collection of fantastic dessert recipes!
Can I use a different frosting instead of cream cheese frosting?
You can, but cream cheese frosting just works so beautifully here because its slight tang cuts through the sweetness of the cake and the chocolate coating. If you must swap it out, use a simple vanilla buttercream, but you might need to use a little less of it, as buttercream can sometimes make the mixture a bit greasy or soft. Really, the cream cheese frosting is part of what makes the texture perfect!
How long does it take for the coating to fully set?
The coating sets instantly when you dip it into chilled cake balls! However, I usually give them a good 15 to 20 minutes, just standing upright in a stand, before I even attempt to move them or stack them. If you are in a HUGE rush, you can pop the baking sheet into the fridge for 5 minutes, but be careful not to let the chocolate get cloudy by cooling it too fast! Patience here makes a shiny finish!
Estimated Nutritional Data for Strawberry Cake Pops
Now, I know some of you are just here for the sweet science, and some of you just want to know how many calories you’re sneaking in! I’ve done my best to calculate these estimates for one single, delicious cake pop, based on using standard strawberry cake mix, regular cream cheese frosting, and milk chocolate coating.
Please remember, since we are dealing with homemade desserts, these numbers can change a lot depending on how big you roll your balls or how thick you dip! Think of this as a general guide, not gospel truth. We are prioritizing fun over absolute precision here, after all!
For the most accurate information regarding dietary needs, always calculate based on the exact brands you use. You can sometimes find more detailed charts over on my privacy policy page, but here is the general breakdown we estimate for one of these tiny bites:
- Calories: Approximately 180–210 kcal
- Total Fat: Around 9–11g
- Protein: About 2g
- Total Carbohydrates: Roughly 24–28g
Like most baked treats, these are higher in sugar and fat, which is what gives them that incredible, rich flavor. But since they are so small, it’s easy to enjoy one or two guilt-free! Enjoy these **Strawberry Cake Pops**!
Share Your Beautiful Strawberry Cake Pops Creations
Alright, you baked them, you dipped them, and now I need to see them! I truly hope you loved making these vibrant **Strawberry Cake Pops**. If you did, please pop back over and leave me a star rating below—it helps other bakers find the recipe!
And seriously, snap a picture and tag me! I love seeing your beautiful homemade desserts. I always check the submissions over at the contact page.
Happy baking!
By Emily Mitchell, Efficiency & Testing Coordinator at Recipes by Betty.
Strawberry Cake Pops
Equipment
- Mixing Bowl
- Baking sheet or parchment paper
- Cake pop sticks
Ingredients
- 1 strawberry cake baked and cooled
- 120 g cream cheese frosting
- 300 g pink or white chocolate melted
Instructions
- Crumble the cooled cake into a mixing bowl.
- Add the cream cheese frosting to the crumbled cake and mix until the mixture is smooth.
- Roll the mixture into balls and place them in the refrigerator to chill for 30 minutes.
- Dip the cake pop sticks into the melted chocolate and insert them into the chilled cake balls.
- Coat each cake pop fully in the melted chocolate.
- Let the chocolate harden on a stand or on parchment paper before serving.