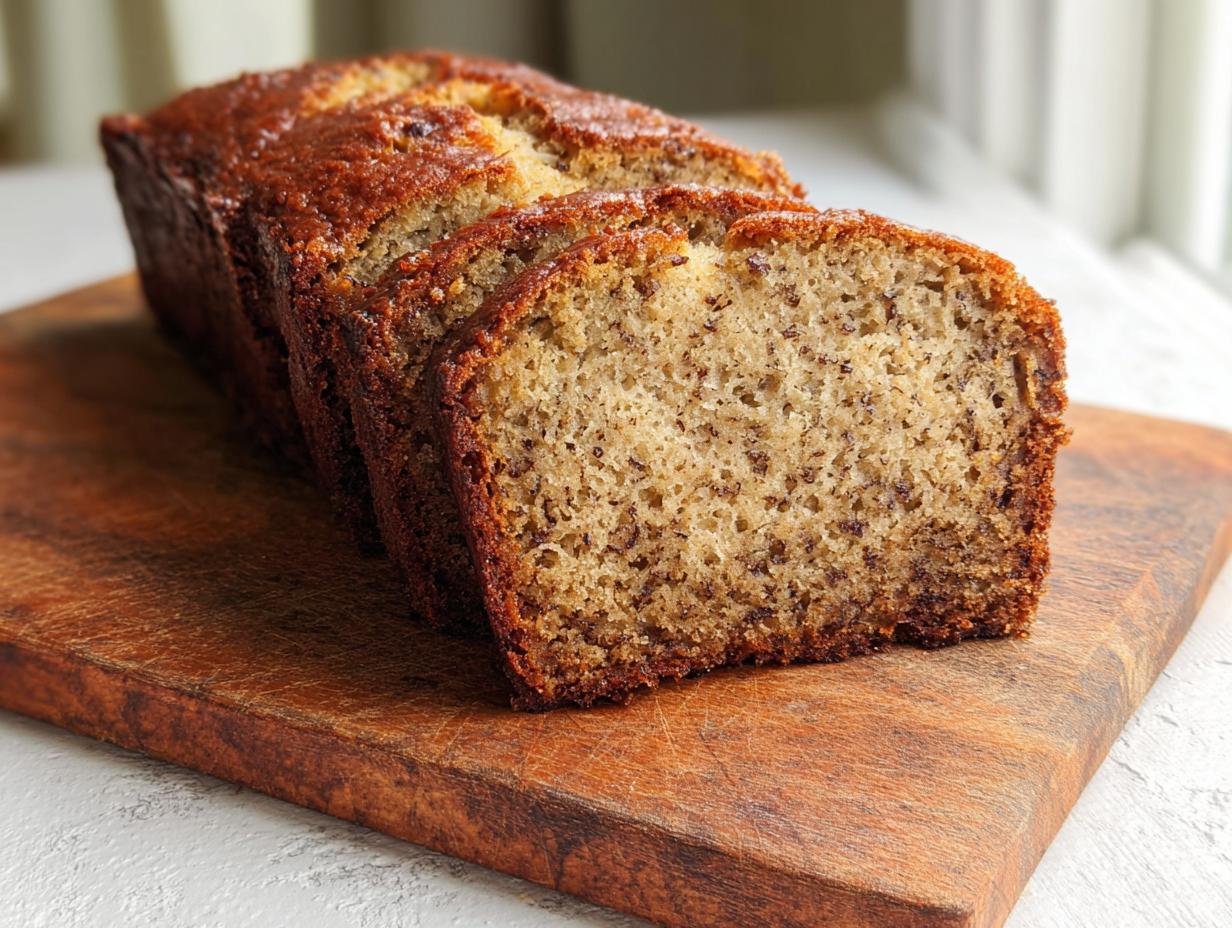
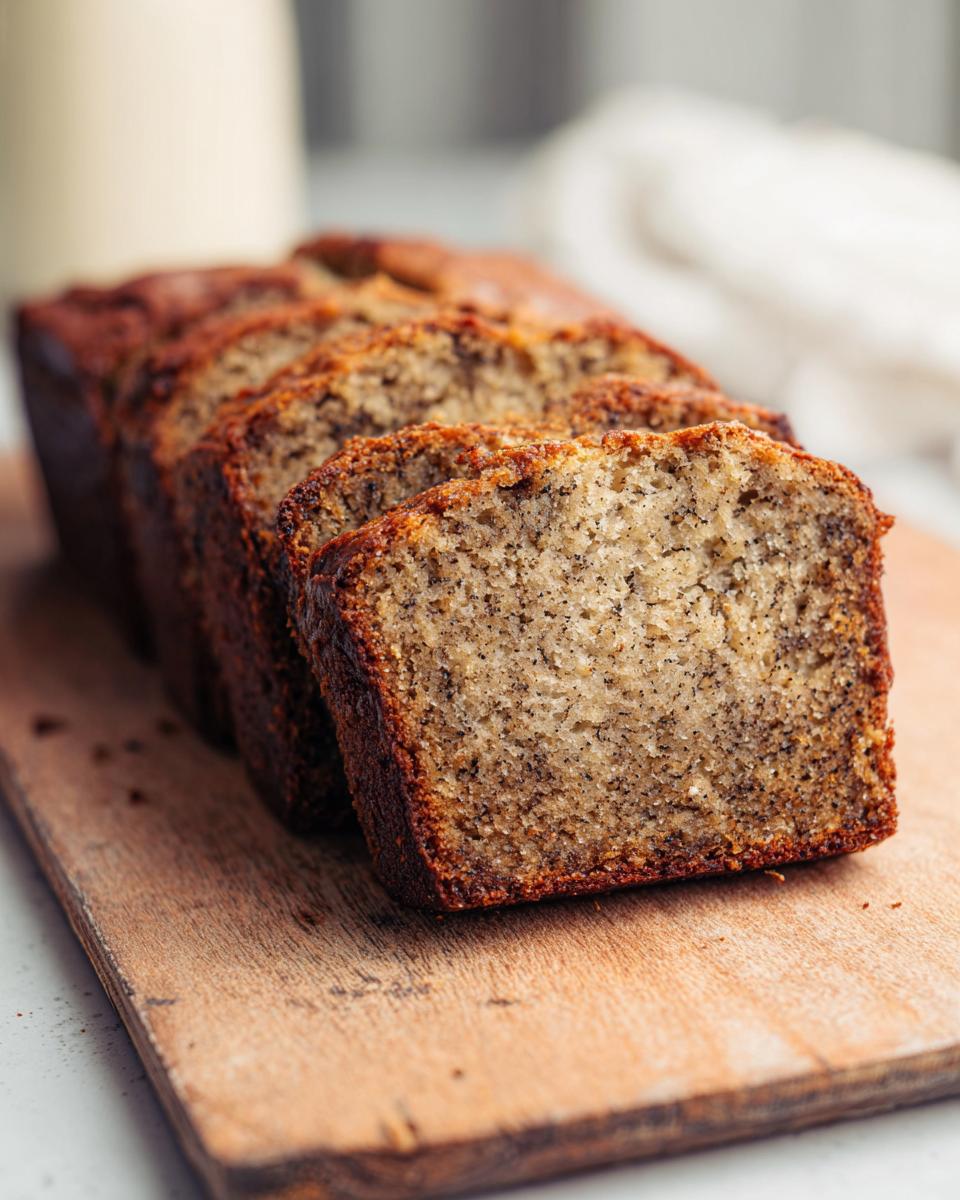
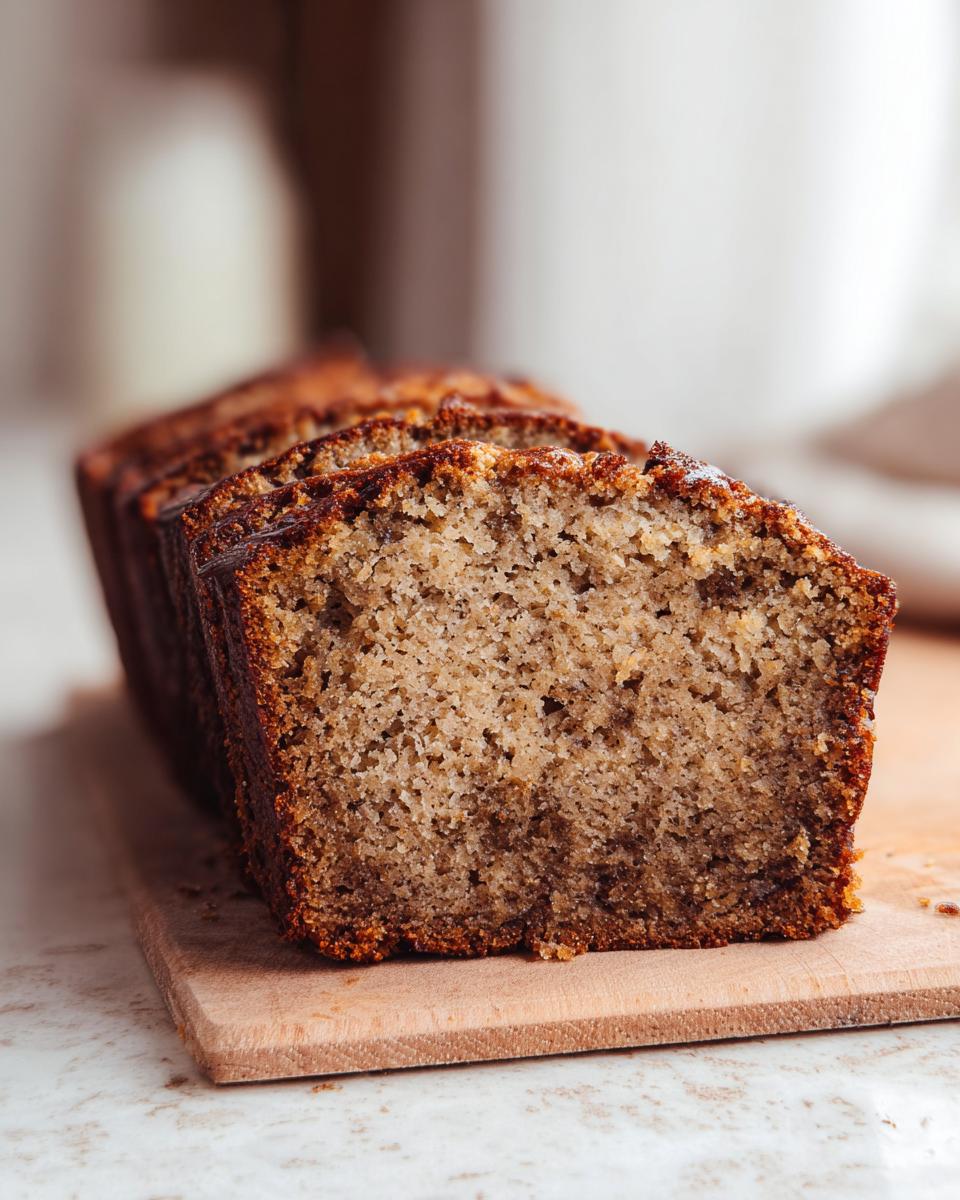
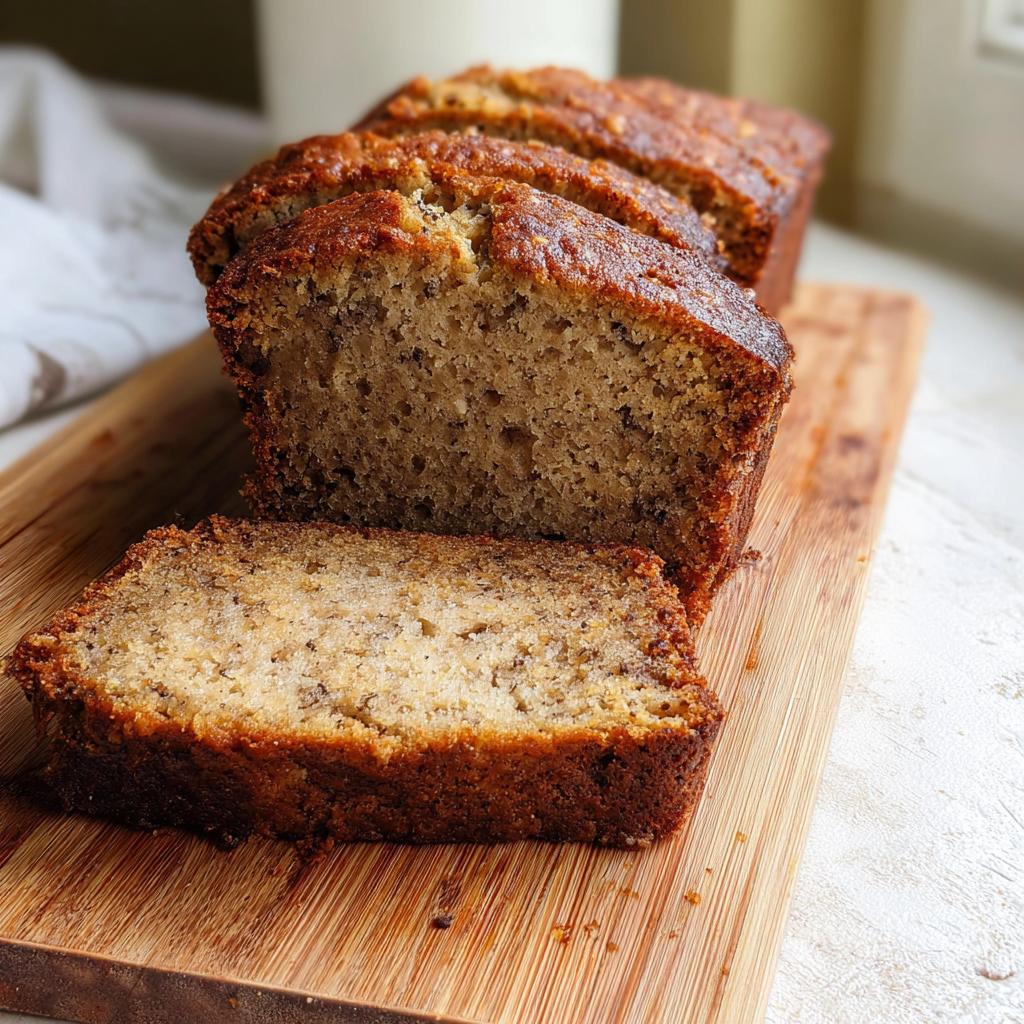
Oh, you need a hug in loaf form? I absolutely have the answer for you! There is nothing—and I mean nothing—that smells better coming out of the oven than homemade banana bread. Forget those dry, crumbly excuses you find sometimes. I promise, this recipe is the key to achieving the ultimate Soft & Moist Banana Bread.
This is the kind of banana bread that feels comforting from the first bite. It’s the one I whip up when I need a guaranteed win for breakfast or an afternoon treat. It’s simple, uses up those bananas that are practically begging you to use them, and produces consistently tender slices every single time.
Why This Soft & Moist Banana Bread Recipe Works (E-E-A-T)
When you need a reliable recipe, you need one with history and science behind it! I know baking can sometimes feel like black magic, but this method is rock solid. It isn’t just about tossing things in a bowl; it’s about the perfect ratio of fat to flour that keeps things tender. This is hands-down the Best Banana Bread Recipe Moist you’ll ever try, and I’m happy to share why it succeeds so well, straight from the desk of Clara Bennett here at Recipes by Betty.
We focus on getting just enough structure without sacrificing the incredible softness. Trust me, the science behind a good banana loaf is all about moisture retention, and this recipe nails it.
Key Elements for Super Moist Banana Bread Recipe Success
- The bananas have to be blackened on the peel. If they aren’t practically falling apart, they haven’t released enough sugar and moisture yet!
- We use melted butter, not softened. This coats the flour differently and results in less gluten development, which equals a softer crumb overall.
- We don’t introduce any strange powders or conditioners—just pure, simple chemistry that leads to a genuinely Super Moist Banana Bread Recipe every time. You can check out some deeper moisture science in my other bread tips, but here, it’s all about the banana factor!
Gathering Ingredients for Your Soft & Moist Banana Bread
Okay, let’s talk about what goes into this magical loaf! Getting the right stuff ready is half the battle, and honestly, half the fun. You mostly need stuff you likely already have rattling around your pantry. But listen closely about the bananas…
The ripeness of those bananas dictates whether you end up with a good loaf or the Best Ever Banana Bread. The uglier they look, the better they’ll taste in the final product! We need those spots because that’s where the real sweetness and moisture are, which is key for anyone interested in preventing dry bread. Always aim for super ripe ones if you’re exploring Ripe Banana Recipes!
Here is exactly what you need to grab before we mix.
- 3 ripe bananas, mashed completely
- 3/4 cup sugar (regular white is great here!)
- 1/2 cup melted butter
- 1 egg
- 2 cups all-purpose flour
- 1 tsp baking soda
- 1/4 tsp salt
Ingredient Notes and Substitutions for Banana Loaf
Since we are using melted butter, there’s no fussing with softening it first—just melt it down on the stovetop or in the microwave. Easy peasy!
I mentioned white sugar works perfect for getting that beautiful dome, but if you want a richer, deeper flavor in your Banana Loaf, feel free to swap out half of that white sugar for dark brown sugar. You’ll get a lovely molasses note that pairs beautifully with a dash of Cinnamon Banana Bread spices, though I like mine plain!
The proportions here are tried and true, so I wouldn’t mess much with the flour or leavening unless you are planning a Healthy Banana Bread Recipe substitution.
Step-by-Step Instructions for Perfect Soft & Moist Banana Bread
Alright, let’s get this beautiful Banana Loaf into the oven! Baking this is really quick upfront because most of the time is just waiting for that golden brown top to appear. When you’re following these simple steps, remember that we are aiming for the softest crumb possible here, which means we need to treat those ingredients gently. I learned the hard way that rushing the mixing ruins the texture, so pay attention!
Preheating and Mixing the Wet Ingredients
First things first: make sure your oven is set to 350°F (175°C). Get that thing nice and hot so your loaf sets up quickly. Now for the fun part! Grab a big bowl and mash those three bananas until they are just about liquid—no big chunks allowed if you want it truly smooth.
In that same bowl, dump in your sugar, your melted butter (make sure it’s not scorching hot, just melted!), and that one egg. Whisk this together until it looks uniform. That’s it for the wet stuff! Don’t overmix; we just want everything combined until just smooth, maybe a minute or so. Keep checking my other guide if you need a refresher on what ‘just smooth’ looks like!
Combining Wet and Dry Components for Soft & Moist Banana Bread
In a separate bowl—and this is important for even tasting—whisk your flour, baking soda, and salt together. This ensures the leavening agent is spread out evenly so you don’t get any weird salty or flat spots. Now, pour your wet banana mix into your dry ingredients. My biggest tip in baking is here: STOP MIXING when you see a few streaks of flour left!
Gently fold everything together using a spatula. If you mix too hard, you develop gluten, and that turns your lovely, soft loaf into something chewy, which isn’t what we want for the Soft & Moist Banana Bread experience. Just fold until barely combined. My friends over at Allrecipes agree that folding is key for texture!
Baking and Cooling the Banana Loaf
Grease up your loaf pan really well, pour that lumpy, perfect batter in, and slide it into the hot oven. Set a timer for 55 minutes, but keep an eye on it. You’ll know it’s done when a wooden tester or thin knife inserted right in the center comes out clean, or maybe with just a few moist crumbs clinging to it, which is even better!
Resist the urge to slice it immediately! Let that beautiful Banana Loaf cool in the pan for about ten minutes before turning it out onto a wire rack to cool completely. If you try to cut it hot, it will fall apart on you, and nobody wants crumbly tragedy!
Achieving the Best Banana Bread Aesthetic
It tastes amazing, but let’s be real—we eat with our eyes first, right? If you want that picture-perfect slice of Banana Bread Aesthetic, presentation matters just as much as the mixing technique. Don’t worry, it’s super easy stuff, mainly controlling where the heat hits that top surface!
To get that gorgeous, slightly cracked dome that looks so inviting, try this little trick: just as you slide the pan into the oven, I sprinkle the top of the batter lightly with granulated sugar. Seriously, just a thin dusting. As it bakes, that sugar caramelizes just enough to give you a slightly crisp, shiny top crust. It feels fancy, but it takes zero extra effort!
If your loaf seems to be browning too fast on the top before the middle cooks (we hate dry edges!), just loosely tent a piece of foil over it for the last 15 minutes of baking. That way, you keep the moisture locked in while letting the center finish baking beautifully!
Tips for Making Brown Butter Banana Bread Variations
If you want to take this incredible, soft loaf and kick the flavor up just one tiny notch, you absolutely have to try browning the butter first. It’s my favorite little secret because it adds this incredible toffee, nutty depth that just screams cozy kitchen, and it really elevates the whole experience!
It sounds fancy, right? Browning butter is actually super simple, but you do have to watch it like a hawk so you don’t burn it into charcoal! You just take that 1/2 cup of butter that the recipe calls for and melt it over medium heat in a light-colored saucepan. You’ll see it bubble, then the foam will subside, and you’ll smell this amazing nutty aroma—that’s the milk solids toasting!
When you see little golden-brown specks forming at the bottom and you smell that warmth, immediately pull it off the heat and pour it into a heat-safe bowl to stop the cooking process. Let it cool down slightly, and then use it exactly where the recipe calls for the melted butter!
Using that nutty, toasted goodness gives you the Brown Butter Banana Bread flavor profile that leaves everyone asking for the recipe. It works so well because the toasted notes enhance the sweetness of the bananas perfectly. For more tips on making your fats work harder for you in baking, check out my notes on scone secrets—the concept of toasting fats is similar!
If you want to see a great visual on how to manage that process, Food Network has a helpful guide, but honestly, just keep your eyes on the pan!
Serving Suggestions for Your Soft & Moist Banana Bread
So you’ve baked your beautiful loaf, and it smells incredible, but how should you enjoy this perfect Breakfast Bread? Honestly, slicing it warm (but not piping hot!) and eating it over the sink is acceptable, but I have a few tried-and-true ways that elevate the experience.
This bread is so inherently moist that it doesn’t actually need much dressing up. In fact, the fewer additions, the more you get to enjoy that pure, soft banana flavor we worked so hard for!
Here are some ways I love to serve it up:
- Classic Butter Melt: Just a thin swipe of really good, salty, cold butter. When the bread is still slightly warm, that butter just melts right into those tiny air pockets. So simple, so good.
- Cream Cheese Zing: If you like a little tang, a thin layer of whipped cream cheese is divine. It adds richness without overwhelming the banana flavor.
- For the Coffee Lover: Serve a thicker slice alongside a strong cup of black coffee or maybe a latte. This bread is perfect for dunking! It holds up beautifully, just like a good pound cake would.
- A Little Extra Crunch: Sometimes I like to lightly toast a slice for about 30 seconds under the broiler. It changes the surface texture just enough to make it feel brand new! Check out my ideas for other special breakfast ideas when you start craving variety!
No matter how you dress it up, this Breakfast Bread is wonderful on its own. Enjoy every soft, comforting bite!
Storage and Reheating Soft & Moist Banana Bread
One of the best things about a truly great banana bread, like this Soft & Moist Banana Bread, is that it usually tastes even better the next day. But we definitely don’t want it drying out! Keeping that moisture locked in is crucial so that every slice stays tender and delicious.
The key here is airtight wrapping. You absolutely cannot just leave the cut end exposed on the counter. Moisture escapes far too quickly! I find that if you let the bread cool completely—and I mean *completely*, like room temperature—you can wrap it snugly in plastic wrap first.
After the plastic wrap, I often place the whole wrapped loaf into a large zip-top bag or an airtight container. Stored this way on the counter, it stays perfectly fresh and soft for about three days. Seriously, anything longer and I start seeing texture changes, so I move it to the freezer!
For longer storage, definitely check out my tips on preventing dry bread, because the principles are the same for any quick bread. Freezing works wonders!
If you do end up freezing it (or if it’s a few days old and needs a refresh), reheating is simple. For a single slice, a quick 10-second zap in the microwave does the trick to bring back that soft texture. If you want a little crust back, wrap the slice in foil and heat it in a toaster oven or a regular oven at 325°F (160°C) for about 5 to 8 minutes. It tastes almost homemade all over again! Betty Crocker has a few methods for warming, but I prefer the low-and-slow oven foil wrap if it’s a bit older.
This method ensures that your leftovers are just as delightful as the first slice!
Frequently Asked Questions About This Soft & Moist Banana Bread Recipe
I know you have questions! When you find a recipe that promises the Best Ever Banana Bread, you want to make sure you don’t mess it up. These are the common things I hear from folks trying this recipe for the first time. Honestly, 99% of the time, the texture issues come down to banana ripeness!
Can I make this a Healthy Banana Bread Recipe?
You totally can try! If you’re looking to make this a Healthy Banana Bread Recipe, the easiest swap is swapping out half the white sugar for coconut sugar or maple syrup. Just know that swapping the flour for whole wheat flour will make it a bit denser—you’ll sacrifice a tiny bit of that wonderful fluffiness we worked so hard for, but the flavor will still be great!
What is the best way to freeze Soft & Moist Banana Bread?
Freezing is great for keeping this loaf around for weeks! Once the bread is completely cool, I slice it first. Then, I wrap each individual slice tightly, first in plastic wrap, and then put those wrapped slices into a heavy-duty freezer bag. To thaw, just pull out what you need and let it sit on the counter for maybe an hour—it comes back to life perfectly! You can learn more about bread cooling and storage in my guide to keeping bread moist.
Final Thoughts on the Best Ever Banana Bread
That’s it! You now hold the secrets to making the Best Ever Banana Bread that stays soft and fragrant for days. This recipe is pure comfort, guaranteed to deliver that deep, cozy banana flavor every single time you reach for your mixer. Give it a try this week and tell me how much your family loved it! You can read a little more about our philosophy over at our philosophy page!
Happy baking, friends! This recipe comes to you from me, Clara Bennett, Lead Plate Designer here at Recipes by Betty—I hope it makes your kitchen smell just as wonderful as mine!
Soft & Moist Banana Bread
Equipment
- Loaf pan
Ingredients
- 3 ripe bananas mashed
- 3/4 cup sugar
- 1/2 cup melted butter
- 1 egg
- 2 cups all-purpose flour
- 1 tsp baking soda
- 1/4 tsp salt
Instructions
- Preheat your oven to 350°F (175°C).
- Mix the mashed bananas, sugar, melted butter, and egg together.
- Whisk the flour, baking soda, and salt in a separate bowl.
- Combine the wet and dry ingredients gently.
- Pour the batter into a greased loaf pan.
- Bake for 55 to 60 minutes, or until a tester comes out clean.
- Let the bread cool completely before you slice it.