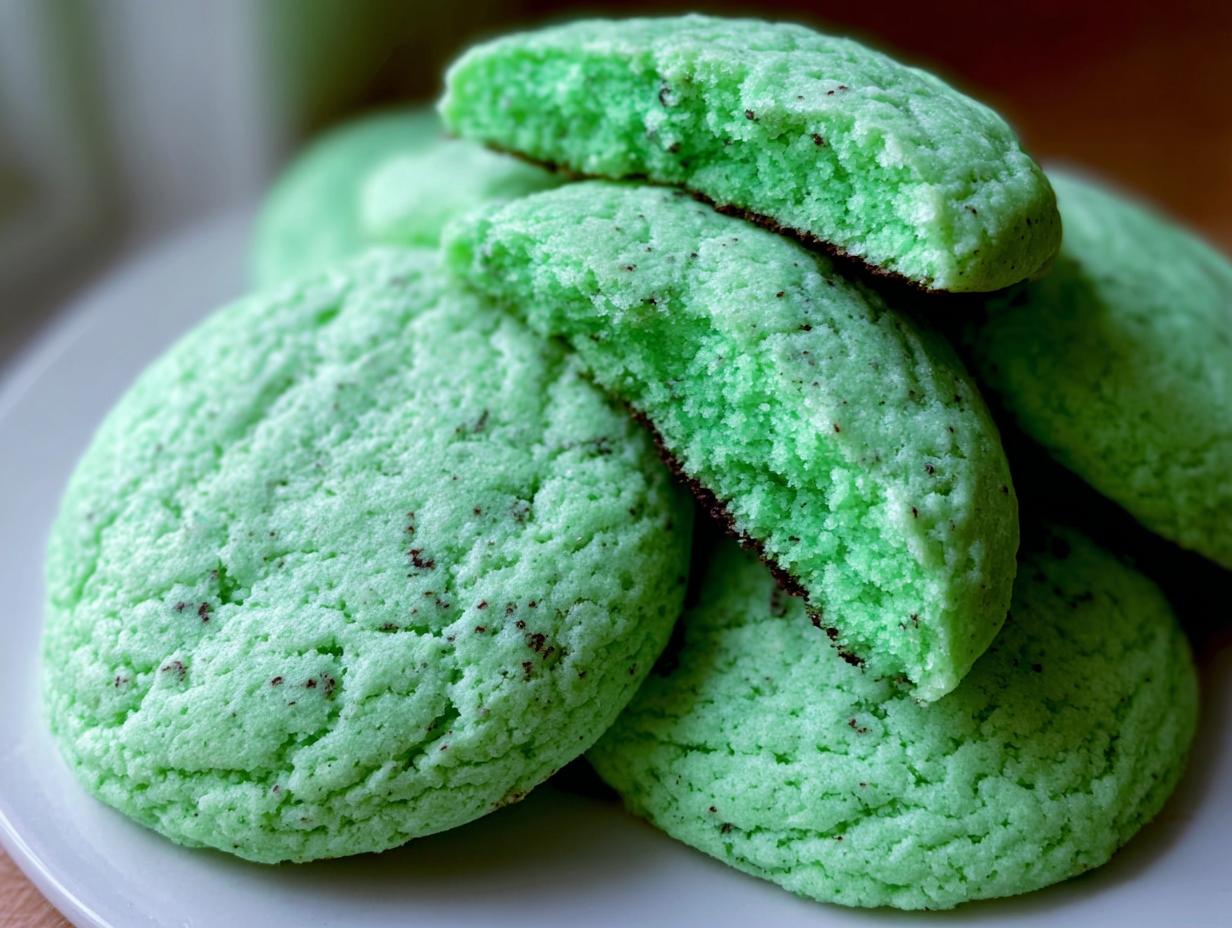
If you know me, you know I live for that perfect, melt-in-your-mouth texture in a cookie. Forget crispy edges; we want tender centers that feel like they were baked in a fancy bakery, right? Well, trust me on this one—these **Soft Green Velvet Cookies** deliver that exact bakery-style squishiness, and they couldn’t be simpler to whip up, even if you’re just throwing together last-minute **St Patrick’s Day Food Ideas**. I always test them by gently pressing the top right out of the oven; if they spring back slowly, they’re perfect. That tender crumb is everything!
Why You Will Love These Soft Green Velvet Cookies
Honestly, I think these are going to become your new go-to cookie, especially when you need fun **St Patty Day Food**. They are the absolute definition of irresistible comfort baking. Here’s why I keep making them again and again:
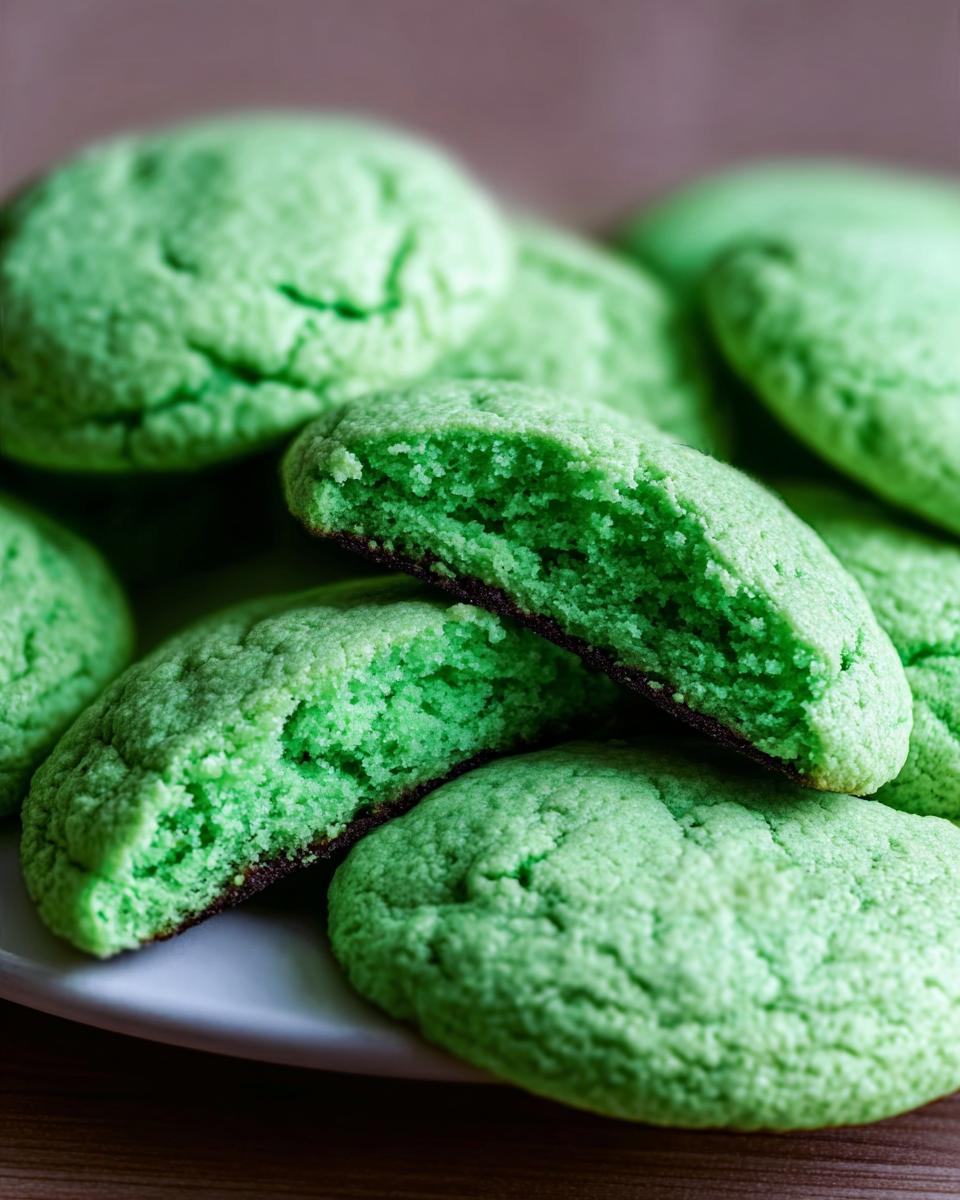
- They have an absolutely unbeatable, tender, bakery-style texture that makes you close your eyes when you bite in.
- These are honestly super fast to make; you can have dough ready for the oven in under 20 minutes.
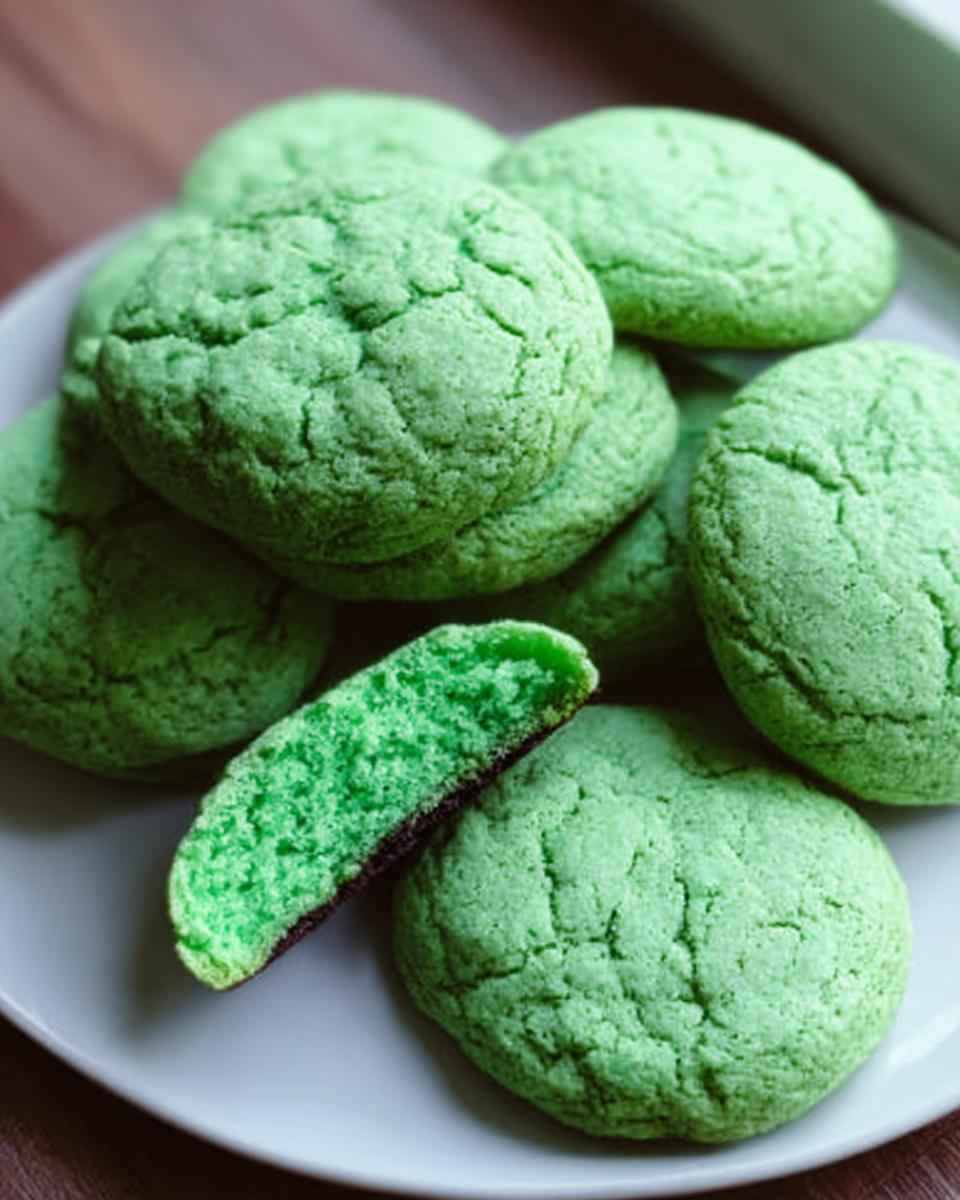
- They are perfect for festive occasions—just the right amount of springtime color to look great at any **St Patty Day Food** spread.
- No complicated chill time! This recipe comes together quickly, so it’s great for spontaneous baking sessions. You should check out my recipe for green velvet white chocolate chip cookies too!
- The subtle cocoa adds a lovely depth of flavor that keeps them interesting, reminding people of classic red velvet, but in green!
- Because they are so soft, they are definitely going to be a hit with all the littlest members of the party crowd.
- If you’ve been looking for easy **Green Foods For Party** that aren’t just store-bought mints, this is your winner!
Essential Equipment for Soft Green Velvet Cookies
You don’t need a million fancy gadgets for these cookies, which is part of the fun! I find that having the right basic tools makes the process so much smoother, especially when you are mixing things by hand.
For these beauties, you’ll want to make sure you have these items ready to go before you even pull out the butter:
- Your trusty **oven**—preheated to 350°F, naturally!
- A clean flat **baking sheet**. I usually line mine with parchment, but that’s just my preference to avoid scrubbing.
- A couple of sturdy **mixing bowls**. You usually need one for creaming and one for the dry stuff.
- A good set of **measuring cups and spoons**. Accuracy matters so much in baking, even quick cookies like these.
That’s really it! Simple tools for a simple, soft cookie.
Ingredients for Perfectly Soft Green Velvet Cookies
To keep these **Soft Green Velvet Cookies** soft and tasting amazing, the ingredients have to be right! I always use room temperature butter—it creams up so much better and locks in that tender texture we are looking for. Don’t skip the cocoa powder; it’s the secret velvety background flavor! I found some great tips about salt varieties over at Kosher Salt vs. Sea Salt if you’re wondering what to grab from your cupboard. For more cookie inspiration, check out these Land O’Lakes cookie recipes!
Here’s what you need for about 12 cookies:
- 2 cups flour
- 1/2 cup butter, softened
- 3/4 cup sugar
- 1 egg
- 1 tbsp cocoa powder
- As needed Green food coloring (I prefer gel if you have it!)
- 1/2 tsp baking soda
Step-by-Step Instructions for Soft Green Velvet Cookies
Don’t let the word “velvet” scare you; these are truly simple to make! We’re going to use basic creaming techniques to make sure these cookies stay beautifully soft rather than puffing up too much. If you want to learn more about getting that perfect soft texture in doughs, I always point people toward my guide on secrets to perfect scones—the principles of gentle mixing are very similar here. And of course, when in doubt about basic baking, Pillsbury is always a good friend; take a peek at their cookie recipes for reinforcement!
Preparing the Dough for Soft Green Velvet Cookies
First things first, get that oven heating up to 350°F (175°C) so it’s ready when you are. Then, grab your butter and sugar and cream them together until they look light and fluffy. We need that air incorporated! Next, whisk in the egg, that tablespoon of cocoa powder, and then add your green food coloring until you get a lovely springtime hue. Finally, gently mix in the flour and baking soda until everything just comes together. Stop mixing as soon as the streaks disappear!
Baking and Cooling Your Soft Green Velvet Cookies
Scoop your dough balls right onto your prepared baking sheet. This is where the magic happens! Bake them for only 11 to 13 minutes. Remember, for that soft center, we want to pull them when they look *just* set. They should still look a tiny bit underdone in the middle when they come out. Let them sit right there on the hot sheet for a few minutes before moving them—they firm up while cooling and that’s how you guarantee softness.
Tips for Making the Best Soft Green Velvet Cookies
Achieving that perfect soft cookie means you have to treat the dough gently. Honestly, even though these are simple, a few tiny tweaks can take them from ‘good’ to ‘I can’t stop eating these’! Since these aren’t a big, fancy cake, small changes in technique really stand out in the final bite.
Here are my little secrets for guaranteeing they come out tender every single time:
- Don’t Overmix the Flour: This is my biggest rule! Once you add the flour and baking soda, you only want to mix until you no longer see dry streaks. Overmixing develops the gluten, and gluten means chewiness or toughness, which is the opposite of what we want for a velvet cookie. Stop mixing when you think you should stop, and then stop again!
- Use Gel Coloring Over Liquid: I know I mentioned food coloring in the recipe, but I want to emphasize using gel coloring if you can find it. Liquid coloring adds extra moisture into the recipe, and too much liquid throws off the delicate balance needed for this soft texture. Gel gives you vibrant color without changing the dough structure.
- Room Temperature Butter is Non-Negotiable: Seriously, don’t rush this step! If your butter is too cold, it won’t cream properly with the sugar, and you won’t get those crucial tiny air pockets. If the butter is melted or greasy, those air pockets collapse during baking, and you get a flat, dense cookie instead of a soft one. Letting it sit out for about an hour does the trick.
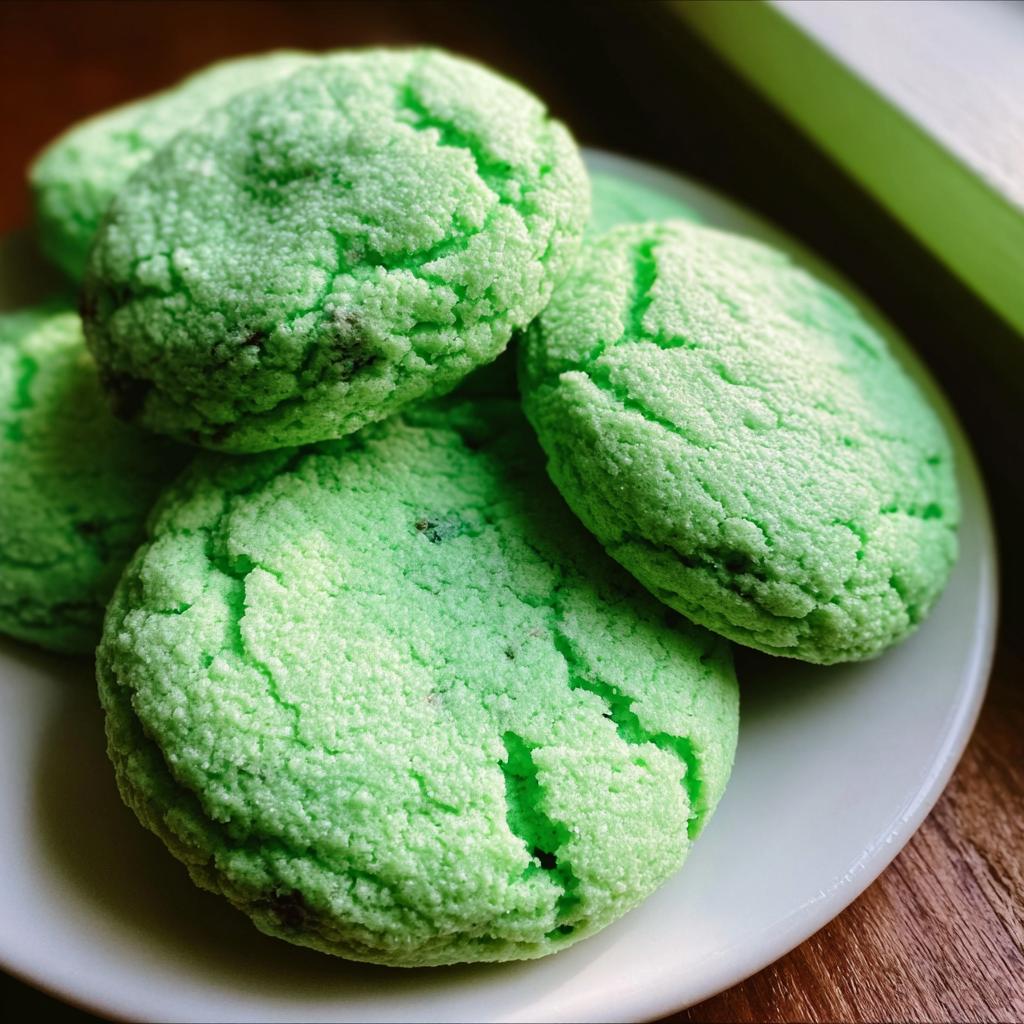
Follow those three things, and I promise you’ll have the softest green treats ready for your **St Patrick’s Day Party** lineup!
Serving Suggestions for Your Soft Green Velvet Cookies
These colorful delights are just begging to be shown off at your next get-together! For any amazing **St Patrick’s Day Party Food**, presentation really matters. These cookies are delicious just as they are, dusted with a tiny bit of powdered sugar, but since they are so soft, they hold up well to a little something extra.
I adore pairing them simply with a cold glass of milk, making them fantastic **St Patrick’s Day Snacks For Kids**. If you want to get fancy, you could whip up a super simple glaze—maybe even checking out my recipe for sprinkle sugar cookie frosting and just leaving out the sprinkles! They also look wonderful stacked high on a tiered platter next to some other fun **Green Snacks**!
Storage and Reheating Soft Green Velvet Cookies
Since the whole point of this recipe is how incredibly soft these cookies are, we absolutely *must* talk about keeping them fresh! You want them to taste just as good on day three as they did when they first came out of the oven, right? The good news is, they are simple to store properly.
For keeping them soft for up to four or five days, the container choice is everything. Forget leaving them out on the counter uncovered—that’s a quick way to dry them out! You really need an airtight container. I usually line the bottom with a paper towel just to absorb any lingering moisture that might make them stick together, though if they are completely cool, it’s usually fine without it.
If you’re baking for a big bash and need to make them way ahead of time, freezing them is your best friend! Scoop the cookie dough balls out and place them on a sheet pan lined with parchment paper. Pop that pan into the freezer until the dough balls are rock solid. Then, transfer them into a heavy-duty freezer bag. You can keep them frozen for up to three months this way.
When you need a fresh batch, just pull the frozen dough right off the sheet and bake them straight from frozen! You might need to add an extra minute or two to the baking time, depending on your oven, but they come out just as tender and delicious. When reheating already baked cookies, a quick 10-second blast in the microwave is perfect for bringing back that initial softness.
Frequently Asked Questions About Soft Green Velvet Cookies
I always get questions when I post these lovely green treats! People want the soft texture locked down, and they want to make sure I have good **St Patrick’s Day Food Ideas** for parties next year. Don’t worry, I’ve got the answers here to make sure your baking goes perfectly, whether you’re looking for **St Patrick’s Day For Kids Treats** or something elegant for the grown-ups.
If you’re planning a big gathering, you might want to check out my collection of holiday party recipes for more inspiration!
How do I make these cookies extra soft?
It’s all about timing and temperature! Make sure your butter is properly softened—not melted—when you cream it. That aeration is key. But the biggest thing is watching the clock while they bake. Pull them out when the edges look set but the center still looks a little pale and puffy. They continue to bake on the hot sheet, and that residual heat sets them perfectly soft, instead of dry. Trust me, under-baking by one minute is better than over-baking!
Can I make these cookies ahead of time for a St Patrick’s Day Party?
Absolutely! I often bake these a day ahead. Once they are completely cooled down, store them in a single layer or with wax paper between layers inside a truly airtight container. If you stack them right away while they are warm, they might smoosh, and we don’t want that! They stay wonderfully soft for three to four days this way, making them wonderful **Green Snacks** for advance prep.
What is the best way to color the dough green for St Patty Day Food?
Honestly, if you want the best results for these **Soft Green Velvet Cookies**, skip the liquid food coloring you usually find in the grocery aisle. Liquid coloring adds unnecessary excess liquid to a recipe that relies on precise ratios for that soft texture. Instead, get yourself some concentrated gel food coloring. A tiny toothpick dip gives you vibrant color without altering the dough consistency at all. That way, you get stunning **Green Foods For Party** without sacrificing the softness!
Nutritional Estimate for Soft Green Velvet Cookies
Now, I know some of you are watching your macros, or maybe you’re just curious how much of a treat these truly are! Since my kitchen is all about flavor and that perfect soft texture, I don’t sweat the exact numbers too much when I’m baking for fun—especially when they are part of the holiday fun! I always use different brands of butter or flour depending on the day, so the final nutrient count can shift around a bit.
Because of that variation, I can’t give you exact figures that are 100% accurate for your batch of these lovely green treats. I always recommend using your favorite online calculator system if you need precise counts for things like Calories, Fat, Protein, or Carbohydrates per cookie. If you want to read more about how I approach recipe sourcing and disclaimers in general, make sure you check out my disclaimer page here.
Just remember, these are meant to be enjoyed as a special **St Patrick’s Day Food** indulgence! Treat yourself, because they are worth every soft, buttery bite!
Soft Green Velvet Cookies
Equipment
- Oven
- Baking Sheet
- Mixing Bowls
Ingredients
- 2 cups flour
- 1/2 cup butter, softened
- 3/4 cup sugar
- 1 egg
- 1 tbsp cocoa powder
- As needed Green food coloring
- 1/2 tsp baking soda
Instructions
- Preheat your oven to 350°F (175°C).
- Cream the butter and sugar together until the mixture is smooth.
- Add the egg, cocoa powder, and green food coloring to the creamed mixture.
- Mix in the flour and baking soda until combined.
- Scoop the dough onto a baking sheet.
- Bake for 11 to 13 minutes until the cookies are soft.
- Let the cookies cool slightly before you serve them.