Sometimes you need a dessert that looks like you spent all day fussing over it, but really, you barely lifted a finger! That’s exactly what this recipe delivers. We all love homemade but let’s be real—sometimes you just need quick because that strawberry craving hits hard. My big breakthrough here was agreeing to use a prepared butter cake batter. It cuts the stress in half!
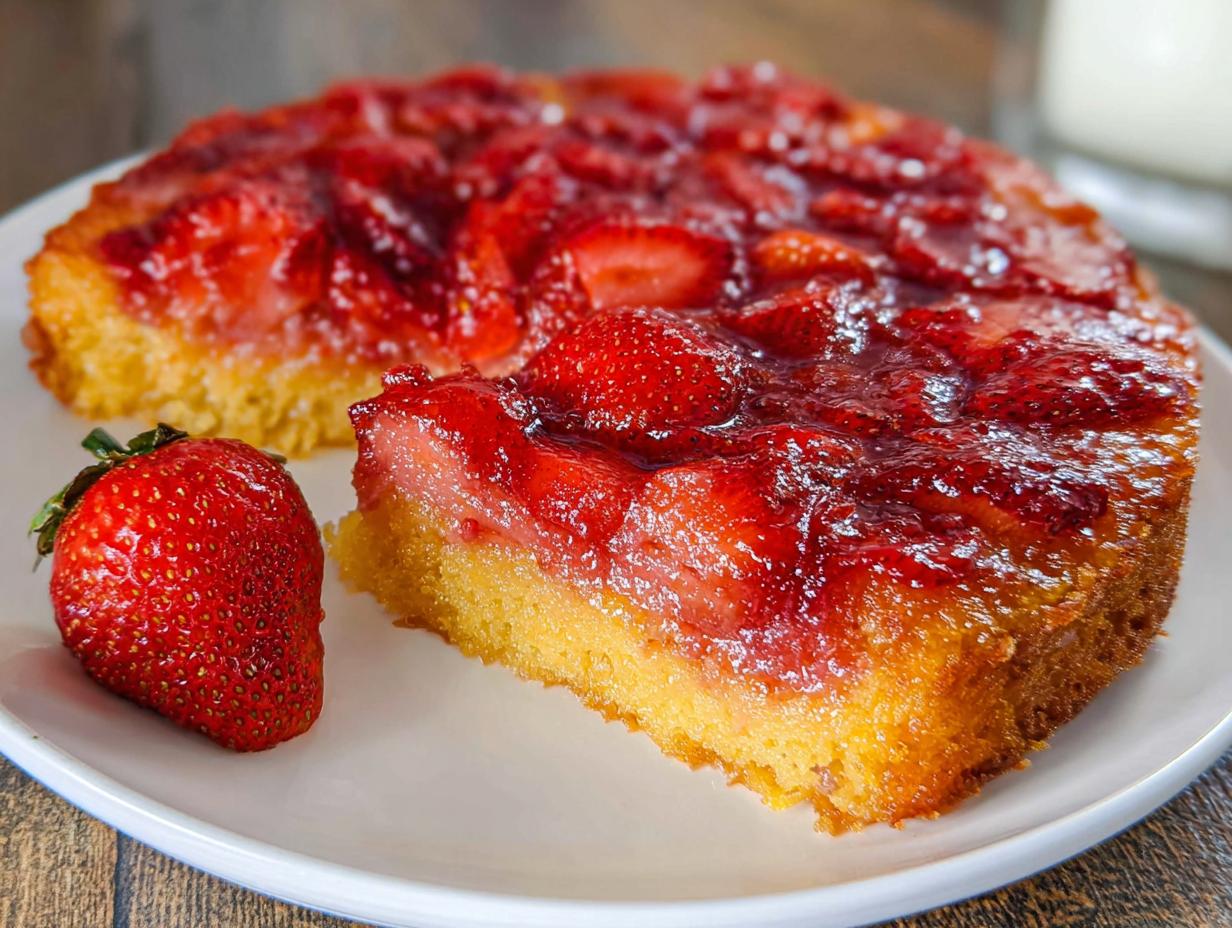
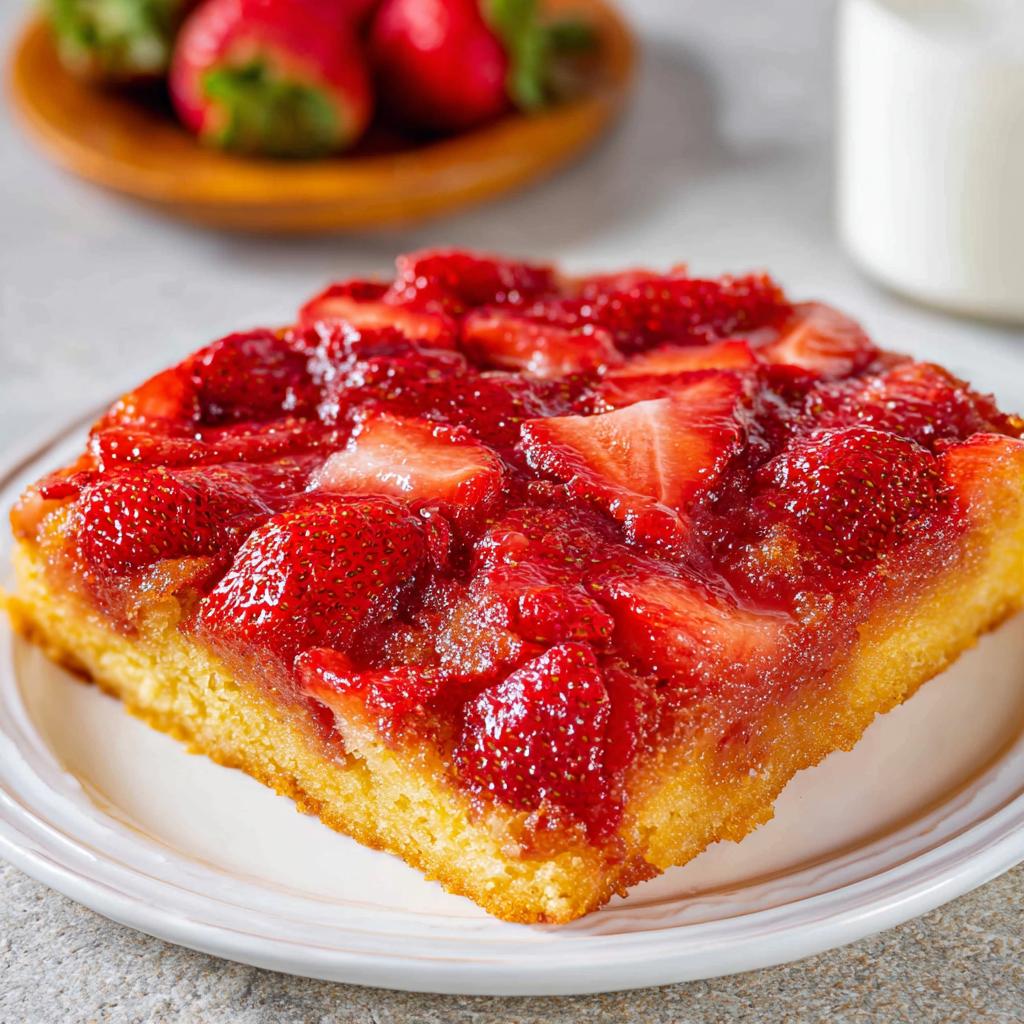
The real moment of truth with any upside-down cake, of course, is the flip. I tested this Simple Strawberry Upside Down Dessert multiple times to figure out the exact temperature where the fruit layer stays perfectly intact. We want that gorgeous, jeweled top, right? Trust me when I say getting the warm inversion just right creates the most beautiful presentation, making it a showstopper with very little effort.
Why This Simple Strawberry Upside Down Dessert Works So Well
Honestly, this recipe shines because it’s just so obliging! We are focusing on maximum flavor with minimum fuss. If you need quick, stunning results, look no further.
- It’s one of the best Easy Strawberry Desserts because we cheat using pre-made batter. No mixing stress!
- It nails that classic, homey flavor we all crave in Strawberry Baking projects.
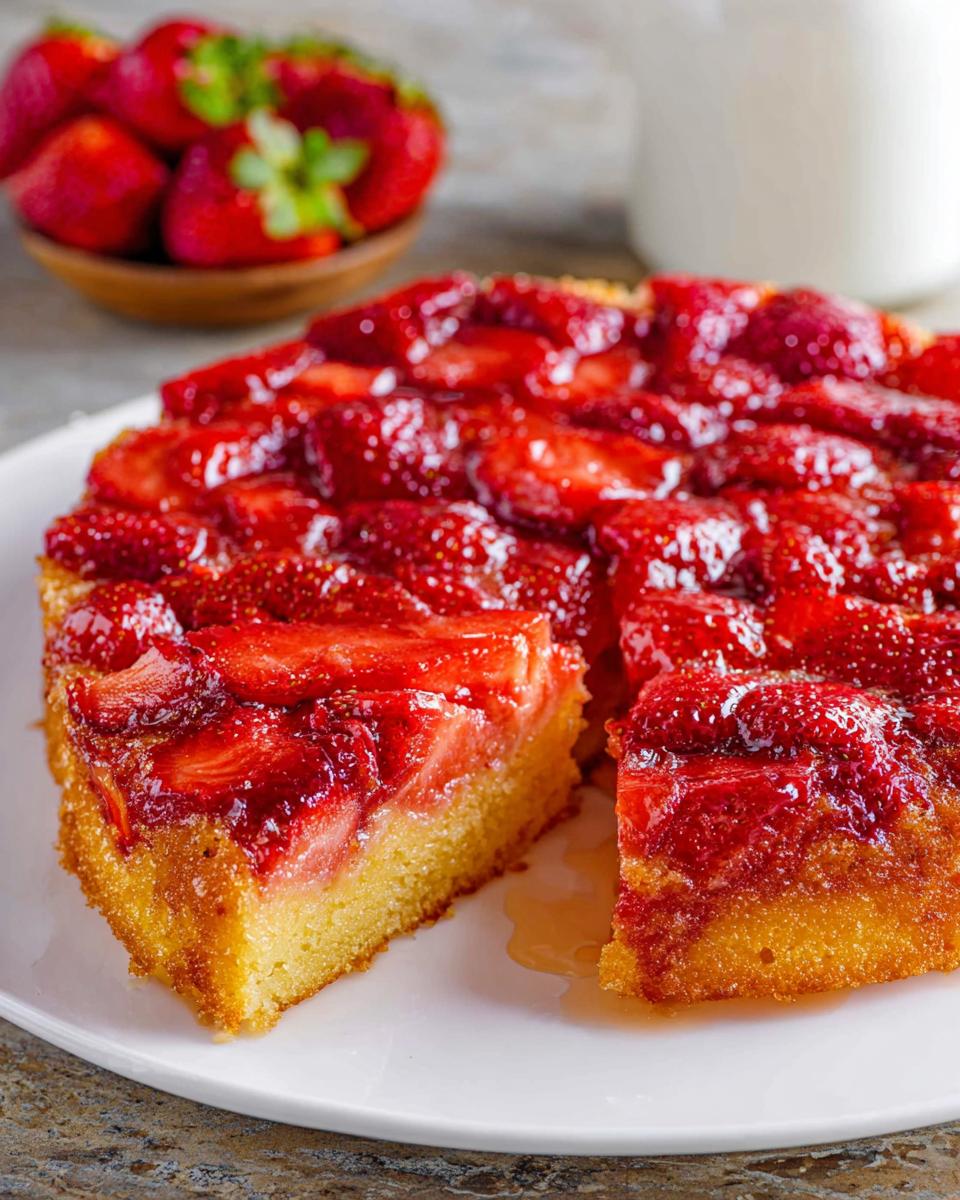
- The presentation is just stunning, proving that the best Strawberry Cake Design doesn’t require complicated layers.
You get all the elegance of a classic fruit dessert without having to fuss for hours. It’s genius, really.
Gathering Ingredients for Your Simple Strawberry Upside Down Dessert
Because this is such a straightforward recipe, you don’t need a pantry full of specialty items. In fact, you might already have almost everything you need just sitting ready to go! I highly recommend using lovely, firm, fresh strawberries since we want those beautiful colors to pop the top later. You can always find more great ideas for Strawberry Desserts Recipes right here on the site, but for this upside-down magic, fresh is best!
Fruit Layer Ingredients
This is where we put the color down first. If you’re looking to make beautiful Fresh Strawberry Desserts, the quality of the fruit really matters here.
- 250g of strawberries, sliced—make sure they aren’t too thin!
- 60g of sugar—this forms that lovely caramel when it bakes.
Cake Layer Ingredients
The beauty of this Simple Strawberry Upside Down Dessert is how little we have to mix here. We are relying on a great quality base mix for the cake portion itself.
- 120g of butter cake batter, prepared—yes, just scoop it right out of the box mix, blended according to its directions!
Essential Equipment for the Simple Strawberry Upside Down Dessert
You don’t need a whole arsenal of fancy gadgets for this dessert, which is part of why I love it so much! Having the right basic tools just makes the whole process smooth, and trust me, you want smooth when you’re preparing for that big flip moment. When I was testing this setup, I realized that a good sturdy dish was key.
Here’s what you absolutely need on hand before you start layering those beautiful berries:
- A reliable baking dish—make sure it’s clean and ready to go!
- Your oven, preheated to the correct temperature. That’s it! No stand mixer required, which is a win in my book.
Step-by-Step Instructions for Your Simple Strawberry Upside Down Dessert
Okay, let’s get those berries arranged! Since we are aiming for one of the best Easy Strawberry Desserts, following these steps exactly ensures that beautiful presentation we talked about. Don’t rush the prep stage; it sets you up for success later!
Preparing the Base Layer
First things first: get that oven heating up to 175°C. While it’s warming, take your baking dish—grease it up nice and good so nothing sticks when the caramel forms. Then, arrange your sliced strawberries across the bottom. Take your time here; this layer becomes the top, so place them how you want them to look!
Once the fruit is settled, grab that 60g of sugar and sprinkle it evenly over the top of the berries. Don’t clump it anywhere! This even sugar layer is what melts down and creates that syrupy glaze we are dying for. Next, gently spoon your prepared butter cake batter right over the strawberries. Try not to disturb the fruit layer underneath!
Baking and Inverting the Simple Strawberry Upside Down Dessert
Slide that dish right into your preheated oven until the cake is golden brown on top, which should take about 30 to 35 minutes. You’ll know it’s done because it will smell absolutely divine.
Now, here’s the crucial part I tested so much: You must invert this dessert onto your serving plate while it is still warm! Not piping hot, mind you, but definitely warm. This lets the sugary juices flow nicely and prevents the cake from sticking to itself. Place your plate on top, hold them together firmly, and flip confidently in one smooth motion. Watch that gorgeous fruit shine through!
Tips for Perfect Presentation of Your Simple Strawberry Upside Down Dessert
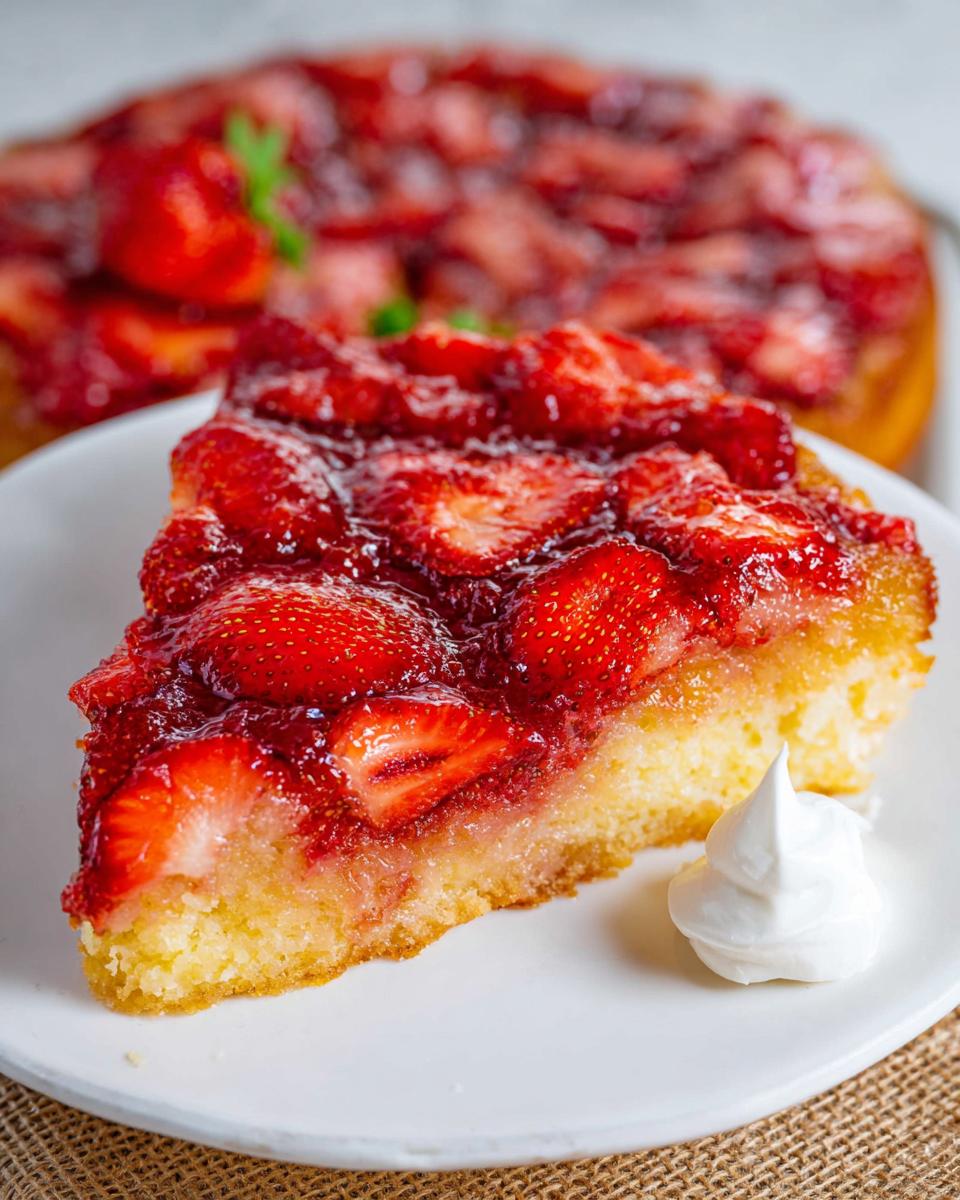
Getting that picture-perfect look is honestly half the fun with this recipe. This is where you can channel your inner artist and really focus on making this Strawberry Cake Design shine! My biggest piece of advice revolves around the berries themselves; try to slice them all to a similar thickness—not too chunky, but not paper-thin either.
Consistency in slicing means they cook evenly and lay flat when you flip the dessert. And please, remember the warm flip! If you wait until it’s completely cold, that sugar/butter layer has hardened up and you risk ripping the cake. A gentle, warm inversion is the secret handshake to making sure your **Simple Strawberry Upside Down Dessert** looks exactly like the elegant treat it is!
Ingredient Notes and Substitutions for Strawberry Baking
Since we’re leaning so heavily on that prepared cake batter for speed, I often get questions about swapping things out. It’s totally fine to mix things up a bit, but you have to know how to handle those changes so you don’t ruin the base we’ve created here. This section is all about building trust that you can adapt this recipe successfully!
For example, while a butter cake mix is my absolute go-to—it blends really well with the cooked strawberries—you could certainly try vanilla cake mix too! Just know that the final flavor profile might lean a little sweeter than the classic profile we are aiming for in these Strawberry Baking recipes.
Now, let’s talk strawberries, because sometimes fresh just isn’t an option, right? If you have to grab frozen strawberries, my biggest warning is about the *water*. Frozen berries release a TON of liquid as they thaw and bake, which can make your fruit layer soupy instead of caramelized.
If you use frozen, you absolutely must toss them with the sugar and let them sit in a colander for at least an hour before layering them in the pan. You need to drain off that excess moisture. Otherwise, your cake layer will bake up dense and wet right on the bottom. That’s a sad sight when you flip it over!
Keep in mind that if you use canned fruit, you need to drain that syrup completely, too. This dessert relies on the cake batter to steam and cook the fruit just enough from above while baking. If the fruit layer is swimming, the texture will be all wrong. We want firm, juicy berries, not a soggy mess!
Storage and Reheating Simple Strawberry Upside Down Dessert
You probably won’t have many leftovers of this yummy dessert, but just in case you manage to save a slice or two, we should talk about keeping it fresh! Since this cake relies on that beautiful, moist fruit layer at the bottom—which is now the top, remember—we have to be careful about storage so they don’t get mushy.
If I’m planning on eating the leftovers within a day or two, I usually just leave it on the counter under a cake dome or very tightly covered with plastic wrap. Since this isn’t heavily frosted or anything, room temperature is actually fine for short-term storage of these types of Fresh Strawberry Desserts.
If you need it to last longer—say, four days—then the fridge is the safest bet. Pop it into an airtight container before tucking it away. The cake part might firm up a bit in the cold, but that’s alright! We just need to warm it gently to bring back that soft, buttery crumb texture.
When it’s time for reheating, please, please do not microwave the whole slice! It heats unevenly and steams the cake, making it gummy. Instead, take out the portion you want and warm it very gently. I like to give mine about 15 to 20 seconds in the microwave on a lower power setting, or even better, just warm it slightly in a toaster oven until it’s barely warm to the touch. This careful warming helps keep the cake soft while softening up those caramelized strawberries again. Happy eating!
Frequently Asked Questions About This Simple Strawberry Upside Down Dessert
I always get so many questions after folks see a photo of this dessert—it looks fancy, doesn’t it? But since we built this recipe around ease, most answers are pretty simple! Here are some things folks ask me all the time about making sure their Simple Strawberry Upside Down Dessert turns out perfectly.
Can I use canned strawberries instead of fresh ones?
You *can*, but I genuinely advise against it for this particular recipe, especially if you want that lovely Strawberry Cake Design look! Canned strawberries are usually packed in heavy syrup and they are much softer than fresh ones. When you bake them, they tend to turn to mush instead of holding their shape nicely. If you must use them, drain them *extremely* well and pat them nearly dry before sprinkling them with sugar. Fresh is always the winner for these vibrant Fresh Strawberry Recipes!
How do I stop the cake from sticking to the pan during the flip?
This is the number one anxiety-producer for upside-down cakes, I know! The note in the recipe summary gets right to it: you have to invert it while it’s still warm. If you wait until it cools completely, that melted sugar and butter glaze hardens like glue against the pan. So, as soon as it’s cool enough to handle safely—usually about 10 minutes out of the oven—get your serving plate ready, flip it confidently, and tap the back of the pan if needed. A good grease-and-flour prep also helps tremendously!
Is this dessert similar to a Strawberry Shortcake Cake?
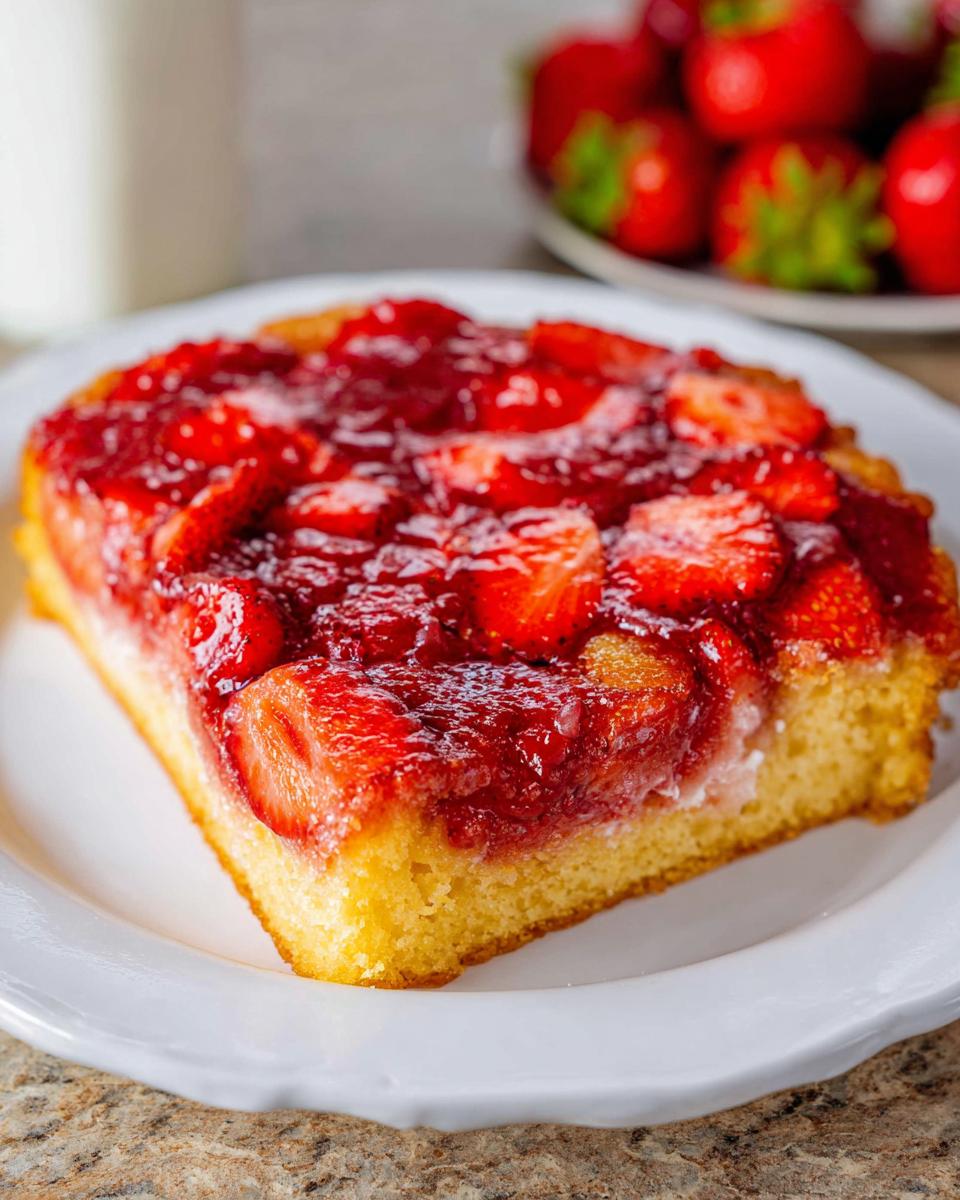
That’s a fun comparison! It’s not quite the same. A traditional Strawberry Shortcake Cake usually involves layers of soft, whipped cake topped with fresh, sliced strawberries and tons of whipped cream. Our **Simple Strawberry Upside Down Dessert** is denser, almost like a buttery fruit cake, and it has that wonderful caramelized fruit topping baked right into it. It’s an easier, slightly more rustic cousin to the shortcake!
Can I use a different kind of cake batter, like Chocolate?
Oh, I love an experimental baker! While this recipe is designed for the classic pairing of butter cake and strawberry tang, you absolutely *could* try it with chocolate batter—it would give you a very rich, almost Black Forest-style flavor profile. Just make sure whatever mix you use is prepared correctly according to its box directions, because that is what ensures the right consistency on top of the berries!
Sharing Your Simple Strawberry Upside Down Dessert Creation
I really hope you enjoy making this wonderfully easy treat! Once you flip that pan and see those jewel-toned strawberries smiling back at you, I know you’ll be hooked on this style of baking. When you try this Simple Strawberry Upside Down Dessert, let me know how your flip went in the comments below!
Rate the recipe and tell me if you added anything extra—I always love seeing what you all come up with!
Author Bio
By Emily Mitchell, Efficiency & Testing Coordinator at Recipes by Betty.
Simple Strawberry Upside Down Dessert
Equipment
- Baking dish
- Oven
Ingredients
Fruit Layer
- 250 g strawberries, sliced
- 60 g sugar
Cake Layer
- 120 g butter cake batter (prepared)
Instructions
- Preheat your oven to 175°C.
- Grease a baking dish and spread the sliced strawberries evenly across the bottom.
- Sprinkle the sugar evenly over the fruit layer.
- Pour the prepared butter cake batter on top of the sugared strawberries.
- Bake for 30 to 35 minutes, or until the cake is golden brown.
- Invert the dessert onto a serving plate while it is still warm.