Oh my goodness, you absolutely HAVE to try making these layered desserts! Forget complicated baking; we are talking about sheer, simple joy in a cup. I adore how the textures peek out through the clear glass before you even take a bite. The first time I served these in individual cups, I loved watching everyone pick their own and peek through the layers before digging in. It turned dessert into a little moment of excitement.
These classic Oreo Dirt Cups are the definition of the best easy desserts with few ingredients you can throw together when you need something fast but super fun. If you love fall themes, you should check out my recipe for pumpkin patch dirt cups, too! Honestly, the standard version we’re making now takes maybe fifteen minutes of actual fussing, and that’s why they are my go-to for everything from last-minute kid snacks to feeding a crowd!
We’re going to make them look amazing while keeping the effort level ridiculously low. Trust me, these creamy, crunchy treats are about to become your new favorite way to end a meal.
Why You Will Love These Easy Oreo Dirt Cups
Seriously, who needs an oven when you can whip up something this good in minutes? These Oreo Dirt Cups hit every single sweet spot when it comes to weeknight treats or throwing together something quick for unexpected guests. I keep all the ingredients stocked because they are just that handy!
- They are among the best no-bake treats around. It’s assembly only, honey!
- You truly can’t beat the simplicity! These qualify as some of the simplest desserts when you’re short on time and creativity.
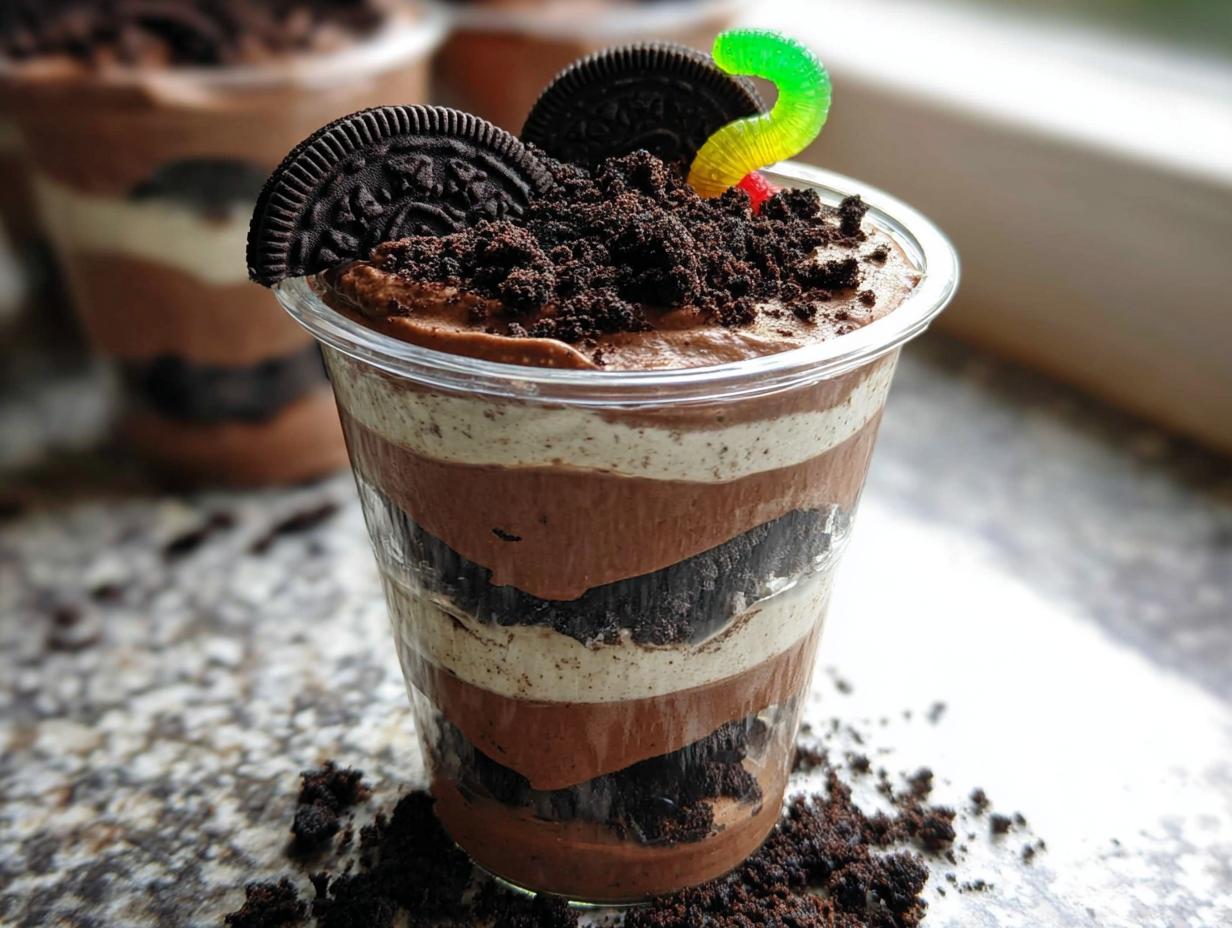
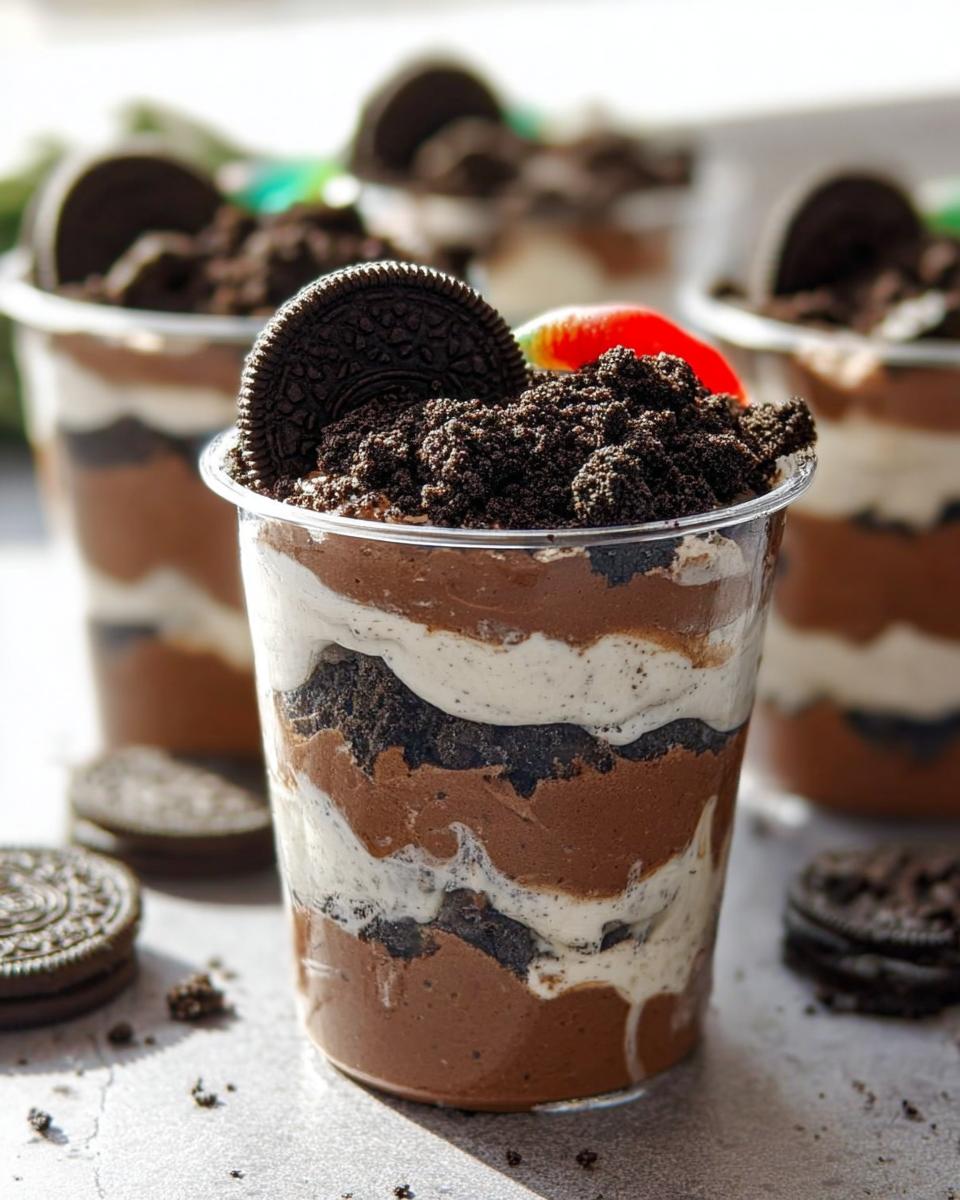
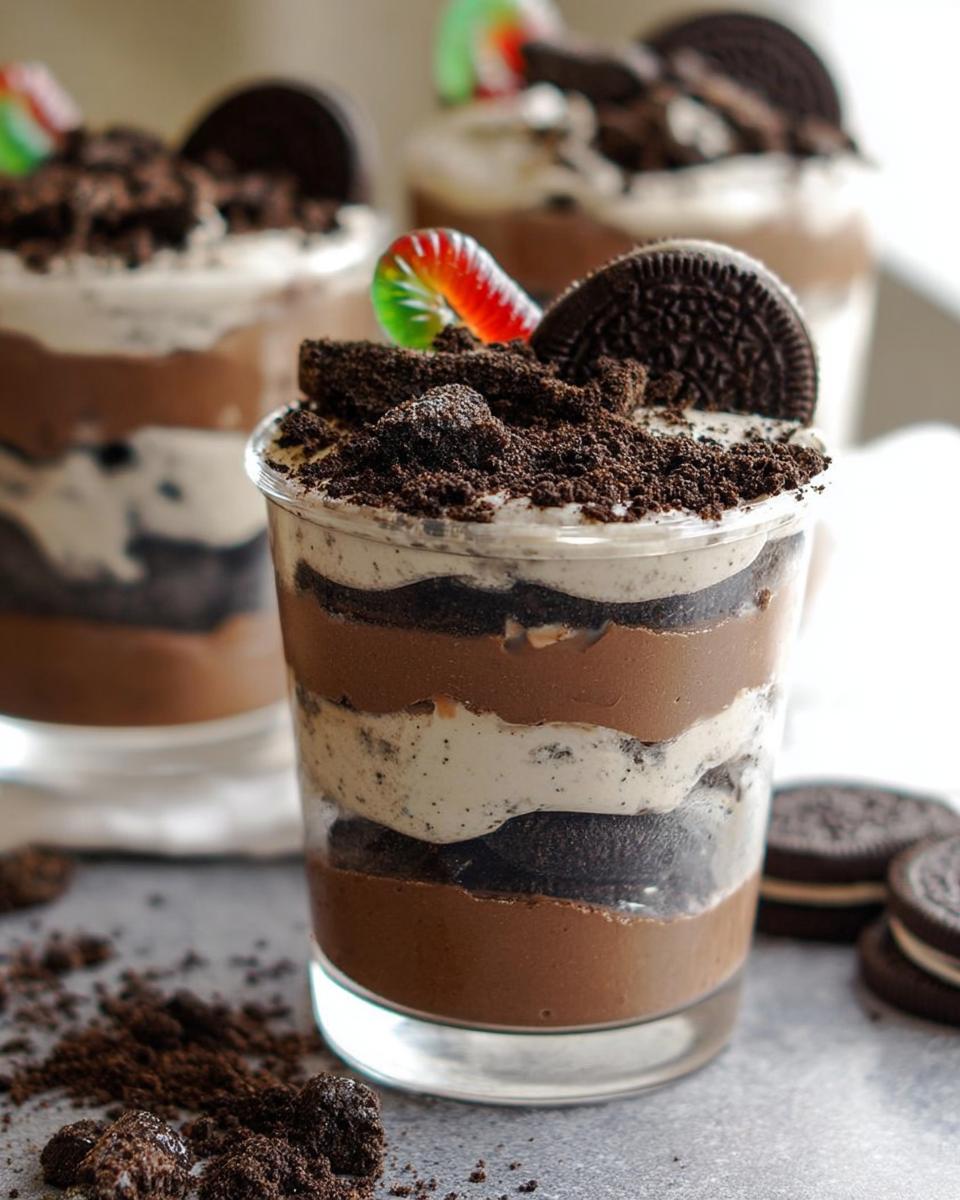
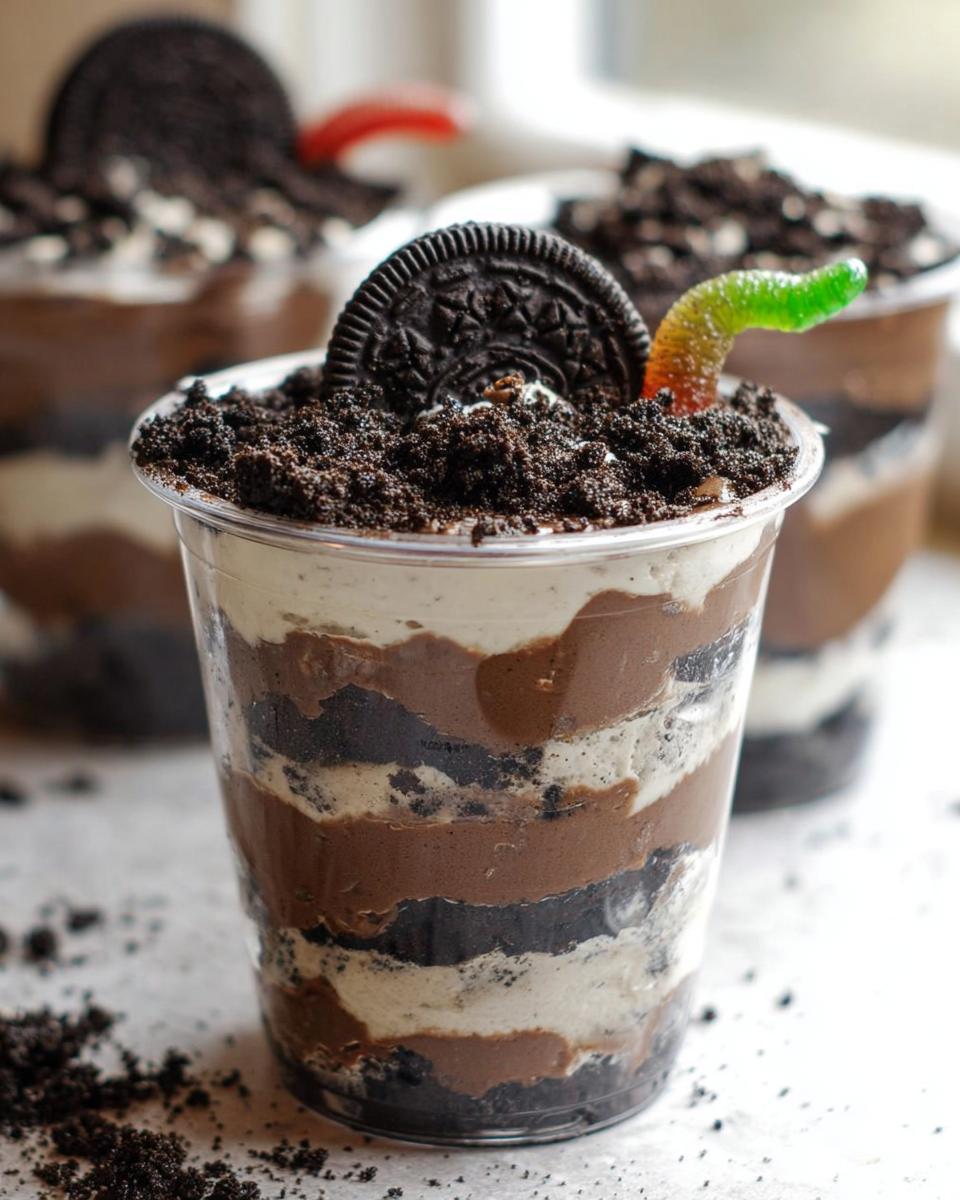
- Everyone loves the layers! Seeing that rich pudding, the dark cookie crumbs, and those silly gummy worms popping out makes them fun for all ages.
- Because they are portioned, cleanup is a breeze. No messy pans to scrape! Just compost those little cups.
- They qualify as some of the best easy treats for any last-minute plan—just make sure you chill them!
- They look way more impressive than the three ingredients they actually require. Shhh, that’s our secret.
Essential Ingredients for Perfect Oreo Dirt Cups
You won’t believe how few things you need for this recipe! It’s definitely one of my favorite ways to make homemade desserts without having to run all over town for specialty items. The key here is knowing exactly what form your ingredients need to be in before you start layering. You can check out the official Oreo website if you need a cookie refresher, but honestly, you can use any dark sandwich cookie that looks the part!
Components for the Oreo Dirt Cups
For the actual ‘dirt’ and creamy filling, keep these basics close. First, you’ll need about 300 grams of Oreos that are already crushed—we’re making dirt, not cookie dust for a crust! Then, we tackle the pudding. Grab one box of chocolate pudding mix, and remember, you need to prepare this according to the package, usually using 500 milliliters of milk to get that nice, firm set. Finally, you need 250 milliliters of whipped cream, and make sure it’s sweetened. If you use the aerosol can kind, you’re already halfway to done, which I always appreciate.
Items Needed for Decoration
Now for the fun part! The presentation makes these simple desserts feel special. You just need some gummy worms—get what you like! You’ll use these as needed to stick them right out of the top layer of ‘dirt’ to look like something is crawling out. That’s it for the essentials!
Step-by-Step Instructions for Assembling Oreo Dirt Cups
Okay, these Oreo Dirt Cups come together so quickly once your pudding is set, but we have to respect the chill time! Don’t rush that pudding step; it’s the backbone holding all our delicious ‘dirt’ together. Remember to grab those cute little serving cups you picked out—that’s half the fun of this recipe when you’re serving them for a crowd.
Preparing the Chocolate Pudding Base
First things first, we tackle the pudding. You need to mix that chocolate pudding mix right into the 500 milliliters of cold milk, whisking it up good, just like the box says. What I always watch for is the texture. You have to let it sit and thicken until it’s properly set. If it’s runny, your layers are going to slide right into each other, and we want distinct layers, right?
Creating the Creamy Filling Layer
Once the pudding is thick—and I mean really thick, almost mousse-like—it’s time to add the whipped cream. Take your 250 milliliters of sweetened whipped cream and gently, I mean *gently*, fold it into the pudding mixture. Use a spatula and sweep through it. If you beat it too hard, you deflate all that air we just built into the pudding, and we lose that lovely light texture we’re aiming for!
Layering Your Oreo Dirt Cups
Now for the assembly line! This is where the magic happens for these mini desserts in a cup. Start by putting a generous layer of those crushed Oreos at the very bottom of each cup. Top that with about half of your creamy pudding mixture. Then, repeat! Add another layer of cookie crumbs, then cover it all up with the rest of the pudding. Finish everything off with one last sprinkle of cookie crumbs to really make it look convincing. Before you pop in those worms, make sure they get at least 30 minutes in the fridge to firm up properly!
Tips for Success Making Oreo Dirt Cups
You know I always want your easy treats to turn out perfectly, so let’s talk quick tricks for these Oreo Dirt Cups! The biggest mistake people make is rushing the pudding—if it’s not set firm, it just turns into soup when you layer it. Trust me, let it chill until it feels substantial before you even think about folding in the whipped topping.
When crushing your cookies, I actually prefer using my food processor for fine, soft dirt, but if you don’t have one, just seal them in a sturdy zip-top bag and whack them with a rolling pin! It’s great stress relief, honestly. Also, don’t forget to finish them with that mandatory 30-minute chill time in the fridge. That wait solidifies everything so your layers stay crisp and separate. For more topping ideas, sometimes I use my favorite crumb topping guide when I want an extra crunch!
Finally, the gummy worms? Stick those in right before serving so they don’t sink too deep into the pudding layers. That keeps the presentation looking fresh and fun!
Serving Suggestions for Your Easy Treats
Because these Oreo Dirt Cups are already portioned out, they automatically become some of the best easy dessert ideas for feeding a crowd! There’s no scooping or messy serving involved which makes cleanup during big holiday parties or backyard BBQs a dream.
If you are making them for a kid’s party, lean into the ‘dirt’ theme! Pop them on a picnic blanket or use them as centerpieces on a kid-friendly buffet. They also look fantastic grouped by color for Halloween or spring events—you can find more fun themed inspiration in my holiday party recipes section. Since they are so simple, they are perfect easy desserts for a crowd!
Storage and Make-Ahead Options for Oreo Dirt Cups
This is genuinely the best part about these simple desserts: they are fantastic make-ahead options! If you are hosting a party or just want to prep dessert after the kids are in bed, you are in luck. You can absolutely assemble these Oreo Dirt Cups ahead of time, and they hold up really well in the fridge.
I usually like to assemble everything except the final gummy worms the day before. Cover each individual cup tightly with plastic wrap—you want to make sure air doesn’t get to that top layer of crumbs or they might get a little soft. They last beautifully, tasting just as fresh and glorious, for up to two full days sealed up tight in the refrigerator.
If you assemble them completely, worms and all, they are still good, but sometimes the worms look a little less vibrant after a full day sitting in there. My personal best suggestion, based on testing these treats way too many times, is to finish the layering (crumbs, pudding, crumbs) and seal them. Then, right before you serve them, uncover them, stick in your gummy worms, and they look perfectly fresh!
Frequently Asked Questions About Oreo Dirt Cups
When I first started making these, I had so many questions myself! It’s amazing how simple desserts can sometimes raise the most basic queries. Don’t worry if you’re wondering about substitutions or crushing techniques; I’ve tested all these variables so you don’t have to. For more standard baking questions, sometimes I check out what people are doing over at Food Network!
Can I use different cookies besides Oreos in these dirt cups?
You absolutely can swap out the main cookie, but honestly, those Oreos make these what they are! If you need a substitution for these amazing homemade desserts, you can use any dark chocolate wafer cookie. The key is that the cookie needs to have a creamy filling so when you crush it, you get both the dark crumb (‘dirt’) and a little bit of that lighter, sweet crunch throughout your layers. Just avoid anything too thin or overly spiced; we want that classic flavor for our Oreo Dirt Cups.
What is the best way to crush the cookies finely?
Okay, this is near and dear to my heart because nobody wants crunchy chunks when they are expecting fine dirt! If you are making just a small batch, sealing the cookies in a heavy-duty zip-top bag and using a rolling pin works great—it’s kind of therapeutic, actually! But if you are making these for a crowd, you simply must use a food processor. Pulse them a few times until you get a texture that looks like coarse coffee grounds. Too fine, and it can get dusty; too chunky, and you lose that amazing smooth-to-crunch contrast in your layers!
Can I make a large batch of these Oreo Dirt Cups for a party?
Yes, yes, and a thousand times yes! These are inherently designed to be wonderful for large groups. They are some of the easiest desserts for a crowd because they are pre-portioned, which cuts down on serving time drastically. Just multiply all your ingredients by the number of servings you need! Like I mentioned in the storage section, I highly recommend assembling them completely, sealing them well, and popping them in the fridge the day before. They hold their shape perfectly, making them one of the most reliable easy dessert ideas for big events.
Estimated Nutritional Overview for Oreo Dirt Cups
Now, let’s talk real talk for a second. Since these are just simple desserts and not part of a formal meal plan, most of us aren’t obsessing over the macros, right? But I always like giving a quick estimate for my fellow label-readers out there. Because we are using store-bought pudding mix and whipped topping, the exact numbers can swing a bit depending on which brands you buy. Trust me on this one—the slight variations in sugar or cream content make a difference!
Because this recipe is for six individual servings, these numbers are based on getting one cup per person. If you serve them in smaller cups or make them larger, obviously, you need to adjust. I recommend keeping this recipe for fun treats because these are definitely more dessert than health food, which is perfectly fine sometimes!
So, when you map this out, you’ll find things like the estimated calories per serving hovering around [Insert Estimated Calories Here], with carbs being the highest number overall, thanks to all that glorious sugar in the pudding and the cookies. Fat content is also present due to the cream and the sandwich cookie filling.
Please remember, this is just a friendly ballpark estimate for these fun homemade desserts. For truly accurate nutrition facts, you would need to input the exact weights of the specific brands of pudding mix and whipped topping you use into a nutrition calculator. Don’t let the numbers scare you away from enjoying what might just be the easiest treat you ever make!
Share Your Homemade Desserts Experience
Whew! We made it through the layers, and now you have these adorable, totally decadent Oreo Dirt Cups ready to go. If you loved assembling these simple desserts as much as I do, I really, truly want to hear about it. Did the kids go wild for the gummy worms? Did you manage to keep your layers neat and separated, or did they all blend together in a delicious chocolate mess?
Don’t be shy! Please head down to the comments section below and let me know how your assembly went. Drop a rating for the recipe if you think it deserves all the stars—it helps others find this easy treat, too. And listen, if you snap a picture of your beautiful presentation, tag me on social media! I love seeing how everyone sets up their own creamy creations.
Need to get in touch with me about other recipe ideas or have a specific question that I didn’t cover in the FAQs? Feel free to reach out directly through my contact page!
Happy eating, bakers!
By Emily Mitchell, Efficiency & Testing Coordinator at Recipes by Betty.

Oreo Dirt Cups
Equipment
- Mixing Bowl
- Individual serving cups
Ingredients
For the Dirt Cups
- 300 g Crushed Oreos
- 1 box Chocolate pudding mix Prepare according to package directions
- 500 ml Milk For pudding
- 250 ml Whipped cream Sweetened
For Decoration
- Gummy worms As needed
Instructions
- Prepare the chocolate pudding according to the package directions using the specified amount of milk. Allow the pudding to thicken fully.
- Gently fold the whipped cream into the thickened chocolate pudding until just combined. Do not overmix.
- Begin assembling your cups. Place a layer of crushed Oreos at the bottom of each individual serving cup.
- Spoon a layer of the pudding mixture over the cookie crumbs.
- Repeat the layers: add another layer of crushed Oreos, followed by the remaining pudding mixture.
- Top each cup with a final sprinkle of crushed Oreos to resemble dirt. Press a few gummy worms into the top layer for decoration.
- Refrigerate the Oreo Dirt Cups for at least 30 minutes before serving to allow them to set.