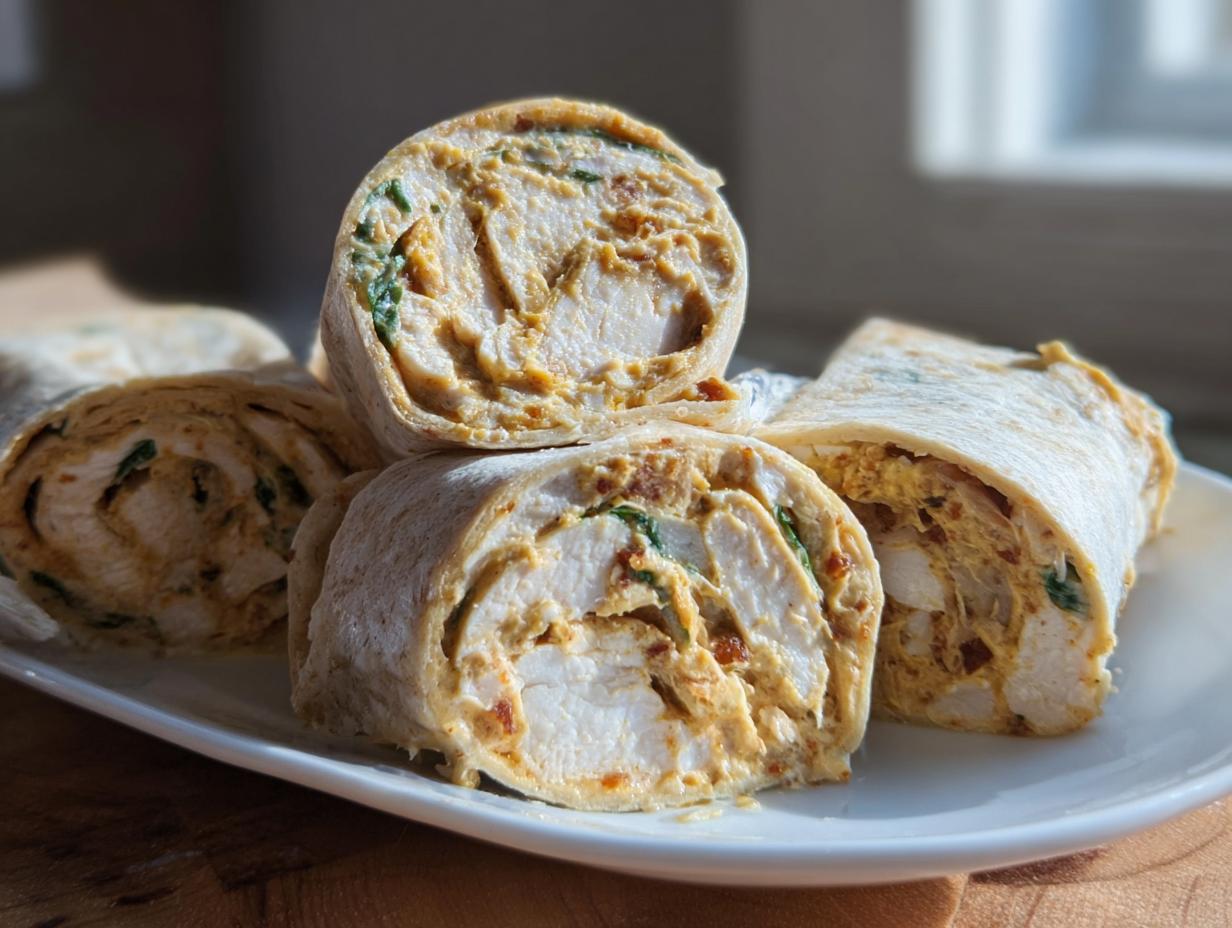
Oh my goodness, when the invite list gets long and you need something that absolutely everyone—from the picky nephew to Aunt Carol—will devour, what do you turn to? You need reliable, handheld perfection! Forget complicated puff pastry or messy dips for a minute. We are talking about the sweet and tangy flavor profile that wins every time, tucked neatly into a tortilla wrap.
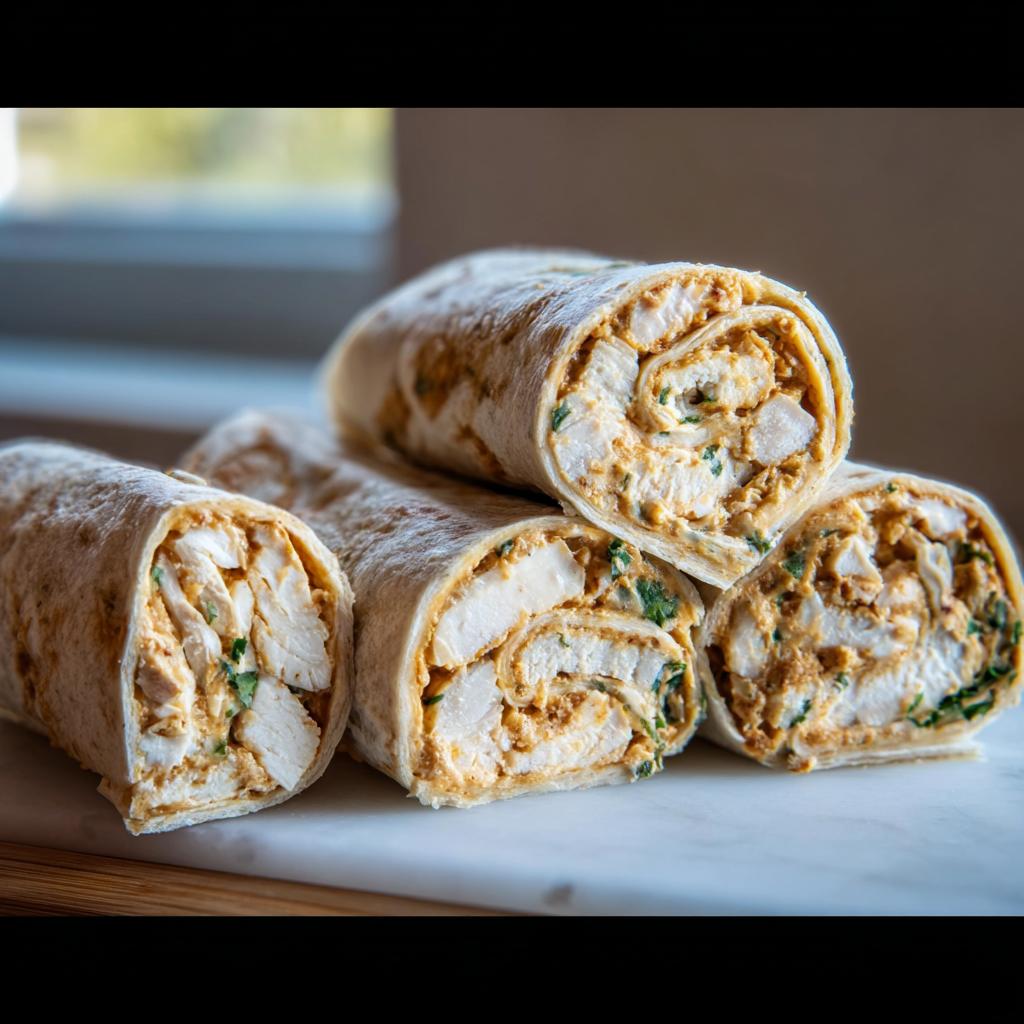
That’s why I rely on these incredible Honey Mustard Chicken Pinwheels time and time again. Honey mustard always felt like a safe favorite in our house—these pinwheels reflect that familiarity. This recipe is seriously tested; it’s what I pull out when I need absolute assurance that my spread will be popular. They come together with barely any effort, making them the ultimate stress-free party star. If you loved my recipe for easy party taco dip, you are going to adore these just as much!
Why You’ll Love These Honey Mustard Chicken Pinwheels
Honestly, when I’m prepping for a huge gathering, my main goal is maximum impact for minimum elbow grease, right? And these pinwheels nail that request. They look fancy when you slice them, but shh, don’t tell anyone how simple the assembly really is. They are truly fantastic Easy Finger Foods For Party!
- They require zero oven time—that’s right, no baking required! This saves my oven for the mains, which is a huge bonus when hosting.
- The flavor balance is addictive; that sweet honey mixed with sharp Dijon mustard is just heavenly paired with the chicken.
- Totally customizable! I often sneak in some finely minced celery for crunch, or fresh chives for color.
- These are built to last in the fridge, making them one of the best make-ahead options out there.
- They are perfectly portioned! No forks needed, just grab and go.
- They satisfy the savory craving without being heavy, making them great alongside your lighter eats.
- If you’re ever struggling with meal prepping healthy snacks for the week, these keep really well!
Essential Ingredients for Perfect Honey Mustard Chicken Pinwheels
Alright, let’s talk about what goes into these beauties! Since these Honey Mustard Chicken Pinwheels are assembled cold, the quality and texture of your few ingredients matter a ton. Remember, this recipe makes about 20 perfect little bites, and you’ll need about 15 minutes of active prep time, but you absolutely must factor in that 60 minutes of chill time later on. Don’t skip the chilling! It’s the secret handshake for getting clean slice lines.
For the Creamy Filling
The key here is making sure everything mingles perfectly. If you are using store-bought cooked chicken, make sure you dice it up small—we don’t want giant chunks in our smooth filling. And please, please make sure that cream cheese is truly softened! I leave mine on the counter for at least an hour before I even look at the recipe. Also, when you are seasoning, whether you use kosher salt or sea salt is up to you, but make sure you measure it right—I like to read up on the differences over at salt guides for the best flavor!
- We need 400 grams of cooked chicken breast, and it has to be finely chopped. Think smaller than diced, more like minced, so it spreads nicely.
- 120 grams of cream cheese, definitely softened to room temperature.
- 60 milliliters of good honey. The quality of the honey really shines through here because there are so few flavors competing.
- 40 grams of Dijon mustard. This provides that necessary tang to cut through the richness!
- 60 grams of shredded mozzarella or mild cheddar—I usually lean towards mozzarella because it melts nicely into the background, but cheddar adds a little color.
- Just a pinch of seasoning: 2 grams of salt and 1 gram of black pepper. Taste as you go, always!
The Tortilla Base
This is what holds the magic together, literally! For this batch, you will need 4 large flour tortillas. I find the big burrito-sized ones work best because they give you more surface area to spread the filling and roll up tightly.
- Make sure your tortillas are at room temperature. If they are cold straight from the fridge, they crack when you try to roll them, and nobody wants a filling explosion! If yours are stiff, microwave them between two damp paper towels for just 10 seconds.
Step-by-Step Guide to Making Honey Mustard Chicken Pinwheels
Okay, this is the fun part where everything comes together! Don’t be intimidated by the assembly; it’s just mixing, spreading, and rolling. If you follow these steps, these Honey Mustard Chicken Pinwheels will look gorgeous on your platter. Remember, the secret isn’t just in the mixing, it’s in the structure we build before we chill them!
Mixing the Sweet and Tangy Filling
We’re getting that gorgeous creamy texture first. Grab your mixing bowl—the one you used for the cheese earlier, no need to wash it! Start by whipping the softened cream cheese, the honey, and that sharp Dijon mustard together. You want this smooth as silk before you even look at the chicken. Don’t rush this part; we’re building the binder here!
Once that’s silky smooth, it’s time to fold things in. Gently fold in your finely chopped cooked chicken breast, the shredded cheese, and your salt and pepper. Fold, don’t beat! We want everything incorporated evenly so every bite tastes the same. If you beat it, you might deflate the cream cheese structure. For more inspiration on getting that perfect balance of sweet and tangy flavors, check out this classic honey mustard chicken recipe!
Assembling and Rolling the Tortillas
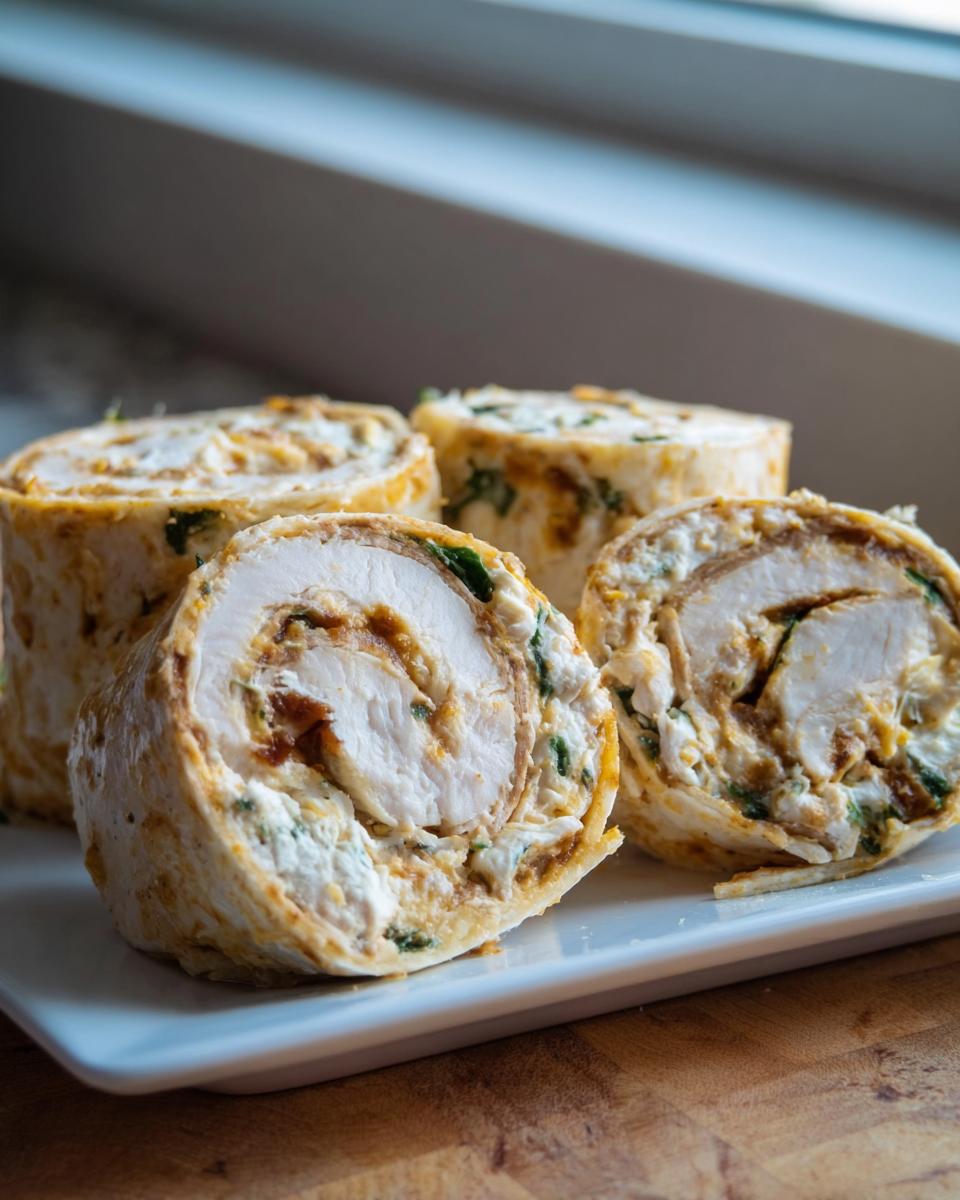
Now for the spreading! Take one large flour tortilla and place it on a clean cutting board. Get about a quarter of that delicious filling mixture and spread it out evenly over the whole surface. I aim to get it almost to the edges—maybe leave about a half-inch border on the farthest edge. This ensures the roll seals properly!
This next move is important for presentation. Start rolling from the edge closest to you, making it as tight as you possibly can without tearing the tortilla. Think of a jelly roll! Once it’s rolled up, wrap that entire tube *tightly* in plastic wrap. This tight wrapping is crucial; it compresses the filling and keeps the roll perfectly round while it chills. Repeat that for all four tortillas.
Chilling and Slicing for Presentation
This is where patience pays off, folks! Pop those tightly wrapped logs into the refrigerator immediately. I always set a timer for a full 60 minutes, which is the minimum refrigeration time. If your kitchen is super warm or your filling was maybe a tad soft, let them chill for 90 minutes. They need to firm up completely so they don’t smoosh when you cut them.
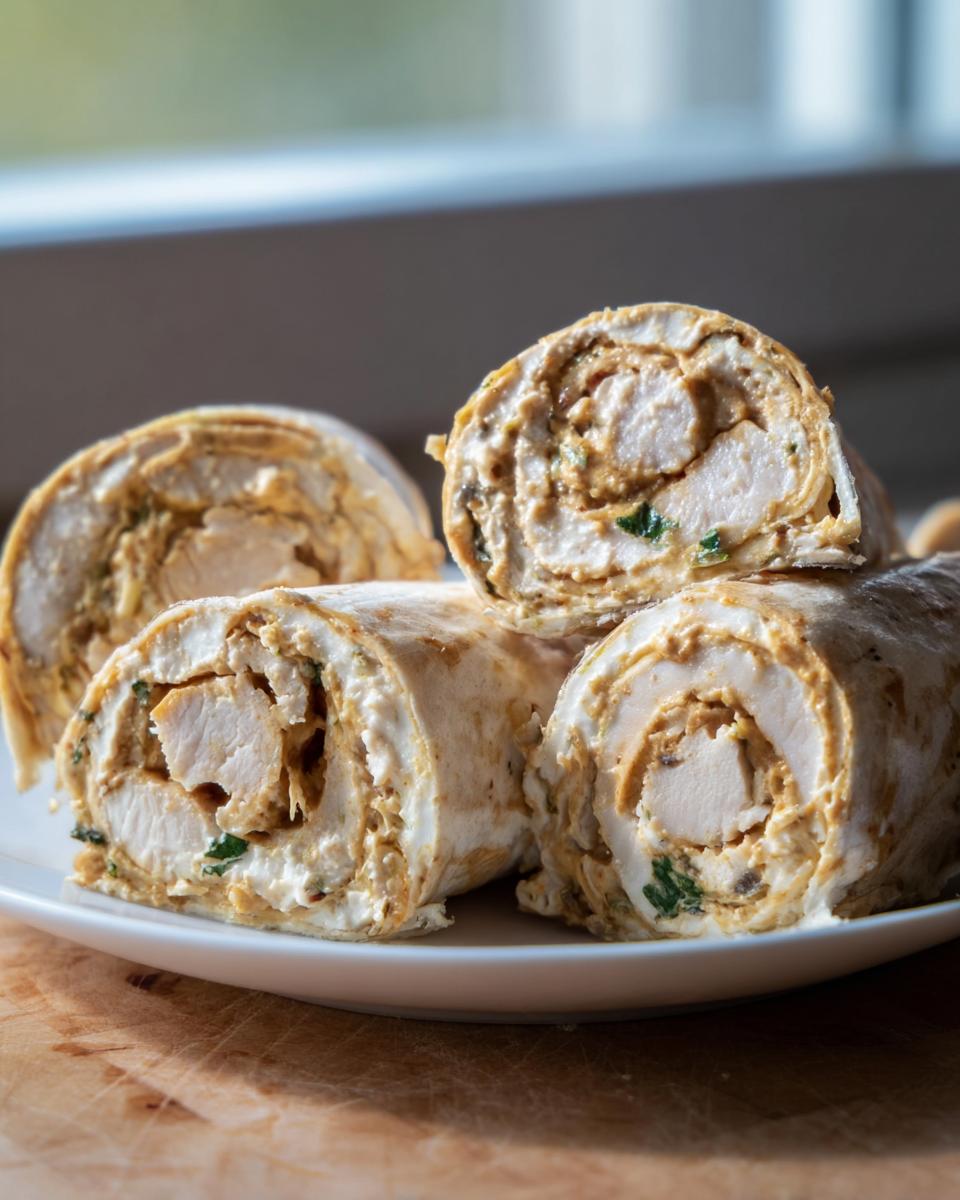
Once they are rock solid, unwrap them carefully. I like to wipe my sharpest knife with a little damp paper towel between slices—it keeps the filling from sticking to the blade. Slice each roll into roughly half-inch thick pinwheels. If the very ends look a little funny, just put those aside for quality control—that’s my favorite part of any recipe, by the way! For more serving inspiration, take a peek at my tips for making easy crockpot honey garlic chicken.
Tips for Success with These Party Snacks Finger Foods
I’ve made these so many times that I’ve learned the little tricks that keep them beautiful, especially when they are sitting out on a platter for a few hours. These Party Snacks Finger Foods are sturdy, but a little foresight goes a long way to guarantee they hold their shape!
My absolute number one tip revolves around the cheese situation. If you use cheese that’s too stringy, like a low-moisture mozzarella straight from a bag, it can pull away from the filling when you slice it. I prefer freshly shredded cheddar or mozzarella because they incorporate better. If you are using pre-shredded, pulse it in the food processor for about 3 seconds first to break up those anti-caking coatings—trust me on this one!
What if your filling seems too soft to roll? Oops! That usually means your cream cheese wasn’t cold enough to start, or maybe you used a honey that was runnier than usual. Don’t panic! Just pop the mixture back into the fridge, uncovered, for about 15 minutes. It firms right up. A firmer filling makes that tight roll possible, which is what keeps them from looking like slop when you finally slice them.
Another thing people worry about is the tortilla sealant. If you find your roll isn’t sticking closed, try this: before you finish the roll, dab the very edge of the tortilla with a tiny bit of water using your finger. The moisture helps bind the flour when you wrap it tightly in the plastic wrap. It acts like edible glue! You can find tons of great little secrets for making other holiday treats perfect by checking out my tips on baking scones.
Finally, if you are serving these outdoors on a hot day, keep them on ice! They are technically served cold, but if the cream cheese gets too warm, they can start sweating and losing shape quickly. A small platter nestled over a bowl of ice works wonders for keeping these little bites looking fresh and professional!
Ingredient Notes and Substitutions for Appetizers Easy Finger Food
Sometimes we look in the fridge and realize we’re missing one key thing. That happens! Since these Appetizers Easy Finger Food don’t involve any cooking, ingredient substitutions are super simple, as long as you keep the moisture and flavor profile in mind. I’ve played around with these pinwheels enough times to know what works and what might throw off the balance.
Let’s talk about the chicken first. The recipe calls for finely chopped pre-cooked chicken breast, which is perfect if you’re looking for a true lazy dinner solution. If you have leftover roasted chicken or even rotisserie chicken, shred it up finely—that works just as well! Just make sure you pat it dry slightly if it looks overly greasy.
When it comes to cheese, don’t feel locked into just mozzarella or cheddar. I sometimes use Gruyère if I want a nuttier flavor, or even Monterey Jack for something super mild. The goal is a good melting cheese that won’t be too sharp. If you’re looking for a fun twist, you could even try swapping half the chicken for a creamy, shredded rotisserie chicken salad mixture, which I talk about a bit over on my avocado chicken salad post!
Mustard talk! Dijon is my go-to because it has that beautiful spicy kick. If Dijon isn’t your thing, you can use yellow mustard, but you’ll probably want to increase the honey slightly because yellow mustard is much milder. You could also use a spicy brown mustard, but be ready—that cayenne flavor is definitely stronger! Just remember, we are balancing sweet and tangy, so don’t skip the mustard entirely!
If you need to skip the dairy in the filling, that’s doable, but requires a bit more creativity! You can swap the cream cheese for a high-quality, plain cashew cream cheese substitute; just know it might need a little extra chilling time to firm up. You’ll also need a dairy-free cheese substitute, but frankly, the texture isn’t quite the same, so I usually suggest leaving the cheese out entirely if you are going that route, relying on the cream cheese base to hold things together.
Serving Suggestions for Appetizers For Dinner
These honey mustard bites are so versatile! Since they are rich yet balanced, they work beautifully as incredible Appetizers For Dinner when you don’t want to commit to a huge full meal. They need companions that are light and fresh, something to contrast that creamy, sweet filling. I never serve them alone; they need a little entourage, you know?
Because these pinwheels are served chilled, I always pair them with things that are either room temperature or served cold, too. Think crisp, bright flavors! They are fantastic served alongside some simple veggie sticks—carrots, celery, bell peppers—just for that extra crunch factor that the soft tortilla misses.
Dipping Pairings That Work Wonders
While they are perfectly moist on their own, a little dip never hurt anyone, right? Since these already have that honey mustard base, you don’t want to double up on the mustard flavor too much. I love serving a tiny bowl of extra honey for those who like it sweeter, or sometimes just a dollop of plain Greek yogurt mixed with a squeeze of lemon juice for a cooling counterbalance.
If you’re serving a larger spread, try setting out a small bowl of cranberry sauce or even a mild fruit salsa. That tartness from the cranberry just pops against the sweet chicken filling. It’s unexpected, but trust me, I’ve had people ask for the recipe just based on that flavor combination!
The Perfect Salad Companion
If you’re staging these pinwheels as the main event for a lighter dinner, you absolutely need a vibrant salad nearby. I always recommend something that cuts through the richness. My go-to is a super simple cucumber, tomato, and mozzarella salad, maybe drizzled with a bright, light vinaigrette. I have the recipe for my Healthy Cucumber, Tomato, and Mozzarella Salad posted, and it’s the perfect crisp palate cleanser next to these rich pinwheels.
And remember, these must be served chilled! Pull them straight from the fridge about five minutes before you want to serve them—that’s when the cream cheese is perfectly firm for the cleanest slice presentation. If they start sweating, they aren’t looking their best.
Storage and Make-Ahead Options for Quick Finger Foods For Party
One of the main reasons I love these so much is because they practically do the work for you ahead of time! If you are hosting a big event, planning ahead is everything, and these are definitely on my list of Quick Finger Foods For Party that I get done the day before. Less stress on party day means more time sipping wine and chatting, right?
The best way to manage these is to assemble and roll the tortillas completely—filling, tight wrap, and into the fridge they go—up to 24 hours before you need them. Make sure that plastic wrap is snug! When they are fully rolled and chilled, they hold up absolutely beautifully in those cold temperatures. This option is perfect for those days where you just need to knock out the prep work early, which is exactly the spirit behind my guide to lazy dinners, only applied to party food!
If you slice them ahead of time before the party starts, they can still be stored in an airtight container in the fridge, but you’ll notice they lose that perfect, sharp edge after about 12 hours. The tortilla can start to absorb some of that moisture from the filling and might get a tiny bit softer. So, for the absolute best presentation, only slice them right before your guests arrive.
Slicing Technique for Leftovers
If you happen to have any leftover pinwheels after your gathering wraps up, just wrap the remaining rolls tightly again or stack the slices neatly in an airtight container. They are designed to be eaten cold, so skip the microwave altogether, please! Seriously, putting these in the microwave turns the tortilla rubbery, and hot cream cheese filling is just… not the vibe we are going for here.
They taste better the next day, actually! If you store them sliced, they usually stay good for about 3 days, though the texture is best within the first 24 hours post-slicing. My kids love grabbing the leftover slices straight from the fridge for a quick, protein-packed lunch the following day.
Can I Freeze Honey Mustard Chicken Pinwheels?
This is a tricky one, and the answer is technically yes, but I usually advise against it if you can manage the prep time. Freezing changes the texture of cream cheese quite dramatically once it thaws, and the tortillas can sometimes get a little gummy or weep moisture when they defrost, ruining the smooth layer we worked so hard to build.
If you absolutely must freeze them, here is my strategy: only freeze them *un-sliced* and tightly wrapped in both plastic wrap and a layer of foil. Label and date them! When you thaw them overnight in the fridge, they should be okay, but slice them immediately upon thawing and serve them ASAP. If you notice any excess liquid on the plastic wrap when you unwrap them, blot it gently with a paper towel before slicing. But honestly? Make them the day before instead if you can!
Frequently Asked Questions About Finger Foods Appetizer Recipes
FAQs are always the best way to wrap things up, right? Because I know you might have a few last-minute questions as you plan your hosting schedule. These Finger Foods Appetizer Recipes are super straightforward, but details matter when presentation counts!
Can I make these pinwheels a day ahead of time?
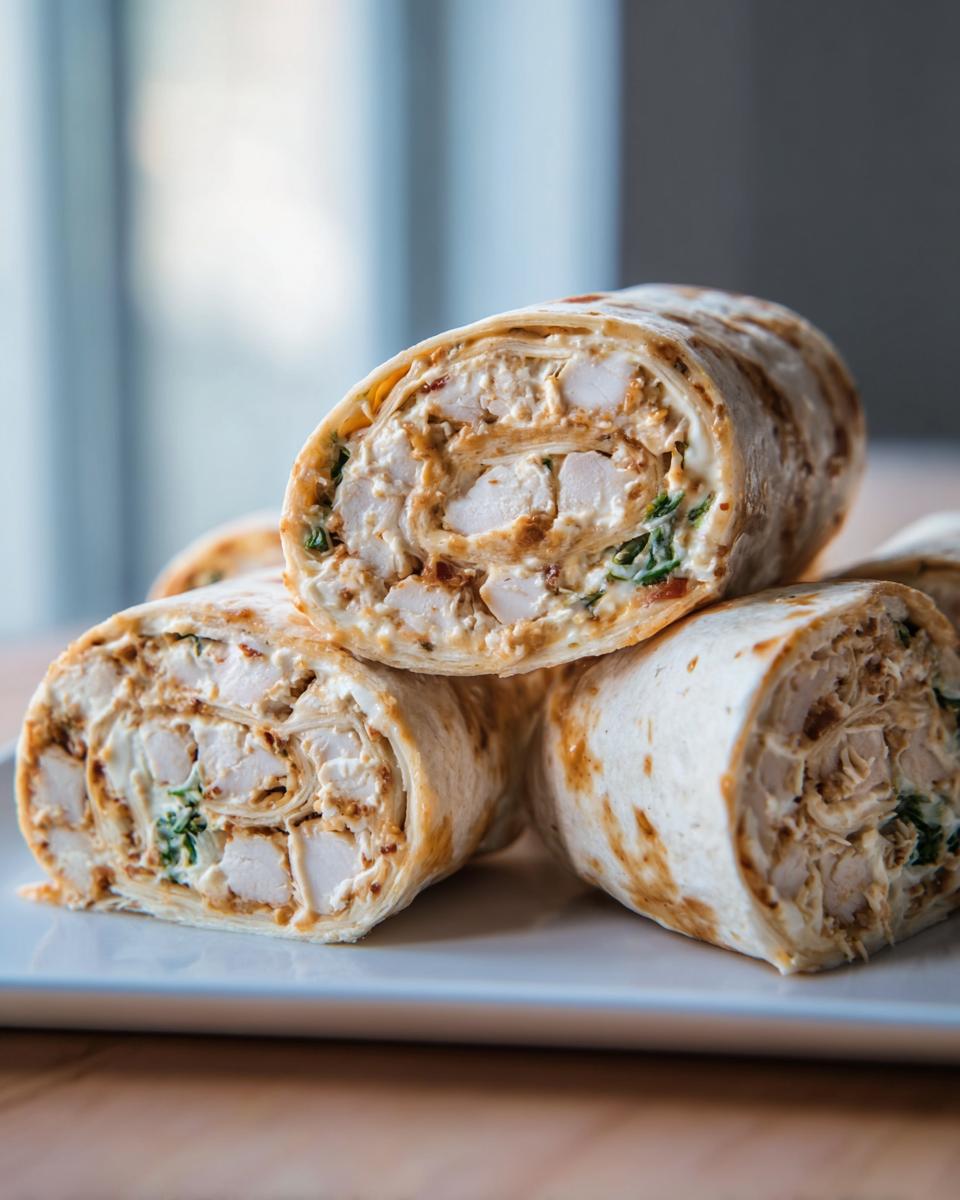
You absolutely can, and I highly recommend it! You can assemble the whole thing—mix the filling, spread it on the tortillas, and roll them up tightly in plastic wrap—up to 24 hours ahead of time. That chilling time does wonders for helping them set and makes slicing so much cleaner. However, I always, always advise waiting until just before your guests arrive to actually slice them. If you slice them the day before, sometimes the exposed filling edge can start to dry out a little bit, even in the fridge. Rolling them solid and slicing them fresh guarantees that perfect, moist circle every single time.
Are Honey Mustard Chicken Pinwheels considered a healthy appetizer?
That’s a great question, especially when navigating party spreads! I would say these fall right into the *balanced* category for Healthy Appetizers. We’re using lean protein from the chicken breast, and they are portion-controlled since they are already sliced. The downside, of course, is the cream cheese and the flour tortilla, which adds richness. They aren’t low-calorie, but if you compare them to something deep-fried or overly heavy, they are a much lighter choice for grazing! I look at them as a satisfying middle-ground option for any big spread.
If you are worried about making them too calorie-heavy, try skipping the cheese in the mix; it won’t affect the structure much, but it cuts out a little fat! If you have other questions, feel free to shoot me a message over on my contact page; I love hearing from fellow bakers!
Recipe Information and Author Bio
So, before you run off to the kitchen to get those tortillas ready, here is the quick snapshot of exactly what you’re making. Mastering the timing is key, especially since we have that required chilly time factored in!
- This recipe yields exactly 20 glorious pinwheels. Perfect for that mid-sized crowd!
- Active prep time is super quick—only about 15 minutes.
- Total time to plate? About 75 minutes, but remember that 60 minutes of that is hands-off refrigeration time, which you can spend doing literally anything else!
When you’re ready to learn more about the folks behind the recipes, you can visit the About Us page. This recipe was kindly contributed by a wonderful person who makes the best party spreads!
By Grace Williams, Contributor at Recipes by Betty.
Honey Mustard Chicken Pinwheels
Equipment
- Mixing Bowl
- Plastic wrap
Ingredients
- 400 g cooked chicken breast, finely chopped
- 120 g cream cheese, softened
- 60 ml honey
- 40 g Dijon mustard
- 60 g shredded mozzarella or mild cheddar
- 2 g salt
- 1 g black pepper
- 4 large flour tortillas
Instructions
- In a bowl, mix cream cheese, honey, and Dijon mustard until smooth.
- Fold in chopped chicken, cheese, salt, and pepper.
- Spread mixture evenly over tortillas.
- Roll each tortilla tightly and wrap it in plastic wrap.
- Refrigerate for at least 1 hour.
- Slice into pinwheels and serve.