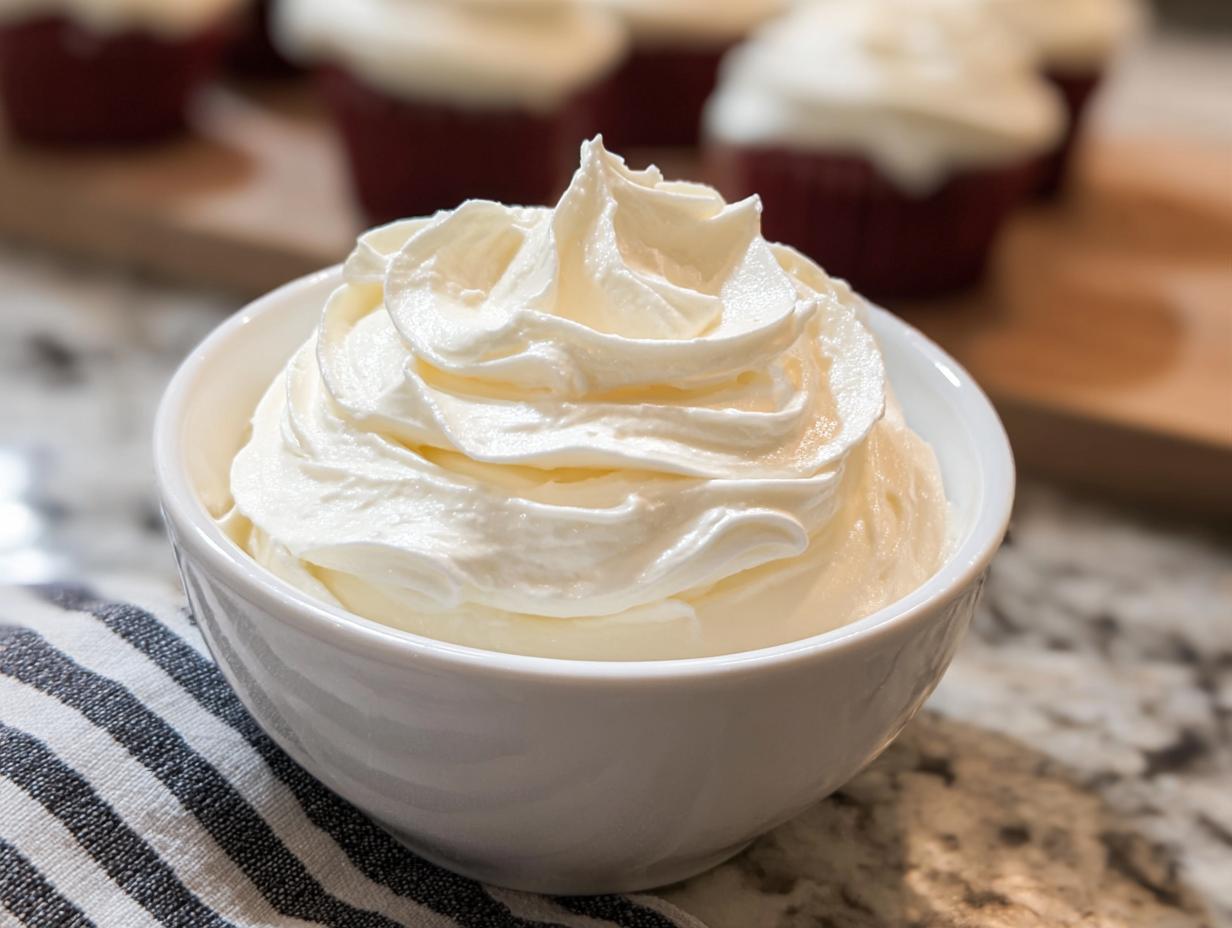
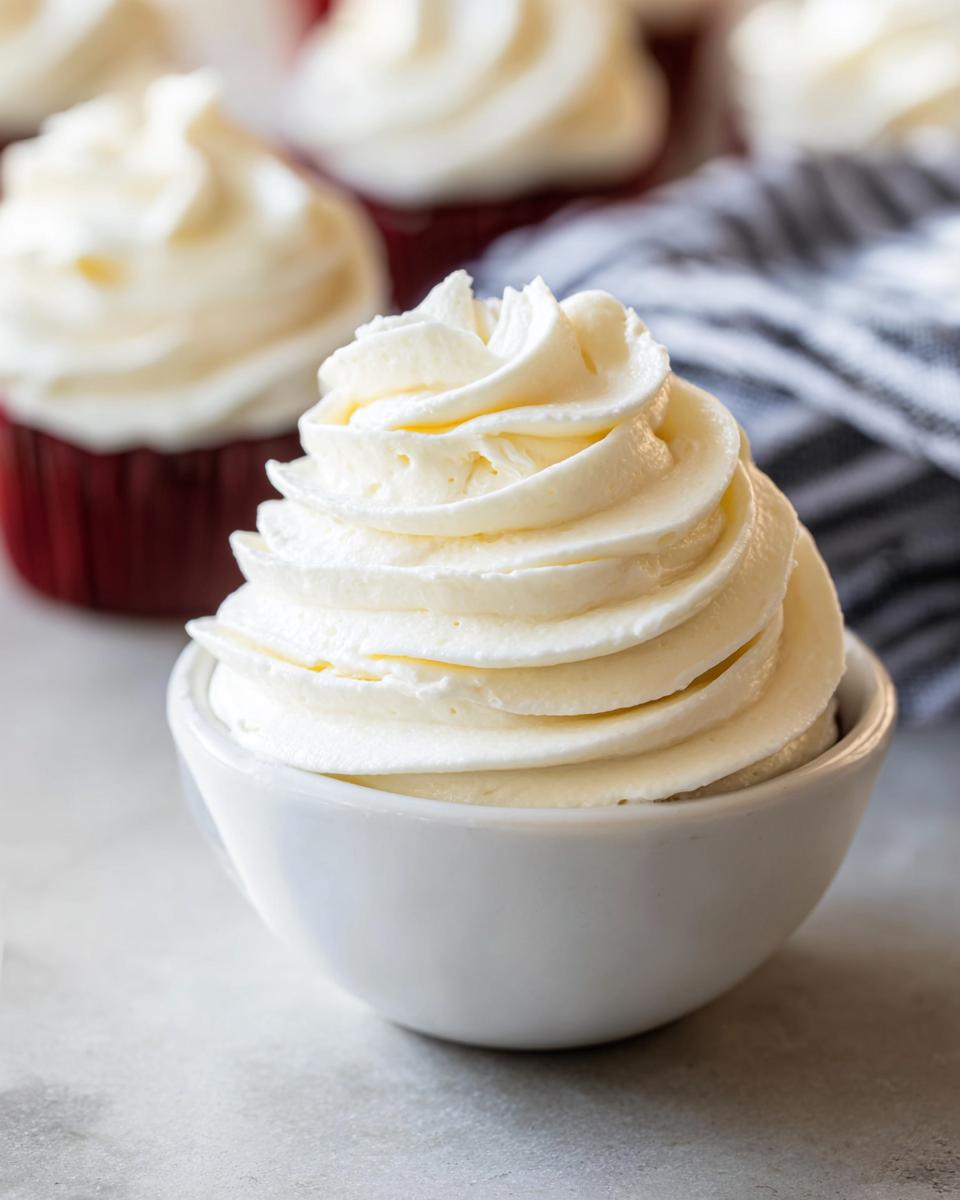
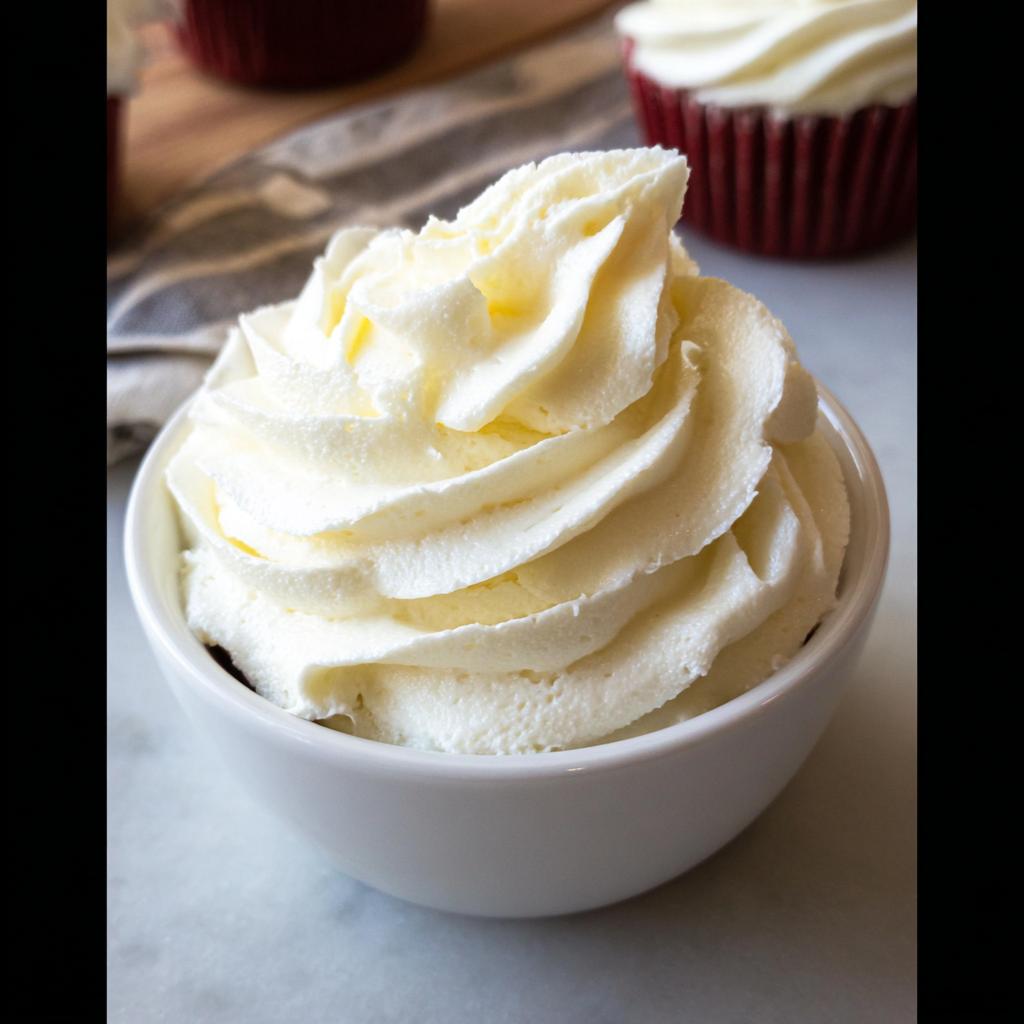
You know, there’s something truly magical about Homemade Cooked Frosting – that silky, melt-in-your-mouth texture that you just can’t get from store-bought tubs. I first learned this recipe standing on a step stool at my grandma’s elbow, watching her stir patiently over the stove until the mixture turned thick and glossy like satin. She’d wink and say, “Now this, dear, is how frosting should taste.” It’s that same recipe I’m sharing with you today – simpler than you’d think, but with a homemade charm that turns basic cookies into little masterpieces. Trust me, once you try this, you’ll never go back to that overly-sweet canned stuff again!
Why You’ll Love This Homemade Cooked Frosting
Oh honey, let me tell you why this frosting recipe stole my heart years ago and never let go:
- Silky-smooth texture that glides onto cookies like velvet – no gritty sugar bits here!
- Not one speck of artificial anything – just real butter, vanilla, and pantry staples you can pronounce
- Plays nice with cookies AND cakes – I’ve used it on everything from sugar cookies to layer cakes without fail
- Nearly foolproof method (and coming from someone who once forgot the sugar in frosting, that’s saying something!)
This Homemade Cooked Frosting reminds me why vintage recipes endure – when something works this beautifully, why complicate it?
Ingredients for Homemade Cooked Frosting
Alright, let’s gather our simple but mighty ingredients for this dreamy frosting! I swear by these exact measurements – they create that perfect balance between sweet and creamy. Here’s what you’ll need:
- 1 cup granulated sugar (200g) – Regular white sugar works best here, none of that fancy stuff needed
- 5 Tablespoons all-purpose flour (40g) – Spoon and level it, don’t scoop straight from the bag!
- 1/4 teaspoon salt – Just a pinch to balance the sweetness
- 1 cup whole milk (236ml) – The richer the milk, the creamier your frosting will be
- 1 cup unsalted butter (226g) – Softened but not melty is key here – you want it at that perfect “spreadable” stage
- 1 teaspoon vanilla extract – The good stuff, please! None of that artificial flavoring
See? Nothing weird or hard to find. Just honest ingredients that come together to make something truly special. I always tell my baking students – quality in equals quality out, so use the best you’ve got!
How to Make Homemade Cooked Frosting
Okay, let’s get to the fun part – turning those simple ingredients into cloud-like frosting magic! I’ll walk you through each step just like my grandma did for me. Don’t let the “cooked” part scare you – it’s easier than making pudding, promise. Just grab your whisk and follow along!
Step 1: Cook the Base for Homemade Cooked Frosting
First, grab your trusty medium saucepan – not too big, not too small. Whisk together the sugar, flour, and salt until they’re best friends (no lumps allowed!). Now, here’s the secret: gradually whisk in the milk over medium heat. I mean it – slow and steady wins the race here. Keep whisking like your frosting depends on it (because it does!) until it thickens to a pudding-like consistency. You’ll know it’s ready when it coats the back of a spoon beautifully. Remove from heat immediately – we’re not making paste here!
Step 2: Whip the Frosting to Perfection
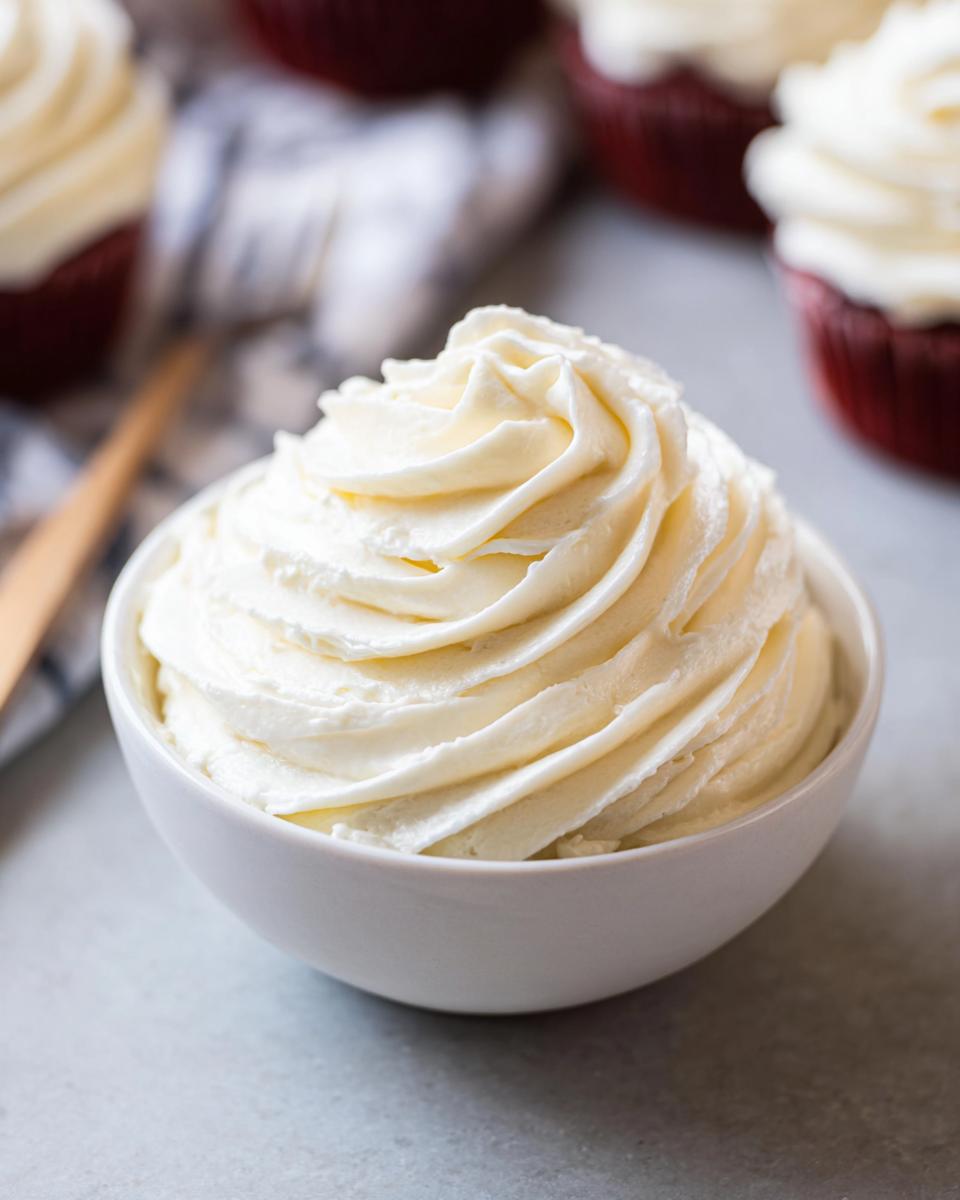
While your base cools (with plastic wrap pressed right on the surface – no skin allowed!), let’s prep the butter. Beat it until it’s light and fluffy – about 3 minutes should do it. Now comes the magic: add that cooled flour mixture spoonful by spoonful, mixing well after each addition. This patience pays off in the creamiest texture! Finally, add the vanilla and whip it all together until it’s so airy you could float away on it. Pro tip from my grandma: give it one last stir with a spatula to knock out big air bubbles before spreading.
And voila! You’ve just made Homemade Cooked Frosting that would make any baker proud. See? I told you it was easier than it sounds. Now go frost something delicious!
Expert Tips for the Best Homemade Cooked Frosting
After making this Homemade Cooked Frosting more times than I can count (including that one Christmas I frosted 12 dozen cookies in a single weekend!), I’ve picked up some tricks that’ll take your frosting from good to “oh-my-goodness-what’s-your-secret” amazing:
- Patience is key – Let that flour mixture cool completely before adding to the butter. I know it’s tempting to rush, but warm mixture = melty butter = sad, runny frosting. Stick it in the fridge for 30 minutes if you’re in a hurry.
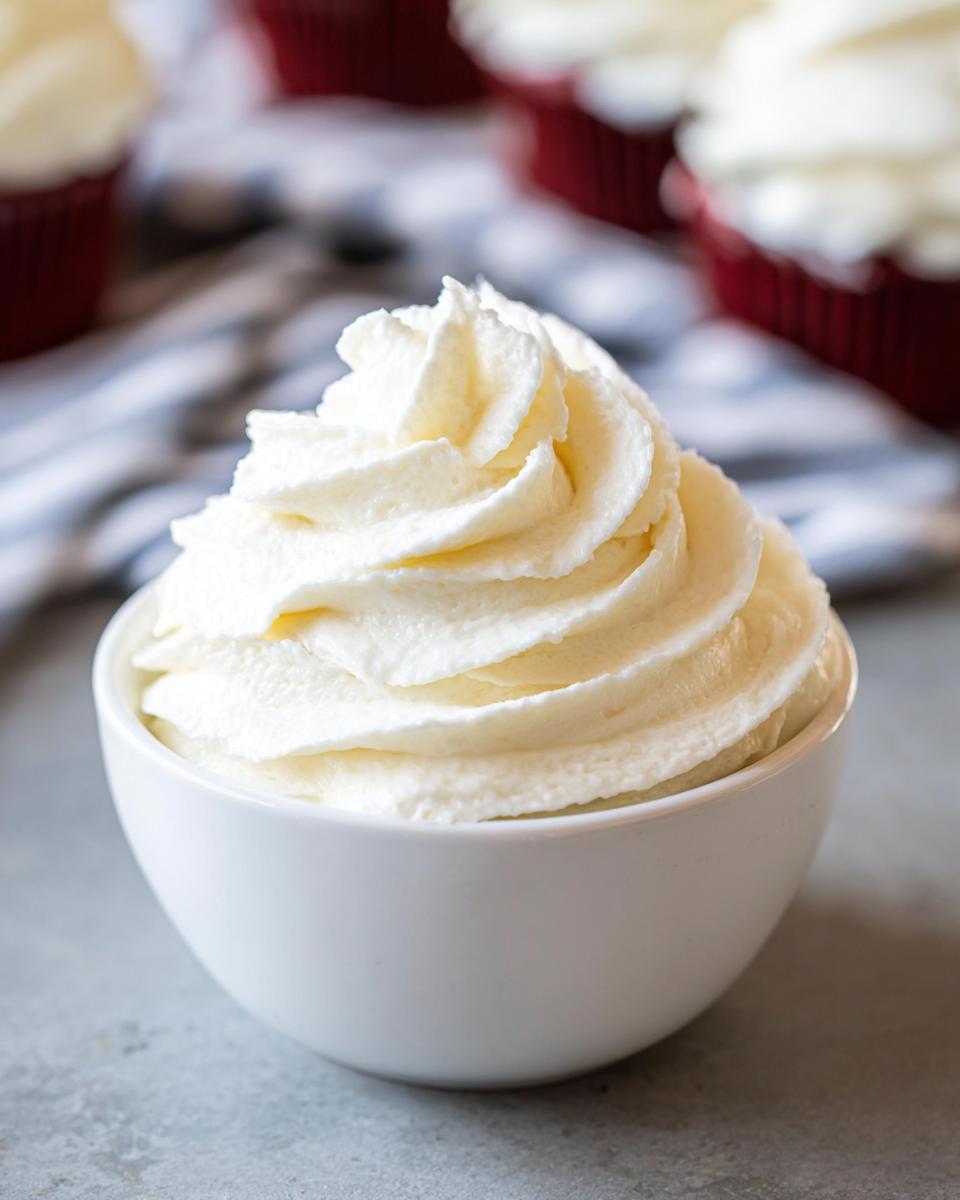
- Smooth operator – If your frosting looks grainy, don’t panic! Keep whipping. And whipping. And… you get the idea. The extra air will work miracles on the texture.
- Flavor adventures – Swap vanilla for almond extract for wedding cookies, or add a tablespoon of lemon zest for springtime cupcakes. My personal favorite? A heaping spoonful of cocoa powder whisked into the warm mixture for chocolate lovers’ dream frosting.
- Temperature matters – If your kitchen’s warm, chill the frosted treats for 15 minutes before serving. The frosting firms up beautifully without losing that signature silkiness.
Remember what my grandma always said: “Good frosting is like good manners – it makes everything better.” Now go forth and frost with confidence!
Ways to Use Homemade Cooked Frosting
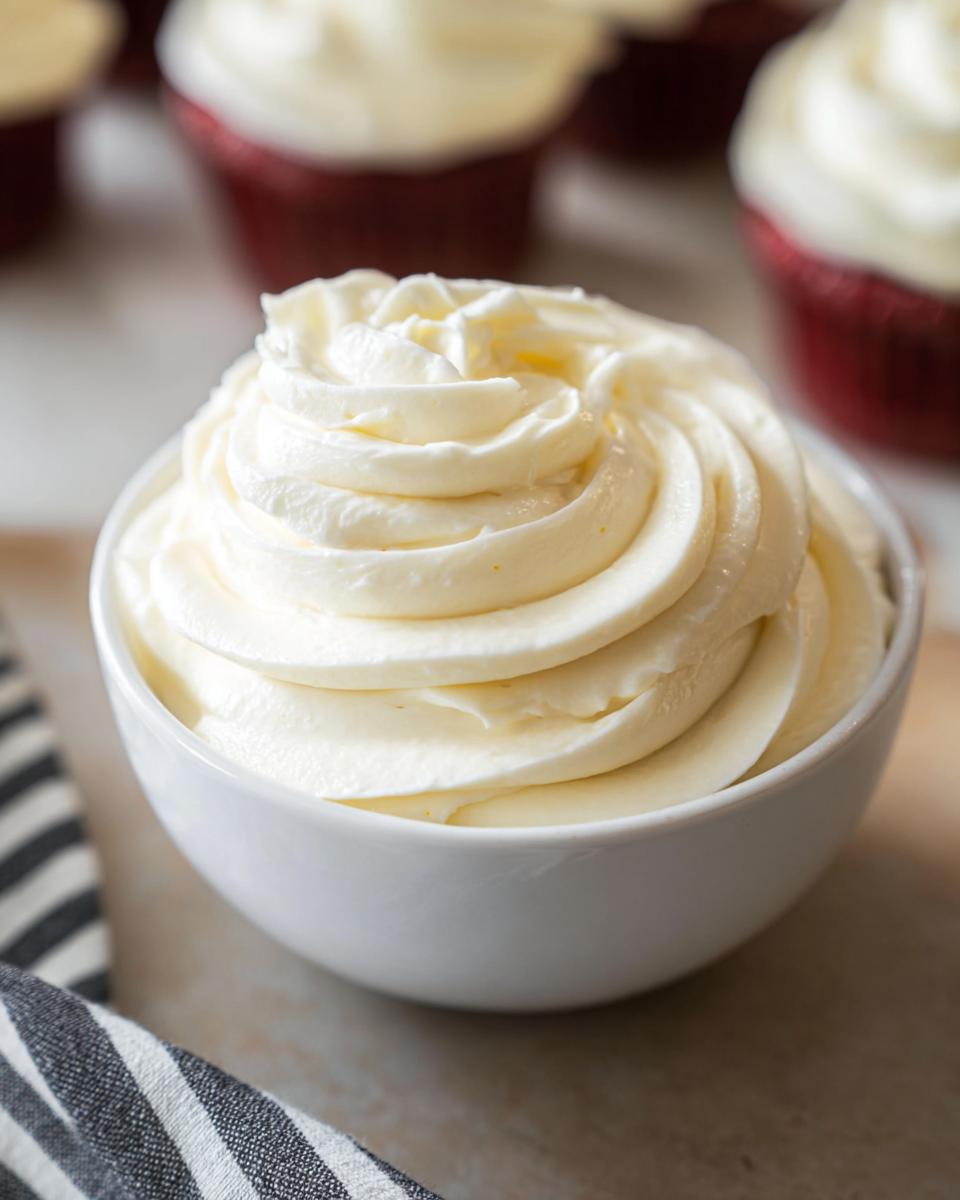
Oh, the possibilities with this frosting! It’s like the little black dress of your baking wardrobe – perfect for dressing up just about anything. My absolute favorite? Slathering it thick on warm sugar cookies so it melts just slightly into all those nooks and crannies. But don’t stop there! This frosting shines on layer cakes (especially carrot cake – trust me!), pipes beautifully onto cupcakes, and even makes a killer filling for whoopie pies. Last summer, I used it to sandwich together some strawberry shortcake cookies, and let’s just say they disappeared faster than you can say “seconds please!”
Storing and Freezing Homemade Cooked Frosting
Now, I know you might not always use all that glorious frosting at once (though I won’t judge if you sneak spoonfuls straight from the bowl!). Here’s how to keep your Homemade Cooked Frosting fresh for future baking adventures. In the fridge, it’ll stay perfect for about a week – just press plastic wrap right against the surface before covering. For longer storage, freeze it in airtight containers for up to 3 months. When you’re ready to use it again, let it thaw overnight in the fridge, then give it a quick whip with your mixer to bring back that fluffy texture. Pro tip from my kitchen disasters: never microwave frozen frosting – patience gives you the smoothest results!
Nutritional Information
Just a quick note about the numbers – these nutritional values are estimates that can vary depending on the specific ingredients and brands you use. My grandma never counted calories (bless her heart), but I know some folks like to keep track, so here’s the general breakdown per serving!
Homemade Cooked Frosting FAQs
Over the years, I’ve gotten all sorts of questions about this beloved frosting recipe – and I love helping bakers troubleshoot! Here are the ones I hear most often (along with my tried-and-true answers):
Can I use almond milk instead of regular milk?
You absolutely can! Any milk alternative works fine, though the richer it is (like coconut milk), the creamier your frosting will be. Just avoid anything flavored – vanilla almond milk might make your Homemade Cooked Frosting taste a bit off.
Help! My frosting turned out runny – how do I fix it?
Don’t panic! Pop the whole bowl in the fridge for 20 minutes to firm up the butter, then whip it again. If it’s still too soft, add a tablespoon of powdered sugar at a time while mixing until it reaches the perfect spreading consistency.
Will this frosting harden on sugar cookies?
It sets up nicely but stays slightly soft – think “bakery-style” rather than rock-hard royal icing. For cookies that need to stack, chill them first so the frosting firms up beautifully.
Can I make this frosting ahead of time?
Oh honey, yes! In fact, I think it tastes even better after a day in the fridge. Just let it come to room temperature and give it a quick whip before using. The flavors have time to really mingle and deepen.
What’s the best way to color this frosting?
Gel food coloring works best since it won’t thin out your frosting. Add it drop by drop when you mix in the vanilla – the color develops beautifully as you whip it. Pro tip: Pastel shades look so pretty on sugar cookies!
Share Your Creations
I’d love to see what sweet treats you’ve dressed up with this Homemade Cooked Frosting! Snap a photo of your frosted masterpieces and share them in the comments below. Got questions? Ask away – I’m here to help you frost with confidence, just like my grandma taught me!
Homemade Cooked Frosting
Equipment
- Medium saucepan
- Mixing Bowls
Ingredients
- 1 cup granulated sugar 200 g
- 5 Tablespoons all-purpose flour 40 g
- 1/4 teaspoon salt
- 1 cup milk 236 ml, whole milk recommended
- 1 cup unsalted butter 226 g, softened but not melty
- 1 teaspoon vanilla extract
Instructions
- Combine sugar, flour, and salt in a medium-sized saucepan and whisk well to remove any lumps.
- Turn stovetop heat to medium and whisk in milk until the mixture is smooth.
- Continue whisking constantly until the mixture thickens to a pudding-like consistency. Remove from heat.
- Pour into a heat-proof container and cover the surface with plastic wrap pressed directly against it to prevent a skin from forming. Cool completely.
- Beat butter on high speed until light and fluffy. Gradually add the cooled flour mixture, one spoonful at a time, mixing well after each addition.
- Stir in vanilla extract, then whip the frosting until smooth and airy. Use a spatula to deflate any air bubbles before using.