If you’re anything like me, sometimes you just *need* dessert, but you don’t have the time or the energy for a huge baking project. Especially when you’re trying to keep things balanced!
That’s why I absolutely swear by these individual layered treats. I actually created these High-Protein Cheesecake Jars (No Bake) during a week packed with recipe testing when I needed quick, protein-rich snacks that still felt like dessert. Having these jars ready in the fridge made my days easier — and a lot sweeter. For more snack inspiration, check out my ideas over at this healthy snack plate recipe!
The best part? They require absolutely zero oven time, which is perfect for those busy afternoons. As the Efficiency & Testing Coordinator here at Recipes by Betty, I focus on making sure your goal-supporting recipes are convenient. Whether you need a quick fix or a satisfying post-workout treat, you can see why other sites are also talking about delicious high-protein desserts.
You get that amazing, creamy satisfaction of cheesecake, but packed full of goodness. Trust me, you’re going to want to make a double batch of these no-bake gems right away!
Why You Will Love These High-Protein Cheesecake Jars (No Bake)
Seriously, why would you NOT love these? They hit every spot when you need a quick fix that actually fits into your healthy routine. Forget complicated baking; these are pure convenience.
- They are the ultimate no bake protein dessert—grab-and-go goodness!
- Packed with protein thanks to that Greek yogurt base, making them a perfect fitness dessert recipe.
- Super speedy prep time; you only need 10 minutes before they head to the fridge.
- They look so cute layered in the jar, making them look way fancier than simple protein cheesecake cups.
- A perfectly portion-controlled healthy cheesecake jar ready whenever you need a fix. For more ideas like this, check out my tips on easy healthy snack ideas!
It’s truly the easiest way to enjoy a delicious, high-protein dessert without turning on the oven!
Essential Ingredients for High-Protein Cheesecake Jars (No Bake)
When you’re making something this simple, the quality of your ingredients really shines through. Trust me on this—don’t try to substitute the Greek yogurt with something runny; we need that thickness to make these jars stable! We keep things super clean here, focusing on the protein punch and just a kiss of sweetness.
This recipe comes together with just five main things, plus whatever lovely berries you decide to top them with. If you need to understand the difference between sea salt and kosher salt for other recipes down the road, I have a little comparison chart right here, but for this, just concentrate on the main players!
For the Cheesecake Filling
- 200g Greek yogurt (full-fat or 2% works best for texture!)
- 100g Cream cheese (softened slightly is easier to mix)
- 2 tbsp Honey (or maple syrup if you prefer!)
For the Base and Topping
This is where we build our texture! The oats give a lovely little crunch that mimics a traditional crust, but way faster.
- 40g Crushed oats (just pulse them quickly in a food processor or crush them in a bag)
- Fresh berries (whatever looks best at the market—strawberries, blueberries, raspberries—slice the bigger ones!)
That’s it! You see? No baking powder, no gelatin, just pure, simple flavor layered perfectly.
Step-by-Step Instructions for High-Protein Cheesecake Jars (No Bake)
Okay, quick tips first: make sure your cream cheese isn’t rock hard straight from the fridge, or you’ll be whisking forever. I usually let mine sit out for maybe twenty minutes while I get the berries washed up. Also, grab your jars now—they need to be clean and ready to go, just like you!
Preparing the Creamy Filling
Grab a sturdy mixing bowl—no need for a fancy electric mixer here, I usually use a regular whisk or a hand mixer if I’m feeling lazy! Beat that Greek yogurt, cream cheese, and honey together. You want this mixture to be beautifully uniform, smooth, and creamy, with no lumps of cream cheese hiding anywhere. Keep going until it looks like decadent frosting. This step is key to making sure your final high protein dessert isn’t grainy!
Assembling Your Healthy Cheesecake Jar
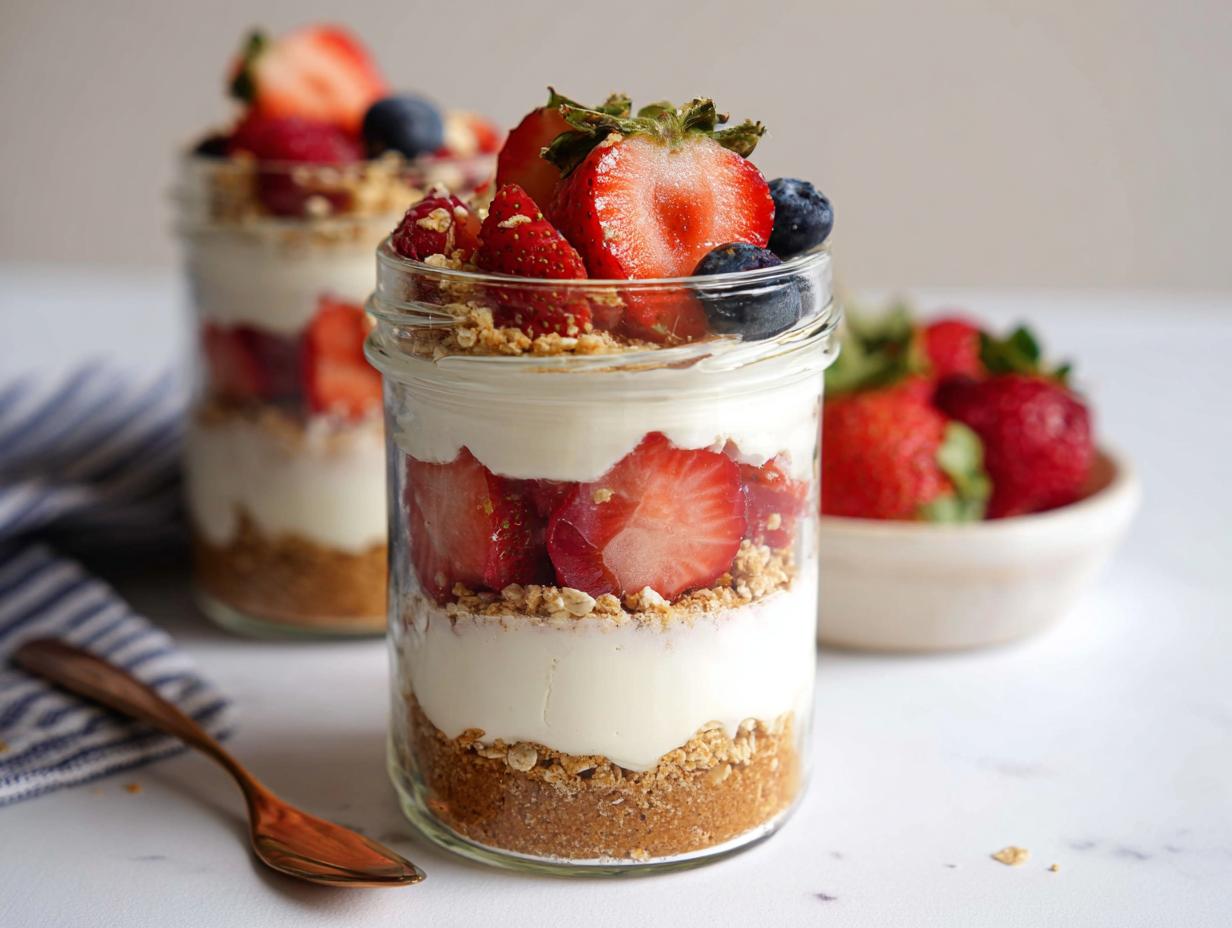
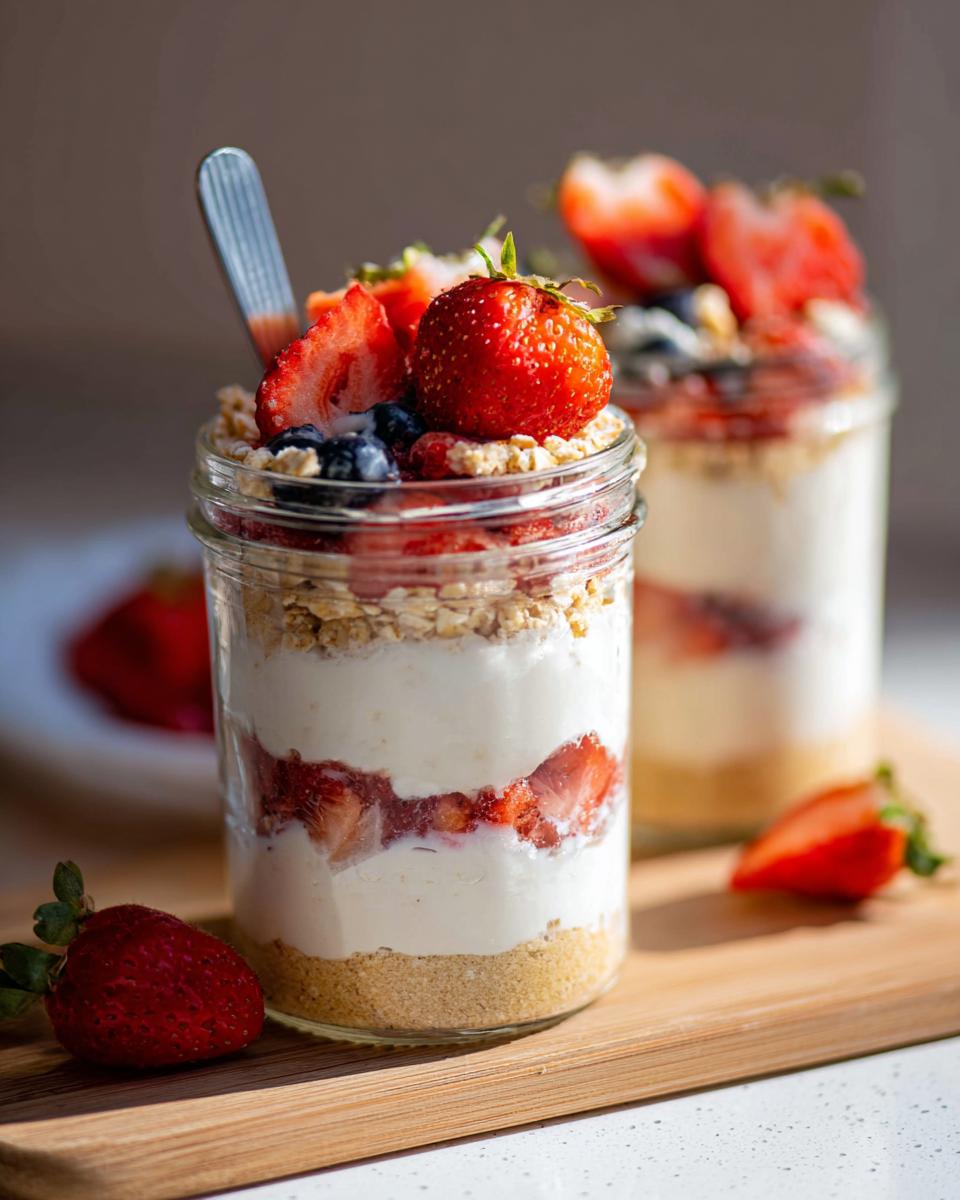
Now for the fun part: layering! This is where you pretend you’re an interior designer building tiny, delicious towers. Start by spooning in about half of those crushed oats at the bottom of each jar. That’s your base layer, so press it down gently with the back of your spoon to make a nice little platform.

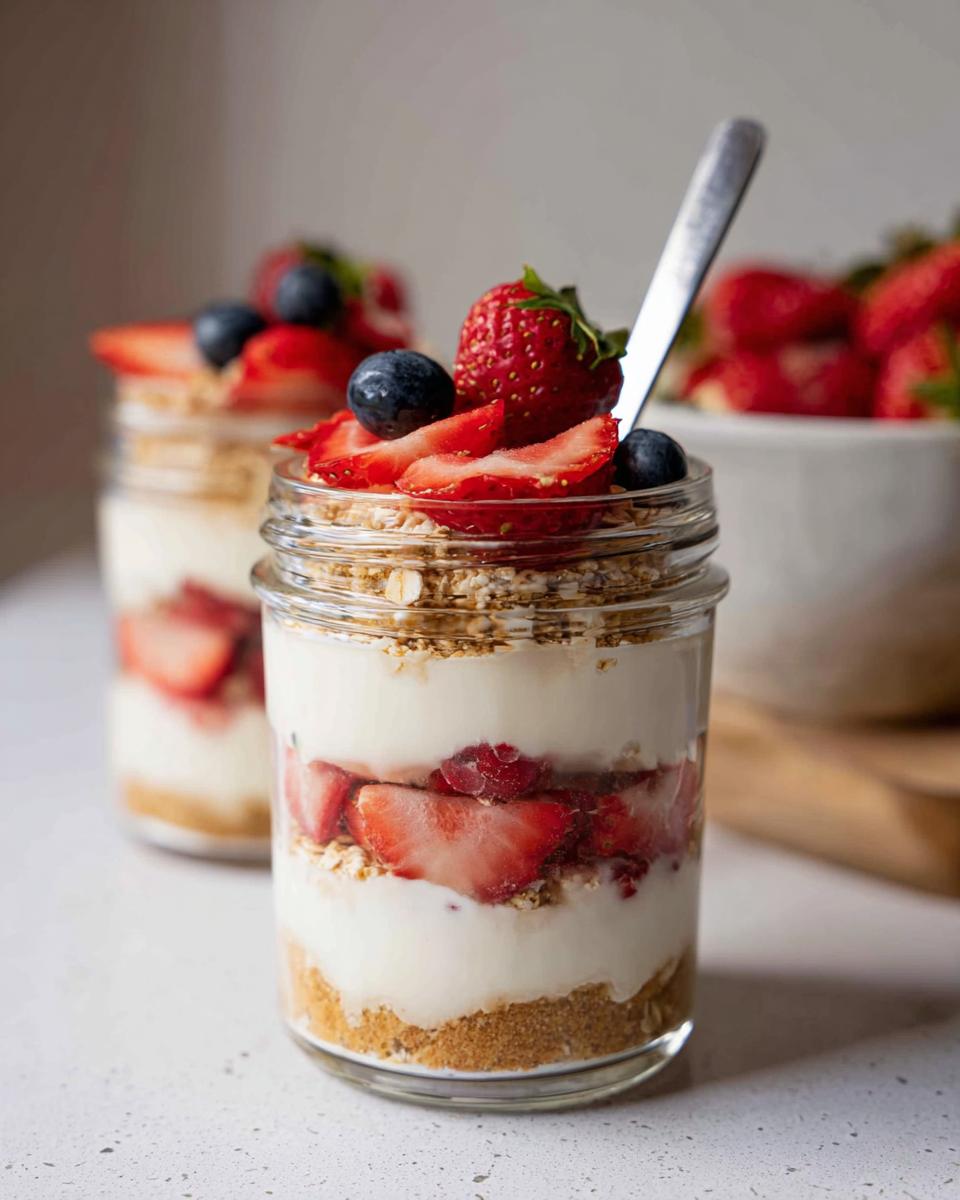
Next, dollop in half of your creamy filling over the oats. Don’t worry about making it perfectly flat on top; it’s going to look rustic! Now sprinkle on a nice little layer of your fresh berries. Then, just repeat! Add the rest of the oats, the rest of the cream, and top everything off with a gorgeous final scattering of those pretty berries. You want the top layer to look vibrant!
Chilling for the Best No Bake Protein Dessert
This is perhaps the hardest step because they smell so good right away, but you absolutely must let these sit! These High-Protein Cheesecake Jars (No Bake) need time for the layers to settle and for the oats to soften just a bit against the creamy filling. Cover them up—plastic wrap or the jar lids—and move them into the refrigerator. You need them to chill for a bare minimum of 60 minutes. Honestly, waiting two hours is even better for the texture to really firm up. If you want them ready for tomorrow morning, prep them tonight!
If you enjoyed creating these individual cups, don’t miss my recipe for no-bake lemon cheesecake cups; they have a similar easy vibe!
Tips for Perfect High-Protein Cheesecake Jars (No Bake)
Even though these are super simple, a couple of tiny tricks can take them from good to absolutely phenomenal. Because we aren’t baking anything, texture is everything, and we are controlling that texture batch by batch. We want creamy, not runny, and definitely not grainy!
First, let’s talk about that Greek yogurt. Seriously, don’t grab the watery stuff. If you want that thick, decadent mouthful that screams ‘cheesecake,’ you need the thickest Greek yogurt you can find—usually the 2% or full-fat varieties work best. If your yogurt feels a little loose, you can actually strain it in a cheesecloth-lined sieve over a bowl in the fridge for an hour first. It’s an extra step, but wow, does it pay off for your final texture!
Second, while these are great for meal prep, I find they are at their peak the day after they are made. The chilling time is important, but giving those oat crumbs an extra night to meld with the filling liquid makes them even softer and more crumbly, rather than dry. You can store them for about three days, but honestly, they rarely last that long in my house!
Also, don’t over-sweeten the filling just because you think the protein powder (if you add some!) will dilute the taste. The honey balances perfectly against the slight tang of the yogurt and cream cheese. If you want more flavor complexity, add vanilla extract rather than more honey. Speaking of extra bits, if you’re making a big batch for the week, check out my tips on making healthy energy bites as another easy grab-and-go option. For those interested in the bigger picture of fueling your body correctly, Mayo Clinic has some great insights on high-protein diets.
Finally, when you are crushing those oats for the base, stop just short of making flour. You want *some* texture. If everything is powder, you lose that lovely contrast between the crust and the filling layers. A few quick pulses in the processor are all you need!
Ingredient Notes and Substitutions for Protein Cheesecake Cups
I get so many questions about tweaking recipes—and I totally get it! Sometimes you don’t have exactly what I listed, or maybe you’re trying to swap out dairy. The beauty of these protein cheesecake cups is that they are incredibly forgiving, as long as you respect the texture of the filling!
The most important thing to remember is that we need a thick base. If you switch out the Greek yogurt, make sure whatever you use is nice and thick—a strained Skyr or a very thick coconut yogurt will work better than thin standard yogurt. A runny base means a soupy jar, and nobody wants that when they are looking for a satisfying fitness dessert recipe!
When it comes to sweetness, honey is my go-to because it adds a little depth, but feel free to use maple syrup, or even a couple of drops of liquid stevia if you’re cutting down on sugar. Just taste as you go! Add your sweetener gradually until it tastes sweet enough for your palate.
And the berries? Oh my gosh, this is where you can really customize it. If fresh berries are out of season or just too pricey, frozen berries work perfectly well! You don’t even need to thaw them before you layer them in. They will actually help keep the jars colder longer in the fridge. If you’re experimenting outside of the berry family, maybe try a layer of mashed, slightly sweetened banana, or even a swirl of sugar-free chocolate sauce!

If you ever want to see how I handle substitutions in other areas, like swapping out legumes, you can check out my avocado chickpea bowl recipe, which is surprisingly flexible too! But for this creamy treat, just remember: thick yogurt is your best friend!
Storing and Making Ahead Your High-Protein Cheesecake Jars (No Bake)
This is the part I love most about these High-Protein Cheesecake Jars (No Bake)—they are practically begging you to make them ahead of time! They are such an excellent component of a meal prep strategy, meaning you can tackle your healthy dessert craving for the next few days in one go.
Since there is no baking involved, these cups rely entirely on refrigeration to set up properly. I keep mine sealed tightly in the fridge, and honestly, they are good for up to three days! That’s great news if you’re planning out your weekday snacks. The layers stay distinct, and the cream mixture holds its shape really well.
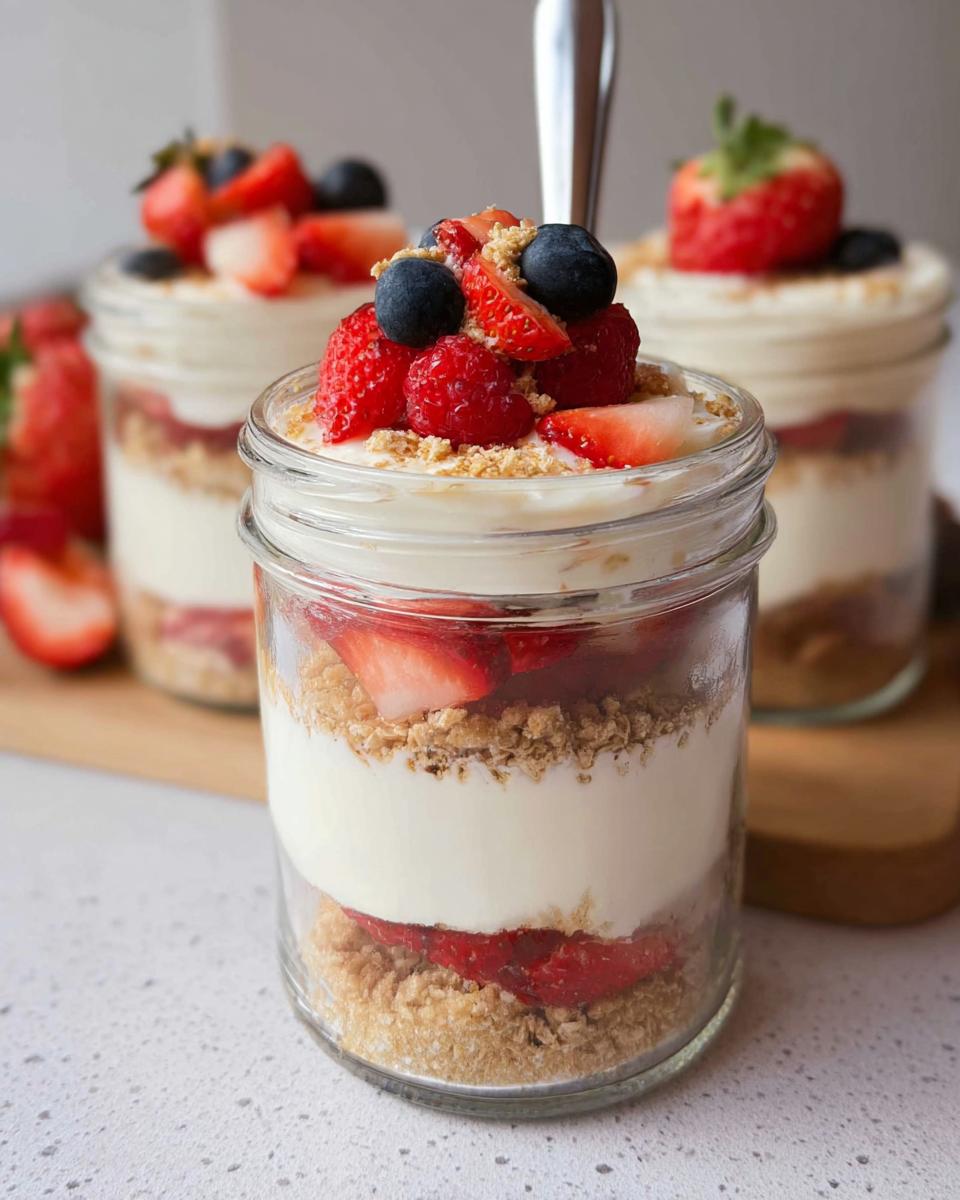
Now, I always recommend using airtight lids or pressing plastic wrap right down onto the surface of the blueberry layer. This stops the top from drying out or absorbing any funky fridge smells—though with how good they taste, I doubt they last long enough to pick up any odors!
When you’re prepping for the week, sometimes I’ll layer everything except the very top topping. Maybe I’ll only put the oats and the cream mixture in, then seal them up for two days. Then, just before serving on day three, I pop on the fresh berries. That way, the berries taste as bright and fresh as possible. It’s a little trick that keeps your fitness dessert recipe tasting straight out of the mixing bowl, even after a few days!
These jars are just so handy for those days when you realize at 3 PM that you haven’t planned a healthy thing to eat. It’s a lifesaver! If you’re looking for other great make-ahead meals that save time during the week, you need to check out my recipe for the healthy crockpot lasagna soup.
Frequently Asked Questions About This No Bake Protein Dessert
I always get asked the same things when people first try these jars, especially since they’re such a great way to get in extra protein without eating another chicken breast! These questions usually center around boosts, serving, and just making sure they turn out perfectly every time.
Can I add protein powder to the High-Protein Cheesecake Jars (No Bake)?
Oh, absolutely! This is great if you need a bigger protein hit or if you want to substitute some of the yogurt. If you decide to add a scoop of your favorite vanilla or unflavored whey or casein, you’ll probably notice the mix getting super thick really fast. That’s normal because protein powder loves to soak up moisture!
My tip? If you add about 1/2 scoop of powder, you might need to thin the mixture slightly. Add just a tiny splash of milk or water—like a teaspoon at a time—until you get that beautiful, thick, spreadable consistency back. If you don’t adjust the liquid, you’ll end up with something closer to protein fudge than creamy filling for your High-Protein Cheesecake Jars (No Bake).
What is the best way to serve this healthy cheesecake jar?
Since these are designed for convenience, you can honestly eat them straight out of the fridge when you need a grab-and-go snack! They are fantastic for that 3 PM slump when you want something sweet but need the fuel to keep going. They are also perfect as a light, satisfying post-workout treat because of that high protein content.
I love having mine paired with a hot cup of coffee in the morning—it’s like having cheesecake for breakfast without the guilt! If you happen to feel like they solidified *too much* after a long chill time, just let the healthy cheesecake jar sit on the counter for about 10 minutes before digging in. It really softens up the layers beautifully.
We’ve focused on keeping these straightforward, unlike some of the heavier recipes out there. If you are still curious about how to manage macros while enjoying sweet things, you might find my thoughts on protein pancakes interesting!
Estimated Nutritional Snapshot for This Fitness Dessert Recipe
Okay, let’s talk numbers! Since we are focusing on making this a true fitness dessert recipe that supports your goals, I know you want to know what you’re actually putting into your body. Remember, these estimates are based on using standard ingredients—like 2% Greek yogurt and regular honey—so your exact numbers might shift a little based on what brands you choose.
We are dividing the total recipe into two jars, so these numbers reflect one single, perfect healthy cheesecake jar. The protein payoff here is fantastic, and we’ve kept the processed sugar low, which is exactly what I aim for!
- Estimated Calories: Around 280–300 per jar
- Estimated Protein: A solid 20–23 grams per jar! That’s what I love about using good Greek yogurt.
- Estimated Fat: Roughly 10–12 grams per jar (mostly from the cream cheese).
- Estimated Carbohydrates: About 25 grams per jar, mainly coming from the honey and the oats.
For anyone tracking their macros closely, always double-check the labels on your specific cream cheese and yogurt, as those can vary the most! If you’re looking at ways to balance inputs, I wrote about using pink salt in recipes over here, but for this dessert, the numbers look great for a balanced treat.
You can feel really good about enjoying these little cups! If you want to see more options that taste indulgent but are nutritionally smart, check out this article on high-protein desserts for extra reading!
Share Your Experience Making High-Protein Cheesecake Jars (No Bake)
Now the fun part is over to you! I truly hope these High-Protein Cheesecake Jars (No Bake) help you satisfy those sweet cravings without derailing your goals. They are totally designed to make your busy life easier, so please let me know how they worked out for you!
When you make this recipe, I really want to know your verdict! Did you stick with strawberries, or did you experiment with blueberries or maybe even some chopped peaches? Drop a comment below and tell me which berry layer won your vote. And if you ended up adding that extra protein powder—was it worth it?
If you make these and snap a picture—because honestly, they look so pretty layered up—please tag me on social media! Seeing your beautiful jars is what keeps me excited about creating these convenient, goal-supporting recipes for you all. If you have any specific questions about substitutions or storage that I missed, just head over to my contact page and send me a message!
Happy layering, and enjoy every bite of this easy, delicious no bake protein dessert!
By Emily Mitchell, Efficiency & Testing Coordinator at Recipes by Betty.
High-Protein Cheesecake Jars (No Bake)
Equipment
- Mixing Bowl
- Jars (2)
Ingredients
Cheesecake Filling
- 200 g Greek yogurt
- 100 g Cream cheese
- 2 tbsp Honey
Base and Topping
- 40 g Crushed oats
- Fresh berries
Instructions
- Beat the Greek yogurt, cream cheese, and honey together until the mixture is smooth.
- In your two jars, create layers starting with the crushed oats at the bottom.
- Add a layer of the cream mixture over the oats, followed by a layer of fresh berries.
- Repeat the layers until the jars are full, ending with berries on top.
- Chill the jars for at least 1 hour before you eat them.