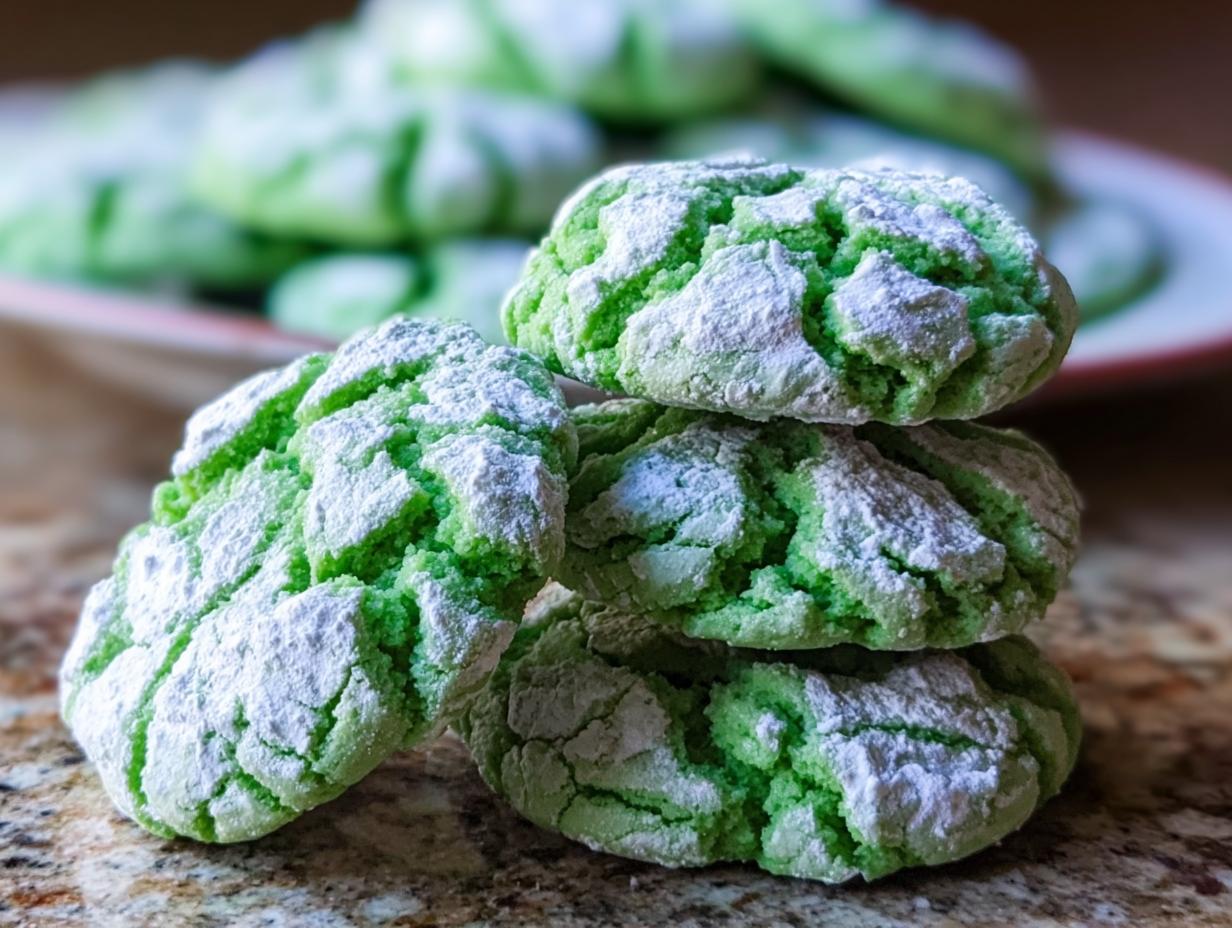
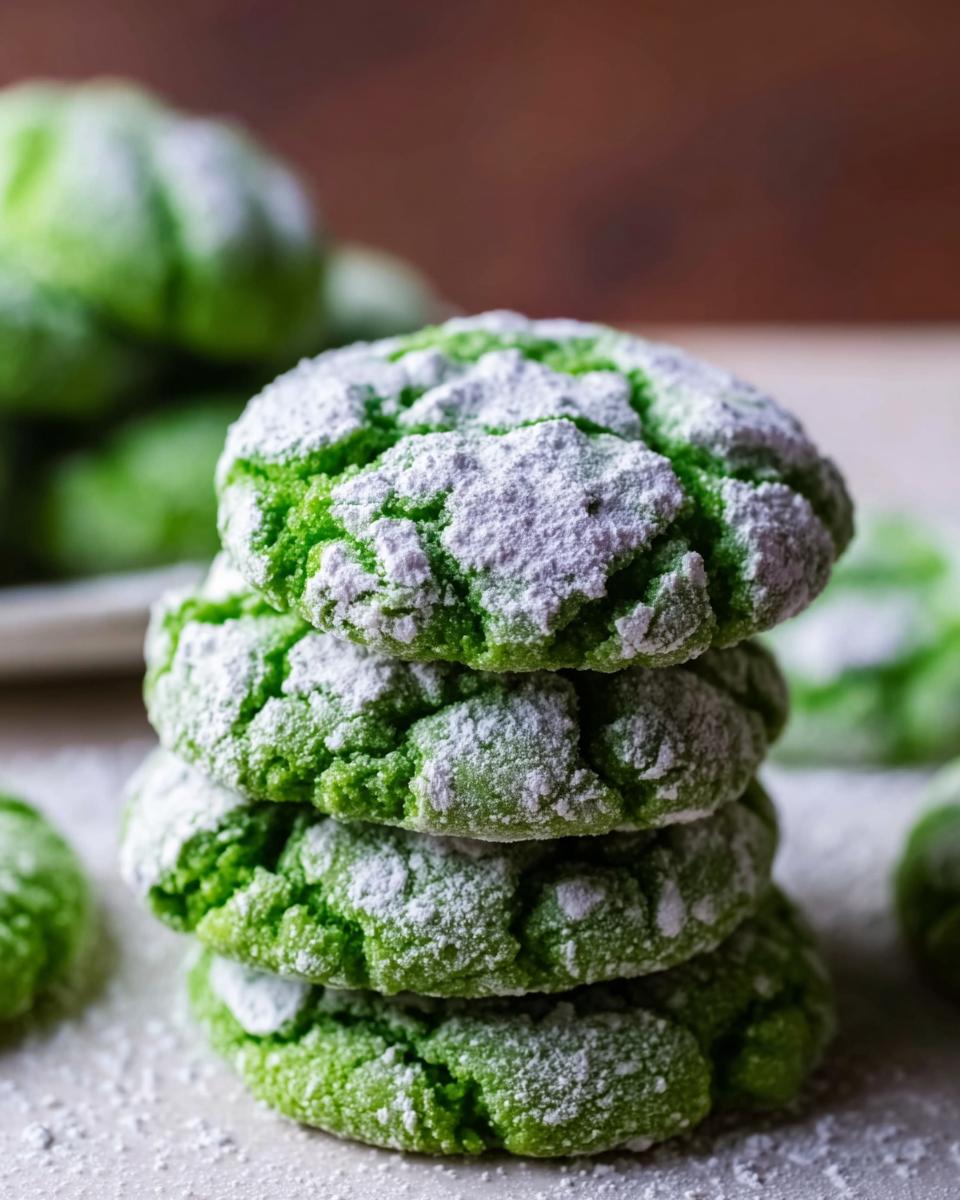
If you’re looking for the absolute star of your next green celebration, stop what you’re doing right now! We need to talk about texture, friends. These Green Velvet Crinkle Cookies are soft, chewy, and boast that incredible, delicate network of cracks across the top. People always ask me how I get that perfect shattered look; honestly, it took a few tries, but I finally nailed the secret to that signature crackle.
These aren’t just pretty cookies, either. They have a subtle cocoa hint that balances the sweetness perfectly, making them truly irresistible. I’m so excited to share my little secrets below so your first batch turns out just as amazing as the eighteenth batch I typically bake when practicing for St. Patrick’s Day!
Why You Will Love These Green Velvet Crinkle Cookies
Honestly, what’s not to love about these? Once you see them dusted white against that bright green, you’ll get why they are my favorite St Patty Day Food recipe. They come together surprisingly fast, too!
- Incredibly Soft Texture: They are delightfully chewy on the inside, not dry or cakey at all!
- Showstopper Color: Perfect for any green-themed party, these vibrant Green Snacks grab everyone’s attention immediately.
- Easy to Make Ahead: You can chill the dough, which is a huge win when you’re busy prepping for a big bash.
- Classic Inspiration: These are based on that beloved red velvet crinkle cookie design, just tinted green!
- Make it a Theme: They are perfect anchors for any holiday spread.
Essential Equipment for Perfect Green Velvet Crinkle Cookies
You don’t need a whole professional setup for these, but having the right tools on hand makes things so much smoother! Trust me, trying to cream butter without a good mixer usually ends in sore arms for me. Since these are small holiday bakes, we aren’t making tons of mess, which is another bonus.
Here is what you absolutely need handy before you even start creaming that butter:**
- Oven: Obviously! Make sure you know your oven runs true to temperature; these are sensitive to being over or under-baked.
- Mixing Bowls: You’ll need at least two—one for the dough and one big one for rolling in that messy, glorious powdered sugar!
- Electric Mixer: This is key for properly creaming the butter and sugar to get that nice fluffy base for the dough.
- Baking Sheets: I usually prefer half-sheet pans. Make sure you have enough space to space the cookie balls out before they start spreading on the baking sheets.
Ingredients for Amazing Green Velvet Crinkle Cookies
Getting the ingredients right is step one in making sure you get that beautiful green color and perfect soft texture we are aiming for. I always measure everything out first, especially the flour, because these are delicate cookies. Think of it like setting up your little baking station!
My list below is broken down just like I organize my mise en place. Don’t forget that the quality of your green coloring really impacts how vibrant these turn out. If you want a deep green for your fun holiday baking, you might need a touch more than you think!
For the Cookie Dough
- 1.5 cups Flour
- 0.5 cup Butter (make sure it’s softened—this is important for creaming!)
- 0.75 cup Sugar
- 1 Egg
- 1 tbsp Cocoa powder (just a touch for that ‘velvet’ depth, surprisingly!)
- Green food coloring (you’ll need enough to reach your desired color—start with a few drops and see how it looks!)
For the Powdered Sugar Coating
- Powdered sugar (You will need a good amount for rolling the dough balls thoroughly!)
Step-by-Step Instructions for Green Velvet Crinkle Cookies
Alright, this is where the magic happens! Preparing these colorful cookies is surprisingly straightforward, making them fantastic St Patrick Day For Kids Treats because they get to see the color change. Just follow my steps closely, especially when it comes to chilling the dough—that step is non-negotiable if you want those perfect cracks!
Preparing the Green Velvet Crinkle Cookies Dough
First things first, let’s get the oven heated up to 350°F (175°C). Now, grab your mixer and cream that softened butter with the sugar until it looks honestly fluffy and pale. This creates the air pockets we need for texture later. Add in your egg, that tiny bit of cocoa powder for depth, and start dropping in the green food coloring until you hit a nice, vibrant shade! Once that’s mixed, slowly add the flour until it just comes together into a dough. Don’t overmix now! If you’re ever wondering about different amounts of powdering sugar for topping, sometimes I look up recipes like how to make simple cookie frosting just for coating ideas.
Expert Tip: Wrap that beautiful green dough snugly and pop it in the fridge for a solid 30 minutes. Chilling solidifies the butter, which actually helps drive the beautiful cracks when the cookies hit the heat!
Shaping and Coating for the Signature Look
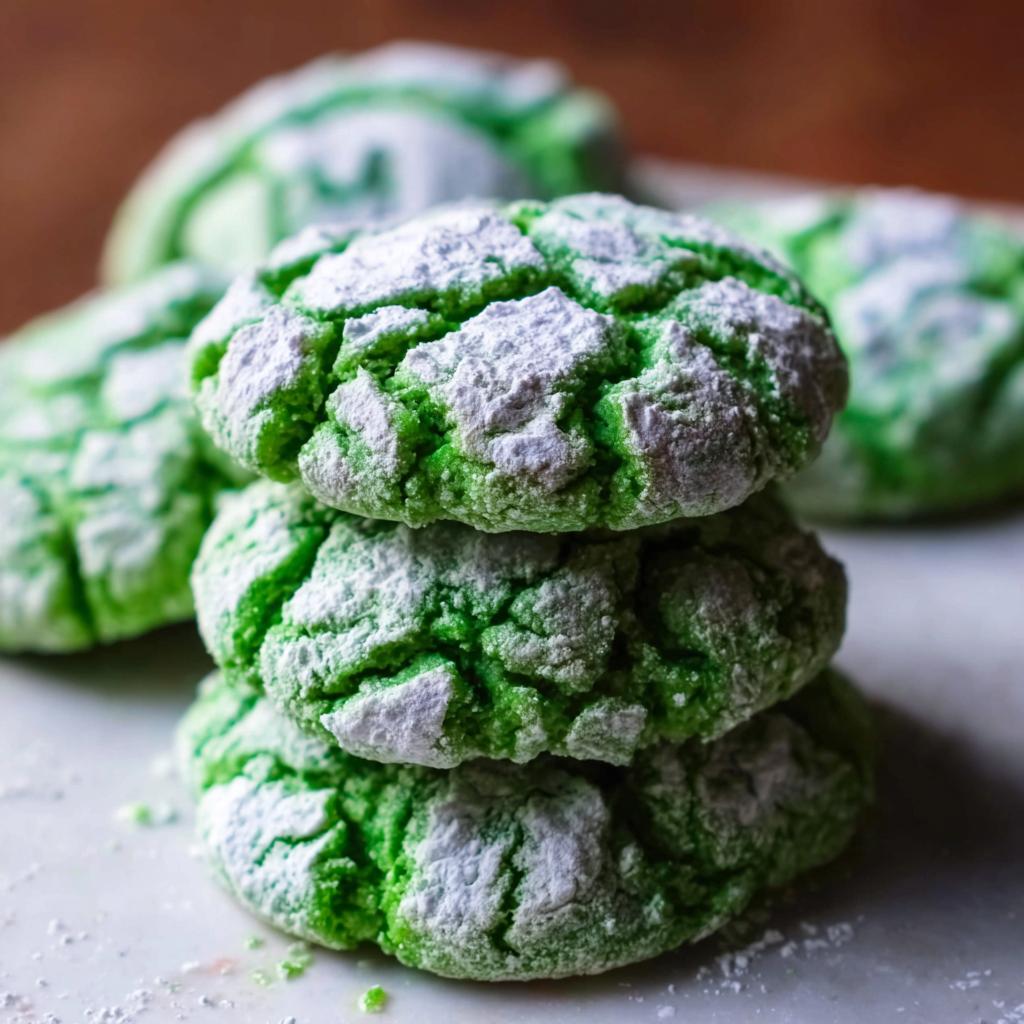
Once chilled, break off small, uniform balls of dough. You want them about the size of a good walnut. Now, this next part is crucial for the crinkle effect: you must roll them completely, totally drowning them in powdered sugar. Seriously, make sure every inch is coated—the pressure of the oven can’t crack the cookie if there’s dough sticking out!
If the dough starts getting too sticky while you work, just pop the whole bowl back in the fridge for 10 more minutes. Sticky dough means poor sugar coating, and poor sugar coating means sad, flat cookies. No thanks!
Baking the Green Velvet Crinkle Cookies
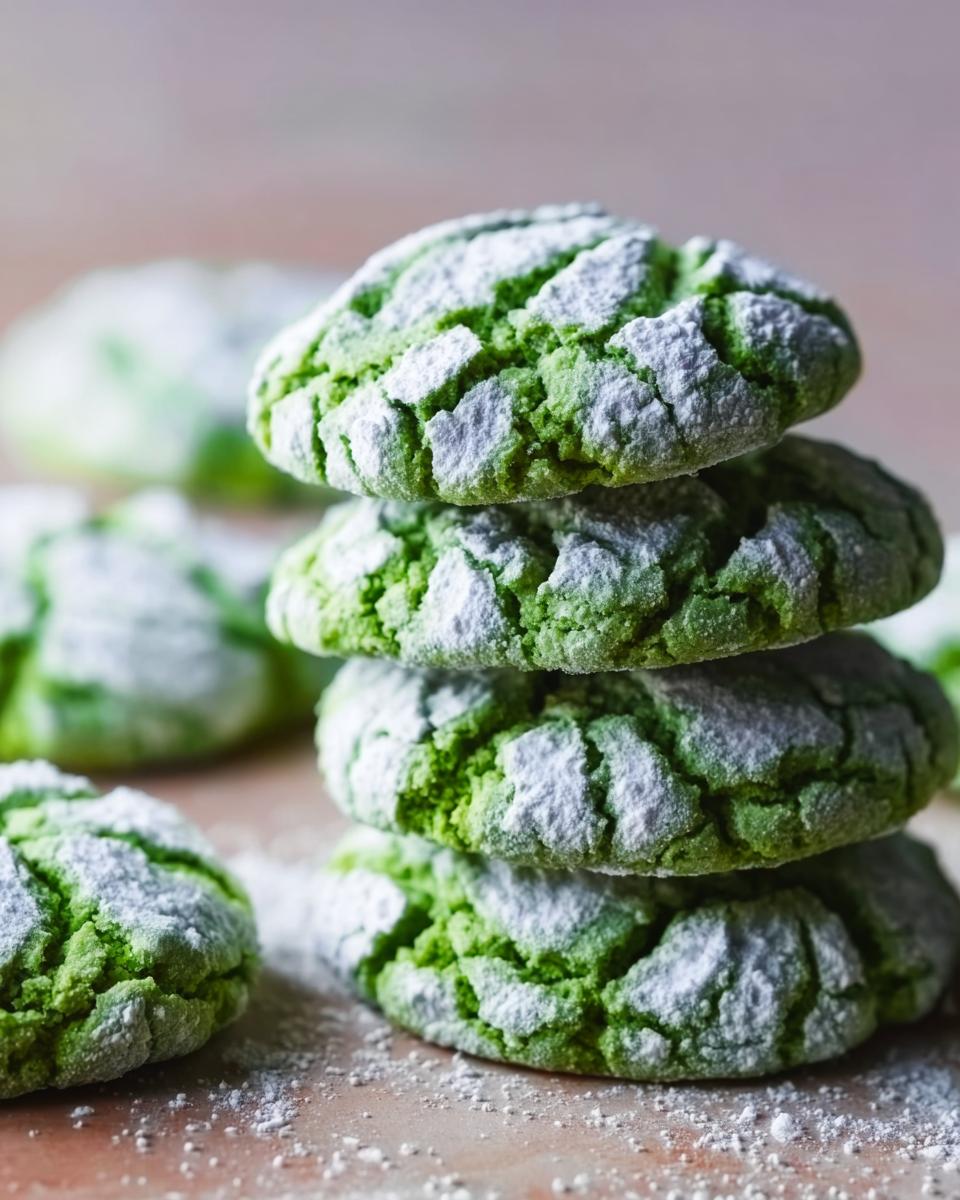
Place your heavily sugared balls onto prepared baking sheets, making sure they have a little room to breathe—they will spread a bit. Bake these babies for about 12 to 14 minutes. That’s all it takes! You’ll know they are perfectly done when the tops show those gorgeous, deep cracks we’ve been working toward. They might look a tiny bit soft right out of the oven, but they firm up beautifully as they cool down. For more inspiration, check out this fantastic chocolate crinkle cookie recipe!
Tips for the Best Green Velvet Crinkle Cookies Results
Achieving that signature look for your St Patrick Party Food spread takes just a couple of tiny secrets beyond the basic recipe. The most important tip I can give you for these vibrant treats is paying attention to your green food coloring. Don’t be shy! Gel food coloring works way better than the liquid kind for bold color saturation.
Also, while we talked about chilling the dough, if you notice your cookies have baked flat without major cracks, it usually means the dough was too warm. Pop the tray back in the fridge for ten minutes right before they go into the oven. This temperature shock really helps deliver those stunning fissures we love. These little attention-to-detail notes turn a good batch into the best of all the St Patrick’s Day Food Ideas!
For more deep dives into texture, you might appreciate some of my general advice on baking science, like checking out my tips on getting perfect scone tops; the principles of dough structure are similar!
Storage and Reheating Green Velvet Crinkle Cookies
Now that you’ve made these gorgeous cookies, we need to make sure they stay perfect for when the party really gets going! Since these Green Velvet Crinkle Cookies are coated heavily in powdered sugar, they can sometimes get a little damp if you store them improperly. The goal is to keep that outer crust crisp while keeping the center soft.
My absolute best advice is to use an airtight container. When I stack them, I usually place a small piece of parchment paper between layers. This stops the sugar coating on one cookie from sticking to the one above it, which is so frustrating when you go to pick one up!
They are really best eaten within the first three days, honestly. If you manage to have any leftovers past that point, they usually keep well at room temperature for about a week. I wouldn’t try freezing the finished cookies, though. That moisture change when thawing often makes the powdered sugar melt right off the beautiful crinkles. If you must freeze them, freeze the dough balls *before* rolling them in sugar!
Serving Suggestions for St Patrick’s Day Snacks For Kids
These cookies really shine when presented beautifully alongside other fun treats. Since they are so colorful, they easily become the centerpiece for your table of St Patrick’s Day Snacks For Kids! I think pairing them with something cold and bubbly really cuts through the sweetness.
If you’re throwing a big bash, try setting up a simple drink station using my favorite fizzy green mocktail—you can find the recipe for that tasty Christmas punch here (but use green food coloring instead of red!). That bright drink paired with these cookies makes for wonderful Green Foods For Party displays. They also look amazing next to fresh fruit skewers!
Frequently Asked Questions About Green Velvet Crinkle Cookies
It is totally normal to have questions when tackling a fun bake like this! The color and the texture are the two things most people ask me about when planning their St Patty Day Food menu. I’ve gathered the ones I get asked most often about achieving that perfect crinkle every time. I hope this helps get your batch looking just right!
Why aren’t my Green Velvet Crinkle Cookies cracking?
Nine times out of ten, this comes down to temperature! If your dough was too warm going into the oven, the outside sets before the cookie has a chance to expand and crack beautifully. You absolutely must chill that dough, remember? Also, make sure you roll those balls super thick in powdered sugar. The more sugar coating you have, the more dramatic the crackle will be when the cookie puffs up. If you are curious about what makes cookie tops crack, I have a whole article diving into the science behind cookie textures here!
Can I make these Green Velvet Crinkle Cookies ahead of time?
Yes, you totally can, which is a lifesaver when you are preparing for a big St Patrick’s Day Party! I usually make the dough, wrap it tightly, and keep it in the fridge for up to three days. The best secret I have, though, is to roll them in the powdered sugar right before they go onto the baking sheet—not before chilling the dough ball.
If you coat them too early, the sugar can absorb moisture from the dough while chilling and end up getting a little soggy, which reduces that final, snowy crackle when baked. Roll, bake, enjoy!
Estimated Nutritional Data for Green Velvet Crinkle Cookies
Okay, so since these are pure holiday magic, maybe we don’t look too closely at the numbers, right? We’re baking for fun and festive cheer, after all! But for those of you who like to keep track—and I totally get it—I compiled an approximate nutritional breakdown based on the ingredients I used and standard measurements.
Please keep in mind this is just an estimate for one cookie based on the 18-serving yield. The actual numbers can change a bit depending on the exact brand of butter or the amount of sugar you use for that heavy coating—that sugar coating adds up quickly!
- Calories: Approximately 150-170 kcal
- Total Fat: Around 7g
- Protein: About 2g
- Total Carbohydrates: Roughly 22g
As always, for the most official data, you should run the actual recipe through a dedicated nutrition calculator. You can read more about how we generate these estimates over on my official disclaimer page. Happy baking, and remember: a little indulgence is required for holiday happiness!
Green Velvet Crinkle Cookies
Equipment
- Oven
- Mixing Bowls
- Electric mixer
- Baking sheets
Ingredients
Cookie Dough
- 1.5 cups Flour
- 0.5 cup Butter softened
- 0.75 cup Sugar
- 1 Egg
- 1 tbsp Cocoa powder
- Green food coloring To reach desired color
Coating
- Powdered sugar For rolling
Instructions
- Preheat your oven to 350°F (175°C).
- Cream the softened butter and sugar together until the mixture is light and fluffy.
- Add the egg, cocoa powder, and green food coloring to the butter mixture. Mix until combined.
- Mix in the flour gradually until a cohesive dough forms.
- Wrap the dough and chill it in the refrigerator for 30 minutes.
- Roll the chilled dough into small balls. Coat each ball thoroughly in powdered sugar.
- Place the coated balls on baking sheets. Bake for 12 to 14 minutes, or until the tops have cracked.