
Nothing says “home for the holidays” quite like the smell of Grandma’s Thanksgiving Stuffing wafting through the house. For as long as I can remember, this recipe has been the star of our family gatherings – that perfect balance of crispy top and pillowy center, with just the right amount of sage and thyme to make your taste buds sing. I still remember standing on my tiptoes next to Grandma at the counter, watching her work her magic with that big wooden spoon. She’d let me toss in the bread cubes while she told stories about how her mother made this same stuffing back in the 1940s. The scent alone transports me right back to her cozy kitchen, where the stuffing wasn’t just a side dish – it was pure love baked into every bite.
Why You’ll Love Grandma’s Thanksgiving Stuffing
Let me tell you why this stuffing recipe has been the highlight of our family Thanksgivings for generations – and why you’ll fall head over heels for it too. First off, the flavors! That perfect blend of sage, thyme, and poultry seasoning will have your kitchen smelling like pure holiday magic. But it’s not just about taste – this recipe is pure comfort wrapped up in a baking dish. You get that satisfying crunch on top with the most tender, flavorful middle that melts in your mouth.
What really sets Grandma’s stuffing apart is how approachable it is. You don’t need fancy techniques – just good old-fashioned mixing and baking. The ingredients are simple things you probably already have in your pantry. And talk about versatile! I’ve made this exact recipe for Friendsgiving potlucks, cozy fall dinners, and even bridal showers – it always disappears fast. But what I love most? Every bite carries decades of family tradition and love.
Ingredients for Grandma’s Thanksgiving Stuffing
Let’s gather everything you’ll need to make this legendary stuffing – trust me, the simple ingredients come together to create something truly magical. Here’s what you’ll want to have ready:
- 4 cups stale bread cubes – Grandma always used day-old sourdough or French baguette (the chewier, the better!). If you’re feeling adventurous, try using sourdough for extra tang.
- ½ cup unsalted butter – Real butter only, please! Grandma would shake her head at anything else.
- 1 medium onion, finely chopped – The finer the chop, the more evenly the flavor distributes.
- 2 stalks celery, chopped – Include those leafy tops for extra flavor.
For the seasoning blend that makes this stuffing unforgettable:
- 1 tbsp fresh or dried sage – Fresh is wonderful if you have it, but dried works just fine.
- 1 tsp dried thyme – Rub it between your fingers before adding to wake up the oils.
- ½ tsp poultry seasoning – Grandma’s secret weapon!
- 2 cups low-sodium chicken broth – Warm it slightly before adding for better absorption.
- Salt and pepper to taste – Always taste before baking.
See? Nothing fancy – just honest ingredients that come together to create pure comfort. Now let’s get cooking!
How to Make Grandma’s Thanksgiving Stuffing
Alright, let’s get this show on the road! Making Grandma’s stuffing is easier than you think, but there are a few tricks I learned from her that make all the difference. First things first, preheat that oven to 350°F (175°C) and grab your favorite oven-safe baking dish – I like using a 9×13-inch one for even cooking. Give it a quick spray with nonstick oil or butter it up the old-fashioned way.
Prepping the Bread and Vegetables
Remember, the bread cubes should be about ½-inch pieces – not too big, not too small. Grandma always said the perfect cube should be “just right for soaking up all that goodness.” For the veggies, chop your onion nice and fine (no one wants big chunks!), and slice the celery thin. Those leafy celery tops? Toss ’em in too – extra flavor never hurt anyone!
Baking Grandma’s Thanksgiving Stuffing
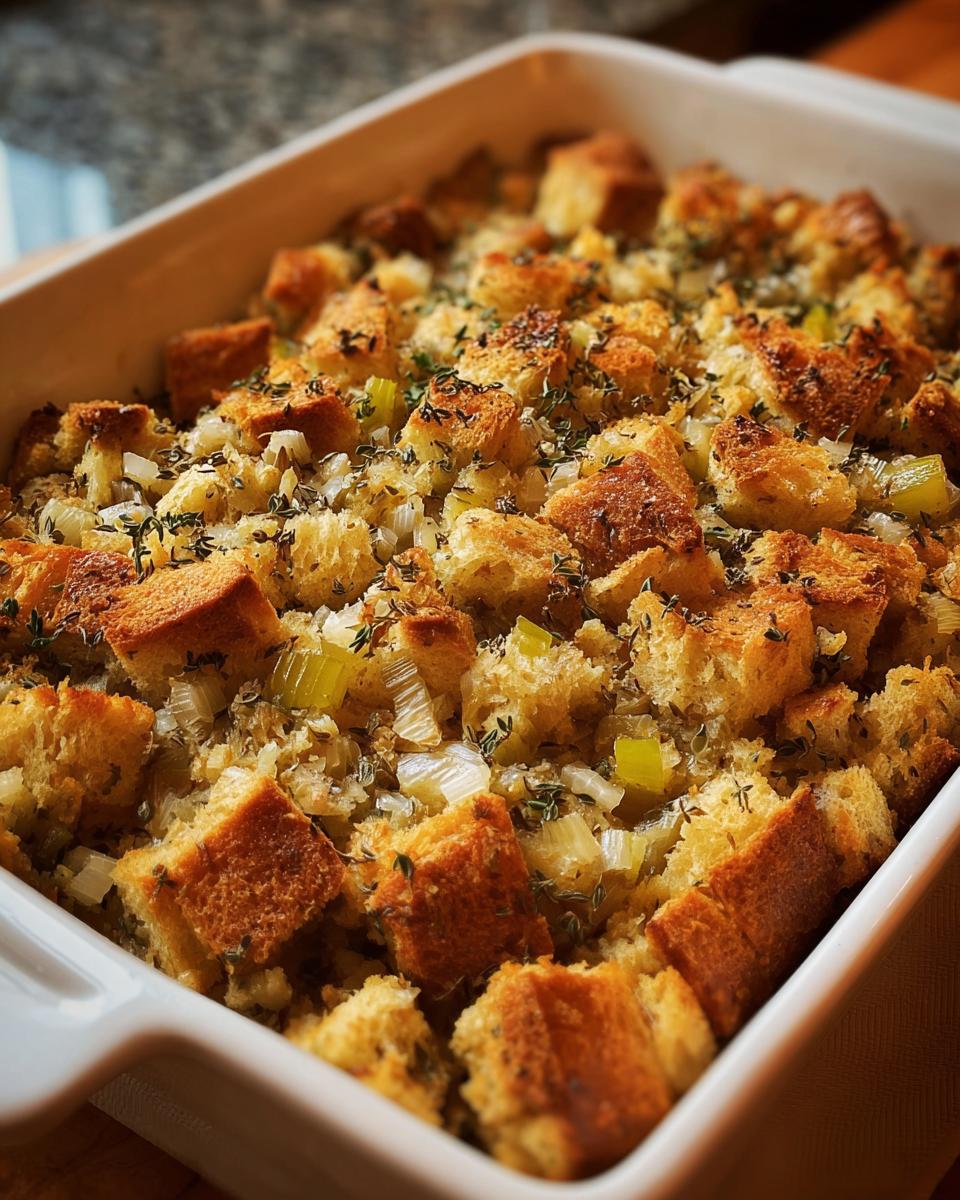
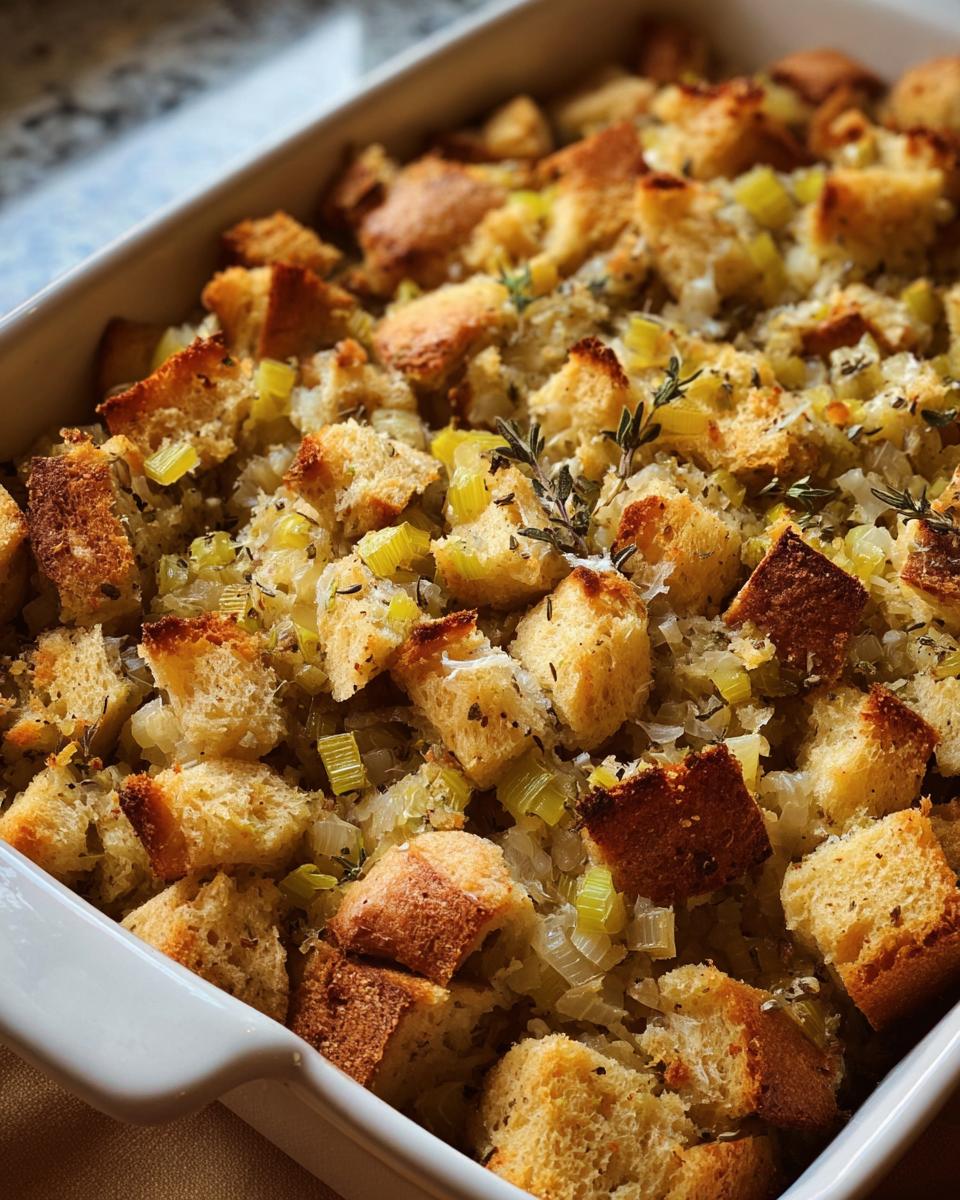
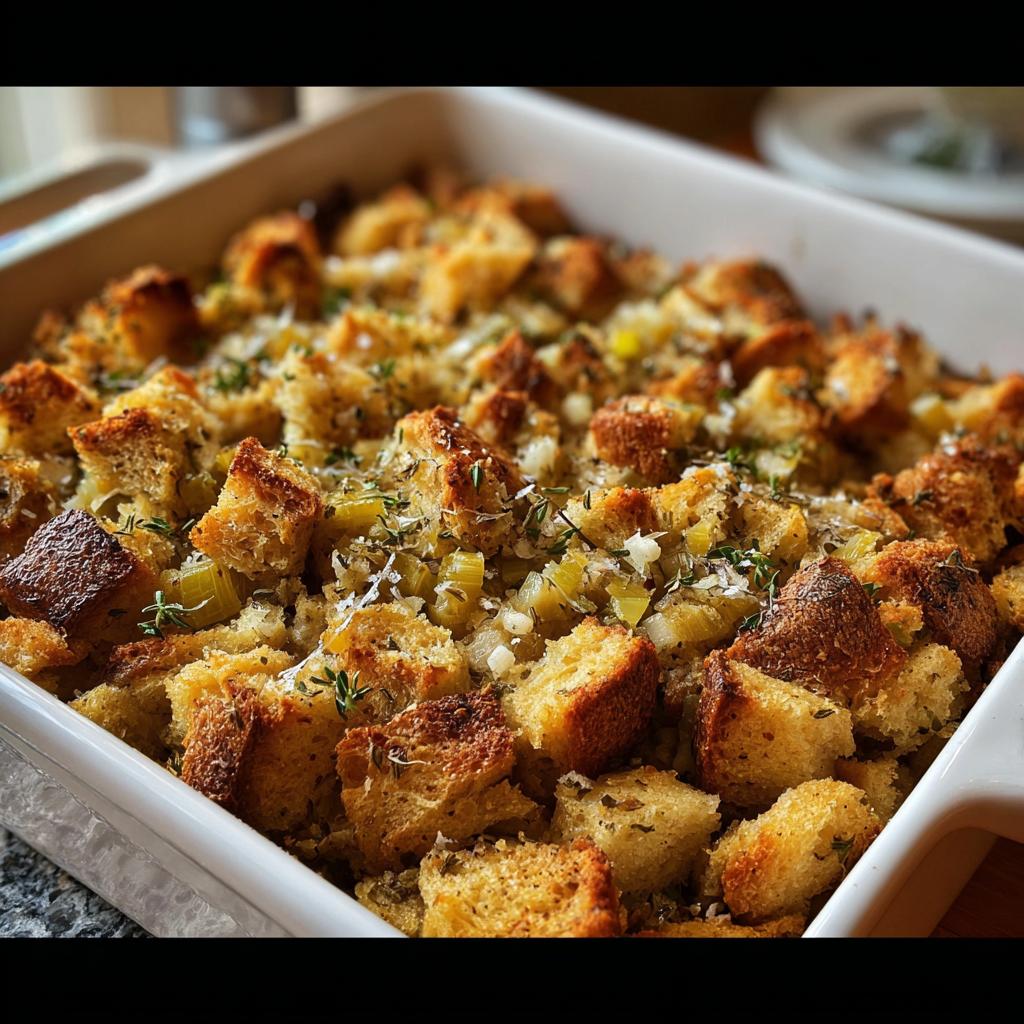
Here comes the magic! Once your stuffing mixture is in the baking dish, cover it snugly with foil – this keeps it moist while it bakes. After 30 minutes, whip off that foil and let it go another 10 minutes. You’re looking for that gorgeous golden-brown top that makes everyone’s mouths water. Pro tip: If you want extra crispiness, pop it under the broiler for just a minute – but watch it like a hawk! For more baking wisdom, I sometimes peek at this stovetop stuffing guide when I’m feeling adventurous.
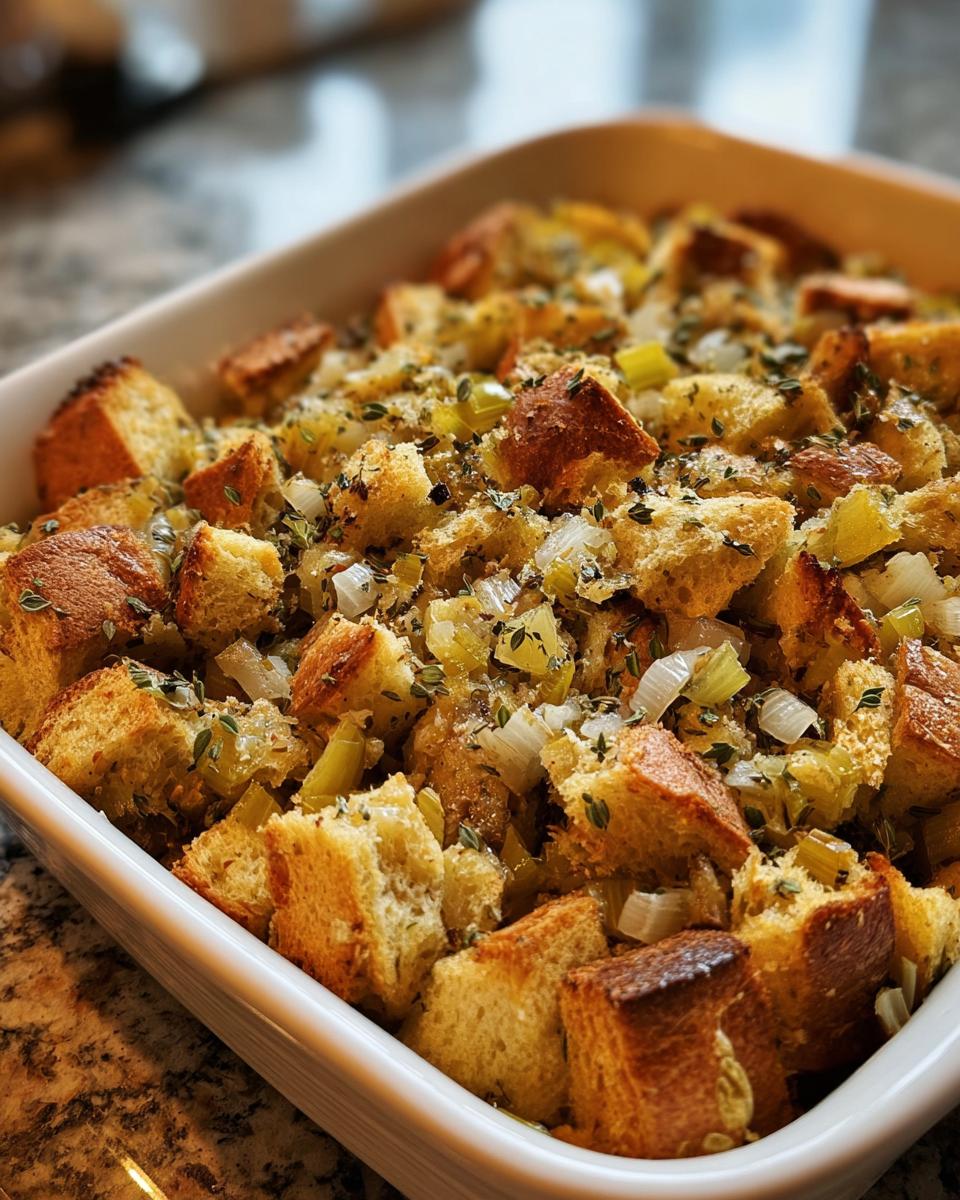
When that heavenly aroma fills your kitchen, you’ll know it’s ready. Let it rest for 5 minutes before serving – patience is a virtue, my friend. Then dig in and watch the smiles around your table grow just like they did at Grandma’s.
Tips for Perfect Grandma’s Thanksgiving Stuffing
Listen, I’ve made this stuffing more times than I can count, and over the years I’ve picked up some tricks that’ll take yours from good to “Oh-my-goodness-can-I-get-the-recipe?” amazing. First – the bread! Grandma always said, “Stale doesn’t mean rock-hard.” Let your bread sit out overnight, but if you’re in a pinch, spread cubes on a baking sheet and toast at 250°F for 15 minutes. Works like a charm!
Next up – the herbs. Fresh is fantastic, but dried works just fine in a pinch. Just remember: dried herbs are more concentrated, so use half the amount. And don’t skip rubbing the thyme between your fingers before adding it – “wakes up the flavor,” as Grandma would say.
Here’s a game-changer: warm your broth slightly before adding it. Cold broth cools everything down and makes the bread soggy. You want it warm enough to soak in, not too hot to cook the bread. Aim for “just comfortable bath temperature” – about 100-110°F.
Don’t overmix! I learned this the hard way. Gently toss the bread with the veggie-butter mixture until just combined. Overmixing makes the stuffing dense. Grandma would use two forks in opposite directions – “like you’re tucking a baby in,” she’d say.
One last pro tip: If you’re making this ahead (smart move!), stop before the final bake. Mix everything, put it in the dish, cover and refrigerate. When ready, let it sit at room temp for 30 minutes, then bake as usual. The flavors meld beautifully overnight!
Creative Variations on Grandma’s Thanksgiving Stuffing
Now, don’t get me wrong – Grandma’s original recipe is perfect as is. But over the years, I’ve played around with some tasty twists that still honor her classic while adding a little something extra. Here are my favorite ways to mix it up:
For the purists: Stick to the original but toast the bread cubes with a tablespoon of that butter first – gives it an even deeper, nuttier flavor that’ll make you swoon.
Sweet & Savory: Toss in a cup of diced apples (I love Honeycrisp!) and a handful of dried cranberries about halfway through mixing. The tart-sweet contrast is *chef’s kiss* with the savory herbs.
Meat lovers: Brown some sausage (hot Italian or mild, your call) with the onions and celery. Pro tip: Use the sausage grease instead of butter for an extra flavor punch! Works great in my stuffed pepper casserole too.
Crunchy twist: Stir in a handful of toasted pecans or walnuts before baking. Grandma would raise an eyebrow, but even she couldn’t resist that added texture!

Serving and Storing Grandma’s Thanksgiving Stuffing
Oh, the moment we’ve all been waiting for – serving this beauty! Let’s talk about how to make Grandma’s stuffing the star of your holiday spread. First, always let it rest for 5-10 minutes after baking – it helps all those incredible flavors settle into place. I love serving it right next to the turkey so it can soak up those delicious juices, with a gravy boat on the side for drizzling (or drowning, no judgment here!).
Leftovers? Lucky you! Just cool the stuffing completely, then tuck it into an airtight container. It’ll keep in the fridge for 3-4 days – though in our house, it never lasts that long. To reheat, I splash a tablespoon of broth over the top (keeps it moist) and warm it covered at 350°F for about 20 minutes. Want that crispy top again? Uncover for the last 5 minutes. Trust me, it tastes just as heavenly the second day!
Grandma’s Thanksgiving Stuffing FAQs
Can I make Grandma’s Thanksgiving stuffing ahead of time?
Absolutely! This stuffing actually tastes better when made a day ahead. Just prepare everything up to the baking step, cover tightly, and refrigerate overnight. When you’re ready, let it sit at room temp for 30 minutes, then bake as directed. The flavors melt together beautifully – it’s like giving them time to get to know each other!
How can I make this gluten-free?
No problem! Just swap the bread for your favorite gluten-free loaf (stale it first just like regular bread). I like the heartier GF baguettes – they hold up great to the broth. And double-check that your poultry seasoning is GF (some brands sneak in fillers). It’ll taste just as cozy and comforting!
Don’t have fresh herbs – what dried herb substitutions work?
Grandma would say dried herbs are fine in a pinch – just remember they’re more concentrated. Use 1 teaspoon dried sage instead of 1 tablespoon fresh, and ½ teaspoon dried thyme instead of 1 teaspoon fresh. Crush them between your fingers first to wake up the flavors. No poultry seasoning? Mix ¼ tsp each of sage, thyme, and marjoram.
Can I use turkey or vegetable broth instead of chicken broth?
You bet! Turkey broth makes it extra Thanksgiving-y, and veggie broth works beautifully for vegetarians. Just keep the amounts the same. Grandma sometimes used the pan drippings from the turkey – now that’s next-level flavor! Whatever you use, warm it slightly before adding so the bread soaks it up perfectly.
What’s the best way to keep stuffing warm for serving?
If you’re juggling oven space (we’ve all been there!), bake it as usual, then keep it warm in a 200°F oven for up to an hour just loosely covered. Or transfer it to a slow cooker on the “keep warm” setting – stirring occasionally. Just add a splash of broth if it seems dry. Nobody likes dry stuffing!
Nutritional Information
Now listen, Grandma never counted a calorie in her life—she believed good food should be enjoyed with gusto and gratitude! But for those who like to know, here’s what you should keep in mind about this stuffing. The nutritional values are just estimates, sweetheart—they’ll change based on whether you use that fancy organic bread or the bakery’s leftover loaf, grass-fed butter or whatever’s on sale. Every brand and tweak makes a difference!
A generous scoop of this stuffing (about ¾ cup or so) is a perfectly reasonable serving (unless you’re my Uncle Joe—he piles it high!). It’s got all the comforting goodness you’d expect—carbs from that beautiful bread, healthy fats from real butter, and all the fiber and nutrients from those fresh veggies and herbs. The chicken broth adds protein too! But honestly? When it comes to holiday meals, Grandma always said, “Don’t fuss over numbers—just savor every bite and be thankful.” And that’s advice worth passing down, don’t you think?
Grandma’s Thanksgiving Stuffing
Equipment
- Skillet
- oven-safe baking dish
- Large mixing bowl
Ingredients
- 4 cups stale bread cubes (sourdough or French baguette)
- 1/2 cup unsalted butter
- 1 medium onion, finely chopped
- 2 stalks celery, chopped
- 1 tbsp fresh or dried sage
- 1 tsp dried thyme
- 1/2 tsp poultry seasoning
- 2 cups low-sodium chicken broth
- Salt and pepper, to taste
Instructions
- Preheat your oven to 350°F (175°C) and prepare an oven-safe dish with nonstick spray.
- In a skillet, melt butter over medium heat. Add onions and celery; sauté until soft (about 5 minutes).
- Stir in sage, thyme, and poultry seasoning; cook for another minute.
- In a large bowl, mix sautéed veggies with stale bread cubes. Gradually pour in chicken broth while tossing gently until evenly moistened.
- Transfer stuffing mixture to the prepared baking dish, cover with foil, and bake for 30 minutes.
- Remove foil and bake for an additional 10 minutes until golden brown on top.