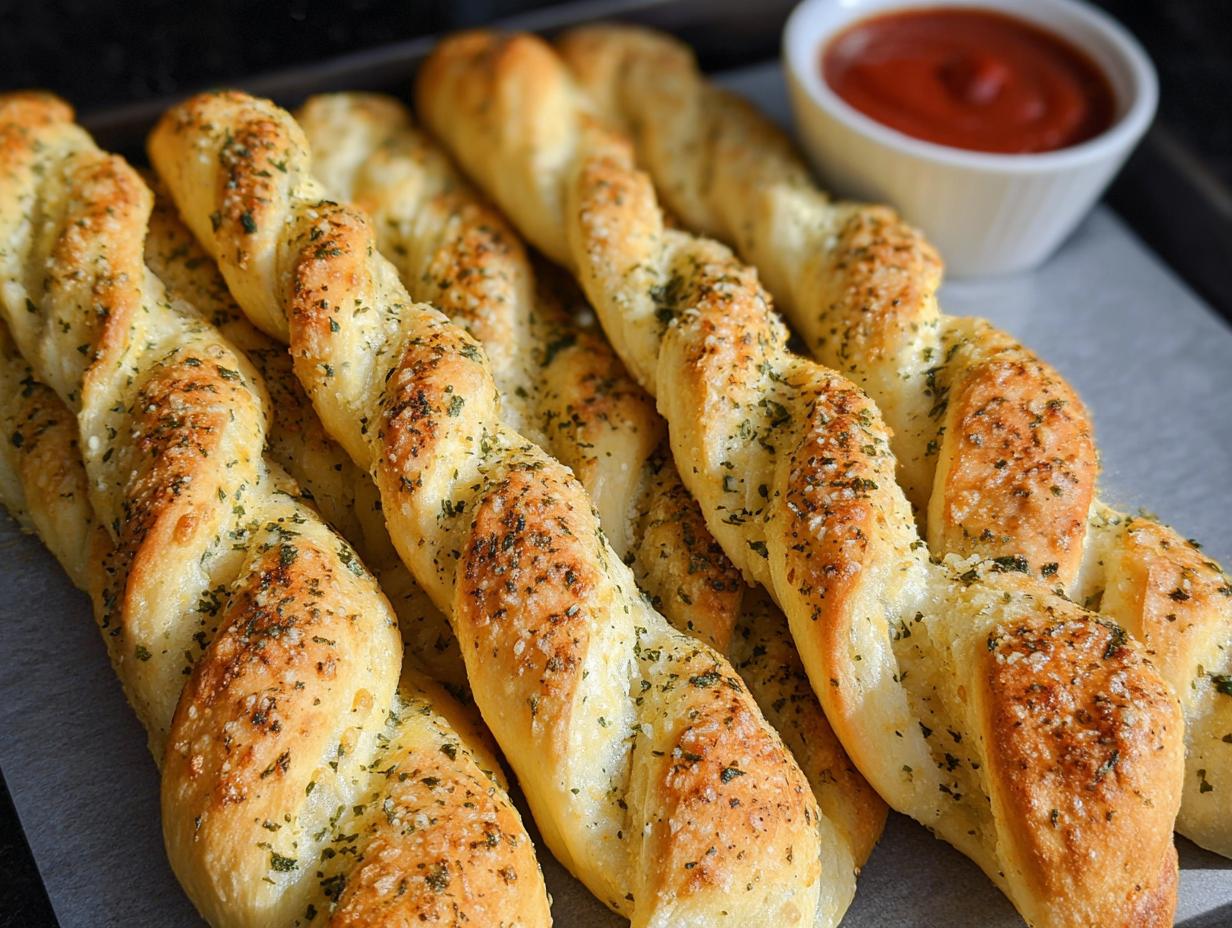
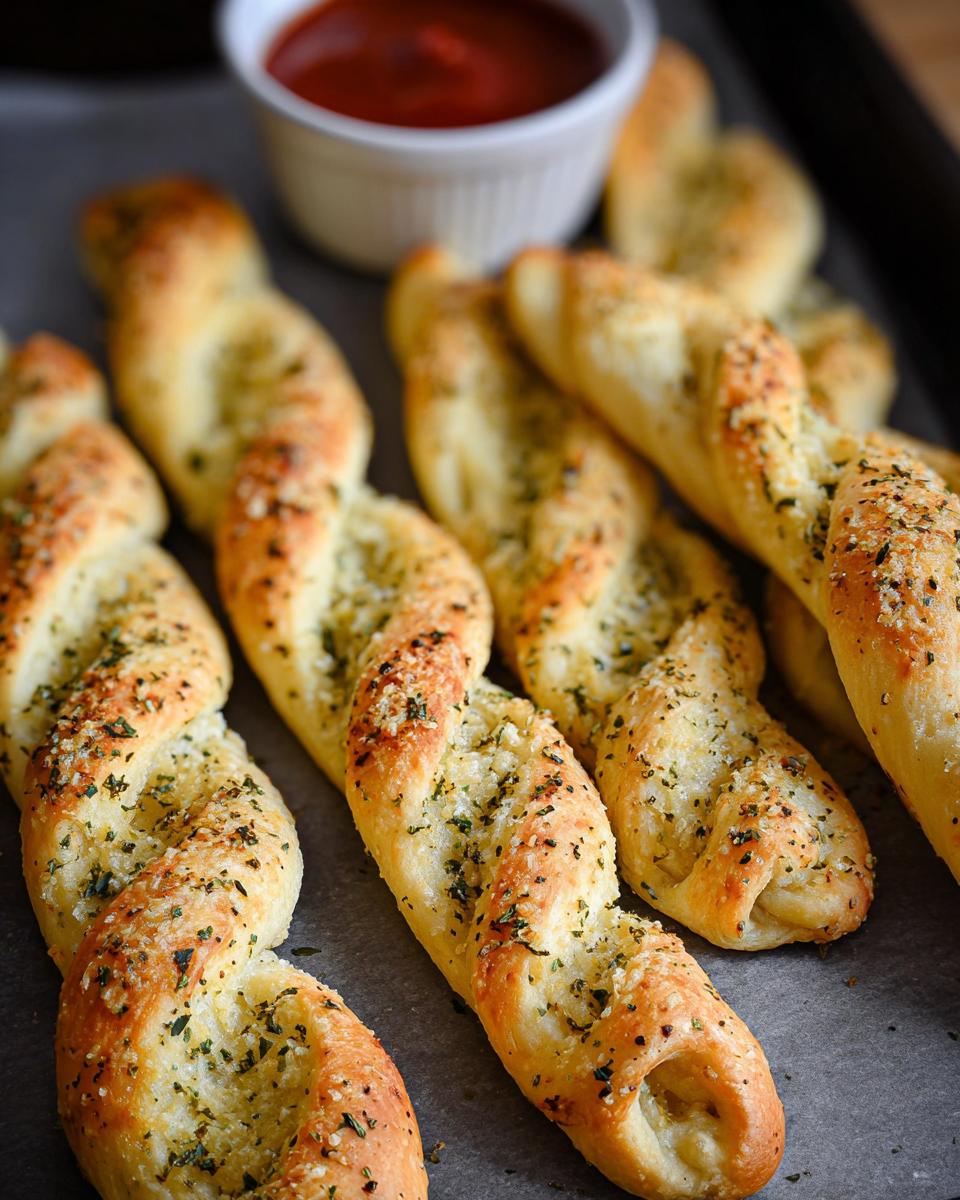
I’ll never forget the first time I made these Garlic Parmesan Breadsticks—it was a total game-changer for our family pasta nights. I thought they’d just be a simple side, but the second that garlic butter hit the warm dough and the Parmesan started toasting in the oven, everyone came running. My husband actually stole one straight off the baking sheet—burned fingers and all! That’s the magic of this recipe: it takes three humble ingredients (garlic, butter, and good Parmesan) and turns them into something ridiculously addictive. Now I double the batch every time because they disappear faster than I can say “dinner’s ready!”
Why You’ll Love These Garlic Parmesan Breadsticks
Trust me, these breadsticks are about to become your new secret weapon in the kitchen. Here’s why:
- Restaurant magic at home: That irresistible garlic-Parmesan combo tastes just like your favorite Italian spot—but you’re making it in your pajamas!
- Crazy easy: No fancy skills needed. If you can twist dough and sprinkle cheese, you’ve got this.
- Two-for-one superstar: Perfect as a side for pasta night or sliced into bites for parties (they always disappear first).
- Holiday hero: Thanksgiving? Friendsgiving? Just watch these buttery, garlicky sticks steal the show from the turkey.
Seriously, the only problem is keeping people from eating them straight off the baking sheet—I speak from experience!
Ingredients for Garlic Parmesan Breadsticks
Okay, let’s gather our goodies! I’ve split everything into two parts—the fluffy breadstick base and that magical garlic-Parmesan topping that’ll make your kitchen smell like an Italian bistro. Pro tip: Measure everything before you start—it makes the whole process so much smoother when you’re not scrambling mid-dough!
For the Breadsticks
- 1 ½ cups warm water (105 to 110°F) – Think baby bottle temperature! Too hot kills the yeast, too cold and it won’t wake up.
- 1 Tablespoon instant yeast – The little powerhouse that makes these puff up beautifully.
- 2 Tablespoons granulated sugar – Just enough to feed the yeast and add a hint of sweetness.
- 1 teaspoon salt – I use Kosher salt for even distribution, but table salt works too.
- 3 ½ to 4 cups all-purpose flour – Start with 3 ½ and add more as needed. The dough should be soft and slightly sticky.
- ¼ cup salted butter, melted – For that golden, buttery base. Unsalted works too—just add a pinch more salt.
For the Garlic Parmesan Seasoning
- ½ cup powdered Parmesan cheese – The fine texture sticks perfectly to the breadsticks.
- 1 teaspoon Kosher salt – Balances all those rich flavors.
- 2 Tablespoons garlic powder – Not the time for fresh garlic—it burns too easily!
- 2 teaspoons each of dried oregano, basil, and parsley – My Italian grandma’s holy trinity of herbs.
See? Nothing crazy—just simple ingredients that transform into something extraordinary. Now let’s get mixing!
Equipment Needed for Garlic Parmesan Breadsticks
Don’t worry—you don’t need fancy gadgets to make these breadsticks shine! Here’s what I grab every time:
- Electric stand mixer with dough hook – My trusty kitchen sidekick for effortless kneading. No stand mixer? A hand mixer works too, or even good ol’ elbow grease (just knead by hand for 5-7 minutes).
- Large rimmed baking sheet – The melted butter needs somewhere to pool, and those twisted breadsticks need room to puff up!
- Pizza cutter or sharp knife – For slicing the dough into perfect strips. I’ve used kitchen scissors in a pinch—they work surprisingly well!
That’s it! See? I told you this recipe keeps things simple. Now let’s get to the fun part—making that dough!
How to Make Garlic Parmesan Breadsticks
Alright, let’s get these Garlic Parmesan Breadsticks going! I promise it’s easier than you think—just follow these steps, and you’ll have golden, buttery sticks of heaven in no time. Here’s how I do it:
- Wake up that yeast: In your stand mixer bowl (or a large bowl if kneading by hand), mix the warm water, yeast, sugar, salt, and 1 cup of flour. Give it a quick stir and let it sit for 5 minutes—you should see little bubbles forming. That’s your yeast saying, “Let’s party!”
- Knead the dough: Attach the dough hook and start adding the remaining flour, ½ cup at a time, until the dough pulls away from the sides of the bowl. Here’s my trick: stop when the dough is still slightly sticky to the touch but doesn’t leave residue on your finger. Over-flouring makes tough breadsticks, and nobody wants that! Knead for 3 minutes—the dough should be smooth and elastic. This is the secret to moist bread—don’t rush this step!
- Butter up your pan: While the dough rests for 10 minutes (yes, it needs a quick nap!), melt that butter and pour it onto your baking sheet. Spread it evenly—this is what gives the breadsticks that irresistible golden crunch on the bottom. Preheat your oven to 400°F now too.
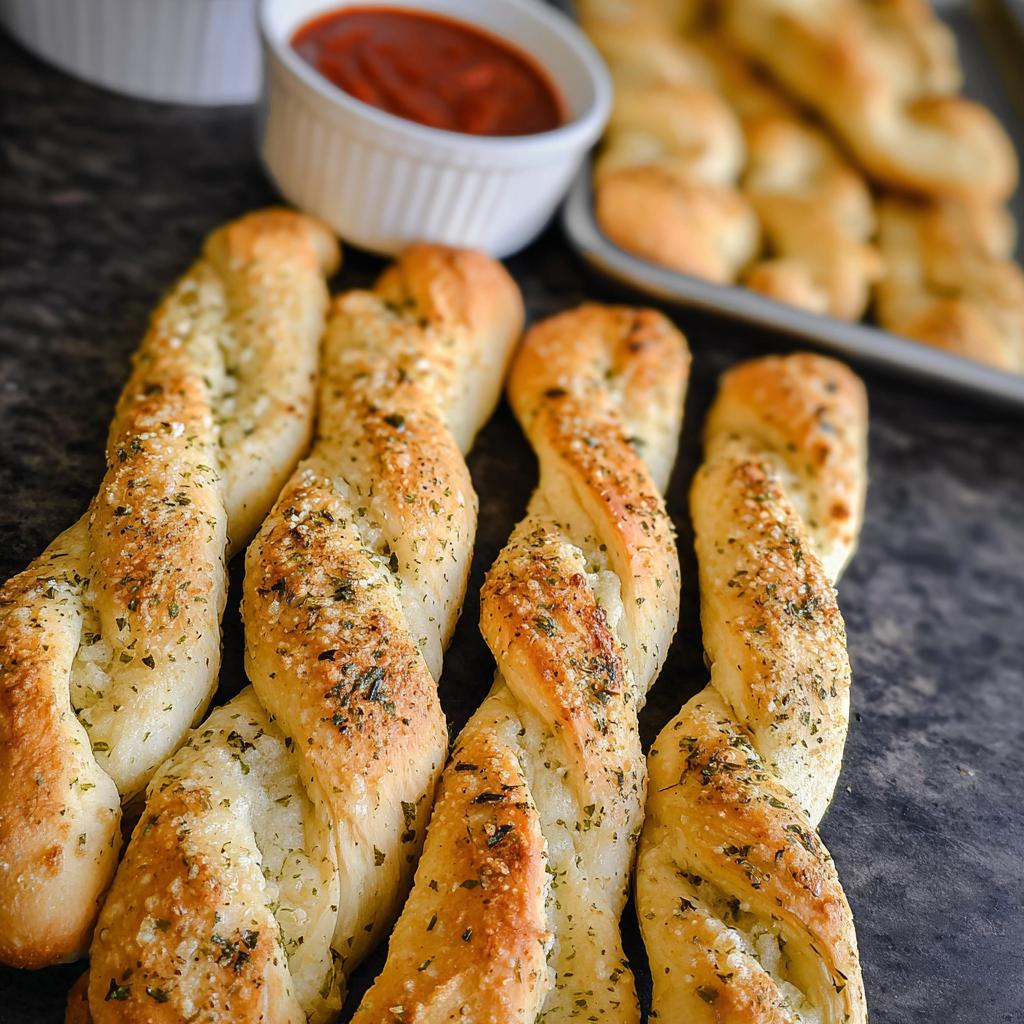
- Shape and twist: Lightly grease your counter and pat the dough into a 16×7-inch rectangle. Use a pizza cutter to slice it into 12 even strips. Now, the fun part—grab each strip by the ends and twist! Place them side by side on the buttered pan. Don’t worry if they’re not perfect; rustic is charming!
- Season and rise: Mix all those glorious garlic-Parmesan seasoning ingredients together, then sprinkle generously over the twists. Cover with a clean kitchen towel and let them rise for 20 minutes. They’ll puff up just enough—like little pillows of joy.
- Bake to golden perfection: Pop them in the oven for 15 minutes, or until they’re golden brown and your kitchen smells like an Italian restaurant. For extra crispiness, bake an extra 2-3 minutes—but watch closely! Burnt garlic is sad garlic.
And voilà! You’ve just made breadsticks that could rival any restaurant version. Let them cool for a hot minute (okay, maybe 5 minutes) before serving—if you can resist that long. Pro tip: Brush them with a little extra melted butter right out of the oven for extra shine and flavor. Now, try not to eat them all before dinner—I dare you!
Tips for Perfect Garlic Parmesan Breadsticks
Listen, I’ve made my fair share of garlic breadsticks (okay, maybe way too many), and these little tricks will take yours from good to “oh-my-gosh-give-me-the-recipe” status:
- Fresh garlic powder is key: That old jar in your spice cabinet? Toss it. Fresh garlic powder makes all the difference—it’s punchy, aromatic, and won’t taste like dust.
- Twist with confidence! Don’t just lay the dough flat—give each strip a good twist before placing it on the pan. Those nooks and crannies catch extra butter and seasoning for maximum flavor.
- Butter bath bonus: Right after baking, brush them with another tablespoon of melted butter. It adds shine, keeps them soft inside, and makes the Parmesan cling like glitter.
- Watch the oven: All ovens lie. Start checking at 12 minutes—you want golden, not “well-done hockey stick.”
Follow these, and you’ll have breadsticks so good, people might start inviting themselves over for dinner!
Serving Suggestions for Garlic Parmesan Breadsticks
Okay, let’s talk about ways to serve these beauties—because trust me, they’re not just for pasta night! Here’s how I love to make them shine:
- Pasta’s best friend: Slap these next to a big bowl of broccoli ziti or any saucy noodle dish. They’re perfect for sopping up every last bit of marinara or alfredo.
- Soup dippers: Heaven is dunking these into tomato soup or a creamy roasted garlic bisque. The crispy edges soften just enough—pure comfort food magic.
- Crowd-pleasing appetizer: Cut them into bite-sized pieces and serve with warm marinara or ranch dip. Watch them vanish!
- Holiday MVP: Thanksgiving? Friendsgiving? Skip the boring rolls—these garlic-Parmesan twists add serious wow factor to any festive table. Better make double!
Honestly, you could serve these on a fancy platter or straight from the baking sheet—no one will care once they take that first bite!
Storage and Reheating Instructions
Okay, confession time—I rarely have leftovers because these Garlic Parmesan Breadsticks disappear so fast! But when miracles happen and you’ve got extras, here’s how to keep them tasting amazing:
- Room temp: Pop them in an airtight container for up to 2 days. Just know they’re best fresh—those garlicky aromas fade fast!
- Revive magic: Wrap them in foil and warm at 350°F for 5-7 minutes. Crank it to 400°F uncovered for the last minute if you miss that crispiness.
- Freezer hack: Freeze unbaked twists on parchment-lined sheets, then bag them once solid. Bake straight from frozen—just add 3-5 extra minutes. Game changer!
Though honestly? The best storage advice is “eat them all immediately”—not that I’d judge!
Nutritional Information
Just a heads up—these Garlic Parmesan Breadsticks are pure deliciousness, not diet food! Nutritional values are estimates and can vary based on ingredients and brands used. (But let’s be real… they’re totally worth every bite!)
Frequently Asked Questions
Can I use active dry yeast instead of instant yeast?
Absolutely! They’re nearly twins, just with different wake-up routines. For active dry yeast, dissolve it in the warm water with 1 teaspoon of sugar first (let it foam for 5-10 minutes). Then proceed with the recipe as written—easy peasy. Just know your breadsticks might take a smidge longer to rise.
How do I make these breadsticks crispier?
Ah, a crunch lover! My trick? After baking, leave them in the turned-off oven with the door cracked for 5 minutes. That extra drying time works wonders. You can also brush them with olive oil instead of butter before baking—it crisps up beautifully for Thanksgiving appetizers that hold their crunch.
Can I prep these ahead for Friendsgiving?
You’re speaking my language! Shape the twists, arrange them on the buttered pan, then cover tightly and refrigerate overnight. Next day, let them sit at room temp for 30 minutes, sprinkle the seasoning, and bake as directed. They’ll rise and brown perfectly—ideal for easy Thanksgiving recipes that don’t stress you out!
What’s the best way to reheat leftover breadsticks?
Skip the microwave unless you love soggy bread! Toss them in a 375°F oven for 3-5 minutes to revive that irresistible crispness. Bonus tip: Spritz them lightly with water first—the steam keeps the insides soft while the outsides get crunchy again. Leftovers never stood a chance!
Garlic Parmesan Breadsticks
Equipment
- Electric stand mixer
- Baking Sheet
- Pizza Cutter
Ingredients
Breadsticks
- 1 ½ cups warm water (105 to 110 degrees F°)
- 1 Tablespoon instant yeast
- 2 Tablespoons granulated sugar
- 1 teaspoon salt
- 3 ½ to 4 cups all-purpose flour
- 1/4 cup salted butter, melted
Garlic Parmesan Seasoning
- 1/2 cup powdered Parmesan cheese
- 1 teaspoon Kosher salt
- 2 Tablespoons garlic powder
- 2 teaspoons dried oregano
- 2 teaspoons dried basil
- 2 teaspoons dried parsley
Instructions
- In an electric stand mixer with the dough hook attachment, mix together the warm water, yeast, sugar, salt, and one cup of the flour.
- Continue adding the flour until the dough clears the sides of the bowl; knead for about three minutes. The dough should be soft and slightly sticky without leaving residue on your fingers.
- Let the dough rest in the bowl for 10 minutes. Preheat the oven to 400 degrees F. Pour the melted butter onto a large, rimmed baking sheet and spread it evenly.
- On a lightly greased countertop, pat the dough into a long rectangle, about 16×7 inches. Cut the dough into 12 even strips with a pizza cutter. Twist each strip and place them side-by-side on the baking sheet.
- Mix all the seasoning ingredients. Sprinkle the seasoning over the breadsticks. Cover with a kitchen towel and let rise for 20 minutes.
- Bake for 15 minutes or until golden. Let cool slightly before serving.