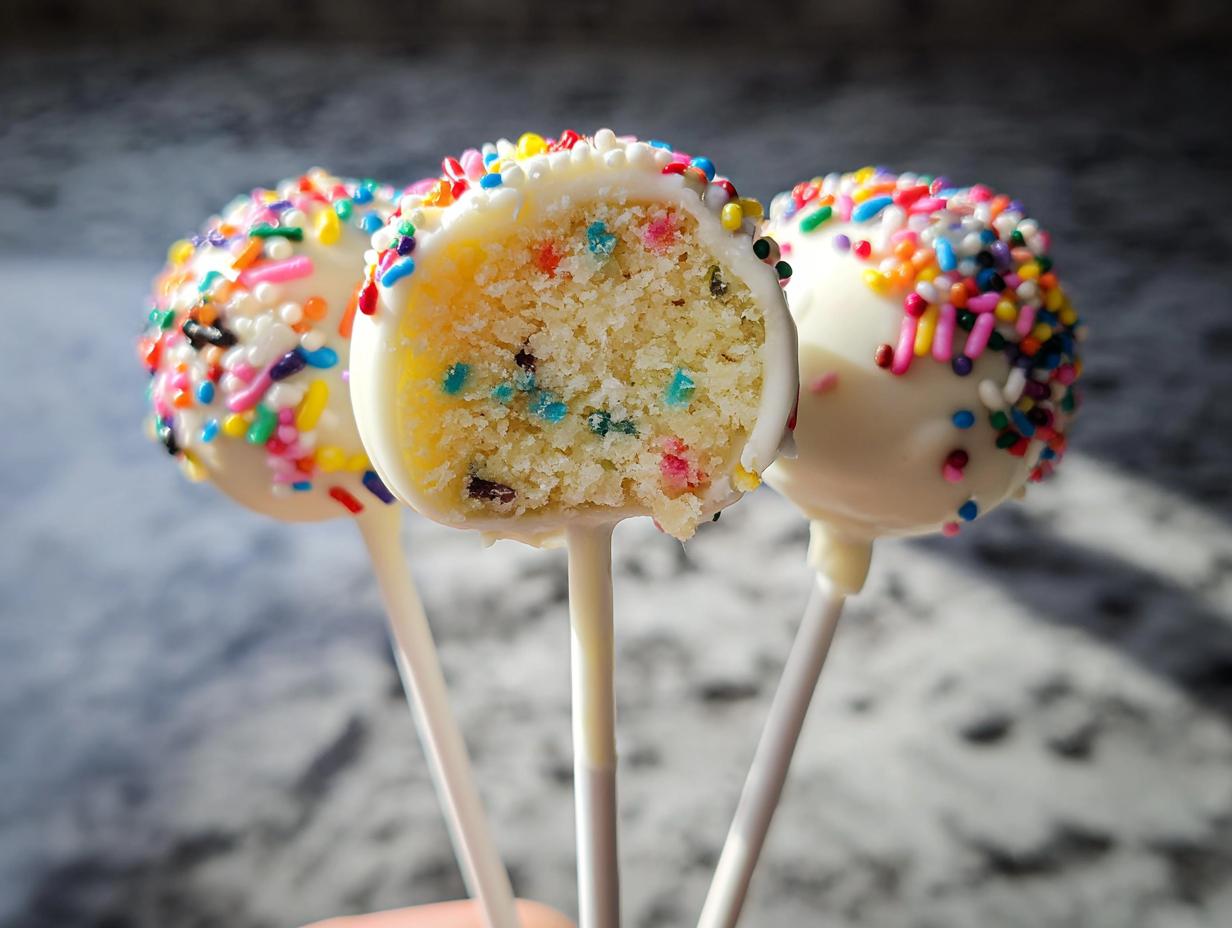
Is there anything better than seeing bright colors explode when you bite into something sweet? Honestly, nothing says ‘party time’ like sprinkles crammed into every corner! I absolutely adore adapting funfetti recipes because just a handful of those rainbow jimmies instantly changes the whole mood. That’s why these Funfetti Cake Pops are my go-to when I need something truly celebratory and simple. They always feel like a celebration right there on a stick. You’re going to see just how easy it is to turn leftover cake into these amazing little treats. Trust me, decorating is the best part!

Why You Will Love Making Funfetti Cake Pops
I can’t tell you how many times these pops have saved my day when I needed *Easy Treats* fast. They are just as fun to make as they are to eat, and the result looks way more complicated than it actually is. Here’s why you need to try these soon:
- They are some of the best use of leftover cake, making them highly economical!
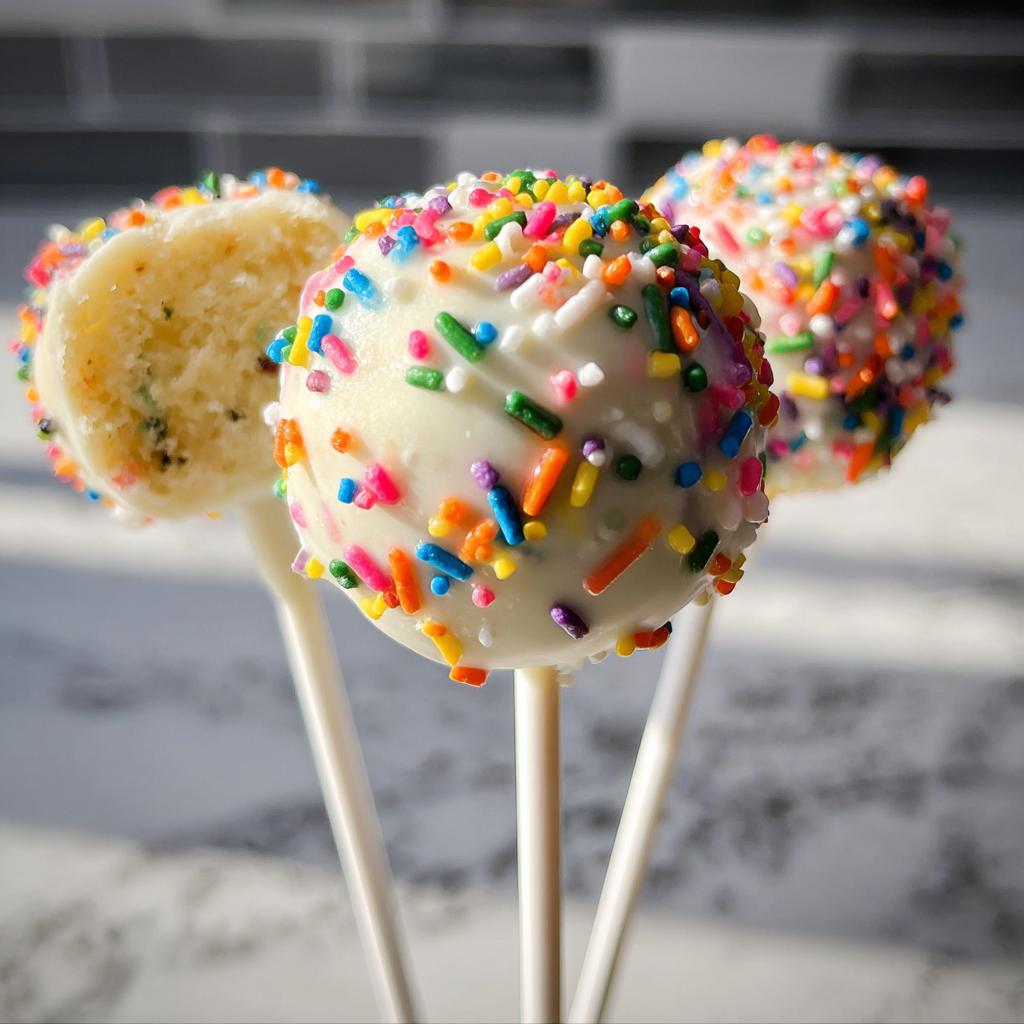
- Their vibrant look makes them perfect for any celebration.
- They are portion-controlled, which is great for large gatherings—total Easy Desserts For A Crowd material.
- You only need a handful of simple ingredients, keeping prep time low.
- They look fantastic layered on a stand; so visually appealing!
Essential Ingredients for Perfect Funfetti Cake Pops
Seriously, what I love most about this recipe is that it qualifies as one of those brilliant Easy Desserts With Few Ingredients. You probably have most of this stuff already, which is why these pop up frequently when I need quick, colorful treats. Don’t stress about a long shopping list; we are keeping this super simple!
Make sure you have your ingredients ready before you start crumbling—it makes the process so much smoother. Here’s the short list of what you absolutely need for a perfect batch:
- 1 funfetti cake (must be baked and completely cooled!)
- 120 g vanilla frosting (your favorite works fine)
- 300 g white chocolate (you need this melted for dipping)
- Extra rainbow sprinkles (for decorating before the coating sets)
Equipment Needed for Funfetti Cake Pops
You don’t need any fancy gadgets for this one, which is refreshing! Having these tools ready means the process flows nicely when you move into the chilling phase.
- A baking pan (just for the initial cake, of course)
- A sturdy mixing bowl
- A baking sheet (for chilling the formed balls)
- Cake pop sticks – don’t forget these!
Step-by-Step Instructions for Amazing Funfetti Cake Pops
Okay, now for the fun part—turning that cake into adorable, portable treats! Remember, we’re aiming for that perfect consistency so these don’t turn into crumbs when you try to dip them. Follow these steps closely, and you’ll nail these *Funfetti Cake Pops* on your first try. The chilling time is non-negotiable, so plan for that 30 minutes! If you want to see how other folks tackle cake pops, you can check out this guide here.
Preparing the Cake Pop Base for Your Funfetti Cake Pops
First things first, make sure your funfetti cake is totally cool—I mean, room temperature cool. If it’s even slightly warm, the frosting will just melt into soup! Take your cooled cake and just go to town crumbling it up into a big mixing bowl. You want it really fine, like coarse sand. Once it’s perfectly crumbled, slowly mix in the vanilla frosting. Don’t just dump it all in at once! Mix it gently until it’s uniformly combined. The goal here is a doughy texture, one that holds together when you squeeze a bit, but isn’t greasy or too sticky.
Shaping and Chilling: Crucial for Successful Funfetti Cake Pops
Now that you have your cake dough, it’s time to roll! Scoop out spoonfuls and roll them between your palms to form nice, smooth little balls. Try to keep them uniform in size so they look great together once decorated. Place all your perfectly rolled balls onto a baking sheet. This next part is where most people cheat, but please don’t! Pop that sheet right into the refrigerator for at least 30 minutes. Chilling is key because it firms up the cake base, stopping your pops from falling apart when they hit that melted chocolate. If you skip chilling, prepare for sad, chocolate-covered puddles!
Coating and Decorating Your Homemade Desserts
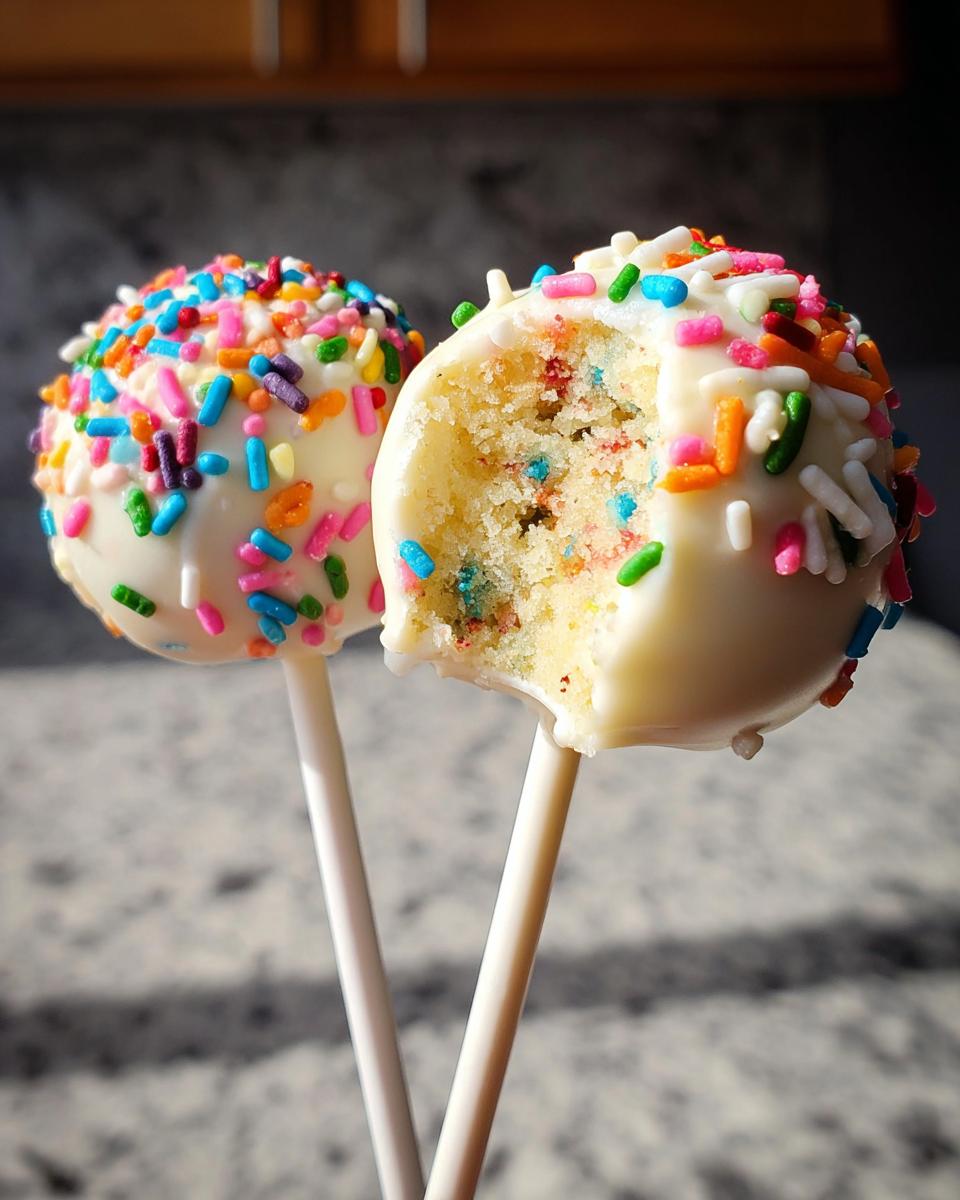
While the balls are chilling, melt your white chocolate. You can use a double boiler or the microwave, just melt it slow so it doesn’t seize up on you. When the cake balls are nice and firm, it’s time for dipping. Take one of your cake pops sticks and dip the very end (just a tiny bit!) into the melted chocolate—this is like your glue. Then, gently push that now-coated stick into the chilled cake ball. Let that little bit of chocolate set for just a second. Now, dip the entire ball into the melted white chocolate.
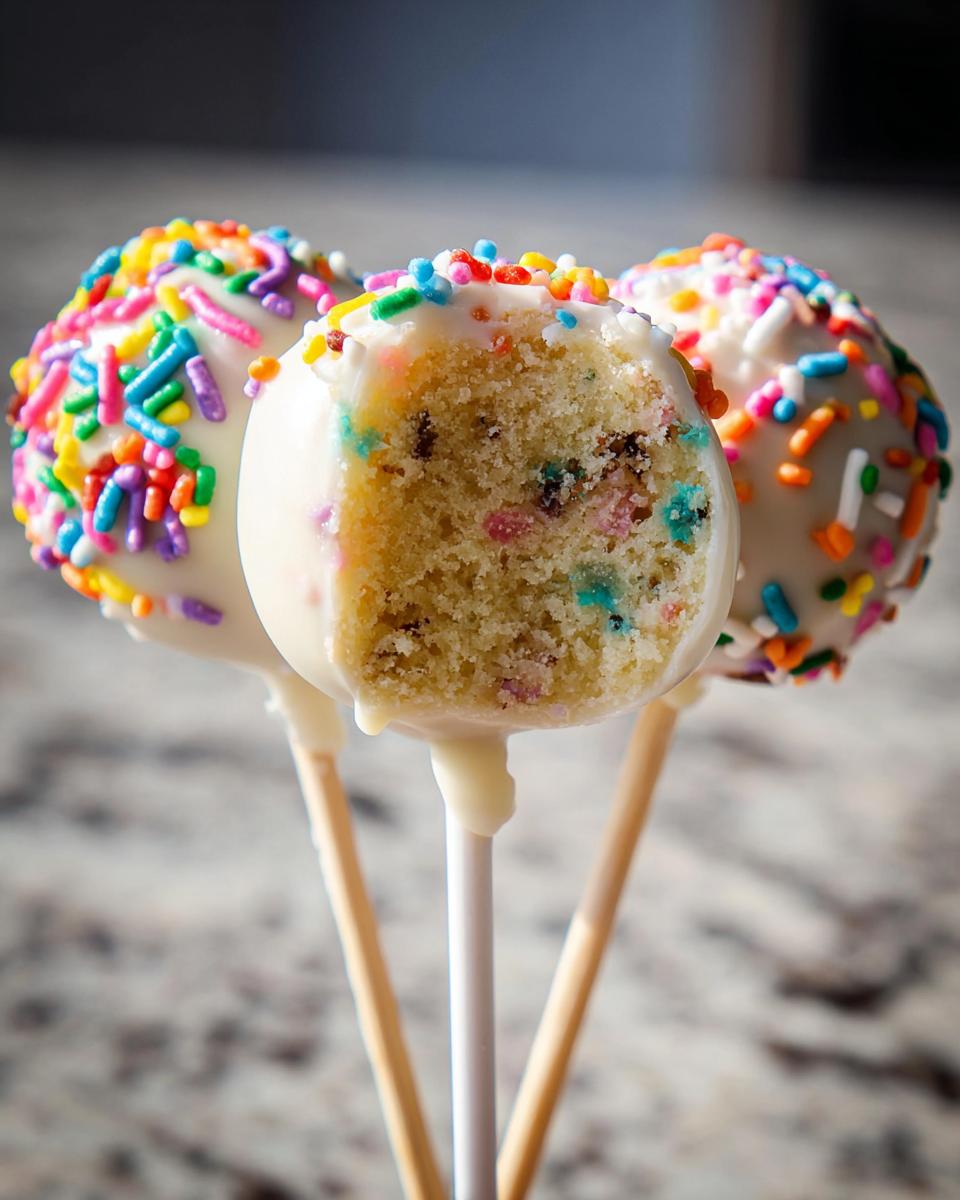
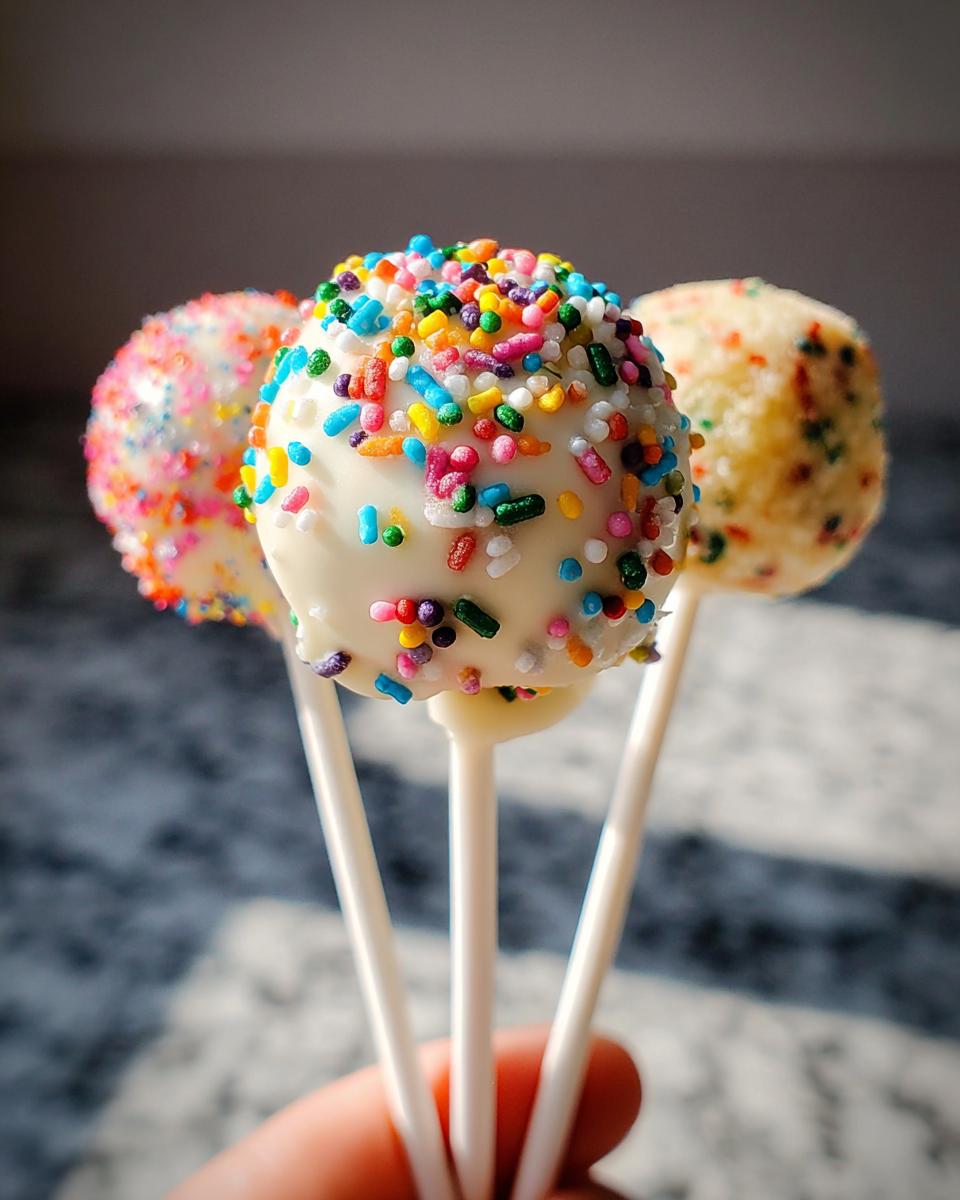
You need to hold it slightly angled so the excess chocolate drips right off. Right after you pull it out, while the coating is still wet, quickly shower it with those pretty rainbow sprinkles. If you wait too long, they won’t stick! Place the finished Homemade Desserts back on the baking sheet to set up completely. If you need faster setting, pop them back in the fridge briefly. These are so cute!
Tips for Success When Making Funfetti Cake Pops
Even though these are super easy treats, there are a couple of little tricks I’ve picked up over the years to make sure your coating stays flawless. It drives me crazy when the chocolate is temperamental! These little pointers really elevate your Baking Ideas when you’re working with candy melts or chocolate.
First, addressing the stick issue: always use that dab of chocolate as the anchor. If you stick the dry stick directly into the cake ball, it’s guaranteed to spin or even fall off once the melted chocolate coating hardens around it. That little bit of chocolate cures first, locking the stick firmly in place before you dip the whole thing!
My second big tip is about the chocolate melting. If your white chocolate seems too thick after melting, don’t add water or milk! That will make it seize up instantly into a gritty mess. Instead, stir in a tiny bit of vegetable shortening or coconut oil. It keeps the coating smooth and nice for dipping.
Finally, when you are decorating, work quickly! You want to sprinkle those rainbow flecks while the chocolate is wet, but you only get a small window before it starts to form that skin. If you miss the window, just gently reheat the pop for a second or two, or gently press the sprinkles on.
Variations on Classic Funfetti Cake Pops
While the classic white chocolate and funfetti combo is amazing, sometimes you just need to shake things up! These are such fun Desert Ideas because they are essentially blank canvases waiting for your creativity. If you’re bored with standard white chocolate, go for it!
You can totally swap out that white chocolate for milk or dark chocolate if that’s what you prefer. Or, for the ultimate colorful explosion, look for colored candy melts! I’ve seen pops dipped in bright pink or teal, and they look incredible, especially if you use contrasting sprinkles.
Another fun change is the cake base itself. Why stick to funfetti? Try using a chocolate cake base for a dark interior with bright sprinkles—yum! Or lean into other classic mixes. It’s so easy to adapt this method to almost any cake you make or have leftover!
Serving Suggestions for Your Funfetti Cake Pops
These delightful little creations aren’t just for birthday parties, though they certainly shine there! Because they are self-contained, they are perfect for potlucks or just an afternoon treat when you need something quick and cheerful. They pair wonderfully alongside a cup of hot coffee or tea, making that mid-day slump disappear instantly.
I often arrange these *Funfetti Cake Pops* on tiered stands alongside other Simple Desserts like mini cookies or small fruit skewers for a fantastic dessert spread. They add height and a necessary pop of color to any platter. Since they are on a stick, cleanup is just nonexistent—my favorite kind of festive food!
Storage and Reheating Instructions for Funfetti Cake Pops
Because cake pops are so decadent, folks often ask me if they last long enough for party planning. Since we are dealing with frosting inside and a chocolate shell outside, storage is pretty important! I generally advise keeping these stored at room temperature only if your kitchen is cool and dry, and you plan to eat them within about 24 hours. The ambient temperature stops the chocolate from getting too soft and melting, and it keeps the crumb from hardening too much.
However, if you are making these ahead of time—and you totally should, because they are fantastic Easy Dessert Ideas—the refrigerator is your best friend. Store them in a loosely covered container so they don’t absorb any fridge smells. They hold up beautifully for about a week in the cooler part of the fridge. Just pull them out about 30 minutes before serving so the shell softens up just a tiny bit; that way, they eat perfectly.
Now, freezing them? I try to avoid it if I can! Freezing can sometimes cause condensation when they thaw, which makes the chocolate coating get little sweaty spots, and that’s never pretty. If you absolutely must freeze them (maybe you made too many!), wrap each individual cake pop tightly in plastic wrap first, then place them in an airtight container. They should last a month. When thawing, let them thaw slowly inside that container in the fridge overnight before bringing them to room temperature.
Frequently Asked Questions About Funfetti Cake Pops
I always get so many questions about these colorful little guys because they seem tricky, but they really are some of the simplest Easy Dessert Ideas around! If you’re wondering about making variations or need a quick fix for a baking hiccup, check out these common questions I hear all the time about making the best *Funfetti Cake Pops*.
Can I make Funfetti Cake Pops without baking a cake first?
Oh, absolutely! That’s one of the major benefits of this recipe—it’s perfect for using up odds and ends. If you don’t want to bake a whole cake just for this, you can absolutely use a box mix! Just bake the mix according to package directions and let it cool completely. Even better? Sometimes I’ll even use slightly stale, pre-made bakery cake if I find a good deal. As long as you have the crumbs, you’ve got the base for these fun treats!
Why are my cake pops cracking after dipping?
Ugh, cracking is so frustrating! Nine times out of ten, this happens because the temperature difference between your chilled cake ball and your melted coating is too extreme. If the cake pop is ice-cold and the chocolate is very hot, the rapid cooling causes the thinner chocolate layer to shrink and crack as it solidifies. My trick is to pull the cake balls out of the fridge about ten minutes before dipping, just to take the deep chill off. They still need to be firm, but not freezing cold, and that little bit of warmth helps the chocolate adhere smoothly!
What is the best way to melt chocolate for coating?
I love using the microwave for speed, but you have to be patient! Put your white chocolate in a microwave-safe bowl and heat it in 20-second bursts, stirring well in between *every* burst. Don’t try to heat it for a full minute, or it will burn! If you prefer a super silky finish, using a double boiler on the stove works beautifully and gives you more control. Just make sure no steam or water gets into that chocolate, or it will seize up on you instantly!
Share Your Celebration Creations
Well, that’s it! You’ve got your very own batch of these stunningly happy *Funfetti Cake Pops* ready to go. I really hope you took a moment to enjoy the decorating part—it’s pure magic watching those sprinkles stick!
Now, I absolutely live for seeing your baking adventures. Once you’ve tried this recipe, please come back and tell me how they turned out! Did you use colored candy melts? Which sprinkles did you choose?
Leave a rating right here on the page so other folks know these are truly simple and fantastic treats. And seriously, snap a picture if you can and share it! Seeing your colorful creations makes my day so much brighter. If you’re looking for more sweet inspiration, you can always browse all my favorite dessert ideas right here!
Funfetti Cake Pops
Equipment
- Baking pan (for cake)
- Mixing Bowl
- Baking Sheet
- Cake pop sticks
Ingredients
- 1 funfetti cake baked & cooled
- 120 g vanilla frosting
- 300 g white chocolate melted
- Extra rainbow sprinkles
Instructions
- Crumble the cake finely in a bowl.
- Mix the cake crumbs with the vanilla frosting until the mixture is fully combined.
- Shape the mixture into balls and place them on a baking sheet. Refrigerate until firm.
- Dip the ends of the cake pop sticks into a small amount of melted chocolate, then insert them into the chilled cake balls.
- Dip each cake pop entirely into the remaining melted white chocolate.
- Add the rainbow sprinkles to the coating before it sets completely.