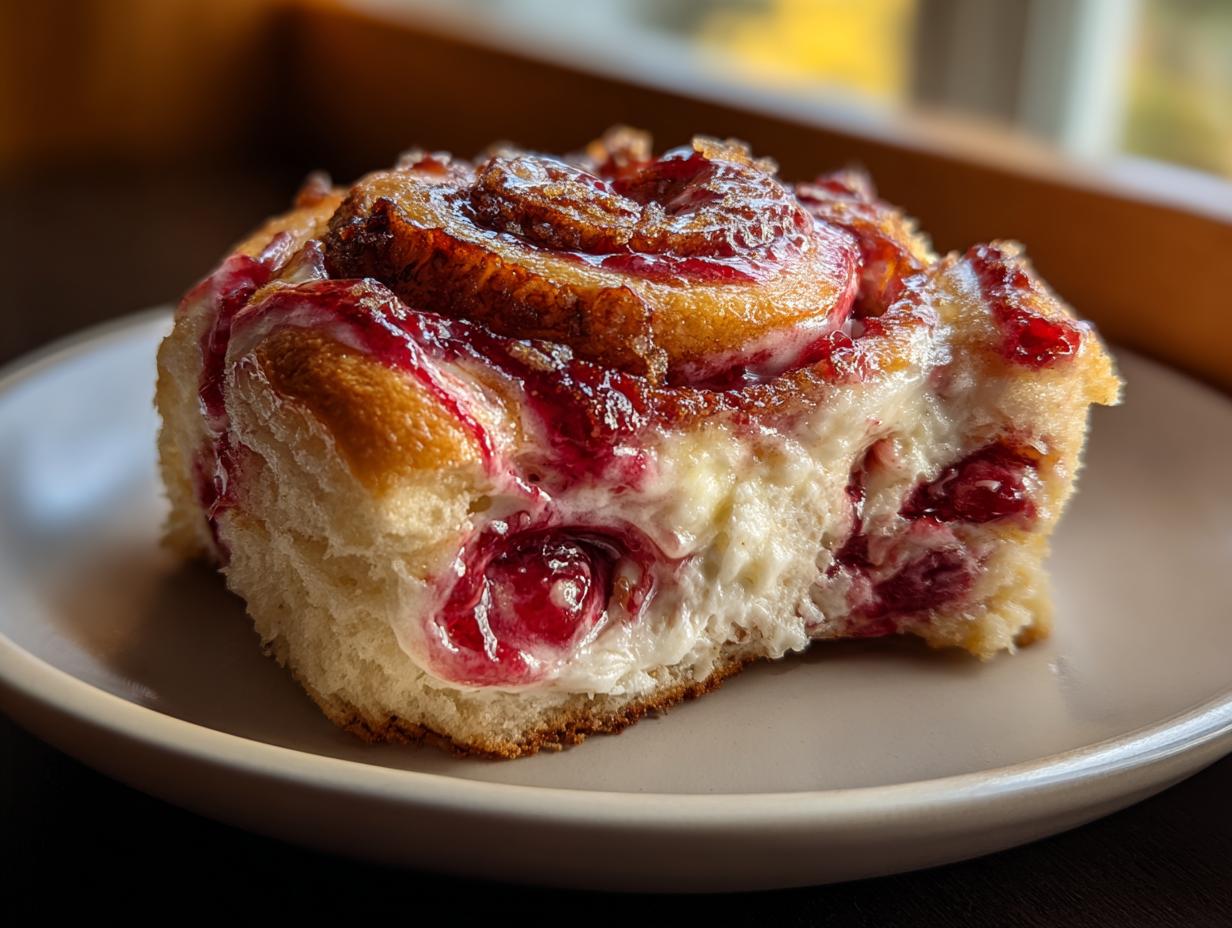
Oh, there’s nothing quite like waking up to the smell of warm, sweet pastry, is there? If you are looking for that perfect combination of soft dough, tangy fruit, and creamy filling, you absolutely have to try these! The best part about these Cherry Cream Cheese Rolls is how shockingly fast they come together. I used a prepared yeast dough because, let’s be real, who always has time to let dough rise twice? When I was testing this, I kept adjusting the filling ratios. The cream cheese mixture added such a wonderful richness that it kept the sweet cherry filling perfectly balanced during testing. Trust me, these are going straight into your favorite breakfast rotation!
Why You Will Love These Cherry Cream Cheese Rolls
Honestly, these rolls are my go-to when I want something truly special but I shouldn’t spend all morning in the kitchen. They skip all the waiting and mixing that traditional dough requires, which is a huge win for busy mornings. Here is why this recipe is amazing:
- They are so incredibly fast! Since we use a pre-made sweet roll dough, you cut the prep time down to practically nothing—perfect for those lazy weekend mornings when you need something sweet *right now*.
- The flavor combination is just next level food magic. That rich, slightly tangy cream cheese filling cuts right through the sweetness of the cherry filling so beautifully. It’s indulgent without being heavy!
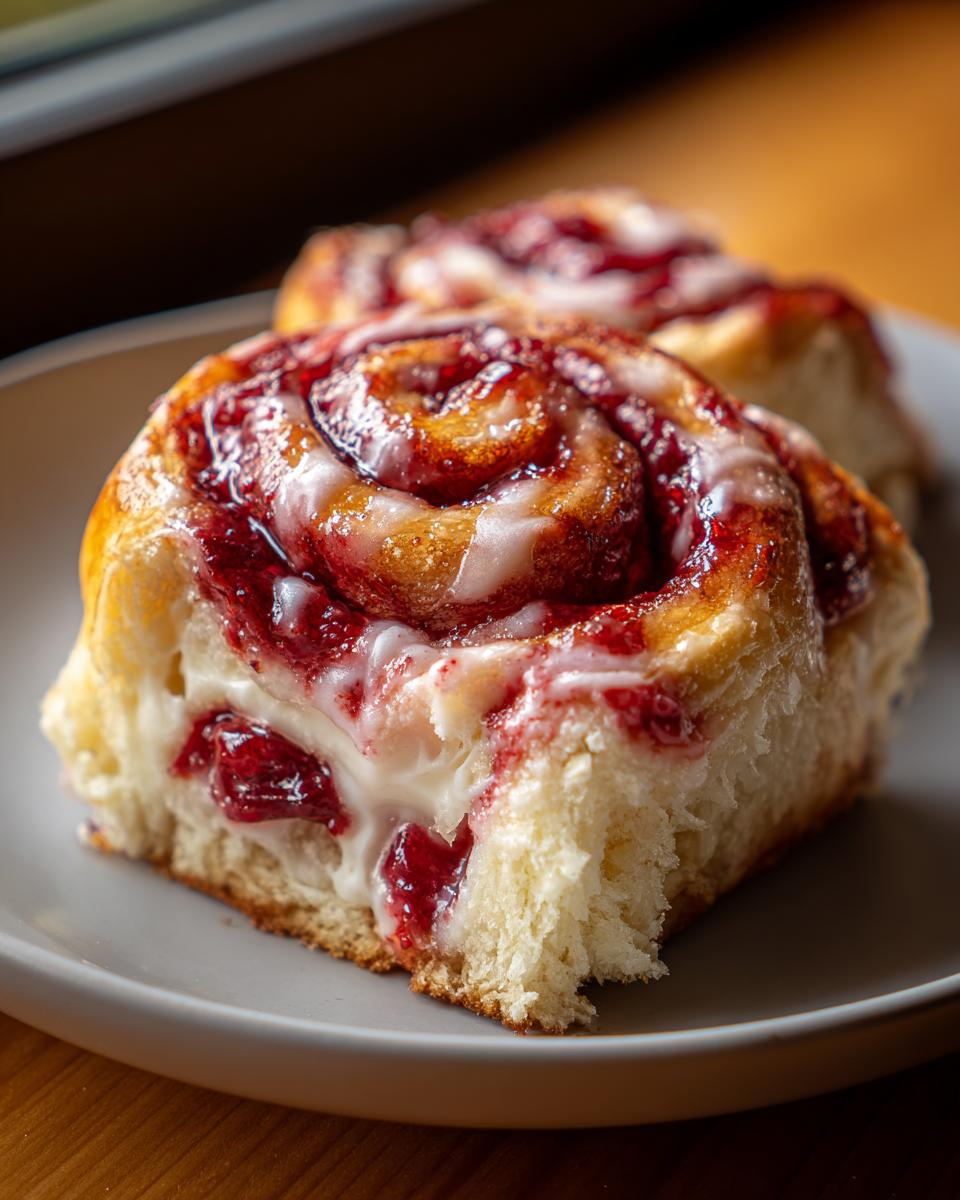
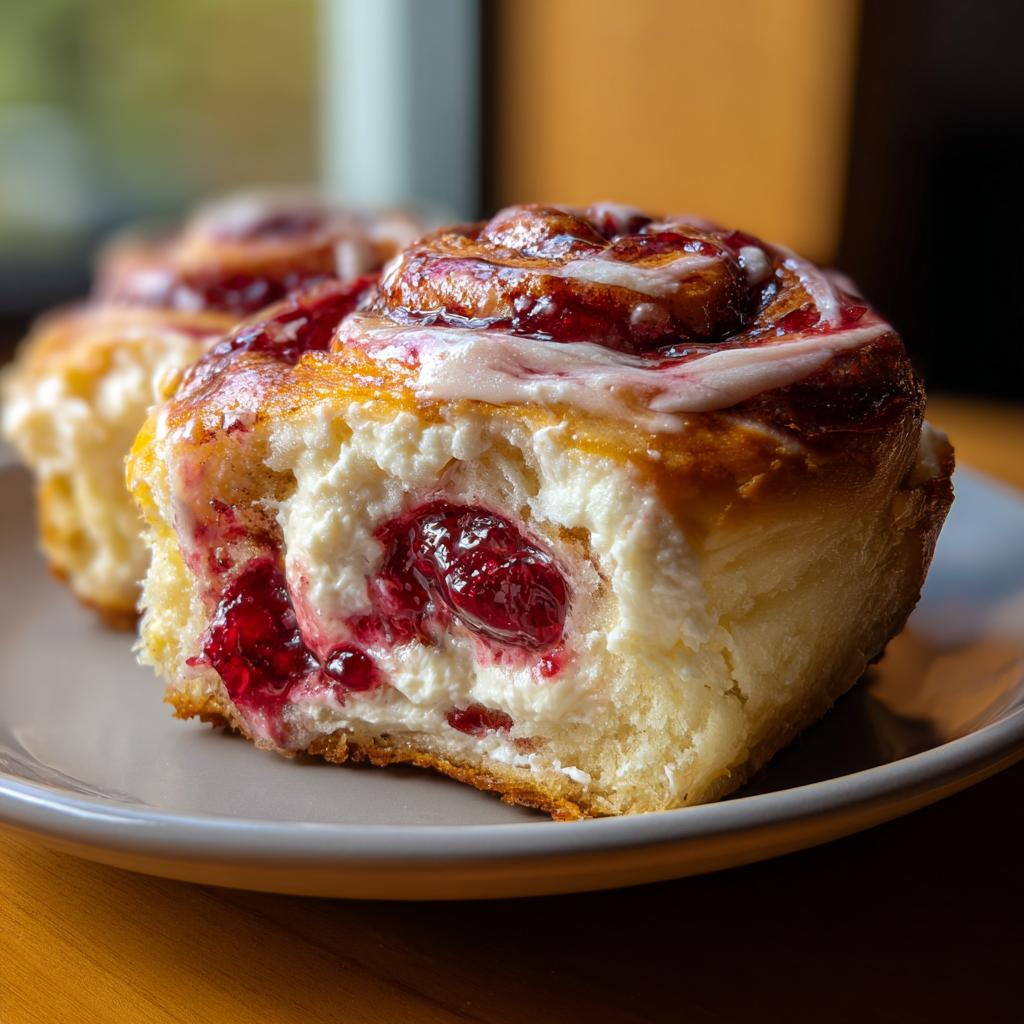
- You get that pillowy-soft roll texture that literally melts in your mouth, especially when they come out warm from the oven. Seriously, wait five minutes, but don’t wait too long!
- Minimal mess is involved here. Because the filling gets spread flat, there is way less oozing out the sides than you get with traditional cinnamon rolls. It’s much cleaner assembly.
- They look fancy! Even though they are so simple, slicing that layered dough makes them look like you truly spent hours fussing over them. They always impress my brunch guests.
Gather Ingredients for Your Cherry Cream Cheese Rolls
Remember how I said this recipe is fast? Well, that starts right here with the ingredients! Since we are relying on a tried-and-true prepared dough, we keep the shopping list short and sweet. Having the cream cheese perfectly softened is the real key to an easy spreading experience, trust me on that one.
For the Rolls Component
- One package of prepared yeast dough (the sweet roll kind)
For the Cream Cheese Filling and Cherry Topping
- 6 oz of cream cheese, make sure it’s totally softened!
- 1/4 cup sugar
- 3/4 cup cherry filling (I love checking out other sweet roll variations, but stick to the cherries here for the classic taste.)
Essential Equipment for Making Cherry Cream Cheese Rolls
You don’t need a huge arsenal of fancy gadgets for these rolls, which is what makes them so accessible! Seriously, if you can mix something in a bowl and bake on a pan, you’re good to go. This recipe is forgiving, but having the right tools makes spreading and slicing much more pleasant.
Since we’re dealing with a sticky filling, here’s what I always pull out:
- A good sturdy Mixing Bowl for whipping up that cream cheese and sugar until it’s perfectly smooth.
- A handy Rolling Pin. Even though the dough is usually somewhat flat from the packaging, you need this to get it into that perfect rectangle shape for rolling.
- A sharp, non-serrated Knife or Bench Scraper. This is crucial for getting clean slices through the rolled dough. If you use a serrated knife, you end up squishing the layers instead of cutting them cleanly.
- Finally, your trusted Baking Sheet. Just make sure you line it well, because sticky cherry filling loves to ooze out and bake right onto the metal!
Step-by-Step Instructions for Perfect Cherry Cream Cheese Rolls
Okay, this is where the magic happens, and it’s honestly faster than making a standard batch of pancakes! Because we skipped the long yeast-proving time, putting these Cherry Cream Cheese Rolls together is a breeze. Just make sure your oven is humming along at 350°F (175°C) before you even think about slicing up those rolls. If you struggle with rolling sticky dough, remember the advice I shared for getting perfect edges on scones; I find a little dusting of extra flour helps immensely here too! It’s all in the surface texture.
Preparing the Dough and Filling
First thing, take your prepared sweet yeast dough and place it on a lightly floured surface. You want to gently roll this out, aiming for a nice, manageable rectangle. It doesn’t have to be perfect, but flatter is better for even layers! While that’s happening, grab your mixing bowl and beat that softened cream cheese with the sugar until you have a beautifully smooth, pale mixture. Don’t leave any lumps; lumps mean uneven flavor pockets later!
Once the cheese mixture is fluffy, spread it evenly right over the entire surface of your rolled-out dough. Next, scoop your 3/4 cup of cherry filling right on top of the cream cheese layer. Try to keep the cherry filling mostly concentrated near the center, leaving about a half-inch border on all sides. This helps things seal up nicely when you roll them!
Assembling and Baking Your Cherry Cream Cheese Rolls
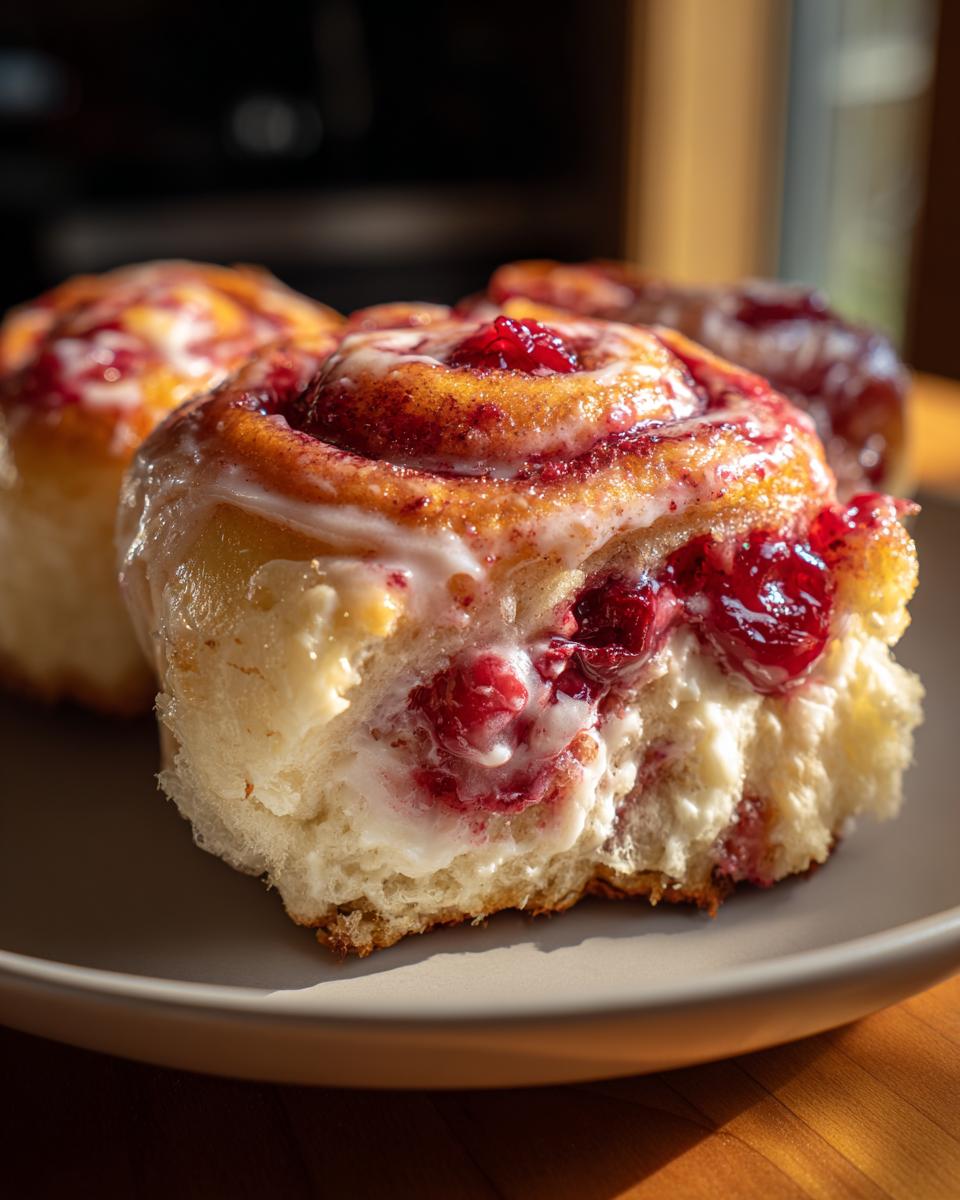
Now for the really satisfying part—the roll! Start at one of the long edges and roll the dough up as tightly as you possibly can without tearing it. You want those layers packed right against each other so you don’t end up with gaps after baking. I always give the log an extra little tug to make sure it’s snug! This tight roll is the secret weapon for great presentation.
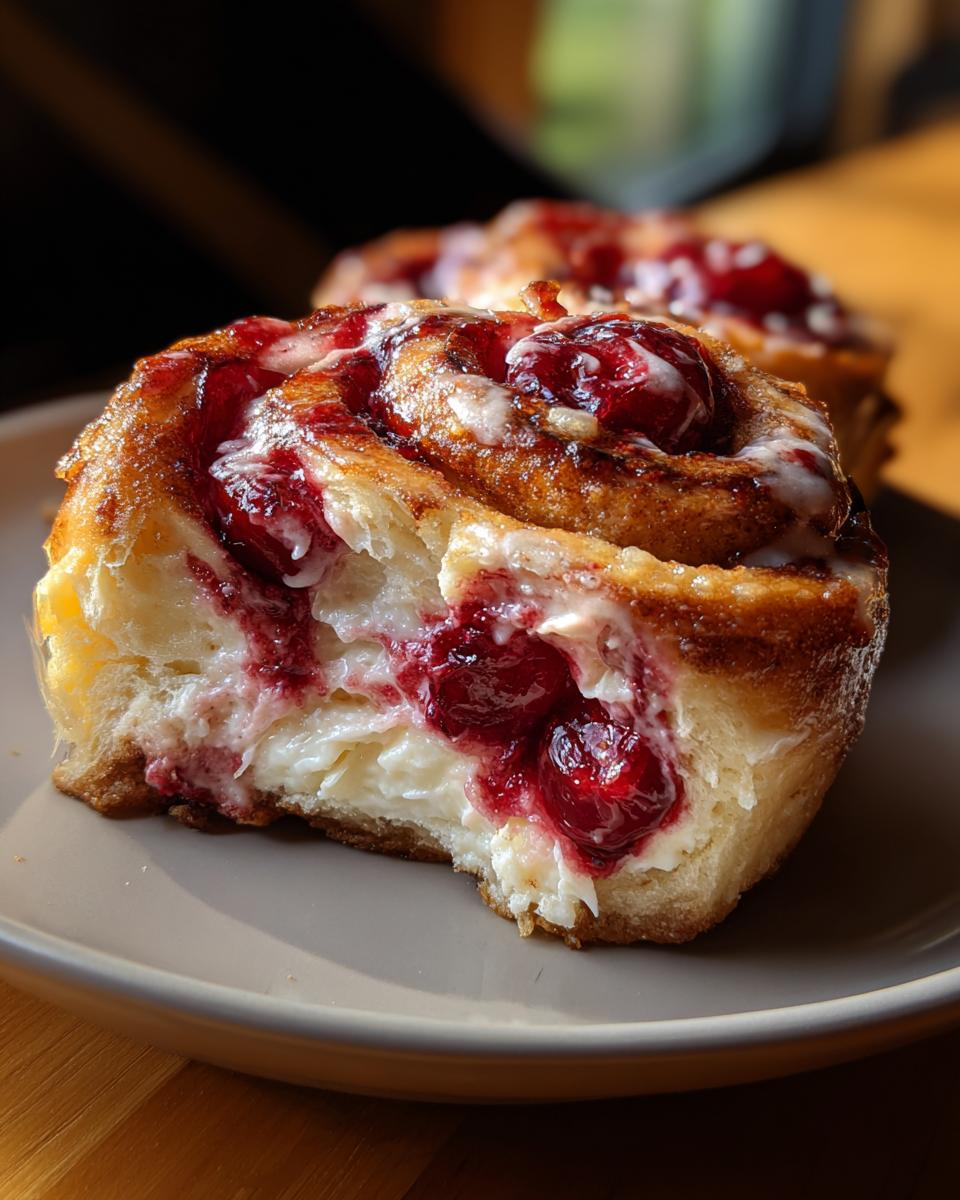
Slice that log into about 8 even rolls. Place them cut-side up on your baking sheet. Pop them into that preheated 350°F oven and let them bake for 25 to 30 minutes. We are looking for a gorgeous golden brown color on top—that means they are perfectly baked through and the texture will be spot on. When they look done, pull them out, let them cool just slightly so the filling sets up, and get ready to dig in! If you want to see a fantastic baked fruit recipe, check out this cherry cheesecake idea while your rolls bake.
Tips for Success with Cherry Cream Cheese Rolls
Even though this recipe is designed to be super simple by using prepared dough, a couple of little tricks can take your rolls from “good” to “I need to make these every week.” I’ve learned these through trial and error, mostly involving sticky countertops and filling that decided to escape during baking. Don’t let that happen to you!
Here are the things I absolutely insist on doing every time:
- Let Your Dough Chill (But Not Too Much!): If your prepared dough feels too warm or sticky right out of the package, it’s going to be a nightmare to roll and spread evenly. Pop the whole package in the fridge for maybe 15 minutes before starting. This firms it up just enough so you can handle it without tearing. But don’t leave it out too long, or you lose the speed benefit!
- The Tight Roll is Your Best Friend: When you start rolling up the dough with the filling inside, you absolutely must keep it tight—like you are rolling up a carpet. If you leave any air pockets or slack at the edge, when the dough puffs up while baking, those gaps turn into sad, empty white spots where the beautiful cherry filling should be. Roll it snugly, and secure that final seam by pinching it closed really well.
- Protect the Edges: Cherry filling is delicious, but it’s also sticky and sugary, and it *will* burn onto your baking sheet if it oozes out. To help prevent this, when you place the rolls on the sheet, make sure the cut side is facing up, and try to keep a little space between them. Also, generously grease your baking sheet or use parchment paper—I even put a tiny bit of the cream cheese mix near the edges of the pan sometimes, just to give the dough something flavorful to stick to instead of the metal! If you want to learn how to keep your bread soft after it cools, I found some great tips over at my favorite bread secrets guide.
Ingredient Notes and Substitutions for Sweet Cherry Recipes
One of the most common questions I get when I post a quick recipe like this is, “But what if I don’t have X?” Don’t worry! That’s the beauty of baking—we can adapt! Since this recipe leans so heavily on that convenient canned cherry filling, I want to make sure you know your options if your pantry is stocked differently. Honestly, I think seeing how versatile sweet cherry recipes can be makes them even better.
The biggest potential swap here is, of course, the fruit. I love canned cherries because they are already perfectly sweetened and thickened, which is great for rolling these up fast. But if you have an abundance of fruit from the market, you can totally use fresh or frozen cherries!
If you use fresh or frozen cherries, you absolutely must cook them down first. They hold way too much water, and if you layer raw fruit into the dough, you’ll end up with a soggy mess instead of a roll! Just toss your cherries (pitted, obviously!) with a little sugar—maybe two tablespoons to start—and a tiny pinch of cornstarch. Simmer them gently on the stove until the sauce thickens up nicely, almost like a thin jam. Let it cool completely before spreading it on the cream cheese layer. I actually did a similar prep for the fruit in my cranberry orange muffins, so I know the method works!
Now, about the dough. I adore using the store-bought yeast dough because it saves hours, but if you’re feeling ambitious and want to make your own sweet roll dough from scratch, go for it! You’ll just need to factor in a couple of hours for the rising time. Just make sure whatever dough you use is enriched (meaning it uses milk, butter, and eggs) so that it has that soft, slightly sweet flavor to stand up to the rich filling. Basic bread dough won’t have the same tenderness we are looking for here.
Storage and Reheating Instructions for Leftover Cherry Cream Cheese Rolls
I rarely have leftovers because these rolls disappear so fast, but when I do, storage is easy! For the best texture, keep any extra Cherry Cream Cheese Rolls covered tightly at room temperature for up to two days. If your kitchen is super warm or humid, you can refrigerate them under plastic wrap for up to four days.
To reheat, I honestly think the microwave wins for speed. Pop one roll on a small plate with maybe five seconds of heat—just enough to soften that cream cheese filling again. If you want that ‘fresh-baked’ chew back, wrap them in foil and heat them in a 300°F oven for about ten minutes. They taste amazing warm!
Frequently Asked Questions About Cherry Cream Cheese Rolls
I’ve gathered up some of the most common questions I get about these rolls, especially from folks trying to figure out how to swap ingredients around. It’s so fun seeing everyone customize their morning treat! If you have a question about making sure your rolls are perfectly sweet or how best to store them, check here first. Don’t forget to explore more amazing dessert ideas once you’ve stocked up on cherries!
Can I use fresh cherries instead of canned cherry filling?
Oh, absolutely, you can! Using fresh cherry desserts is wonderful when they are in season. However, you have to cook them down a bit first. Raw cherries release too much liquid when they bake inside the roll, and we really want to avoid a soggy bottom! To substitute, pit about two cups of fresh cherries, mix them with 1/4 cup of sugar and a teaspoon of cornstarch, and simmer until the juices thicken into a nice, spreadable sauce. Make sure it is completely cool before you layer it on the cream cheese!
What is the best way to serve these sweet cherry recipes?
Warm is the only answer I’ll ever give you for serving these! When they are warm, the cream cheese filling is soft and melty, and the dough is at its fluffiest. If you have leftovers and need to reheat them, just wrap individual rolls in a paper towel and microwave for about 10 to 15 seconds. That brings them right back to life! For a little extra flair on special occasions, I sometimes drizzle mine with a very thin powdered sugar glaze—just powdered sugar and a tiny splash of milk until it drizzles nicely. That makes them feel extra decadent!
Can I make these ahead of time to save morning work?
Yes, this is one of the great things about using prepared dough! You can definitely assemble the entire roll before baking. Once you have sliced the rolls and placed them tightly in the pan, cover the pan well with plastic wrap and pop the whole thing in the fridge overnight. When you wake up, just let them sit on the counter for about 30 minutes while the oven preheats to 350°F. You might need to add about 5 to 7 minutes to that original baking time since they are starting out cold.
What if I only have sour cherry recipes on hand?
If you’re working with sour cherries, you’ll need to up your sugar game a little bit to balance that tartness! I’d suggest increasing the sugar in the cream cheese filling from 1/4 cup to about 1/3 cup. You might also want to add an extra tablespoon or two of sugar directly into the sour cherry filling when you prepare it. That bright tang is lovely, but we don’t want anyone making a sour face first thing in the morning!
Serving Suggestions for Your Cherry Dessert Recipes
You’ve baked these gorgeous, warm Cherry Cream Cheese Rolls, and they are calling your name! Now, what do you serve alongside them to make it feel like a true brunch feast? Because these rolls have such a rich filling and sweet fruit, you actually don’t need a lot of heavy extras. The rolls themselves are the star of the show for any of your sweet cherry recipes!
For brunch, I always lean toward something refreshing on the beverage side to cut through the richness of that cream cheese. A strong cup of coffee is a must—you need that bitterness to balance the sugar. If you’re looking for something cold, a glass of cold milk is deceptively perfect; it just complements the buttery dough. If I’m hosting a big brunch crowd, I sometimes whip up a batch of iced chai to offer something a bit different, like this lovely iced chai recipe.
If you want to mix in a savory element to balance the plates, don’t overdo it. A simple, crisp side salad works wonders, surprisingly! Something light dressed with a lemon vinaigrette provides a nice palate-cleanser between bites of the sweet roll. Alternatively, simple scrambled eggs made with just a pinch of salt and pepper are ideal, or maybe a side of crispy bacon if you really want to lean into the indulgence. Keep the sides simple, and let those beautiful layers of cherry and cream cheese shine!
Cherry Cream Cheese Rolls
Equipment
- Baking Sheet
- Mixing Bowl
Ingredients
For the Rolls
- 1 prepared yeast dough (sweet roll dough)
For the Filling
- 6 oz cream cheese, softened
- 1/4 cup sugar
- 3/4 cup cherry filling
Instructions
- Roll the prepared dough into a rectangle.
- Mix the softened cream cheese with the sugar. Spread this mixture over the dough.
- Spread the cherry filling evenly over the cream cheese layer.
- Roll the dough tightly and slice it into individual rolls.
- Bake at 350°F (175°C) for 25 to 30 minutes, or until the rolls are golden brown.
- Cool the rolls slightly before you serve them.