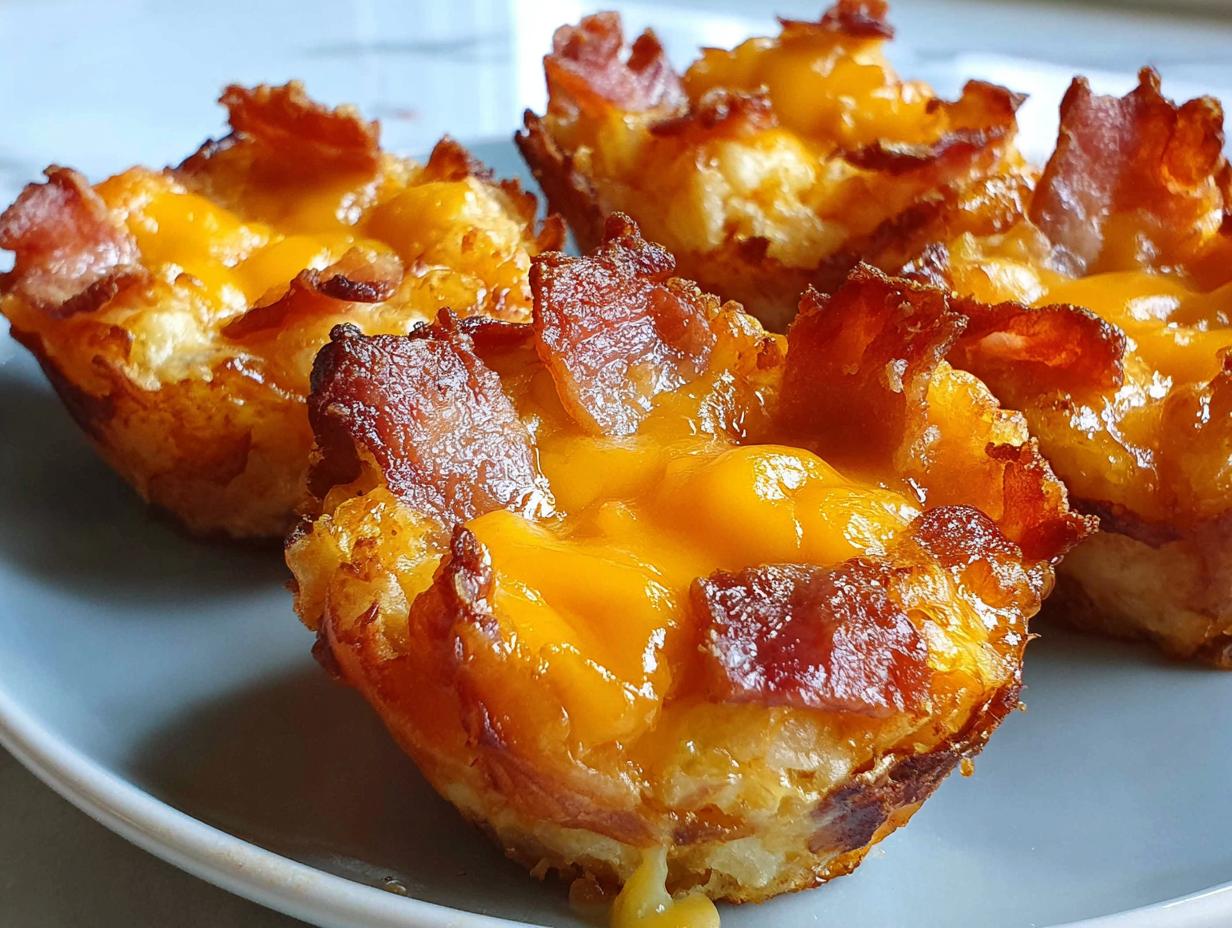
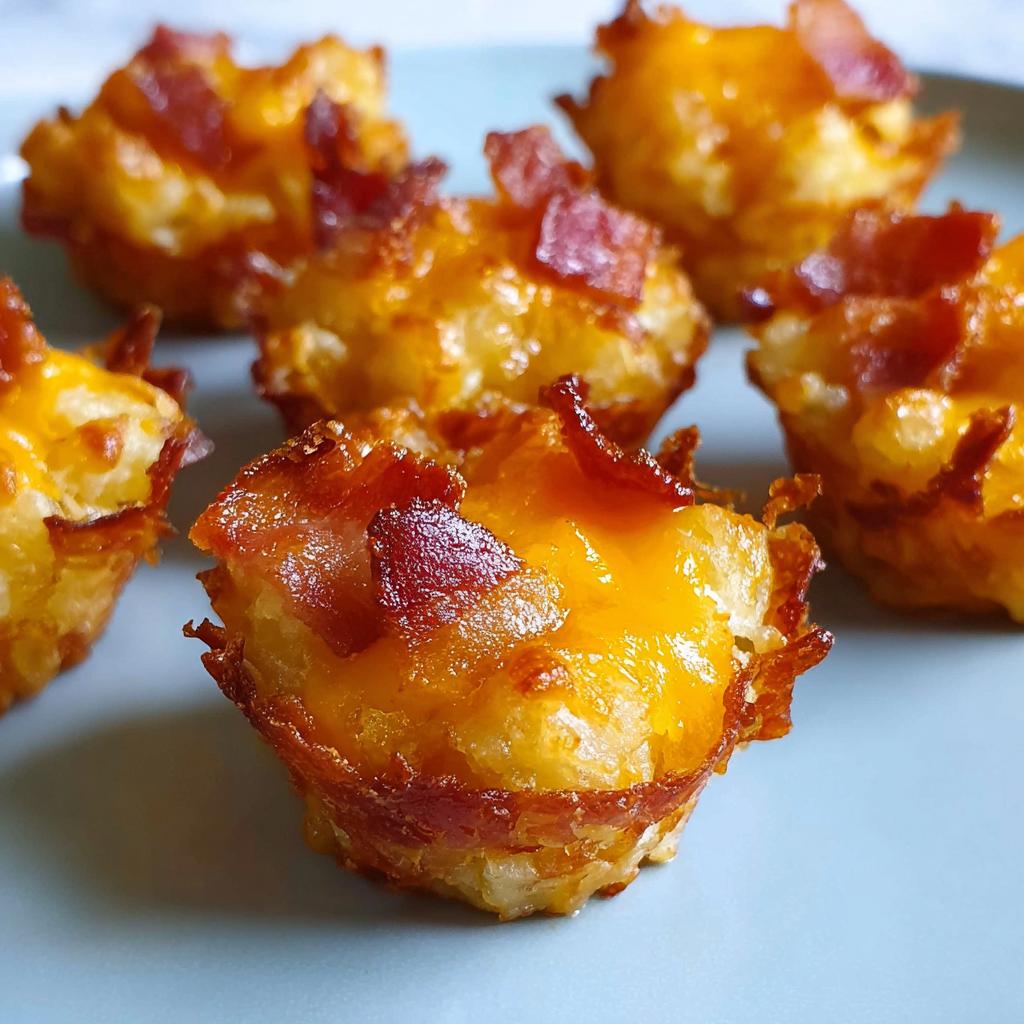
You know those party snacks that vanish before you even finish setting them out? That’s exactly what happened the first time I made these Cheesy Bacon Tater Tot Cups for family movie night. I swear, the moment that smoky bacon smell hit the air, everyone came running to the kitchen like I’d rung a dinner bell. Crispy tater tots cradling melty cheddar cheese, all wrapped up in salty bacon – these little cups are pure magic. By the time I turned around with the serving plate, half were already gone! Now they’re my secret weapon for any gathering where I want to hear “Oh my gosh, these are amazing!” within the first five minutes.
Why You’ll Love These Cheesy Bacon Tater Tot Cups
Listen, I know what you’re thinking – “How good can tater tots in a muffin tin really be?” Trust me, these little guys are life-changing. Here’s why they’ve become my go-to party trick:
- Minimal prep – We’re talking 10 minutes of hands-on time. Just bacon, tots, and cheese – that’s it! No fancy techniques required.
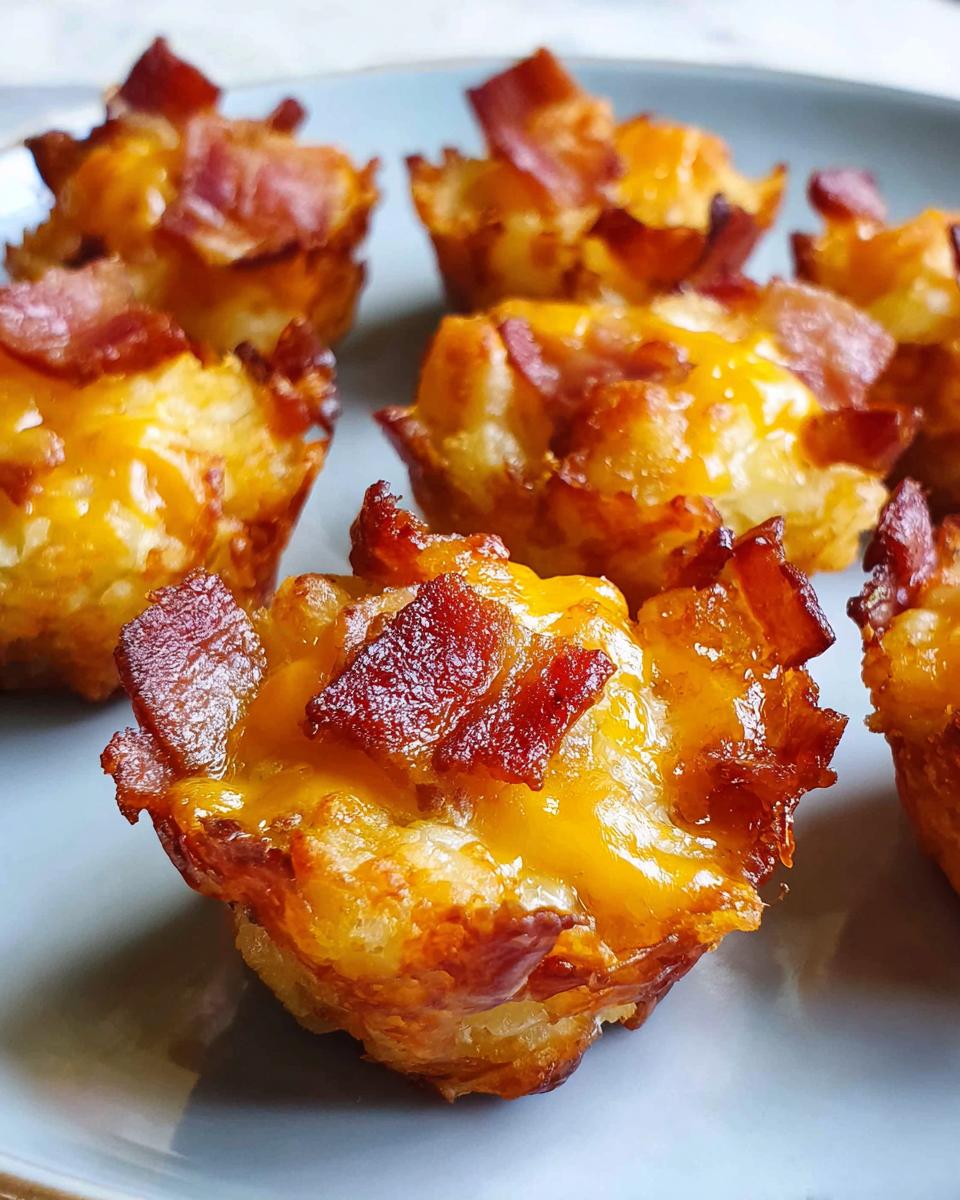
- Crowd-pleasing magic – The combo of crispy bacon, melty cheese, and golden tots makes these disappear faster than my famous mozzarella sticks at a Super Bowl party.
- Perfect for any occasion – Holiday gatherings, game day, even fancy brunch (don’t judge – they’re amazing with mimosas).
- Make-ahead dream – Bake them earlier in the day, then just pop back in the oven for 5 minutes before serving. The cheese gets all gooey again – nobody will know!
Seriously, these might be the easiest way to become the most popular person at any party. Just don’t blame me when people start begging you for the recipe!
Ingredients for Cheesy Bacon Tater Tot Cups
Okay, let’s gather our simple but magical ingredients – I promise you probably have most of these in your kitchen right now! The beauty of this recipe is how ordinary ingredients transform into something extraordinary. Here’s what you’ll need:
- 8 slices bacon (cut into 3 pieces each – trust me, this size fits perfectly in the muffin cups)
- 12 frozen tater tots (just grab your favorite brand from the freezer aisle)
- 1 cup shredded cheddar cheese (I like sharp cheddar for extra flavor, but any melty cheese works)
That’s it! Three ingredients for the most addictive little bites you’ll ever make. I sometimes add a sprinkle of green onions or a dash of hot sauce before serving, but honestly? They’re perfect just like this.
How to Make Cheesy Bacon Tater Tot Cups
Alright, let’s get to the fun part – making these irresistible little cups of joy! I promise it’s easier than you think, and the results will have everyone thinking you’re some kind of kitchen wizard. Here’s exactly how I do it:
First, crank that oven to 400°F – we want it nice and hot so our bacon gets crispy and our tots turn golden. While it’s heating, grab your mini muffin tin (this is my secret weapon for all kinds of bite-sized treats). Now, take each bacon slice and cut it into three pieces – they should be just long enough to crisscross in the muffin cups like a little bacon basket.
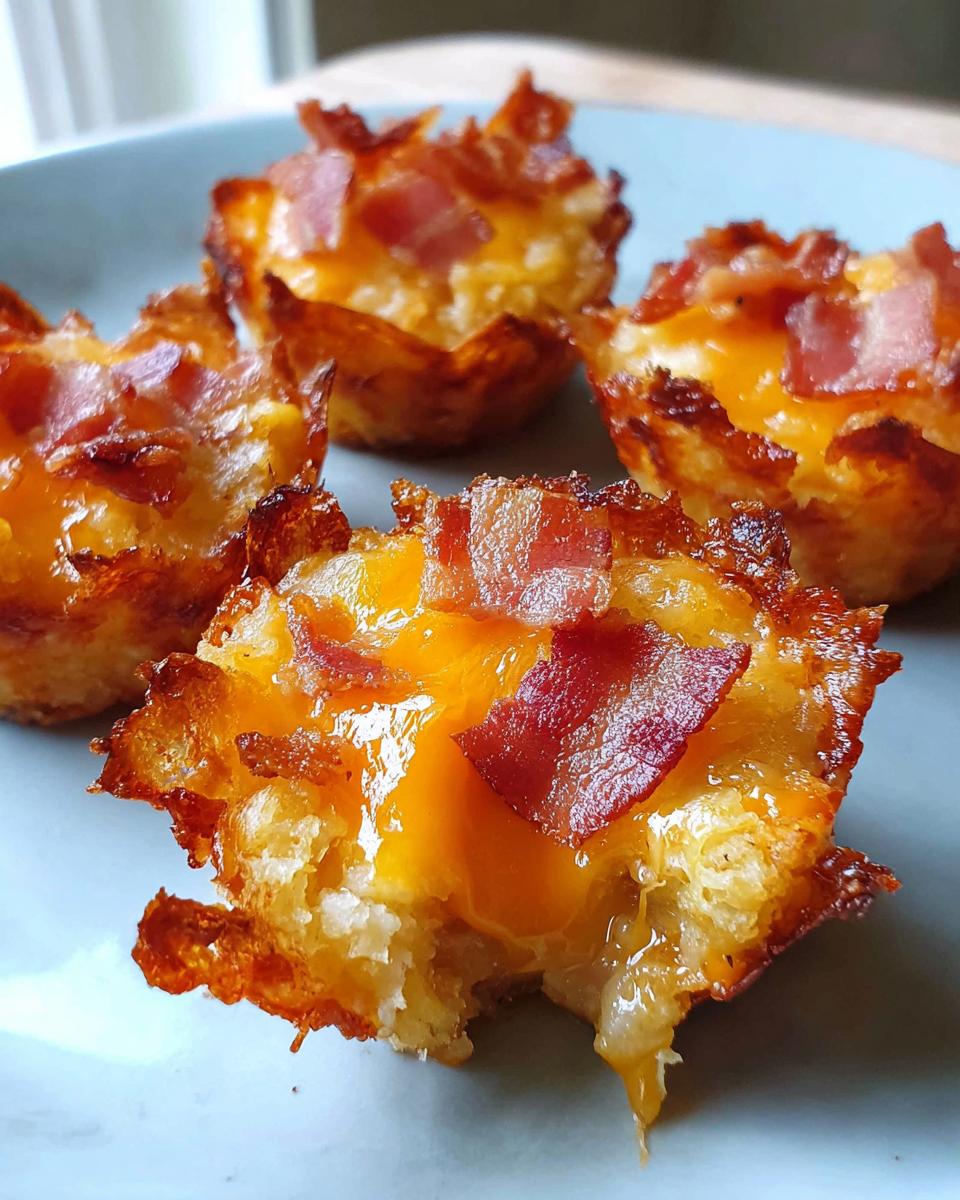
Here’s where the magic happens: press two bacon pieces into each cup, crossing them so they form an X. Then pop one or two frozen tater tots right on top – they’ll look like they’re wearing bacon blankets! Slide the tin into the oven and let it work its magic for 12-15 minutes. You’ll know they’re ready when the bacon edges start curling up and getting crispy (just like the bacon-wrapped tots you see in restaurants).
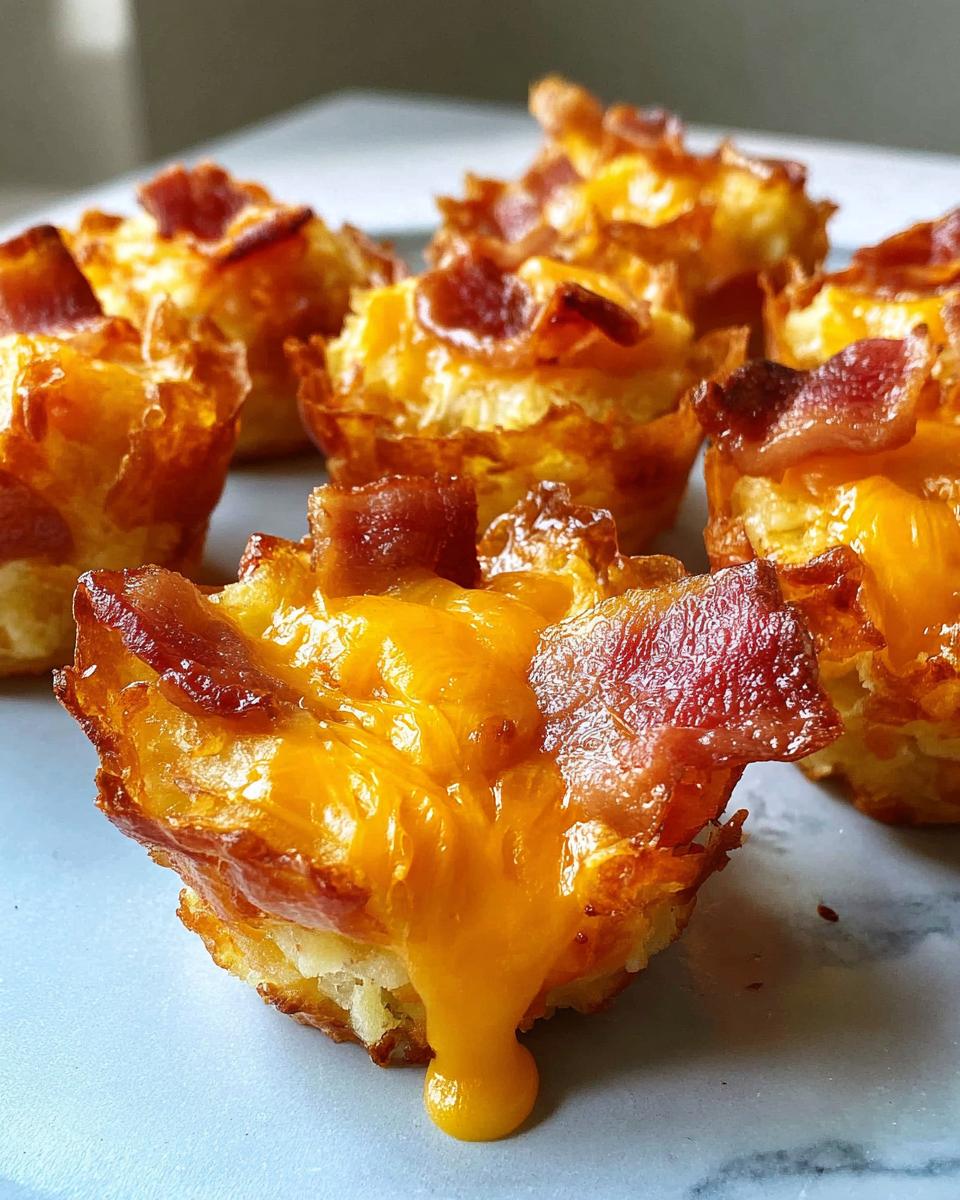
Now for the best part – sprinkle that glorious shredded cheddar over each cup and bake for another 5 minutes. Watch as the cheese melts into gooey perfection!
When they come out, I like to transfer them to a paper towel-lined plate for a minute to soak up any extra grease. Let them cool just enough so you don’t burn your tongue (trust me, the temptation is real), then serve while they’re still warm and crispy.

Pro Tip for Crispy Bacon Cups
Here’s my little secret for perfect bacon cups every time: really press that bacon firmly into the muffin tin before adding the tots. I mean get in there with your fingers – the better contact it has with the metal, the crispier it’ll get. And don’t skip the paper towel step after baking! A quick blot makes all the difference between good and “Oh my gosh, how did you make these so perfect?”
Serving Suggestions for Cheesy Bacon Tater Tot Cups
Oh, you’re gonna love this part – figuring out all the delicious ways to serve these little flavor bombs! First rule: always have dipping sauces ready. A cool dollop of ranch or sour cream balances that salty bacon perfectly. For holiday parties, I like to arrange them on a platter with other finger foods – they look especially cute next to my bruschetta dip and some colorful veggies.
Here’s my favorite way to serve them: while they’re still warm from the oven, I sprinkle on some chopped chives or green onions for a pop of color. If I’m feeling fancy, I’ll put out small bowls of different sauces – spicy ketchup, garlic aioli, even a sweet barbecue sauce for those who like that contrast. They’re perfect for grazing tables at holiday parties because they taste just as good at room temperature as they do warm.
For game day? Oh honey, just pile them high on a plate near the beer cooler and watch them disappear. Breakfast brunch? Serve them alongside mini quiches and fruit – the ultimate sweet and savory combo. Honestly, these little cups are so versatile, they’ll make any spread look (and taste) like you spent hours in the kitchen!
Make-Ahead and Storage Tips
Here’s the best part about these Cheesy Bacon Tater Tot Cups – they’re practically made for lazy party planners like me! You can totally bake them earlier in the day, then just pop them back in a 350°F oven for 5 minutes before serving. The cheese gets all melty again and the tots crisp right back up – nobody will ever know they weren’t fresh from the oven.
Word to the wise: resist the microwave! I learned this the hard way when I tried to quickly reheat some leftovers. The microwave turns that beautiful crispy bacon into a sad, soggy mess. Trust me, the extra few minutes in the toaster oven are worth it to keep that perfect crunch.
If you somehow end up with leftovers (unlikely, but it happens), store them in an airtight container in the fridge for up to 2 days. They won’t be quite as crispy the next day, but they’ll still taste amazing – I’ve been known to eat them cold straight from the fridge for breakfast!
Cheesy Bacon Tater Tot Cups FAQs
I get asked these questions all the time when I serve these at parties – and trust me, after people try them, they always want to know how to make their own! Here are the answers to everything you might wonder about these addictive little bites:
Can I use turkey bacon instead?
Absolutely! Turkey bacon works fine, but you’ll need to adjust the cook time since it tends to crisp up faster than regular bacon. Keep a close eye on it after about 8 minutes – you want it golden but not burnt. The flavor will be slightly different, but still delicious!
Can I prep these with frozen tater tots?
Oh honey, no – frozen tots straight from the bag will make your bacon cups soggy. Let them thaw for about 15 minutes first. I just spread them on a plate while I’m prepping everything else. They’ll still hold their shape but bake up nice and crispy!
How long do leftovers last?
If you miraculously have any left (it’s happened maybe twice in my life), they’ll keep in the fridge for about 2 days. Store them in an airtight container, then reheat in the oven or toaster oven to bring back that crispness. Pro tip: sprinkle a tiny bit of fresh cheese before reheating – it brings them back to life!
Got more questions? Just ask! I’ve made these so many times I could probably do it in my sleep. They’re foolproof, I promise – and totally worth every cheesy, bacon-y bite.
Nutritional Information
Okay, let’s be real – we’re not eating these Cheesy Bacon Tater Tot Cups for their health benefits! But since folks ask, here’s the scoop: each cup is roughly 85 calories (give or take depending on your bacon and cheese brands). They’ve got about 6g fat, 5g carbs, and 3g protein. Remember, these are just estimates – your exact numbers will vary based on whether you use thick-cut bacon or light cheese. My philosophy? Life’s too short to count calories when there’s crispy bacon and melty cheese involved!
Cheesy Bacon Tater Tot Cups
Equipment
- 12-cup mini muffin tin
Ingredients
- 8 slices bacon
- 12 tater tots frozen
- 1 cup cheddar cheese shredded
Instructions
- Preheat the oven to 400°F.
- Cut bacon slices into 3 pieces and place 2 pieces opposite ways into the cups of a 12-cup mini muffin tin.
- Put 1 to 2 frozen tater tots on top of the bacon.
- Bake for 12-15 minutes, or until bacon is crisp (use the duration suggested on your bacon package).
- Top with cheddar cheese and cook for another 5 minutes, or until the cheese is melted.
- Remove from oven and transfer bacon cups to a paper towel to cool and drain excess grease. Let cool 5 minutes before serving.