
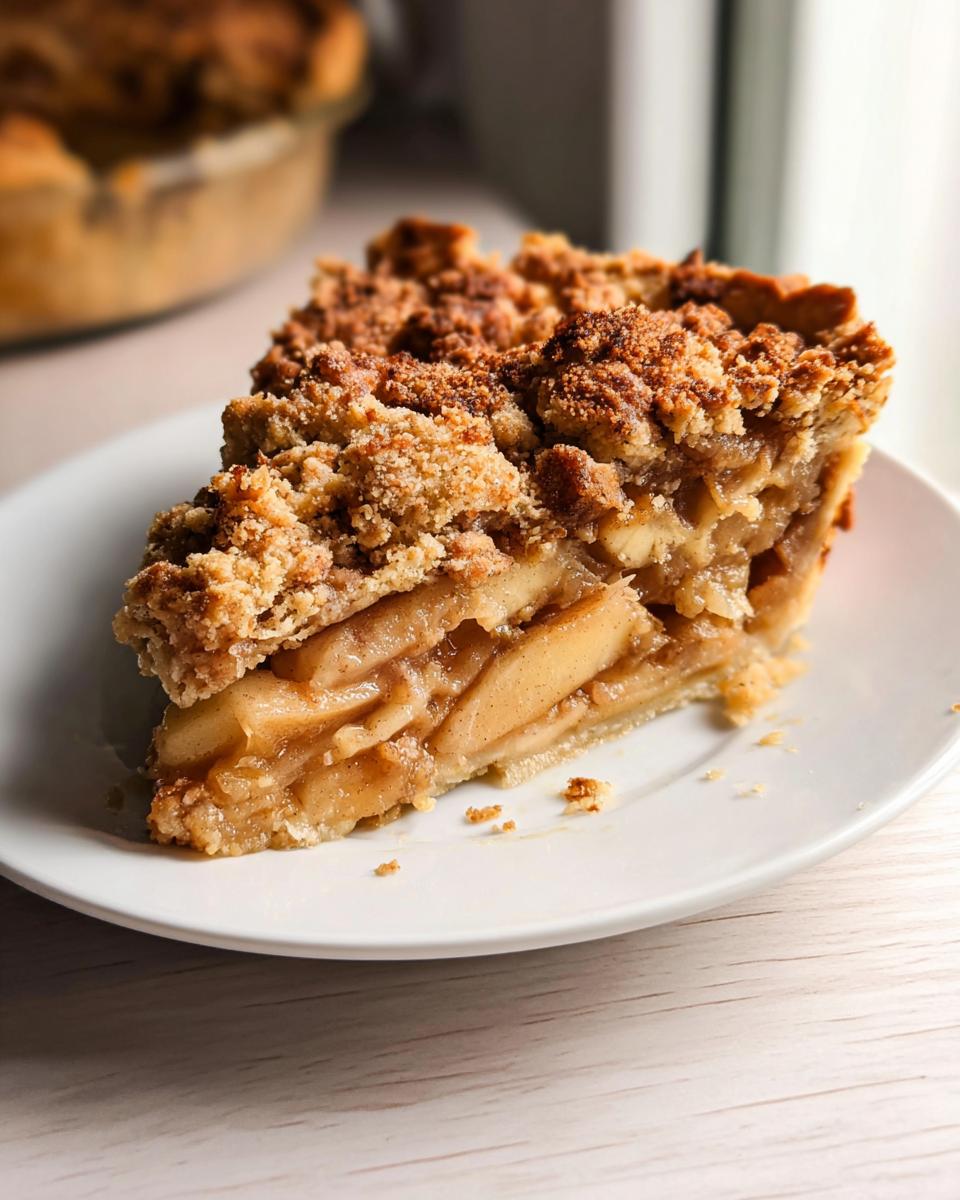
There’s nothing quite like the scent of cinnamon and apples wafting through the kitchen on a crisp fall morning. This Apple Crumble Pie is my ultimate comfort food – it brings together everything I love about homemade baking. That perfect crunch of buttery crumble topping gives way to tender, spiced apples underneath, creating a dessert that feels both nostalgic and special.
I still remember the first time I perfected this recipe. It was one of those chilly autumn weekends where the leaves outside were just starting to turn golden. I’d been experimenting with different crumble ratios when this version finally came out just right – crisp enough to hold its shape but still tender enough to melt in your mouth. When it cooled, I poured myself some coffee, sliced that first piece, and thought, “This is what fall tastes like.” Now it’s become my go-to recipe every season, no tweaks needed. Trust me, once you try this version with its perfect balance of textures and flavors, you’ll understand why it’s become my benchmark for all apple desserts.
What makes this Apple Crumble Pie so special isn’t just the delicious results – it’s about creating something that feels like home. The process is just as wonderful as the finished pie, from working the butter into the flour to watching the crumble turn golden in the oven. There’s magic in those simple moments that only homemade pie can bring.
Why You’ll Love This Apple Crumble Pie
If you’re looking for a dessert that hits all the right notes of cozy, comforting, and downright delicious, this Apple Crumble Pie is your golden ticket. Here’s what makes it stand out from the crowd:
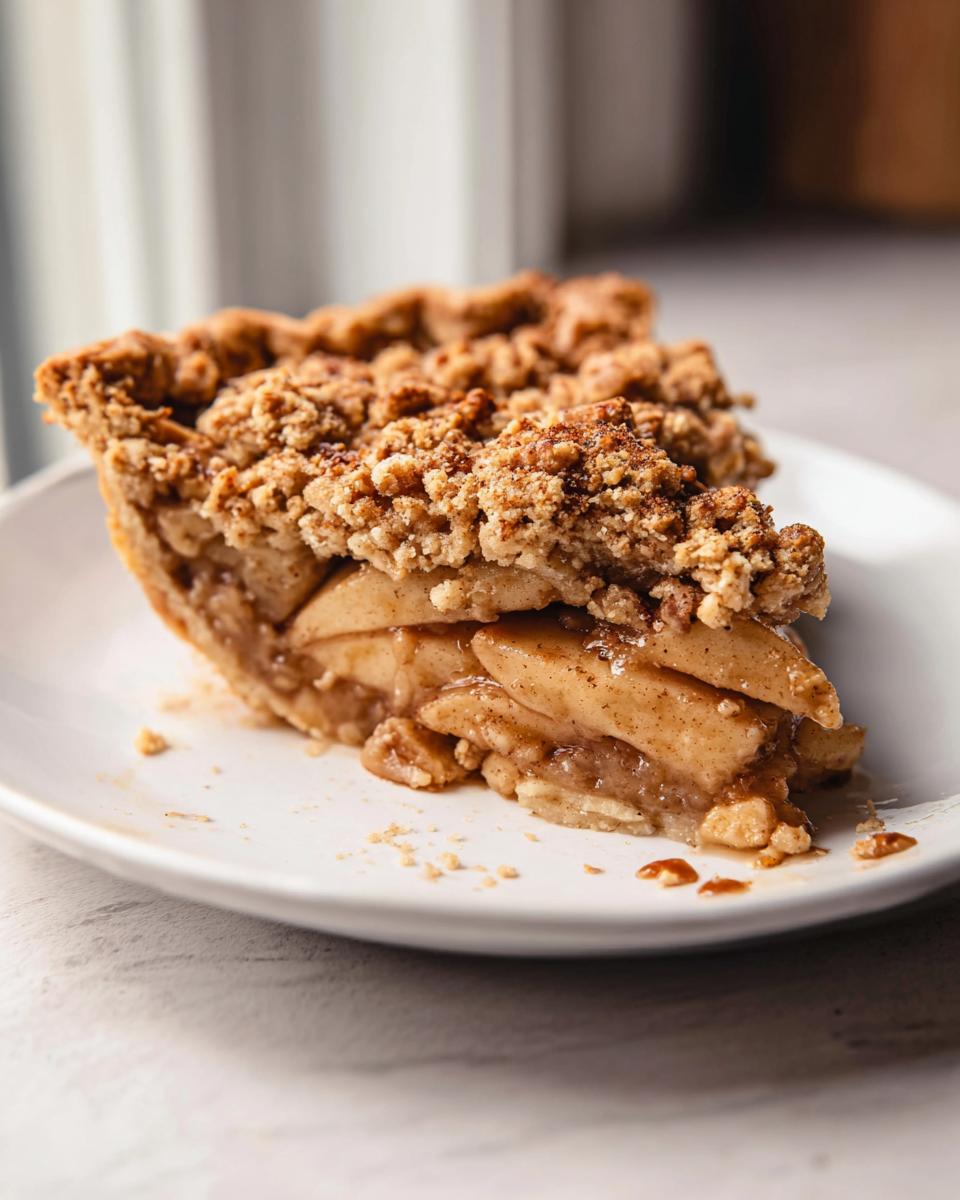
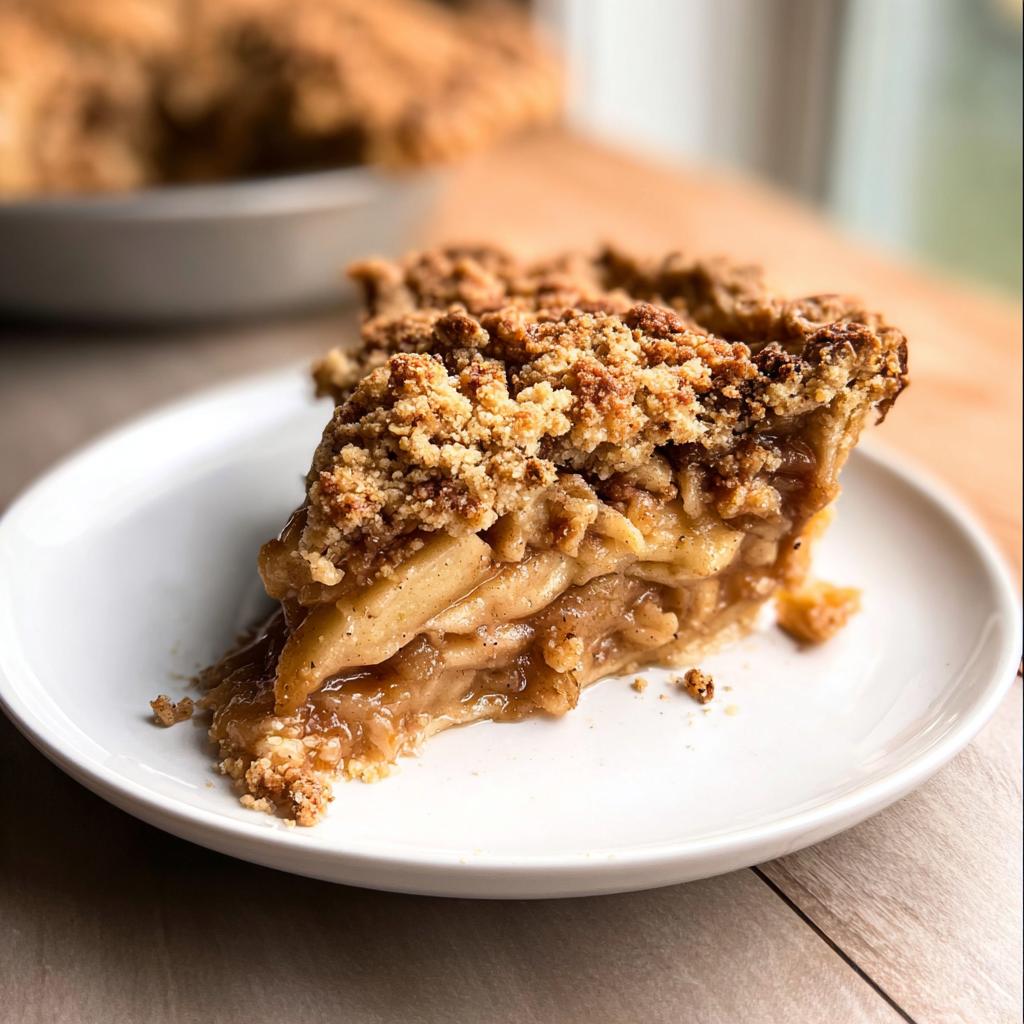
- That crumble topping! It’s got the perfect ratio of butter to oats – crisp on top, tender underneath, with just enough brown sugar to make it irresistible. I could honestly eat it by the spoonful (and sometimes do).
- The apple filling strikes the ideal balance between sweet and tart. A mix of cinnamon and nutmeg gives it that classic warmth without overpowering the fruit. Unlike some pies, it’s never cloyingly sweet – just pure apple goodness in every bite.
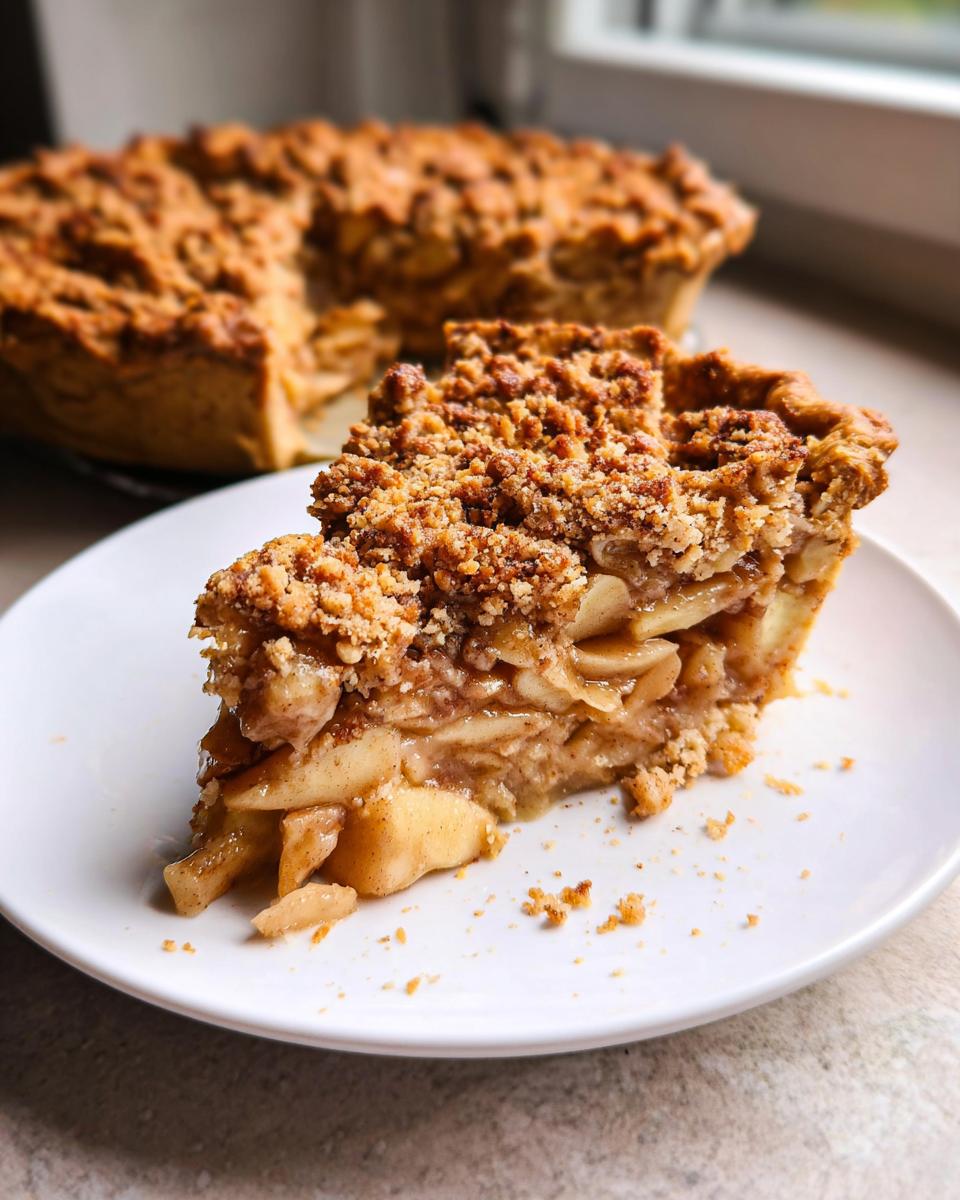
- This recipe was made for fall baking. That magical moment when the crumble turns golden and the scent of cinnamon apples fills your kitchen? That’s the stuff memories are made of. It’s become my go-to for Thanksgiving, but honestly, I make it all season long.
- It’s the best of both worlds – impressive enough to serve at a dinner party (I promise you’ll get requests for the recipe), yet simple enough to whip up just because. Like my grandma used to say, “Fancy enough for company, cozy enough for Tuesday.”
For those who want to take their apple desserts to the next level, check out my guide to caramel apple pies. But if you ask me, this crumble version might just be perfection – no upgrades needed.
Ingredients for Apple Crumble Pie
Gathering the right ingredients is the first step to pie perfection. I’ve learned through trial and error that quality matters here – especially with the apples and butter. Let’s break it down by component so you can see exactly what you’ll need. Trust me, every item plays a special role in creating that perfect balance of textures and flavors.
For the Pastry:
- 1.5 cups all-purpose flour (180 grams) – Spoon and level it, don’t scoop! This ensures you don’t pack in too much flour.
- ½ teaspoon coarse kosher salt (2 grams) – I swear by kosher salt for baking; it distributes more evenly than table salt.
- 8 tablespoons unsalted butter (110 grams) – Keep it chilled and cut into 1-inch pieces. Cold butter equals flaky layers.
- 1 tablespoon apple cider vinegar (15 grams) – My secret weapon for tender pastry.
- ¼ cup ice water (60 grams) – You might not need it all, but have extra ready.
For the Apple Filling:
- 3.5 lbs baking apples (about 6-8) – Peeled, cored, and thinly sliced. I like a mix of Granny Smith and Honeycrisp.
- 1 tablespoon lemon juice (about half a lemon) – Keeps the apples from browning.
- 3 tablespoons cornstarch – Or 4 tablespoons all-purpose flour if you prefer. Cornstarch gives a clearer filling.
- ⅓ cup packed light brown sugar (70 grams) – For that deep caramel flavor.
- ¼ cup granulated sugar (50 grams) – Balances the brown sugar perfectly.
- ½ teaspoon coarse kosher salt (2 grams) – Just enough to enhance all the flavors.
- 1½ teaspoons ground cinnamon – The star spice! Use fresh if possible.
- ¼ teaspoon freshly grated nutmeg – Worth grating it fresh, I promise.
- 1 teaspoon vanilla extract – The finishing touch that ties it all together.
For the Crumble Topping:
- 8 tablespoons unsalted butter (110 grams) – Melted, not softened. This creates those irresistible crispy bits.
- 1 cup all-purpose flour (120 grams) – The base of our crumble.
- 1 cup old fashioned rolled oats (80 grams) – Not instant! They give the best texture.
- ¼ cup granulated sugar (50 grams) – For sweetness and crunch.
- ¼ cup packed brown sugar (55 grams) – Adds moisture and depth.
- ½ teaspoon ground cinnamon – Because everything’s better with cinnamon.
- 1 pinch salt – Just a pinch to balance the sweetness.
A quick tip before you start: measure everything out first. I learned the hard way that baking is much more relaxing when you’re not scrambling to find ingredients mid-recipe. Now I line everything up like a little pie-making assembly line – it makes the whole process feel like a cozy ritual rather than a chore.
How to Make Apple Crumble Pie
Okay, let’s get to the fun part – turning all those beautiful ingredients into the most glorious Apple Crumble Pie you’ve ever tasted! I’ll walk you through each step, sharing all my little tricks I’ve picked up over years of baking this beauty. Don’t let the multiple steps scare you – it’s all simple when you take it piece by piece. Ready to make some kitchen magic? Let’s go!
Preparing the Pastry
First things first – the foundation! In a large bowl, whisk together your flour and salt. Now for the butter – drop in those chilled chunks and toss them around until they’re all coated in flour. Here’s my golden rule: work the butter in quickly with your fingertips until about half looks like coarse crumbs and half are still small pea-sized pieces. Those larger butter bits are what’ll give you those flaky layers we all love.
Next, mix your vinegar into the ice water and drizzle in about ¾ of it. Toss everything with your fingers like you’re making little snowballs – add more water just until the dough holds together when squeezed. Don’t overwork it! Wrap it tightly in plastic (I roll mine flat in the wrap so it chills evenly) and pop it in the fridge for at least 2 hours. Overnight’s even better if you’ve got time.
Making the Apple Filling
While that dough chills, let’s tackle the apple filling. Toss all your sliced apples with lemon juice first – this keeps them looking fresh and adds a bright note. Now here’s my secret: let them sit with the sugars, cornstarch, and spices for at least 20 minutes. The apples will release their juices and create this amazing syrup that thickens beautifully as it bakes.
When you’re ready to assemble, don’t just dump the apples in! Layer them tightly in the crust, arranging with your hands to eliminate gaps. Pour every last drop of that spiced syrup over top – that’s pure gold right there. Trust me, taking this extra minute to pack them properly means no sad, hollow spots in your finished pie.
Assembling and Baking the Apple Crumble Pie
Time for the crowning glory – that irresistible crumble topping! Melt your butter (careful not to brown it), then stir in all the dry ingredients until crumbly. I like to mix with my hands to really work in all that buttery goodness. Sprinkle it evenly over your apples – don’t press down, we want it light and craggy.
Here’s the baking secret: start hot (425°F) for 15 minutes to set the crust, then drop to 400°F for the remaining 45-55 minutes. The pie’s done when the filling bubbles vigorously at the edges and hits about 200°F inside. If your crumble browns too fast, just tent it loosely with foil. And please, please let it cool completely – I know it’s hard with that amazing smell, but slicing too soon turns that perfect filling into soup!
For more baking wisdom, check out my favorite pastry tips or this classic apple pie guide. Now go enjoy that perfect balance of crisp topping and tender apples – you’ve earned it!
Expert Tips for the Best Apple Crumble Pie
After making this pie more times than I can count, I’ve picked up some foolproof tricks that take it from good to “can I have seconds?” incredible. First up – apples! Don’t settle for just one variety. My magic trio? Tart Granny Smiths for structure, sweet Honeycrisps for flavor, and maybe a Pink Lady thrown in for good measure. The different textures create this amazing symphony in every bite.
Here’s my favorite secret weapon: preheat your baking sheet while the oven heats up. When you set the pie plate on that hot surface, it gives the bottom crust an instant blast of heat – goodbye, soggy bottoms! I learned this trick the hard way after one too many pale-underneath pastry disasters.
And please, for the love of all things pie, let it cool completely! I know it’s torture with that cinnamon-scented perfume filling your kitchen, but cutting warm turns your beautiful slices into apple soup. Wait at least 4 hours (or better yet, overnight) and you’ll be rewarded with clean cuts and perfectly set filling.
One last tip – if your crumble starts browning too quickly but the filling needs more time, just drape some foil loosely over the top. No special tenting required! These small adjustments make all the difference, just like my tricks for keeping baked goods moist. Now go forth and bake the most glorious Apple Crumble Pie of your life!
Serving and Storing Apple Crumble Pie
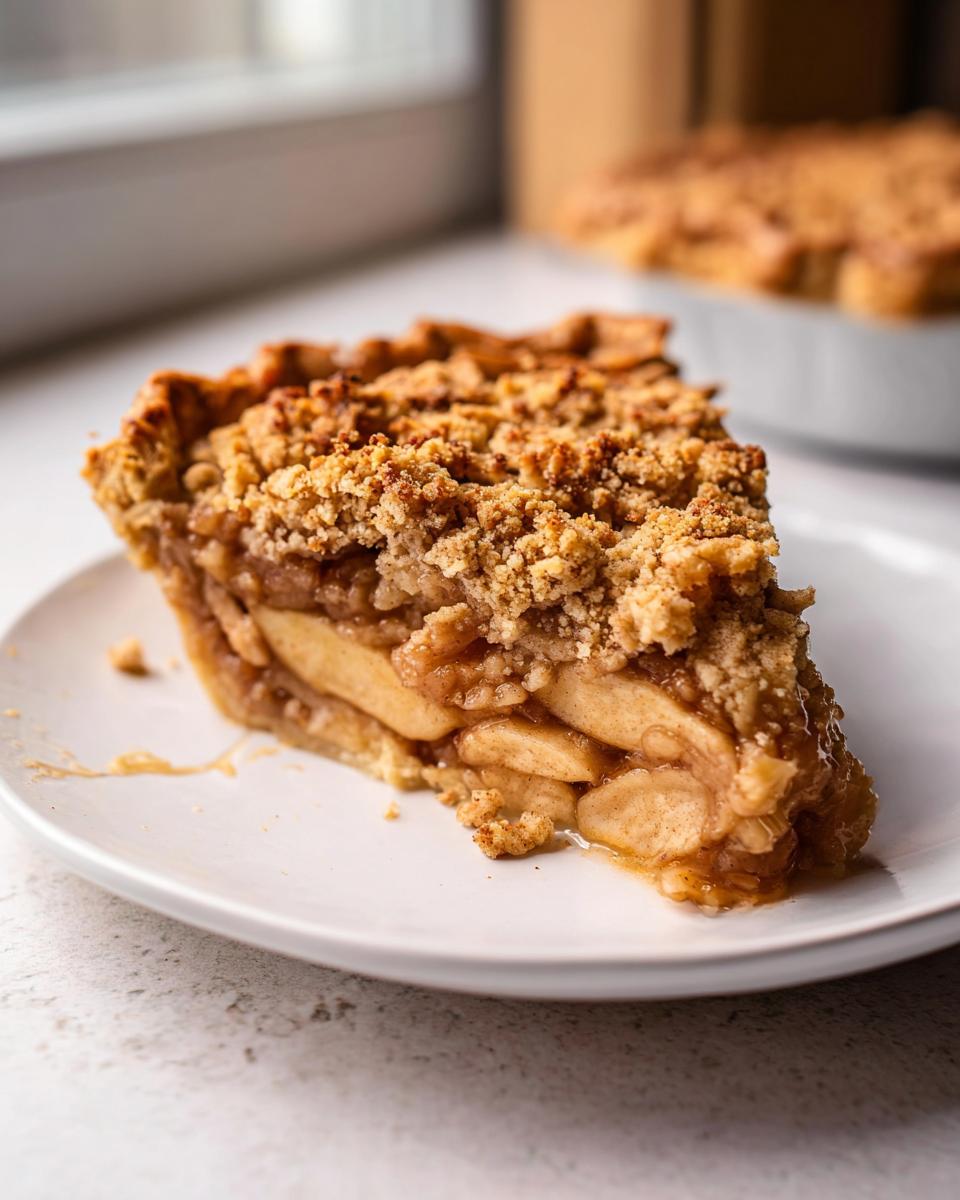
Oh, the moment of truth – serving up this golden beauty! My absolute favorite way? Warm (not hot!) with a big scoop of vanilla ice cream melting all over that crispy crumble topping. The contrast between the cool cream and spiced apples is pure heaven. If you’re feeling fancy, drizzle some caramel sauce overtop – but honestly, it’s sublime just as is.
Now, let’s talk storage because (miraculously) sometimes there are leftovers! At room temp, it’ll keep beautifully for about 2 days – just cover loosely with wax paper or foil. For longer storage, pop it in the fridge where it’ll stay fresh up to 5 days. Want to save some for later? Freeze individual slices wrapped tightly in plastic, then foil, for up to 3 months. A quick warm-up in the oven brings back that just-baked magic. Pro tip: The crumble topping loses its crunch in the fridge, so I always give stored slices a quick toast in the oven or air fryer before serving.
Apple Crumble Pie Variations
Once you’ve mastered the classic version, it’s so fun to play around with different twists on this Apple Crumble Pie! My favorite variation? Tossing in a handful of cranberries with the apples – that tart pop against the sweet filling is just *chef’s kiss*. Cranberries and apples were basically made for each other, if you ask me.
For nut lovers, try swapping half the oats in the crumble for chopped pecans or walnuts. The toasty crunch takes it to another level entirely. And if you’re feeling extra indulgent (because sometimes you just need to), drizzle warm caramel sauce over each slice right before serving. It pools into all those crumbly crevices in the most glorious way.
The beauty of this recipe is how adaptable it is – once you’ve got that perfect pastry and apple base, the topping variations are endless. I’ve even done a ginger snap crumble version around the holidays that disappeared faster than I could photograph it. What will your signature twist be?
Nutritional Information
Just between us, baking this Apple Crumble Pie is all about joy – not counting calories! The nutritional values here are estimates and can change based on your specific ingredients and brands. Whether you’re savoring a slice for dessert or sneaking bites throughout the day (no judgment!), let’s focus on those happy moments around the table rather than the numbers.
Frequently Asked Questions
Hey, I know you might have some questions before diving into this Apple Crumble Pie adventure – I get them all the time from friends and family. Here are the answers to the ones I hear most often:
Can I use store-bought crust?
Absolutely! While homemade is lovely, I totally understand when you’re short on time. Just grab a good-quality refrigerated pie crust (not the frozen kind) and follow the package directions for blind baking. That said, my vinegar-kissed dough really does make a difference in texture – but no judgment if you take the shortcut!
How do I prevent a soggy bottom?
This was my nemesis for years! Two game-changers: 1) Preheat your baking sheet like I mentioned earlier – it gives the crust a head start, and 2) Don’t skip the chilling time for your dough. Cold crust + hot surface = perfectly crisp bottom every time. For more apple pie wisdom, check out my thoughts on pre-cooking apples.
Can I freeze this pie?
You bet! I always stash an extra in the freezer for surprise guests (or surprise cravings). Fully bake and cool it first, then wrap tightly in plastic followed by foil. It keeps beautifully for up to 3 months. Thaw overnight in the fridge, then warm it up in a 350°F oven until the crust is crisp again – about 20 minutes.
What if my crumble topping burns?
Been there! If it’s browning too fast, just loosely drape some foil over the top (no need for fancy tenting). And remember – that initial high heat is only for 15 minutes before we lower the temp. The crumble should turn a deep golden, not dark brown.
Can I make this ahead?
Actually, this pie gets better with time! The flavors meld beautifully overnight. You can assemble the whole pie (unbaked) and refrigerate for up to 24 hours before baking – just add 5 extra minutes to the bake time since it’ll be cold. Leftovers (if you have any!) keep wonderfully for days.
Apple Crumble Pie
Equipment
- 9-inch pie plate
- Rimmed baking sheet
- Plastic wrap
Ingredients
For Pastry
- 1.5 cups all-purpose flour 180 grams
- 0.5 teaspoon coarse kosher salt 2 grams
- 8 tablespoons unsalted butter 110 grams, chilled and cut into 1″ pieces
- 1 tablespoon apple cider vinegar 15 grams
- 0.25 cup ice water 60 grams, more as needed
For Apple Filling
- 3.5 lbs baking apples about 6-8, peeled, cored and thinly sliced
- 1 tablespoon lemon juice about half a lemon
- 3 tablespoons cornstarch or 4 tablespoons all-purpose flour
- 0.33 cup light brown sugar 70 grams, packed
- 0.25 cup granulated sugar 50 grams
- 0.5 teaspoon coarse kosher salt 2 grams
- 1.5 teaspoons ground cinnamon
- 0.25 teaspoon freshly grated nutmeg
- 1 teaspoon vanilla extract
Crumble Topping
- 8 tablespoons unsalted butter 110 grams
- 1 cup all-purpose flour 120 grams
- 1 cup old fashioned rolled oats 80 grams
- 0.25 cup granulated sugar 50 grams
- 0.25 cup packed brown sugar 55 grams
- 0.5 teaspoon ground cinnamon
- 1 pinch salt
Instructions
- In a large bowl, whisk together the flour and salt for the pastry.
- Toss in the butter and coat with flour. Using your fingers, work the butter into the flour until most of it looks shaggy, with some larger pieces remaining.
- Add the vinegar to the ice water, then drip in ¾ of it into the flour mixture. Toss together with your fingers until the dough is well hydrated and easily squeezes together. Add more water as needed.
- Bring the dough together into a cohesive mass. Wrap tightly in plastic wrap and roll out until it stretches to the edges of the wrap. Refrigerate for at least 2 hours, preferably overnight.
- Roll out the pie dough to an 11-inch circle. Fit into a 9-inch pie plate, crimping the edges as desired. Chill until ready to use.
- Preheat the oven to 425ºF with a rack on the second to lowest level.
- For the apple filling, combine sliced apples and lemon juice in a large bowl. Add cornstarch, sugars, salt, cinnamon, nutmeg, and vanilla. Mix and let sit for at least 20 minutes.
- For the crumble, melt butter in a medium pot. Turn off heat and add flour, oats, sugars, cinnamon, and salt. Mix well.
- Layer the macerated apples tightly in the pie crust, pouring any remaining juices over them. Sprinkle the crumble mixture on top.
- Bake on a rimmed baking sheet for 15 minutes. Lower temperature to 400ºF and bake for 45-55 minutes, until filling bubbles and reaches above 200ºF internally. Cover loosely with foil if browning too quickly.
- Cool on a wire rack for at least 4 hours, preferably overnight. Serve at room temperature.