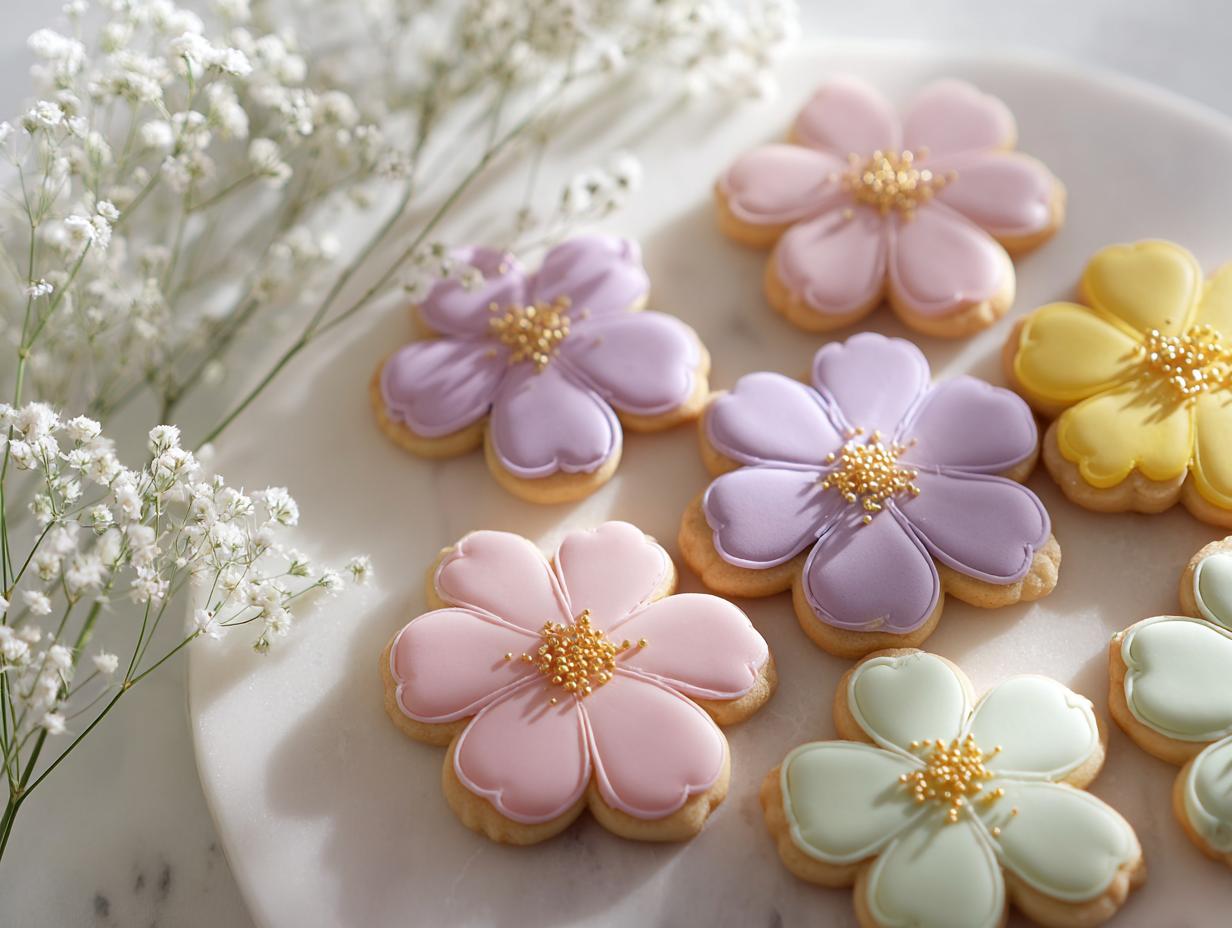
When my sister announced her spring baby shower theme, I immediately knew we needed treats that felt both completely delicate and utterly joyful. That’s how my Wildflower Baby Shower Cookies came into being! Forget the boring squares; we needed something that celebrated new life with soft pastels and the charm of a freshly picked meadow. After testing dozens of designs, combining simple shapes like daisies and violets with just the right icing consistency made all the difference. I’m Clara, and honestly, the best moment was seeing guests stop to admire each perfectly crafted cookie, hesitating before taking that first bite—that’s how you know you’ve hit the sweet spot for any garden-themed celebration.
Why These Wildflower Baby Shower Cookies Are Perfect for Your Celebration
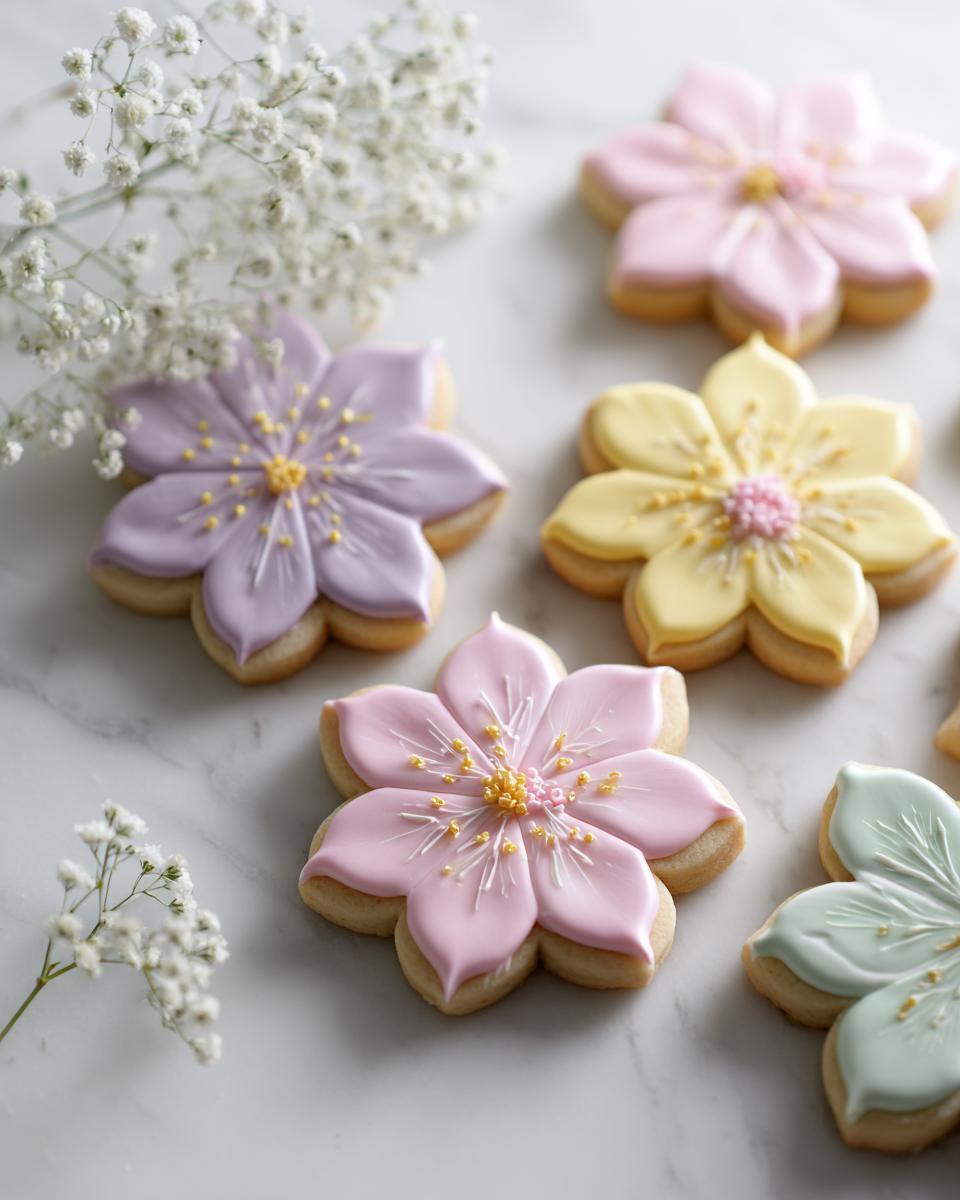
I want you to feel totally confident making these! They look like they belong in a high-end bakery, but I promise you, they are so achievable at home. These aren’t just good; they are truly special spring baby shower treats that elevate any dessert table.
- They offer that beautiful, high-end look without needing months of decorating experience.
- They perfectly capture the delicate and hopeful spirit of new beginnings.
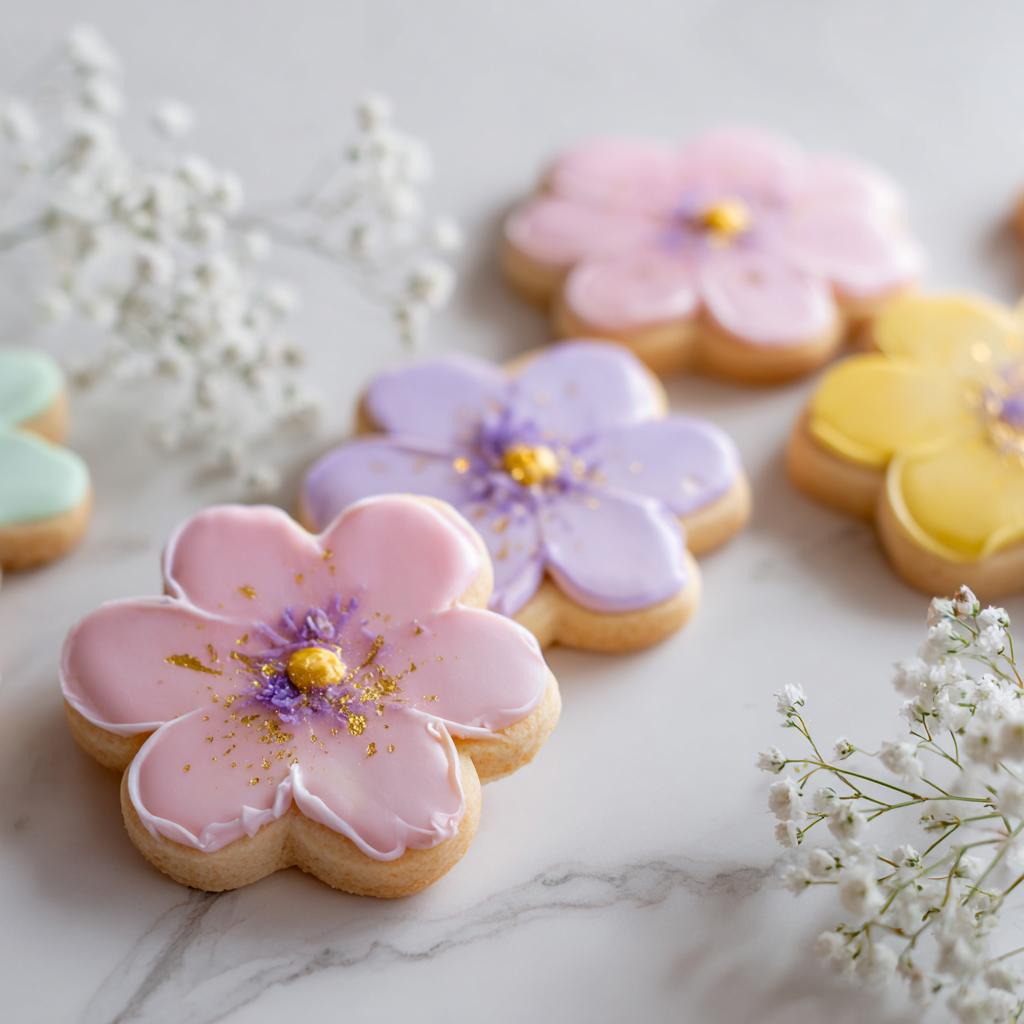
- These are the centerpieces everyone talks about—true botanical baby shower desserts!
Achievable Elegance for Any Host
Don’t let the detail scare you! If you follow the icing consistency steps, these become some of the most charming baby shower cookie ideas you can make. Simple flower shapes look incredibly detailed once you have your colors laid out. You really can do this!
The Ideal Spring and Garden Theme Match
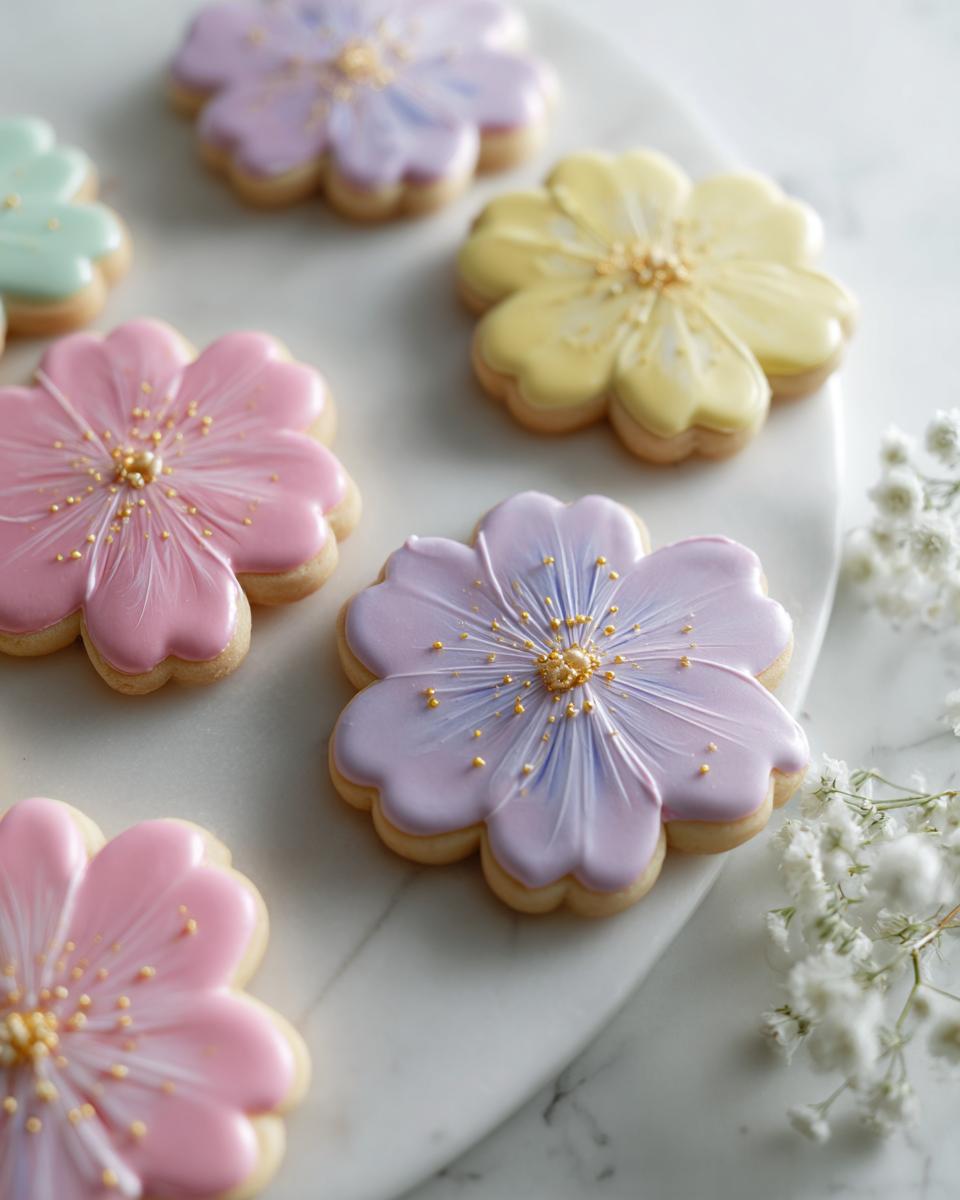
Since these cookies bloom with soft colors, they pair absolutely perfectly with baby showers held in the spring or any party leaning into a gentle garden or outdoor theme. They bring the fresh air right onto the platter!
Essential Equipment for Your Wildflower Baby Shower Cookies
Getting the right tools ready beforehand really cuts down on stress later, trust me. This recipe isn’t hard, but having the proper cutters makes all the difference for those lovely floral decorated cookies.
You definitely need an electric mixer for creaming that butter and sugar butter—doing it by hand is just asking for tired arms! Make sure you have a few different smaller flower-shaped cookie cutters ready to go. Small is better here; we want delicate blooms, not giant dinner plate sunflowers. Don’t forget parchment paper for your baking sheets; it keeps everything from sticking while we focus on the pretty part!
Ingredients for Perfect Wildflower Sugar Cookies
Getting the ingredients right, especially for the dough, is half the battle won when you’re aiming for detailed wildflower sugar cookies. You need a solid base that doesn’t spread in the oven, or all that icing work in vain, right? I’ve broken down what you need for the cookies themselves and then, separately, what goes into that magical royal icing. Pay close attention to the notes, especially with the butter and vanilla!
For the Sturdy Cookie Dough Base
Remember, we need butter that is softened, not melted. Melted equals flat cookies, and we just can’t have that when we are making these beautiful baby shower cookie ideas!
- 2 3/4 cups all-purpose flour
- 1 teaspoon baking powder
- 1/2 teaspoon salt
- 1 cup unsalted butter, softened
- 1 1/2 cups granulated sugar
- 1 large egg
- 2 teaspoons vanilla extract
For the Floral Decorated Cookies Icing
This is where the artistry comes in! You absolutely must use gel food coloring here; the liquid stuff just ruins the amazing consistency we work so hard to achieve. Gel colors give you those bright, beautiful shades needed for stunning floral decorated cookies.
- 3 cups powdered sugar
- 3 tablespoons meringue powder
- 5 tablespoons water (Use 5-6 tablespoons total—start slow!)
- As needed Gel food coloring (pink, purple, yellow, green)
- Optional Edible gold luster dust
Step-by-Step Instructions for Wildflower Baby Shower Cookies
Okay, now we get to the fun part! Baking these truly beautiful cookies is a process, so take your time and enjoy the steps. If you rush the dough chilling or the icing drying, you’ll end up with a mess, so be patient here. These steps lead directly to those amazing wildflower sugar cookies you’ve been dreaming of!
Making and Chilling the Cookie Dough
First things first, let’s get the dry ingredients whisked together in one bowl: the flour, baking powder, and salt. Don’t skip this; it keeps things even!
In your big bowl, cream the softened butter and that granulated sugar until it looks genuinely light and fluffy—we’re talking 3 to 4 minutes with the mixer. Then, drop in the egg and the vanilla and mix until it’s all happy together. Now, you add the dry stuff to the wet stuff slowly, mixing just until the dough barely comes together. Seriously, stop mixing right when you don’t see dry flour streaks anymore.
Divide that dough right in half, pat each half down into a cute, flat disk, wrap it up tight in plastic wrap, and pop it in the fridge. You absolutely must chill this for at least 2 hours. This is non-negotiable for keeping those flower shapes sharp!
Baking the Perfect Base for Wildflower Sugar Cookies
Once your dough is nicely chilled, preheat your oven to 350°F (175°C). Dust your counter lightly with flour. Roll that dough out evenly to about 1/4-inch thickness. It needs to be substantial enough to hold up to icing.
Use your cutters, place them carefully on parchment-lined baking sheets, and bake them for 9 to 11 minutes. You want those edges set, but please, don’t let them brown! Let them sit on the hot pan for about 5 minutes—this helps firm them up—then carefully move them to a wire rack to cool completely. I mean fully cool before we even think about icing them!
Preparing and Coloring the Royal Icing
This is the part where we make the glue! In a clean bowl, beat the powdered sugar, meringue powder, and about 5 tablespoons of water on low speed until everything is just combined. Now, crank that mixer up high and let it go for 5 to 7 minutes until you have these stiff, glorious peaks. That high-speed beating totally changes the texture, so don’t skip it!
Separate your icing into small bowls. This is where you add your gel colors—pink, purple, yellow, green—whatever makes your little heart happy for your botanical baby shower desserts. You’ll thin the icing down later by adding water, drop by tiny drop, until it’s nice and runny enough to flood the cookie surface.
Decorating Your Botanical Baby Shower Desserts
Take a bowl of your thinned icing and outline the entire edge of one cookie. Then, immediately fill in the middle—that’s the “flood” consistency. Work in small batches so the base layer dries quickly. You must let this flood layer dry completely, aim for 2 full hours, or your details will sink right into the base!
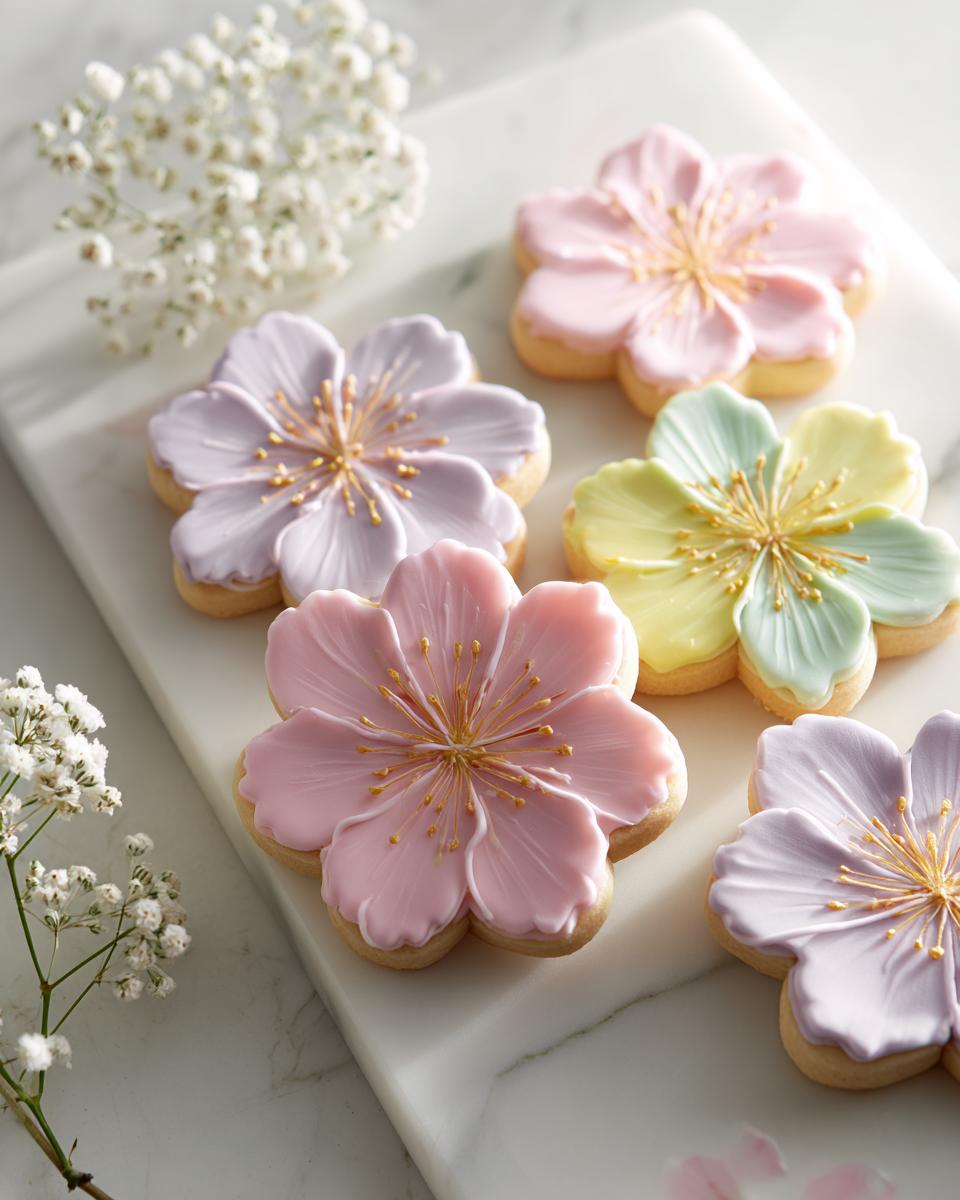
Once that flood layer is dry to the touch, switch back to your thicker icing (the stuff that holds a stiff peak!). Use this for piping those tiny petals, the center dots, and those delicate stems. If you want that extra shimmer, now’s the time to gently brush on a little edible gold luster dust. Wait at least 4 hours after piping details before stacking or packaging these beauties!
Tips for Success with Your Wildflower Baby Shower Cookies
I know that when you look at elaborate Wildflower Baby Shower Cookies, you might get a little nervous about the icing part. Don’t worry! Decorating is all about learning a few tricks. After spending so much time perfecting the dough, we absolutely need the icing to cooperate, right? I’ve got a few hard-won lessons here that make the difference between beautiful blooms and a runny mess.
Achieving the Right Icing Consistency
Consistency is everything when you’re doing any kind of floral decorated cookies work. For the base layer—the flooding—you want it thin enough to settle flat, but not so thin that it runs right off the cookie edge. Remember when I told you to add water? I meant *a few drops at a time*. Stir gently after each drop, and test it by dragging a toothpick through it. If the line disappears completely in about 10 seconds, it’s perfect.
For the detail piping, that’s the stuff you use for tiny petals and centers, you want it much, much thicker. It should look like toothpaste straight out of the tube. If you try to pipe with flood icing, your delicate flower centers will just melt into the base color overnight!
Preventing Cookie Spreading
The biggest fear with any cut-out sugar cookie is spreading while it bakes. We want a crisp edge so the icing has a nice platform to sit on! If you skip the 2-hour chill time, those flower shapes will lose definition the second they hit the hot oven. The dough needs to be rock solid when it goes in.
Also, remember my note on ingredients: your butter needs to be softened, not oily or warm, and your egg should be at room temperature. When the dough ingredients are all at a similar coolness, they mix together beautifully without activating too much of the gluten too early. Chilled dough plus room-temp fats equals zero spread!
Storage and Keeping Wildflower Sugar Cookies Fresh
It feels like a true accomplishment when you’ve waited that 4 hours minimum for the icing to set hard, right? These beautiful Wildflower Baby Shower Cookies are sturdy, thanks to that royal icing base, but they still need a little care so all your hard work doesn’t get ruined!
Once you are absolutely positive that every last petal and dot of color is dry—I mean fully, totally dry—you can get them ready for the party or for transport. The biggest mistake people make is trying to seal them up too soon!
The best way to keep your finished floral decorated cookies tasting fresh and looking perfect is storage at room temperature in an airtight container. Don’t freeze them, and definitely don’t put them in the fridge! Humidity is the enemy of royal icing; it makes the colors look damp and can actually make the icing soft again.
When packing them, if you are worried about them bumping around, place a piece of parchment paper between each layer of cookies inside your container. This stops the decorations from sticking to each other. Honestly, if you store them correctly, these cookies will stay gorgeous on the counter for a full week, though I highly doubt they’ll last that long once word gets out at the party!
Frequently Asked Questions About Floral Decorated Cookies
I always get so many questions once folks see how pretty these floral decorated cookies are! It’s normal to wonder about timing and transport when you put this much love into decorating. Here are some of the things I hear most often when people plan their spring baby shower treats.
Can I make the dough for these Wildflower Baby Shower Cookies ahead of time?
Absolutely, you really should! That chilling step is so important for preventing spread. You can mix the dough, wrap it tightly in plastic wrap like I showed, and keep it in the fridge for up to three days. Any longer than that, and the texture starts changing a little. When you pull it out, just let it sit on the counter for about 15 minutes to soften the edges slightly before rolling.
What is the best way to transport these decorated cookies?
This is crucial for keeping those delicate petals perfect! Never stack the decorated cookies directly on top of each other. You need sturdy, flat boxes, and you should place parchment paper between each single layer. If you have a lot of room, leaving them single-layer in trays covered with plastic wrap is even safer until you get to the venue. Don’t squeeze them in there!
Are these considered good baby shower cookie ideas if I skip the decorating?
Oh, yes! Even if you decide the royal icing is too much work (which I totally get!), the base cookie recipe itself is fantastic. They come out tender, crisp at the edge, and pleasantly sweet. They are still completely wonderful baby shower cookie ideas just plain, or maybe drizzled with a little chocolate instead of full icing!
Estimated Nutritional Data for Wildflower Baby Shower Cookies
Alright, friends, let’s talk about the numbers. I’m not a nutritionist, and honestly, after all that hard work decorating these beautiful Wildflower Baby Shower Cookies, who is counting calories anyway? But in the interest of giving you the full picture—especially if you’re sending these off to someone hosting a shower—here is the estimated nutritional breakdown. Remember, this is based on the recipe yielding 24 cookies exactly, so if you make fatter cookies or use more icing, the numbers will definitely shift!
It’s basically a treat, so enjoy it! These are meant to be savored at a happy celebration, not counted toward a daily macro goal, but here is the data based on the standard recipe:
- Calories: 250
- Fat: 11g
- Saturated Fat: 7g
- Cholesterol: 35mg
- Sodium: 120mg
- Carbohydrates: 35g
- Fiber: 1g
- Sugar: 20g
- Protein: 3g
That sugar content comes mostly from the glorious royal icing, which is what gives us those crisp, beautiful floral decorated cookies. If you want to lower the sugar, you could always use a thinner layer of icing or skip the gold dust, but trust me, the beautiful results are worth treating yourself!
Share Your Beautiful Wildflower Baby Shower Cookies
Phew! We made some gorgeous art today, didn’t we? Now that you’ve baked and decorated these lovely wildflower sugar cookies, I really, truly want to see them! When you pour all that effort into making custom decorations for a baby shower, you want someone to see it, right?
So please, if you followed along and made these for a very special mom-to-be, leave me a star rating below! It helps other bakers find this recipe, and it totally makes my day when I see how you personalized your colors and flower arrangements. Did you lean into the soft pinks and purples, or did you go for a brighter, sunnier yellow palette?
I’d also love to hear about your decorating adventures in the comments! Dealing with flooding consistency can be tricky the first time, so tell me what worked for you, or if you have any brand-new tricks for keeping those royal icing details sharp. Every home baker’s experience helps the next person who tries their hand at these delicate floral decorated cookies. Happy celebrating!
Wildflower Baby Shower Cookies
Equipment
- Medium bowl
- Large bowl
- Electric mixer
- Flower-shaped cookie cutters
- Baking sheets
- Parchment paper
- Wire racks
Ingredients
Cookie Dough
- 2 3/4 cups all-purpose flour
- 1 teaspoon baking powder
- 1/2 teaspoon salt
- 1 cup unsalted butter, softened
- 1 1/2 cups granulated sugar
- 1 large egg
- 2 teaspoons vanilla extract
Royal Icing
- 3 cups powdered sugar
- 3 tablespoons meringue powder
- 5 tablespoons water Use 5-6 tablespoons total
- As needed Gel food coloring (pink, purple, yellow, green)
- Optional Edible gold luster dust
Instructions
- Whisk together flour, baking powder, and salt in a medium bowl. Set this mixture aside.
- Cream the butter and sugar in a large bowl until the mixture looks light and fluffy. This takes about 3 to 4 minutes. Add the egg and vanilla, and beat until everything is combined.
- Add the dry ingredients to the wet ingredients gradually. Mix until the dough just comes together. Divide the dough in half, flatten each half into a disk, wrap it in plastic wrap, and refrigerate for a minimum of 2 hours.
- Preheat your oven to 350°F (175°C). Roll the dough to 1/4-inch thickness on a floured surface. Cut out shapes using flower-shaped cookie cutters and place them on baking sheets lined with parchment paper.
- Bake for 9 to 11 minutes, or until the edges are set but not browned. Let the cookies cool on the baking sheets for 5 minutes, then move them to wire racks to cool completely.
- Prepare the royal icing by beating the powdered sugar, meringue powder, and water on low speed until combined. Then, increase the speed to high and beat for 5 to 7 minutes until stiff peaks form.
- Divide the icing into separate bowls and tint them with gel food coloring to make your wildflower colors. Thin the icing with water, adding a few drops at a time, until it reaches a flooding consistency for the base layer.
- Outline and flood each cookie with the base color. Let this layer dry for 2 hours. Use thicker consistency icing to pipe delicate wildflower details, petals, and centers onto the dried base.
- Add finishing touches using contrasting colors for the flower centers and stamens. Dust the cookies with edible gold luster dust if you choose to use it.
- Allow the decorated cookies to dry completely for at least 4 hours before you package them or serve them.