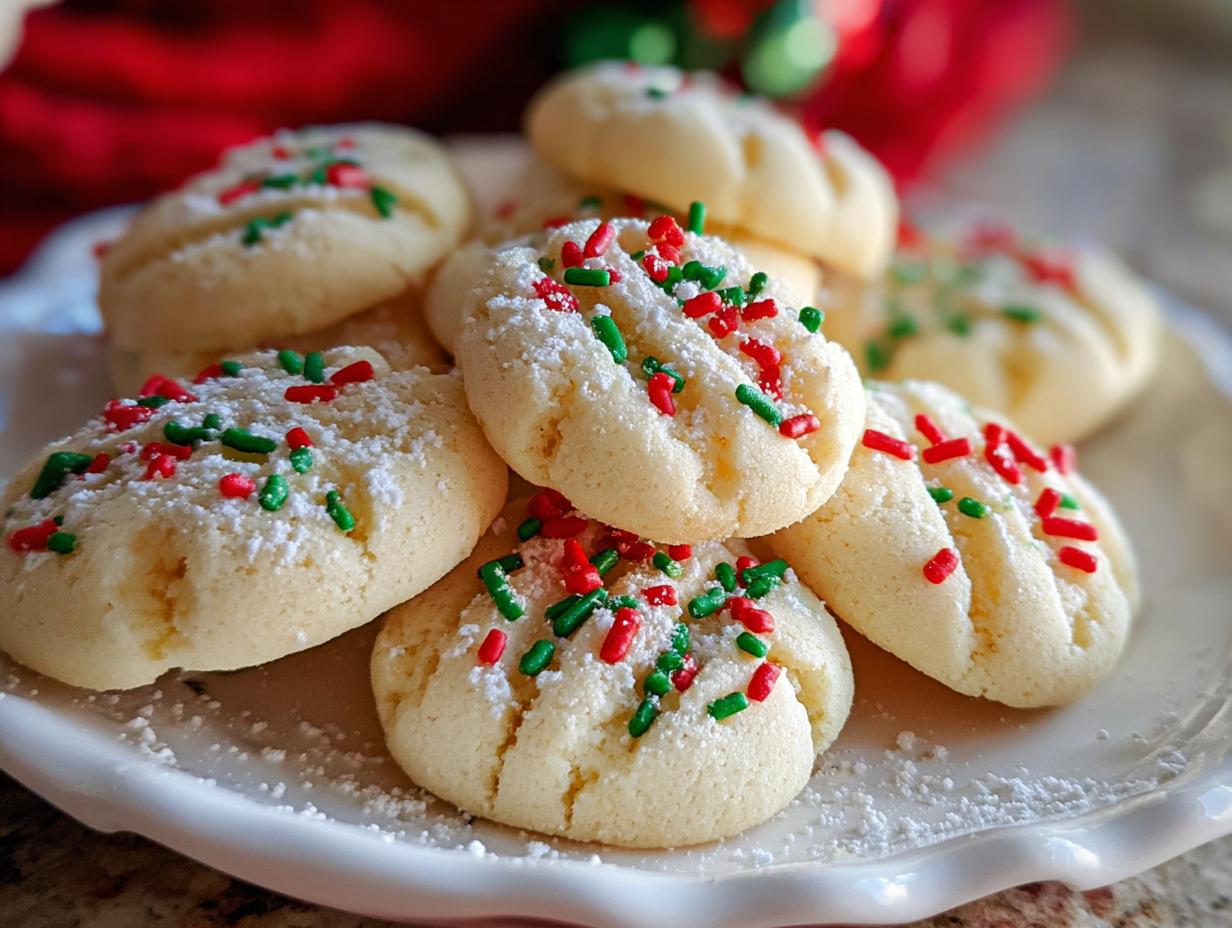
Nothing says Christmas quite like the scent of freshly baked cookies wafting through the house. My Whipped Christmas Shortbread has become our family’s favorite holiday tradition – a recipe so light and buttery, they practically dissolve on your tongue. I’ll never forget the first time I made these with my kids last December; we ended up eating half the batch straight from the cooling rack before we could even decorate them properly! The secret is in whipping that butter until it’s nearly white – that’s what gives these delicate cookies their signature melt-in-your-mouth texture. Perfect for cookie exchanges or cozy nights by the tree, these sweet treats are exactly what holiday dreams are made of. Just wait until you see how simple they are to make, yet how incredibly impressive they look nestled in festive tins or stacked on holiday platters. You’ll want to double the batch – trust me.
Why You’ll Love This Whipped Christmas Shortbread
Oh friends, this recipe has stolen my heart (and my holiday parties) for so many reasons, and I just know you’ll fall for it too:
- Effortless elegance: Seriously – if you can whip butter, you can make these dreamy cookies. No fancy skills required!
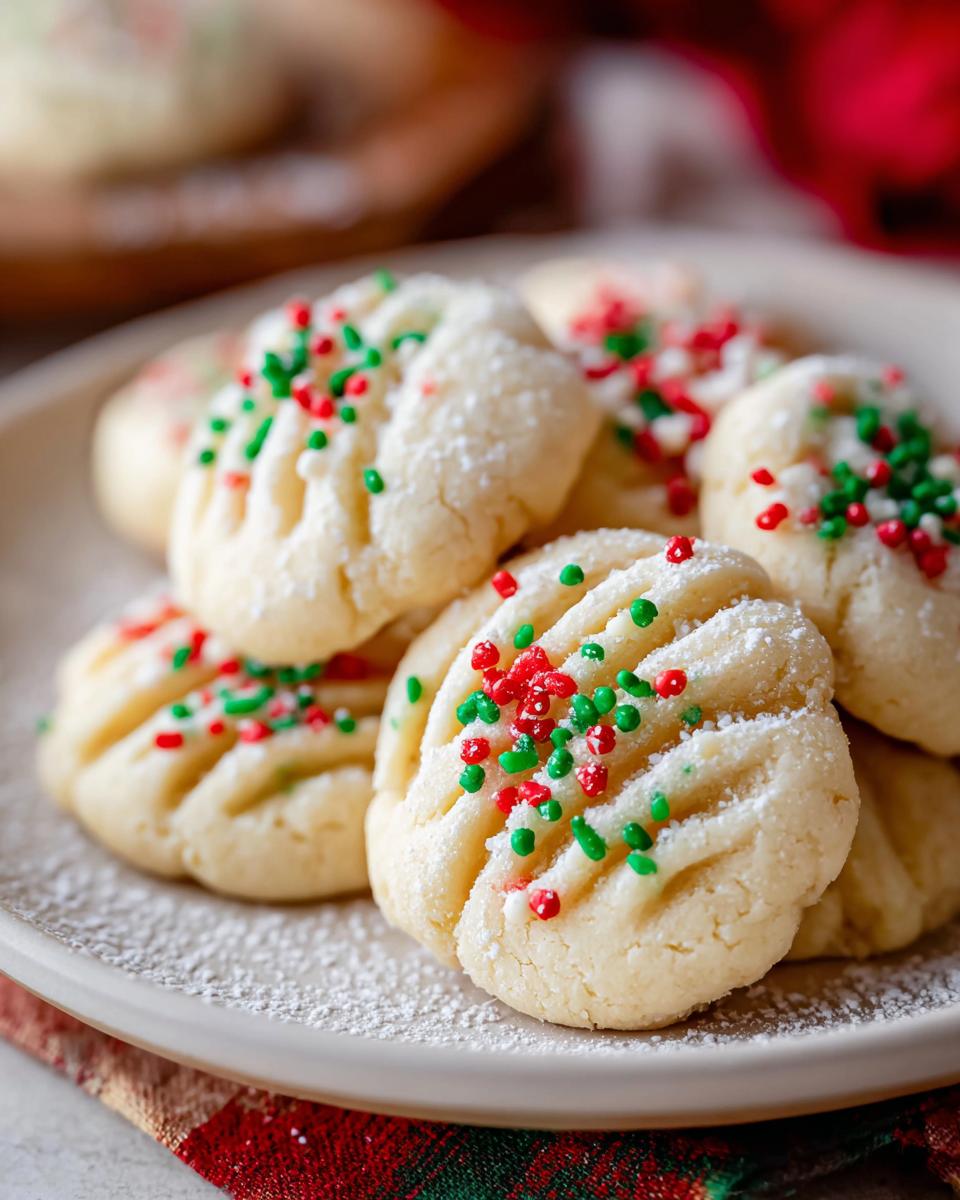
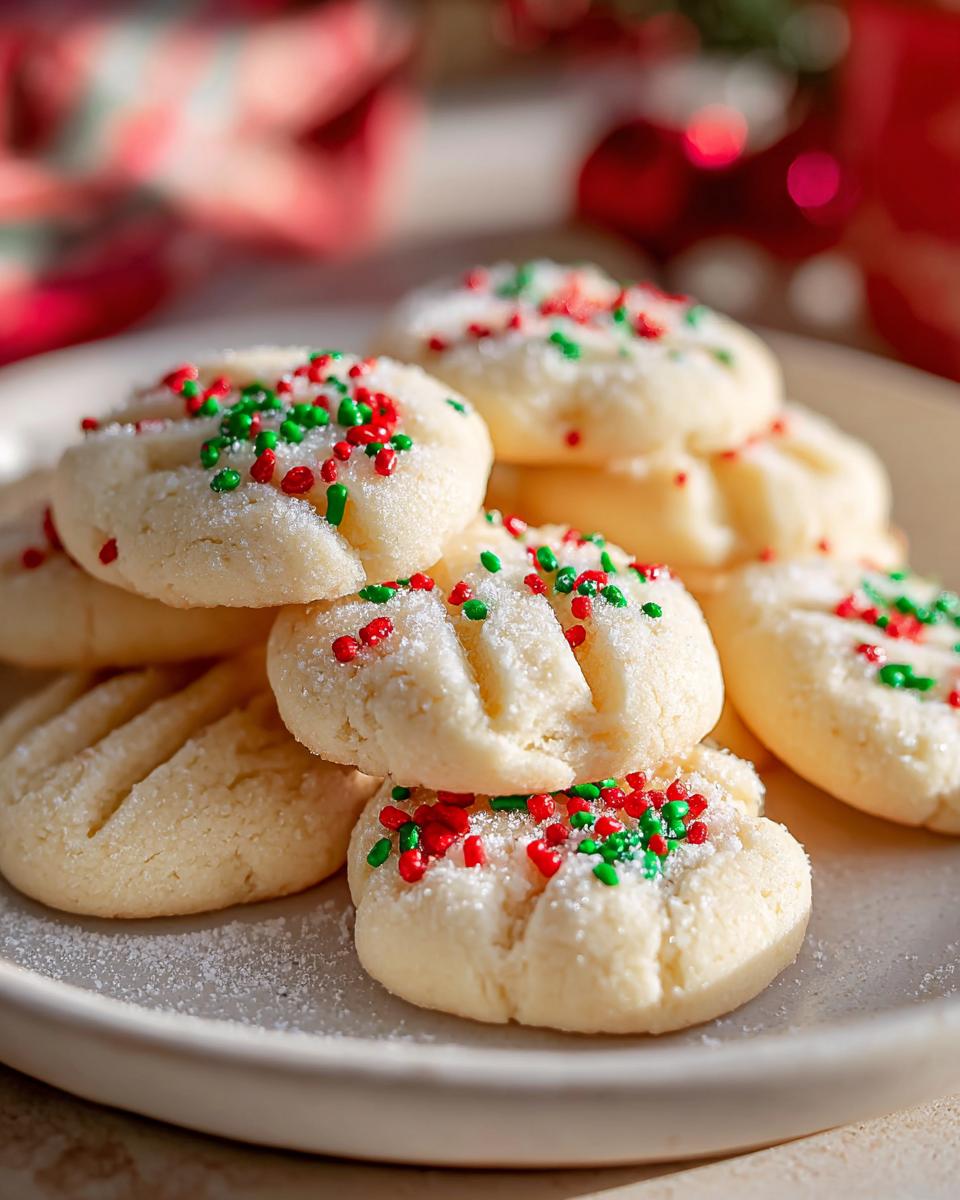
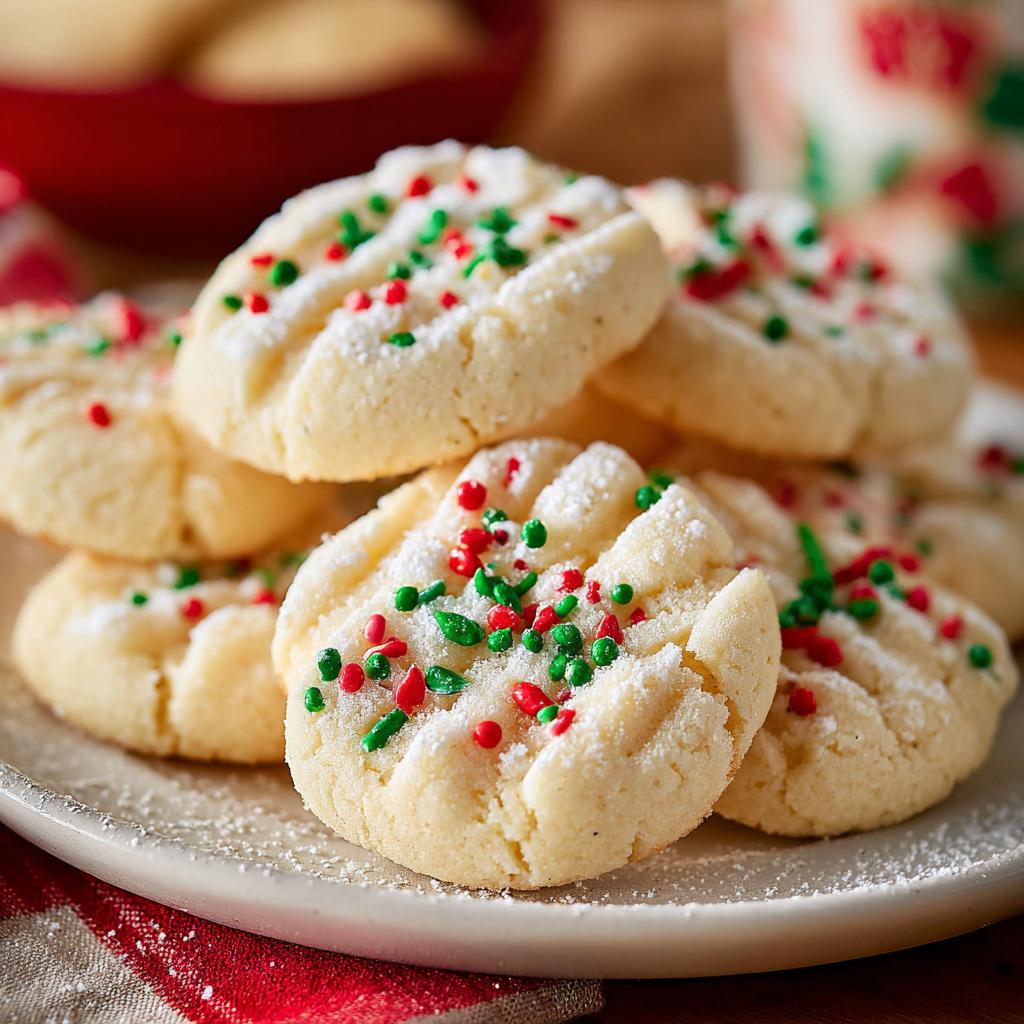
- Gift-ready magic: Those adorable fork marks hold sprinkles perfectly, making every cookie look professionally decorated.
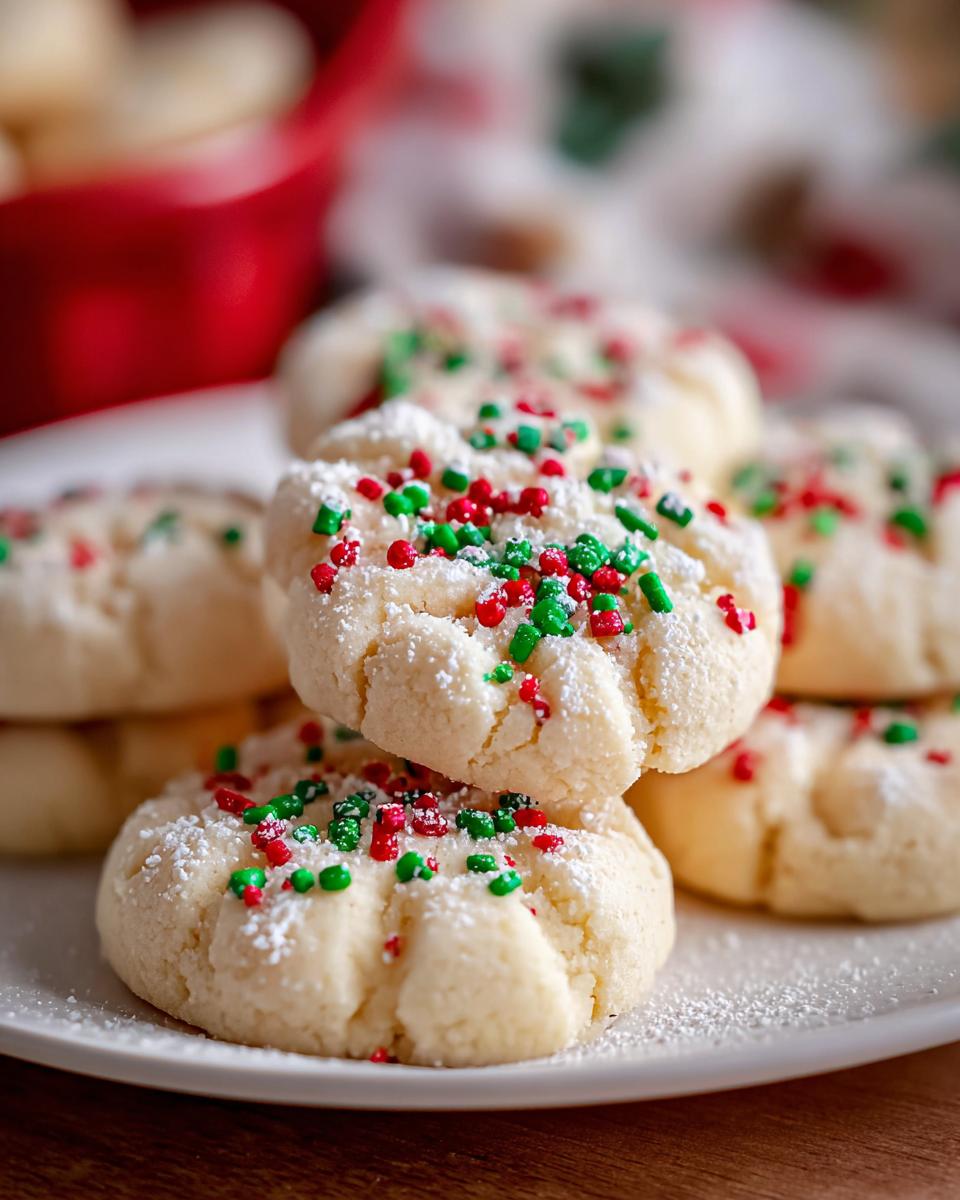
- Cloud-like texture: That heavenly lightness comes from aerating the butter properly – each bite dissolves like snowflakes on your tongue.
- Pantry-friendly: Just six simple ingredients transform into something truly special.
- Crowd-pleasing: Kids go nuts for the sprinkles, adults swoon over the buttery sophistication – total holiday win!
The first time I brought these to book club, three people demanded the recipe before we’d even finished our tea. That’s when I knew this wasn’t just any cookie – it’s *the* holiday cookie!
Ingredients for Whipped Christmas Shortbread
Okay, let’s gather our simple but magical ingredients! I love how basic this list is – you probably have most of these in your kitchen right now. But don’t let the simplicity fool you; when these ingredients come together, they create absolute holiday magic. Here’s what you’ll need:
Cookie Dough
- ¾ cup butter, softened (that’s 12 tablespoons or 1 ½ sticks) – Use the real deal here, no substitutions! I always set mine out about an hour before baking.
- 6 tablespoons powdered sugar (¼ cup PLUS 2 tablespoons) – Spoon it lightly into your measuring cup and level it off for perfect results.
- 1 teaspoon almond extract or vanilla extract – The almond gives such a lovely holiday flavor, but vanilla works beautifully too if that’s what you have.
- 1 ⅓ cups all-purpose flour – Again, spoon and level for accuracy – no packing it down!
- 6 tablespoons corn starch (¼ cup PLUS 2 tablespoons) – This is the secret to that melt-in-your-mouth texture we love.
Decorations
- ¼ cup Christmas sprinkles – Nonpareils, jimmies, whatever makes your holiday heart happy! I like using the red and green mix from my favorite holiday recipes.
See? Told you it was simple! Now let’s turn these humble ingredients into something extraordinary.
How to Make Whipped Christmas Shortbread
Alright, let’s get to the fun part – making these heavenly little clouds of buttery joy! I promise it’s easier than you think, but there are a few key steps that make all the difference. Grab your mixer and let’s create some holiday magic together.
First things first – that butter needs to be just right. Not rock hard, not melted – think “cool room temperature” where your finger leaves a gentle indent. Toss it in your mixer bowl with the powdered sugar and let it go to town. This is where the magic happens! I usually let mine whip for a good 5 minutes in my stand mixer (about 7 if you’re using a hand mixer). You’ll know it’s ready when the mixture turns pale, almost white, and gets wonderfully fluffy. It should look like whipped honey – that’s your cue to add the almond extract. Just a quick mix to blend it in, and oh, that aroma already smells like Christmas!
Now for the dry ingredients – whisk together your flour and corn starch in a separate bowl. Here’s my little trick: add it to the butter mixture in three parts, mixing just until combined each time. Overmixing is the enemy of tender shortbread, so go easy! The dough will be soft but shouldn’t stick to your fingers. Pop it into an airtight container or cover the bowl with plastic wrap and chill for 2 hours. I know, waiting is hard – but trust me, this step prevents flat, sad cookies.
When you’re ready to bake, preheat that oven to 300°F and line your baking sheets with parchment paper or a silicone mat. Roll the chilled dough into 1-inch balls – they’ll feel firm but still pliable. Place them about 2 inches apart on your prepared sheets. Now for the signature look: dip a fork in some powdered sugar (this prevents sticking) and gently press it into each ball to make those classic shortbread marks. Top with sprinkles immediately – they won’t stick once the cookies cool! Bake for 10-12 minutes until just barely golden on the bottoms. They’ll look underdone, but resist the urge to bake longer – they firm up as they cool.
Here’s the hardest part: let them rest on the baking sheet for 5 minutes before transferring to a cooling rack. These babies are fragile when warm! Once cooled, they’ll have that perfect melt-in-your-mouth texture we’re after. Store them in an airtight container at room temperature, if they last that long!
Tips for Perfect Whipped Christmas Shortbread
After making these dozens of times (okay, maybe hundreds), I’ve picked up some foolproof tricks:
- Butter temperature is everything – too cold and it won’t whip properly, too warm and your cookies will spread. Aim for that perfect “cool room temp” where it gives slightly when pressed.
- Patience pays off – don’t skimp on the whipping time or the chilling time. That air you incorporate is what gives these their signature lightness!
- Measure flour carefully – spoon it into your measuring cup and level it off. Packed flour leads to dense cookies, and we want clouds, not bricks!
- Watch the bake time – they should still look pale on top when done. As my grandma used to say, “They’ll keep cooking from the pan’s heat – better under than over!”
For more baking wisdom, check out these expert baking tips that work wonders for shortbread too. And if you’re curious about other variations, this classic shortbread recipe is a great starting point for inspiration!
Decorating Your Whipped Christmas Shortbread
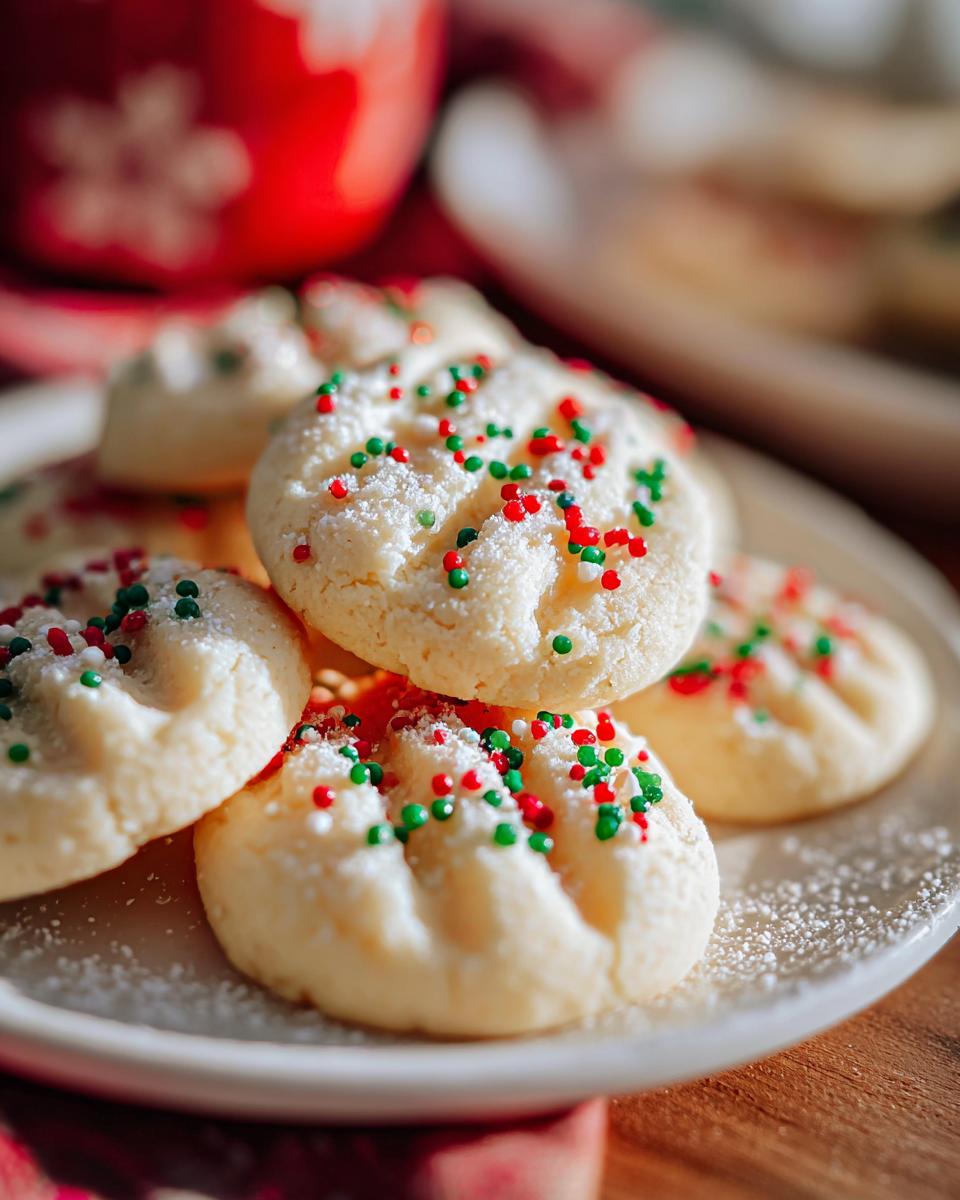
Now for the best part – making these already-delicious cookies look as festive as they taste! I go a little wild with decorations every year because honestly, half the fun is in the sparkle. Right after pressing with the fork (while the dough is still slightly sticky), shower them with Christmas sprinkles – I like using the same red and green mix from my favorite crinkle cookies. For a snowy effect, dust cooled cookies with powdered sugar – just tap it through a fine mesh strainer for even coverage. Feeling fancy? Melt some white chocolate with a teaspoon of coconut oil and drizzle it artfully across the tops. The key is decorating while they’re still slightly warm so everything sticks beautifully. My kids love using different sprinkle colors to make patterns – stripes, polka dots, you name it! Just remember – the simpler the decoration, the more that incredible buttery flavor shines through.
Storing and Gifting Whipped Christmas Shortbread
Oh, these delicate little clouds of joy deserve special treatment! Here’s how I keep them fresh and make them gift-ready:
For storage, tuck them gently into an airtight container with parchment between layers. They’ll stay melt-in-your-mouth perfect for about a week at room temperature – if they last that long! I’ve been known to hide a tin in the back of the pantry just for myself.
Now for gifting – this is where the magic happens! I love using pretty holiday tins lined with wax paper or clear cellophane bags tied with festive ribbons. Stack them carefully with tissue paper between layers, and they look like they came from a fancy bakery. Pro tip: include the recipe card so your friends can recreate the magic. These make the sweetest teacher gifts, neighbor treats, or hostess presents. Just be prepared for recipe requests!
Whipped Christmas Shortbread Variations
Oh, the possibilities with this recipe! Once you’ve mastered the basic version, it’s so fun to play around with different flavors and decorations. Here are some of my favorite ways to mix it up:
- Citrus sparkle: Add a teaspoon of lemon or orange zest to the dough – the bright flavor cuts through the richness beautifully.
- Chocolate dreams: Drizzle cooled cookies with melted dark chocolate or dip half in chocolate for an elegant look.
- Extract adventures: Swap almond extract for peppermint (holiday magic!), coconut, or even maple for a cozy twist.
- Nutty delight: Press a pecan or walnut half into each cookie before baking for extra crunch.
- Spiced warmth: Mix in a pinch of cinnamon, nutmeg, or cardamom with the dry ingredients.
The best part? You can make a few different batches and create the most gorgeous holiday cookie assortment. Just don’t tell my kids about the peppermint version – they’ll demand I make it year-round!
Whipped Christmas Shortbread FAQs
I get so many questions about these heavenly little cookies – here are the ones that pop up most often in my kitchen (and my inbox!):
Can I freeze the dough for later?
Absolutely! This dough freezes like a dream. Just roll it into balls, freeze them on a baking sheet until solid, then transfer to an airtight bag. When holiday baking madness hits, you can bake them straight from frozen – just add a minute or two to the baking time. It’s my secret trick for last-minute holiday treats!
Can I use vanilla instead of almond extract?
You bet! While almond extract gives that classic holiday flavor, pure vanilla extract works beautifully too. I sometimes do half and half for a subtle almond note that isn’t overpowering. If you’re feeling adventurous, try orange extract for a citrusy twist!
Why is my dough crumbly?
Oh honey, we’ve all been there! Usually it means your butter wasn’t quite soft enough or you might have measured the flour a bit heavy-handed. Next time, try letting your butter soften a tad more, and fluff your flour before measuring. If it’s still crumbly, add a teaspoon of cold water at a time until it comes together. For more shortbread wisdom, this classic Scottish shortbread recipe has great troubleshooting tips!
Can I make these ahead for holiday parties?
These cookies are practically made for holiday prep! They keep beautifully in an airtight container for up to a week – the flavor actually improves after a day or two. Just wait to add sprinkles until you’re ready to serve so they stay nice and crisp.
Why do mine spread too much?
Ah, the dreaded cookie pancake! This usually happens if the dough wasn’t chilled enough or your butter was too soft. Make sure to chill the full 2 hours, and if your kitchen is warm, pop the shaped cookies in the fridge for 10 minutes before baking. Also, check your oven temp – if it runs cool, the butter melts before the cookies set.
Nutritional Information
Just a quick note about nutrition – these heavenly little cookies are definitely a holiday treat! Nutritional values can vary based on your specific ingredients and how big you make each cookie. This is just an estimate, but I can promise you one thing – every buttery bite is worth it!
Whipped Christmas Shortbread
Equipment
- Stand mixer or hand mixer
- Baking Sheet
- Parchment paper or silicone baking mat
Ingredients
Cookie Dough
- ¾ cup butter, softened 12 tablespoons or 1 ½ sticks
- 6 tablespoons powdered sugar spooned and leveled (¼ cup PLUS 2 tablespoons)
- 1 teaspoon almond extract or vanilla extract
- 1 ⅓ cup all-purpose flour spooned and leveled
- 6 tablespoons corn starch spooned and leveled (¼ cup PLUS 2 tablespoons)
Decorations
- ¼ cup Christmas sprinkles nonpareils, Jimmies, etc.
Instructions
- In the bowl of a stand mixer or a mixing bowl, beat the butter and powdered sugar together until light and fluffy, about 5 minutes for a stand mixer, 7 minutes for a hand mixer. You will notice the mixture getting very light in color.
- Beat in the almond extract until completely combined.
- In a small bowl, whisk together the all-purpose flour and corn starch. Mix into butter mixture in three separate additions, mixing just until combined each time.
- Transfer dough to an airtight container or bowl covered with plastic wrap and chill 2 hours.
- Preheat oven to 300°F. Line a large baking sheet with parchment paper or a silicone baking mat and set aside.
- Scoop chilled cookie dough and roll into 1 inch balls. Place on prepared baking sheet about 1 to 2 inches apart.
- Dip a fork into powdered sugar, corn starch or flour and gently press the tines of the fork onto the top of each cookie dough ball.
- Top each cookie with desired sprinkles or leave plain.
- Bake for 10 to 12 minutes. Bottoms of cookies should be very lightly golden brown. Let cookies rest on baking sheet before transferring to a cooling rack to cool completely. Cookies are very fragile when warm so be careful when moving.
- Store cookies in an airtight container at room temperature for up to 1 week.