
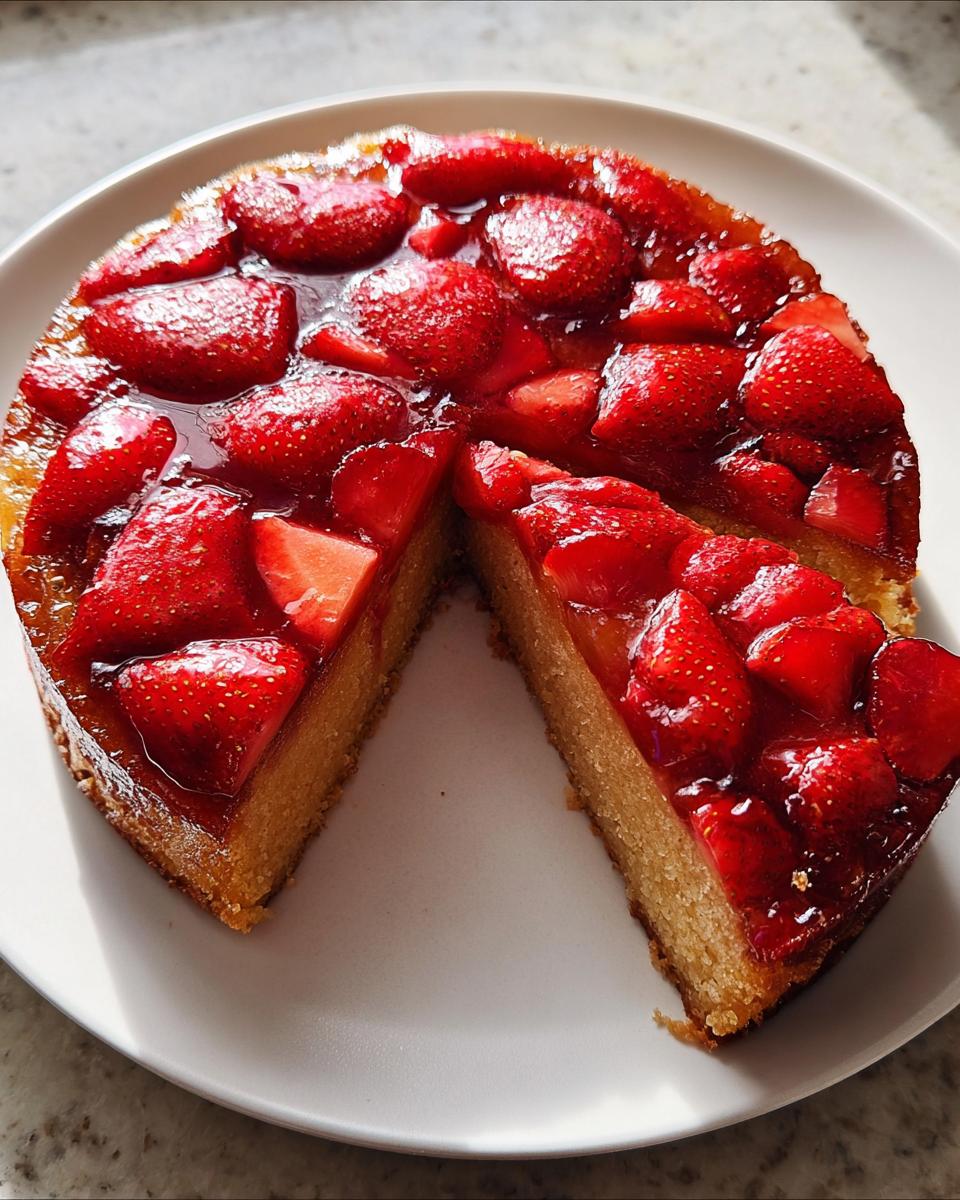
There is just something truly magical that happens when you take a perfectly baked cake, warm from the oven, and flip it over. When the pan comes off, and you see that glossy, bright, beautiful layer staring back at you? Wow! It’s pure kitchen theatre, and it’s why I absolutely love making a classic Strawberry Upside Down Cake. It brings sunshine to any gathering, honestly. Flipping this cake always feels like a little moment of magic when the strawberries are revealed. It looks so fancy, but trust me when I say this recipe is shockingly easy to pull off, even if you are new to the whole upside-down game.
My job title might be Lead Plate Designer these days, but my heart belongs to simple, gorgeous bakes like these. This recipe truly lets those fresh strawberries just shine bright. You don’t need complicated layers or fussy frosting; you just need good, fresh ingredients and a little bit of faith in the flip!
If you love fruit sandwiches, you should check out this other treat!
Why This Strawberry Upside Down Cake is a Must-Try
Honestly, I keep coming back to this recipe because it ticks every single box for a winner. It’s the perfect example of how simple baking can look incredibly impressive. You get all that gorgeous fruit flavor without spending all afternoon fighting with frosting or making fussy layers.
- It’s stunning! The vibrant reds of the strawberries look incredible when you flip it.
- It smells just like summer when it’s baking.
- You can easily whip this up for an impromptu gathering or dessert tonight.
If you need a gorgeous centerpiece that tastes like sunshine, this is the one. If you’re looking for other fabulous fruit vibes, give these banana treats a look next!
Quick Preparation for Easy Strawberry Desserts
Seriously, setting up the topping only takes about 15 minutes! That’s less time than it takes to boil water sometimes. Because the topping is already arranged in the pan, you skip all the messy steps usually associated with fancy fruit cakes. It’s truly one of the best *Easy Strawberry Desserts* out there.
Achieving the Perfect Strawberry Upside Down Cake Aesthetic
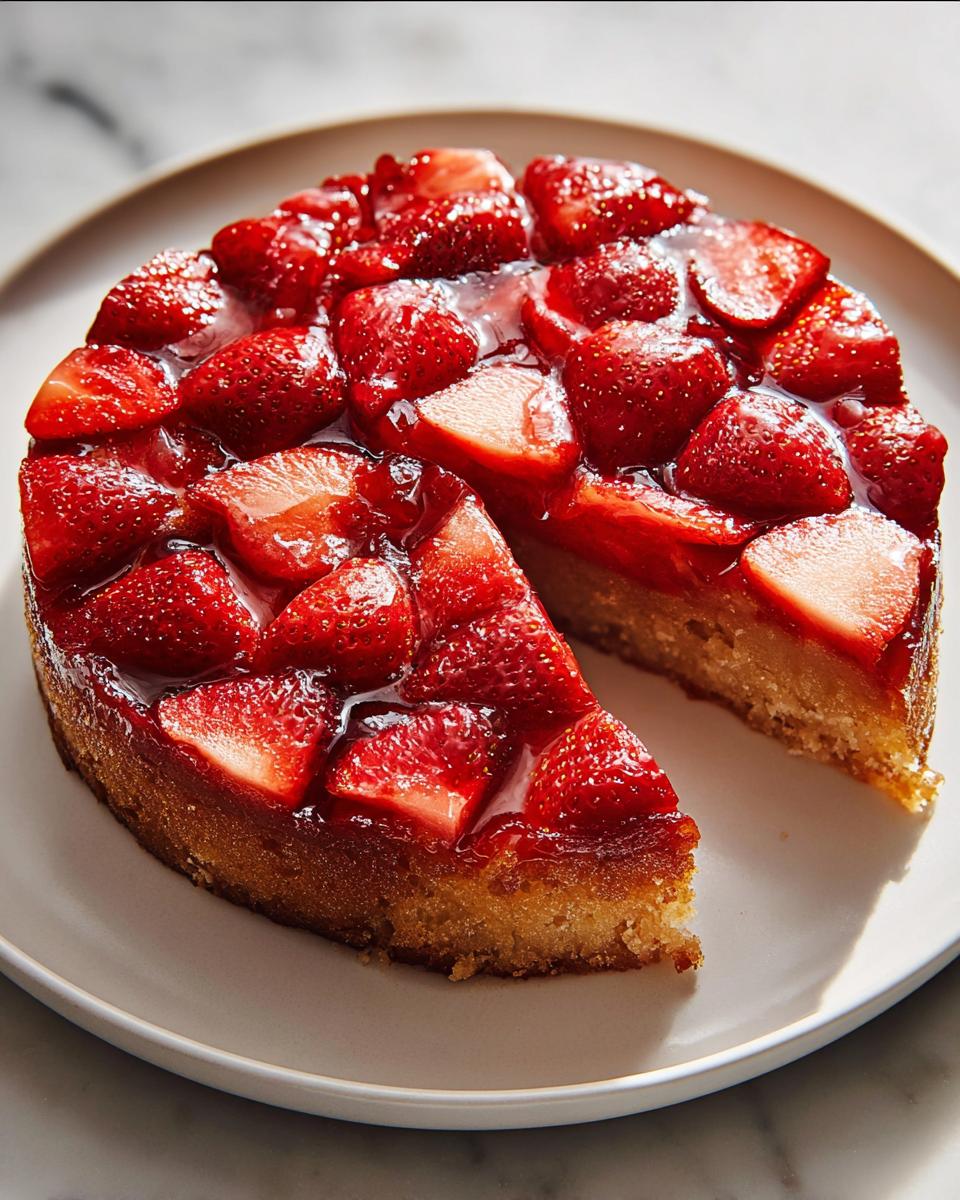
The best part about the design is that the fruit does all the heavy lifting! When you arrange those halved strawberries cut-side down over the brown sugar, they caramelize beautifully. It really leans into that perfect, rustic *Strawberry Shortcake Aesthetic* we all love, only baked into a gorgeous soft cake.
Equipment Needed for Your Strawberry Upside Down Cake
Okay, one of the things I love about this recipe is that you don’t need any fancy gadgets! You likely have everything you need right in your cupboards already. Don’t worry about a fancy stand mixer for this one; we are keeping it truly simple here.
You will definitely want a good, flat-bottomed round cake pan—ideally 9 inches. Grab a couple of standard mixing bowls for prepping those dry and wet ingredients before everything comes together. That’s it! Truly the bare minimum to get a stunning dessert onto the table.
Ingredients for the Topping and Cake Batter of Your Strawberry Upside Down Cake
When we look at these ingredients, you can see where the rich flavor comes from! It’s a small list, which is great for keeping things moving quickly. The key here, as always with good Strawberry Baking, is making sure you’ve got your fruit prepped just right before you start mixing the actual cake batter. Don’t let them sit too long once they’re cut!
I always check my pantry twice before starting any recipe to make sure I have the right kind of sugar. For this cake, the brown sugar for that gorgeous syrupy base is non-negotiable!
If you want to level up your dry ingredient work, I have some scone tips that apply here too.
For the Topping
This is that sticky, gooey layer that gets all caramelized at the bottom—which ends up being the top! We need two cups of beautiful, halved fresh strawberries. Measure out that 1/4 cup of melted butter and the 1/2 cup of brown sugar. That brown sugar is what turns into that amazing sauce with the strawberry juices.
For the Cake Batter
For the cake itself, we’re keeping it light and fluffy to sit nicely on top of the fruit. You need 1 1/2 cups of all-purpose flour and our leavening agents: 1 teaspoon of baking powder and 1/2 teaspoon of salt. Then for the wet side, grab that 3/4 cup of regular sugar, 1/2 cup of milk, one big egg, and a full teaspoon of vanilla extract. Mix these gently, and you’re golden!
Step-by-Step Instructions for Making the Strawberry Upside Down Cake
This is where the magic really happens, but you have to move fairly briskly once you start on the topping so the butter doesn’t soak in too much! We have about 60 minutes total here, so keep your steps tidy. This process is mostly about assembling layers in the right order so the final Strawberry Upside Down Cake flip works perfectly. You want that fruit to look like a vibrant mosaic when you pull the pan away!
Before you start anything major, do a quick read-through of all the steps. Forgetting one small thing—like letting the cake cool for exactly 10 minutes—can ruin the flip! You can check out how they perfectly assemble cake pops if you need a little inspiration on following detailed steps!
Preparing the Base Layer
First things first, get your oven warm! Preheat to 350°F (175°C) and make sure your round pan is greased up nice and smoothly. Now for the fun part: pour that 1/4 cup of melted butter right into the bottom of the pan. Sprinkle your 1/2 cup of brown sugar evenly over that butter layer. It should look like rich, wet sand.
Next, take your 2 cups of halved fresh strawberries and arrange them neatly across the sugar. I like to make sure the cut side is facing down so they sit flat against the sugar. Try and cover as much surface area as you can!
Mixing the Cake Batter for Your Strawberry Upside Down Cake
Okay, time for the batter! In one bowl, you’re just quickly whisking the dry stuff: the 1 1/2 cups of flour, 1 teaspoon of baking powder, and 1/2 teaspoon of salt. Keep it simple.
In your second bowl, mix the wet items together: the 3/4 cup of sugar, the 1/2 cup of milk, that single egg, and the vanilla extract. Once those look smooth, pour the wet into the dry. Mix these just until everything is *just combined*. Please, please don’t beat it! Overmixing turns this lovely cake into a tough brick, and we want that light, tender outcome perfect for Fresh Strawberry Desserts.
Baking and Inverting the Strawberry Upside Down Cake
Gently pour that smooth batter right over the arranged strawberries. Make sure it covers them completely—don’t stir it! Pop the pan into the preheated oven and let it bake for 40 to 45 minutes, checking with a toothpick near the middle for doneness.
This is the make-or-break moment: Let the cake rest in the pan on a wire rack for exactly 10 minutes after you take it out. Not 5, not 15! After those 10 minutes, place your serving plate upside down over the cake pan, hold them tight together, and flip everything over quickly in one confident motion. Lift the pan slowly—that’s the grand reveal!
Tips for Perfect Strawberry Baking Results
Making any cake featuring fresh fruit is a joy, but it means we have to pay a little extra attention to the star ingredient! This is crucial for successful Strawberry Baking. If your fruit isn’t cooperating, your beautiful flip isn’t going to look quite right, no matter how perfect your cake batter is.
My best advice involves sourcing and handling those beautiful berries. Remember, anything you do now saves you from cleanup or disappointment later when you go to invert the cake. Trust me on this one; I’ve learned the hard way!
Selecting the Best Fresh Strawberries for Your Strawberry Upside Down Cake
You want strawberries that are deeply red all the way through, not pale near the tops. Look for ones that are firm to the touch but not rock hard. When strawberries are underripe, they taste a little sharp and don’t caramelize as nicely when they hit that hot brown sugar layer.
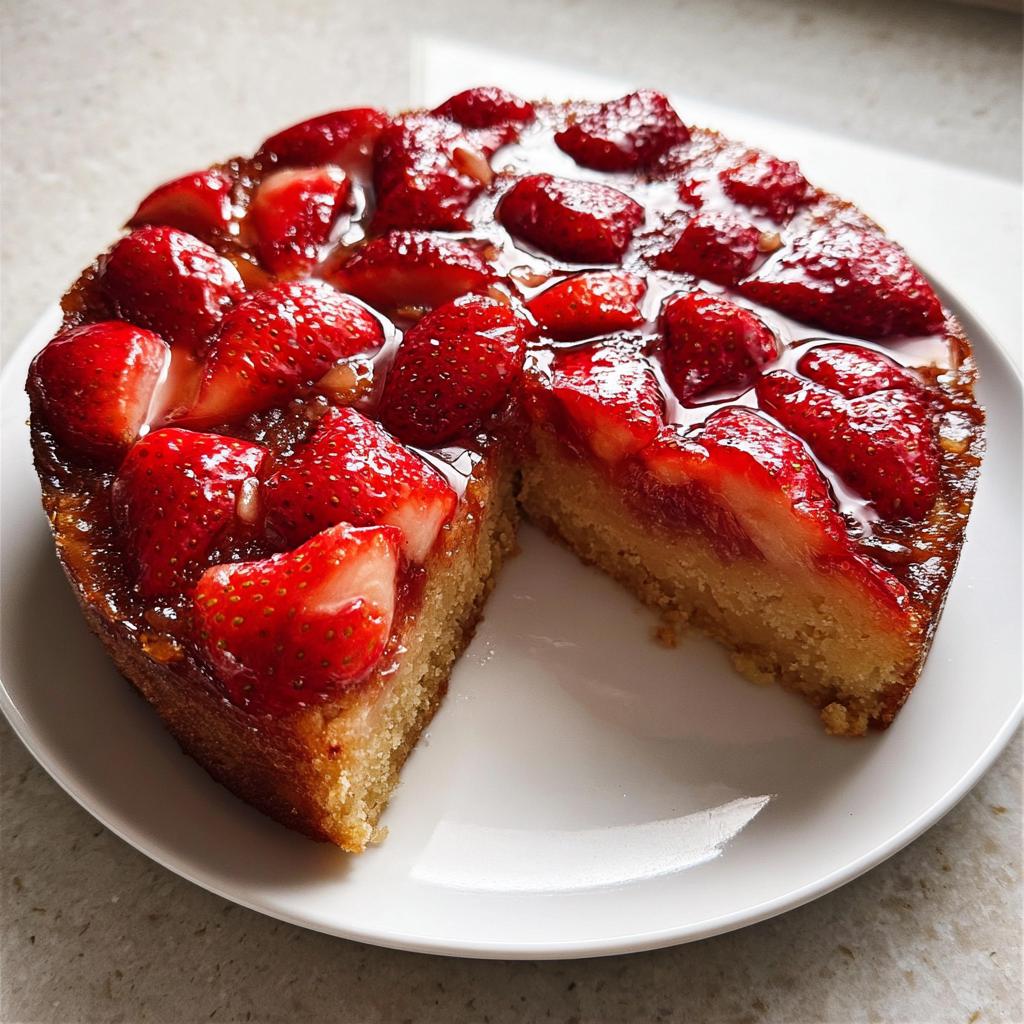
If they are too soft or mushy, they basically dissolve into pink soup when you bake them, obliterating the gorgeous tile pattern we’re aiming for—that amazing *Strawberry Cake Design*!
Always wash your strawberries right before you halve and use them. Don’t wash them ahead of time, or they get soggy fast. Keep them gently patted dry after washing. This little bit of moisture control makes a huge difference in the final, flipped presentation!
If you want even more expert tips that apply to all kinds of careful baking work, check out my absolute favorite tips for baking.
Serving Suggestions for Your Strawberry Upside Down Cake
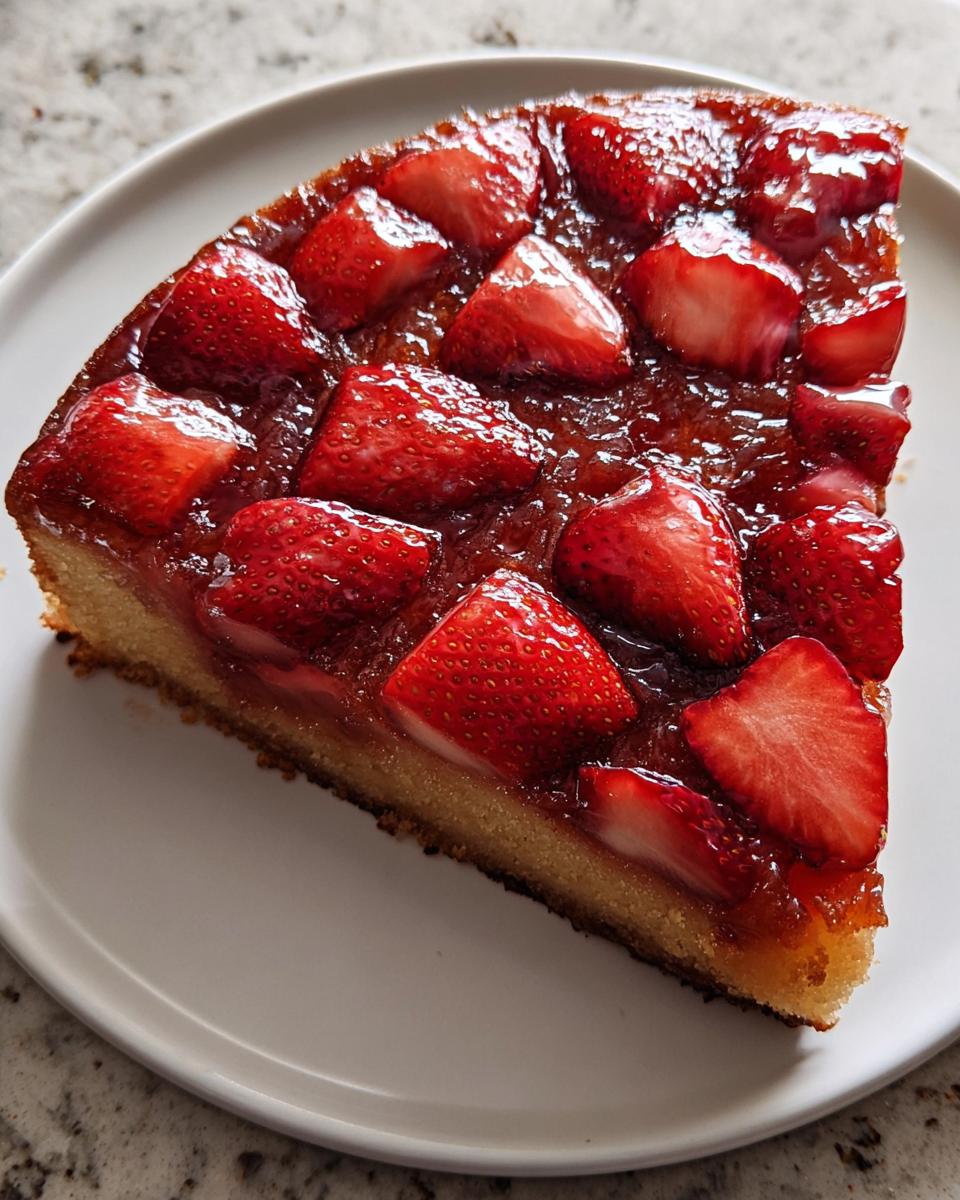
The beauty of this cake is that it’s already rich and moist, so you don’t need much else! I think serving it warm is absolutely essential—that’s when the caramelized topping is soft and gooey. It’s got that lovely, sweet flavor that reminds me of a fancy, deconstructed Strawberry Mousse!
If you want to add a dollop of something cool and creamy, go for it. A scoop of really good vanilla bean ice cream melts perfectly over the warm fruit. Or, for a true *Strawberry Shortcake Recipes* nod, try a big dollop of freshly whipped cream right on top when you serve each slice. That contrast between warm cake and cold cream is unbeatable!
Storage and Reheating Instructions for Strawberry Desserts Recipes
This cake is truly best eaten the day it’s made, but leftovers are definitely a thing! Since we’re dealing with fruit spread out on the bottom, moisture retention is key for any of your Strawberry Desserts Recipes. Don’t leave it out on the counter, especially if it’s warm in your house.
Cover the entire slice or the remaining cake loosely with plastic wrap, or place it in an airtight container. It keeps really nicely in the fridge for about three days. It might look a little sunken the next day, but don’t freak out!
When you want to reheat a slice, I always zap it for just about 15 seconds in the microwave. That little bit of heat softens the butter/sugar layer right back up, making it gooey again, and warms the cake perfectly without drying it out. Enjoy!
Frequently Asked Questions About the Strawberry Upside Down Cake
I always get so many questions after people try this recipe because flipping it is such an exciting moment! If you’re new to making upside-down cakes or worried about using fresh fruit, don’t sweat it. These are the questions I get asked most often about achieving that perfect look and taste. I want to make sure your final bake looks just as gorgeous as mine!
If you’re planning a big batch of strawberry desserts, I hope these tips help you out. Every baker needs a reliable go-to for Easy Strawberry Desserts, and this is mine!
Can I use frozen strawberries in this Strawberry Upside Down Cake?
I wouldn’t recommend it, sweetie. Frozen strawberries hold way too much water, and when they thaw in the pan, they just release all that juice into your brown sugar layer. Instead of getting that lovely, slightly thick caramelized sauce, you end up with a watery bottom, and the cake might get gummy. For that perfect texture and visual appeal, stick to the fresh strawberries!
What is the best substitute for brown sugar in the topping?
That brown sugar is so important because of the molasses—it gives you that deep caramel flavor that pairs so well with the fruit. If you absolutely can’t find it, you can use regular white granulated sugar, but you’ll need to add just a few drops of molasses to the melted butter before you pour it in. Try adding just 1/2 teaspoon of molasses to the melted butter for a similar note, though it won’t be quite as rich, of course.
How can I make this recipe resemble a Strawberry Shortcake Cake?
That’s a great idea if you want to amp up the dairy note after the flip! The cake itself is sturdy enough that it handles toppings well. For a real Strawberry Shortcake Cake feel, skip the glaze entirely. Instead, serve each slice immediately with a huge spoonful of freshly whipped heavy cream—you know, the kind you sweeten just a tiny bit? That light, fluffy topping right next to the warm, baked strawberries is just perfection!
Estimated Nutritional Data for This Recipe
Now, I always tell people that once the cake is flipped and decorated, the nutrition facts are just a rough guide, especially since fresh strawberries can vary so much! These numbers are based on dividing the whole recipe into 8 good-sized slices. Remember, since this recipe uses butter and sugar for that beautiful caramelized top, it’s definitely a treat we enjoy in moderation!
Here’s what my best guess is for one slice of this wonderful Strawberry Upside Down Cake:
- Calories: 320
- Fat: 12g (Saturated Fat: 7g)
- Carbohydrates: 50g
- Sugar: 30g
- Protein: 5g
- Fiber: 2g
Keep in mind these are estimates based on standard US measurements, and they don’t change how delicious this dessert is! If you’re ever concerned about ingredient tracking, you can always check out the full details over on our site policy page, but for today, just enjoy the cake!
Strawberry Upside Down Cake
Equipment
- Round cake pan
- Mixing Bowls
Ingredients
For the Topping
- 2 cups fresh strawberries, halved
- 1/4 cup melted butter
- 1/2 cup brown sugar
For the Cake Batter
- 1 1/2 cups all-purpose flour
- 1 tsp baking powder
- 1/2 tsp salt
- 3/4 cup sugar
- 1/2 cup milk
- 1 egg
- 1 tsp vanilla extract
Instructions
- Preheat your oven to 350°F (175°C). Grease a round cake pan.
- Pour the melted butter into the prepared pan and sprinkle the brown sugar evenly over the butter layer.
- Arrange the halved strawberries evenly over the sugar layer.
- In one bowl, whisk together the flour, baking powder, and salt.
- In a separate bowl, mix the sugar, milk, egg, and vanilla extract.
- Combine the wet ingredients with the dry ingredients until just mixed.
- Pour the cake batter carefully over the strawberries in the pan.
- Bake for 40 to 45 minutes, or until the cake is golden brown and a toothpick inserted comes out clean.
- Let the cake cool in the pan for 10 minutes before inverting it onto a serving plate.