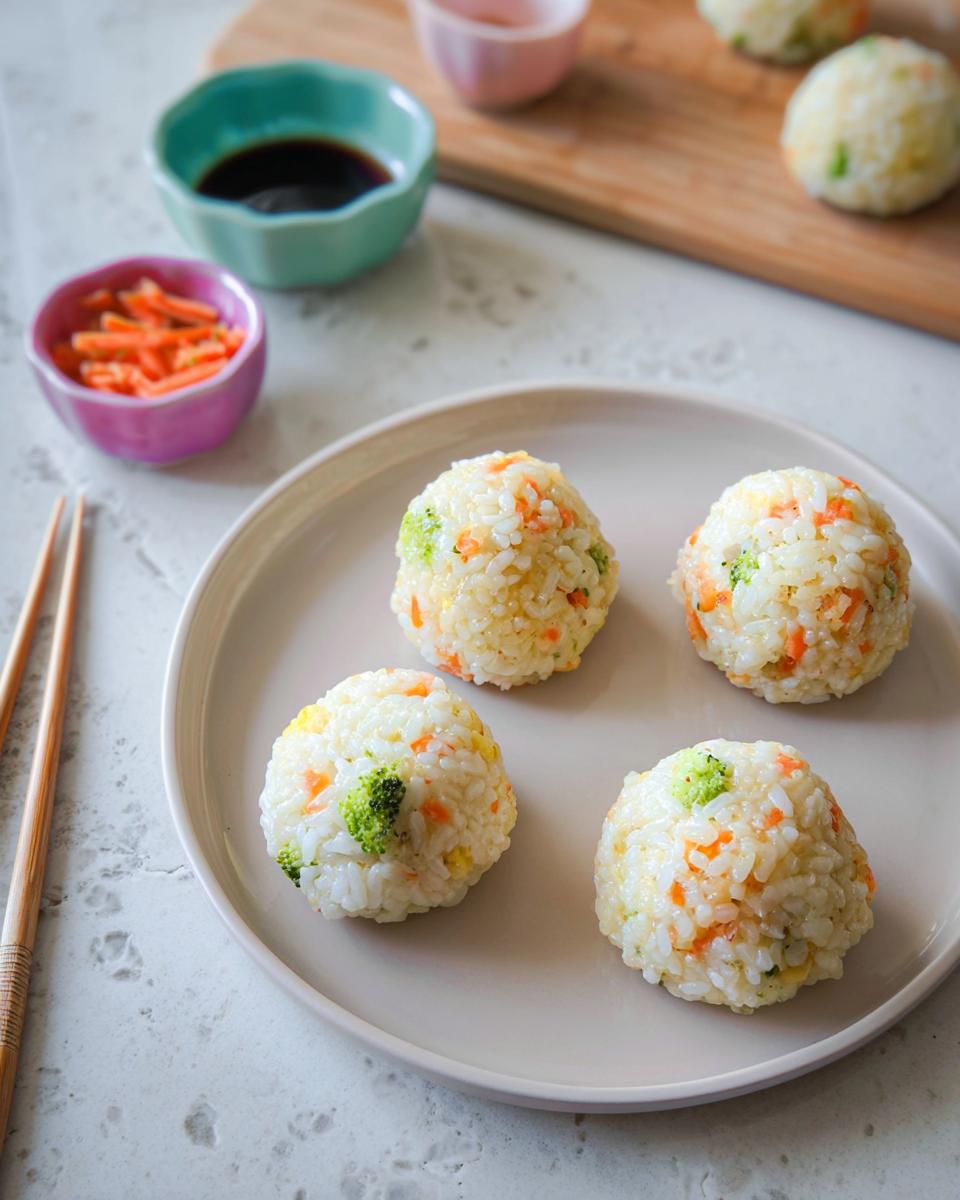
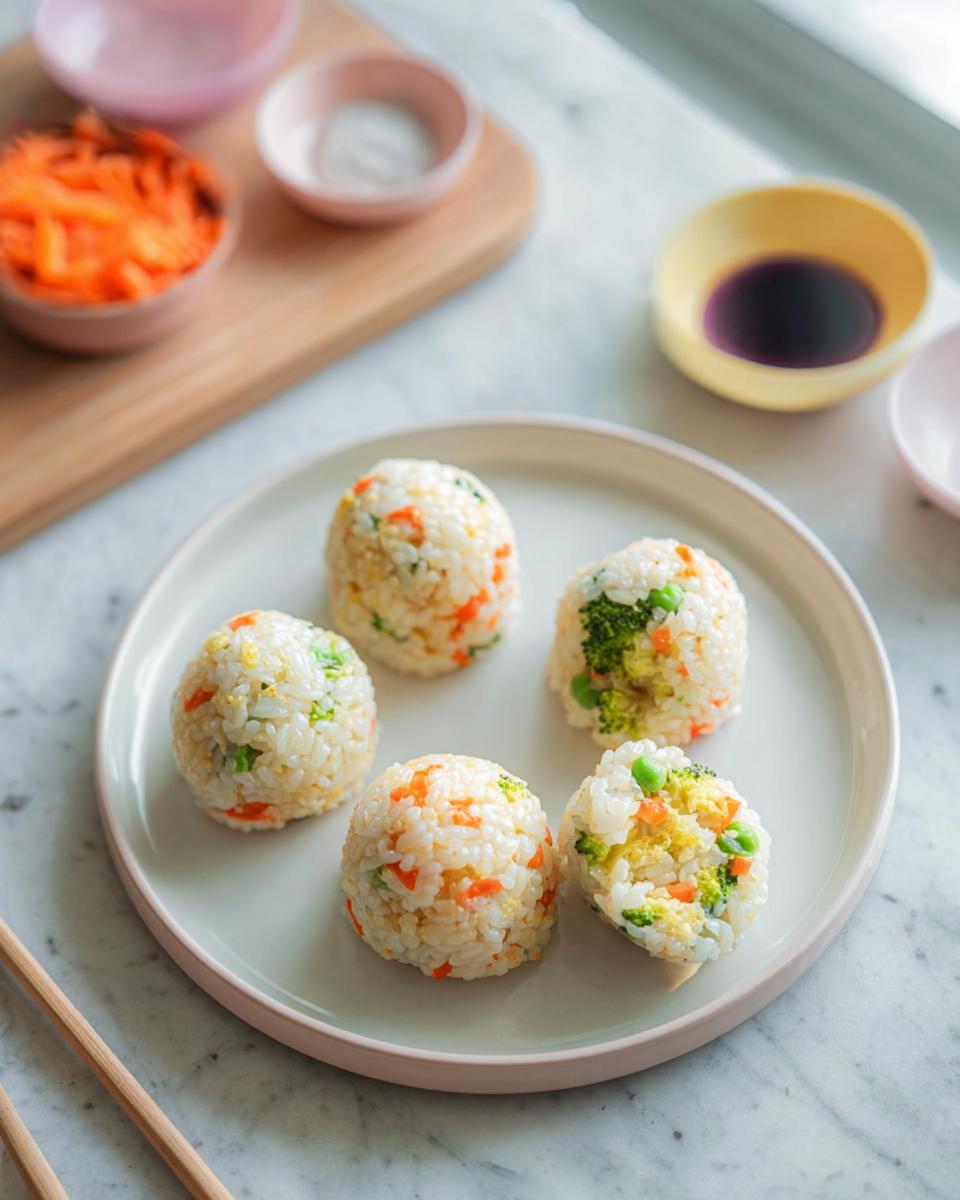
Sometimes you just crave that fresh, clean taste of sushi, right? But honestly, who has the time or the patience to mess around with bamboo mats and perfect rolling techniques on a Tuesday afternoon? That’s why I figured out this super fun way to get all the flavor packed into a neat little sphere. I first made these rice ball lunches on a day when I wanted sushi but did not have time for rolling. It turned into a playful recipe-testing moment that brought back childhood memories of shaping rice with my mom—simple, messy, and filled with joy. These make the ultimate Rice Ball Sushi Lunch because they are so easy to customize and nearly impossible to mess up!
Why You Will Love This Rice Ball Sushi Lunch Recipe
Seriously, ditch the rolling frustration! This recipe turns complex sushi flavors into something you can handle with damp hands. It’s honestly perfect for getting healthy meals ready fast. If you need Quick Lunch Ideas that actually taste good, keep reading.
- It’s lightning fast! You can have these assembled in under an hour total. That makes it a fantastic option for Simple Lunch Ideas on a busy weeknight or even a marathon Sunday prep.
- Total portability is key here. Since they are molded balls, they stay together in your lunch bag without falling apart like half-eaten sandwiches do. Pack them up for work or school—they’re great as Cold Lunch Ideas!
- You get that amazing Japanese flavor profile without needing specialty ingredients or tools. Think sushi flavor, but streamlined.
- They are naturally customizable. I love swapping out the fish for mashed chickpeas or seasoning them differently depending on what I have on hand. You can check out some of my other easy, healthy snack ideas for inspiration!
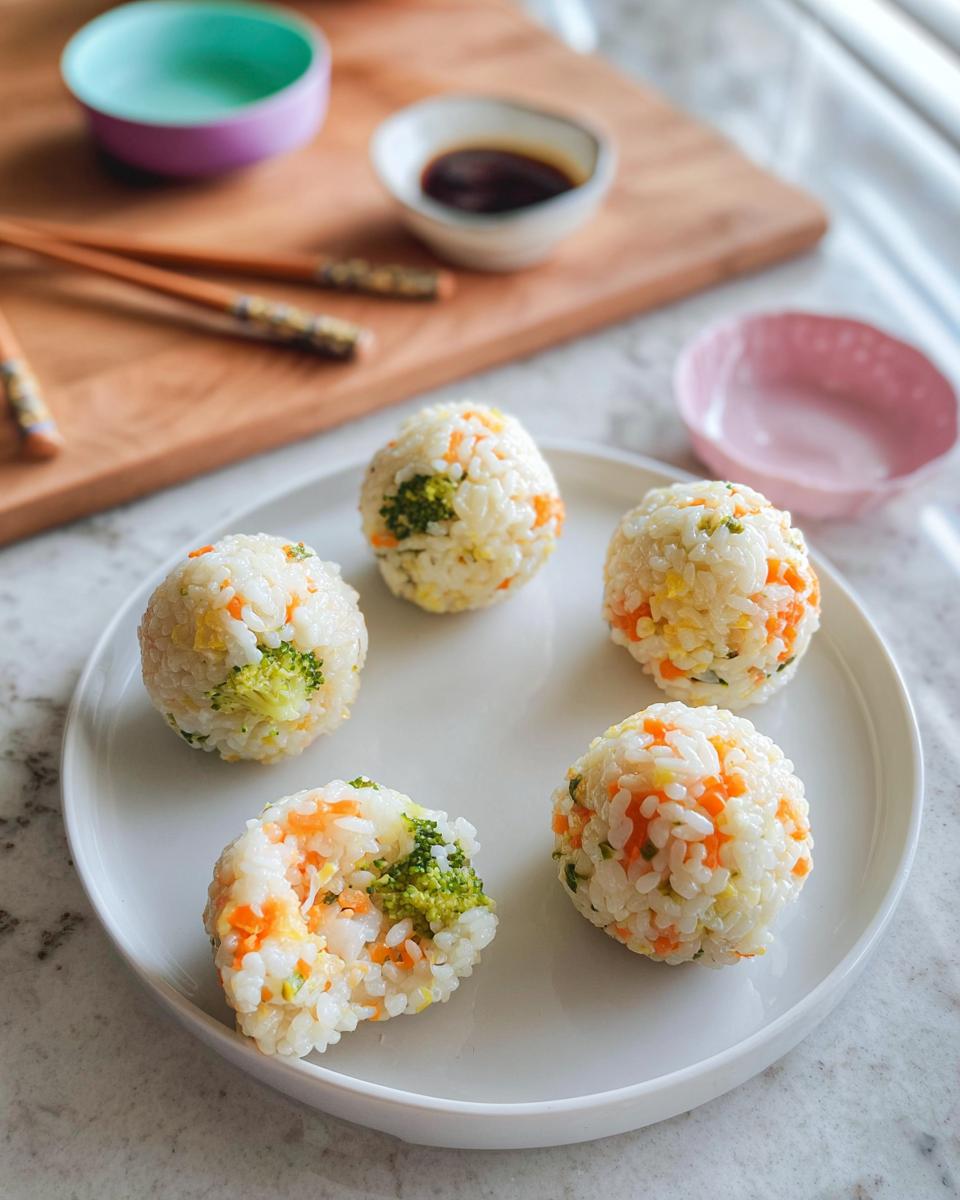
- It’s a fun way to eat vegetables! My kids actually look forward to assembling these, especially when we use colorful fillings inside.
Essential Equipment for Your Rice Ball Sushi Lunch
You might think you need a million things for sushi, but nope! For this Rice Ball Sushi Lunch, the list is short and sweet. You absolutely need a heavy-bottomed pot for cooking that perfect sticky rice base just right. A food processor is super handy for prepping our veggie and fish filling quickly.
The onigiri mold is totally optional but honestly makes shaping them uniform little triangles a breeze. Check out this guide on making onigiri if you want to see how those molds work, but damp hands work just fine too!
Ingredients for the Perfect Rice Ball Sushi Lunch
Getting the texture right in the rice is truly half the battle for these simple lunch ideas. Don’t stress about the filling too much; that’s where you get to play around! But for the base and the initial filling, you want to stick close to these measurements so your balls hold together perfectly. Trust me, getting the rice right means these are safe for those toss-and-go bags!
For the Rice
- 1 cup short grain white rice or sushi rice (This sticky texture is non-negotiable for shaping!)
- 1.5 cups water
For the Filling
Remember, we are steaming everything until tender! This isn’t raw sushi; this is a much safer, easier way to pack that flavor for lunch. This filling is mild and healthy, perfect for making these great Healthy Dinner Ideas or lunch prep.
- 8 baby carrots
- 1 cup broccoli florets
- 1 piece sole, or any mild white fish (We steam it first, so it cooks beautifully and blends nicely!)
Step-by-Step Instructions for Making Rice Ball Sushi Lunch
Okay, let’s get cooking! This process is actually quite linear, which is why it’s such a great option when you need reliable Easy Lunches For Work that you don’t have to fuss over. Just follow the three main phases, and you’ll be rolling golf-ball-sized happiness in no time.
Preparing the Rice Base
First things first: you have to wash that short-grain rice really well. Just like you’re giving it a good scrub! Rub it gently under cold water and dump the cloudy water out. You do this about five times until the water runs clear—it’s important! Then, put the washed rice in your pot with 1 1/2 cups of water and let it soak for a full 30 minutes. After soaking, boil it hard for 5 minutes, then drop the heat down low and simmer, covered, for about 15 minutes. Crucially, turn the heat off and just let it sit there, covered, for another 15 minutes to steam completely. Once it’s done, grab a flat spoon and stir it super gently. We’re separating those sticky grains—we don’t want mush!
Cooking the Filling Components
While your rice is having its long soak and steam time, we get the filling ready. Get a steamer pot going. Toss the carrots in first and steam them for three minutes. Then add your little broccoli florets and steam for two more minutes. Finally, add the piece of sole—we’re only steaming this for about three more minutes, or until everything is totally fork tender. Everything needs to be cooked through before we move on!
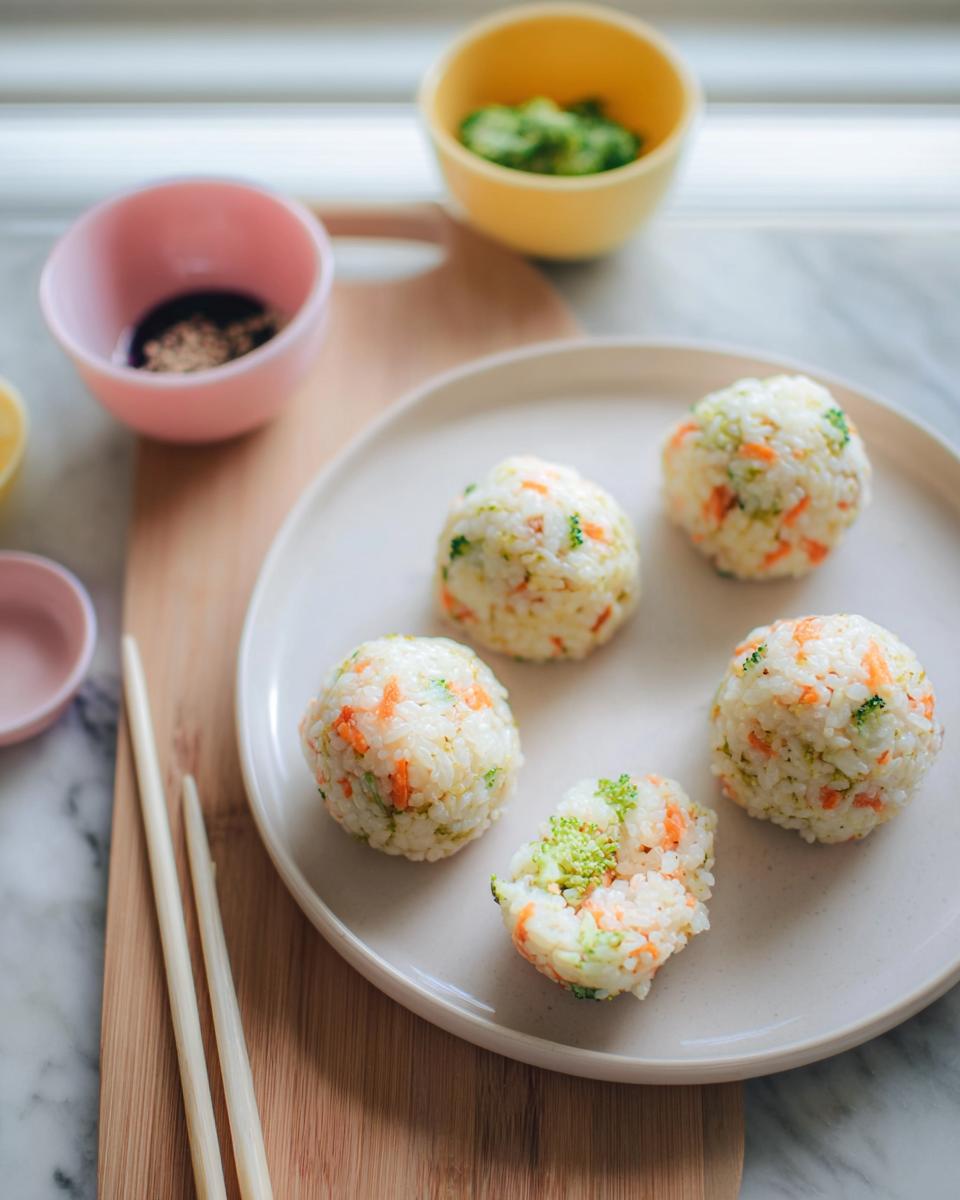
Assembling Your Rice Ball Sushi Lunch
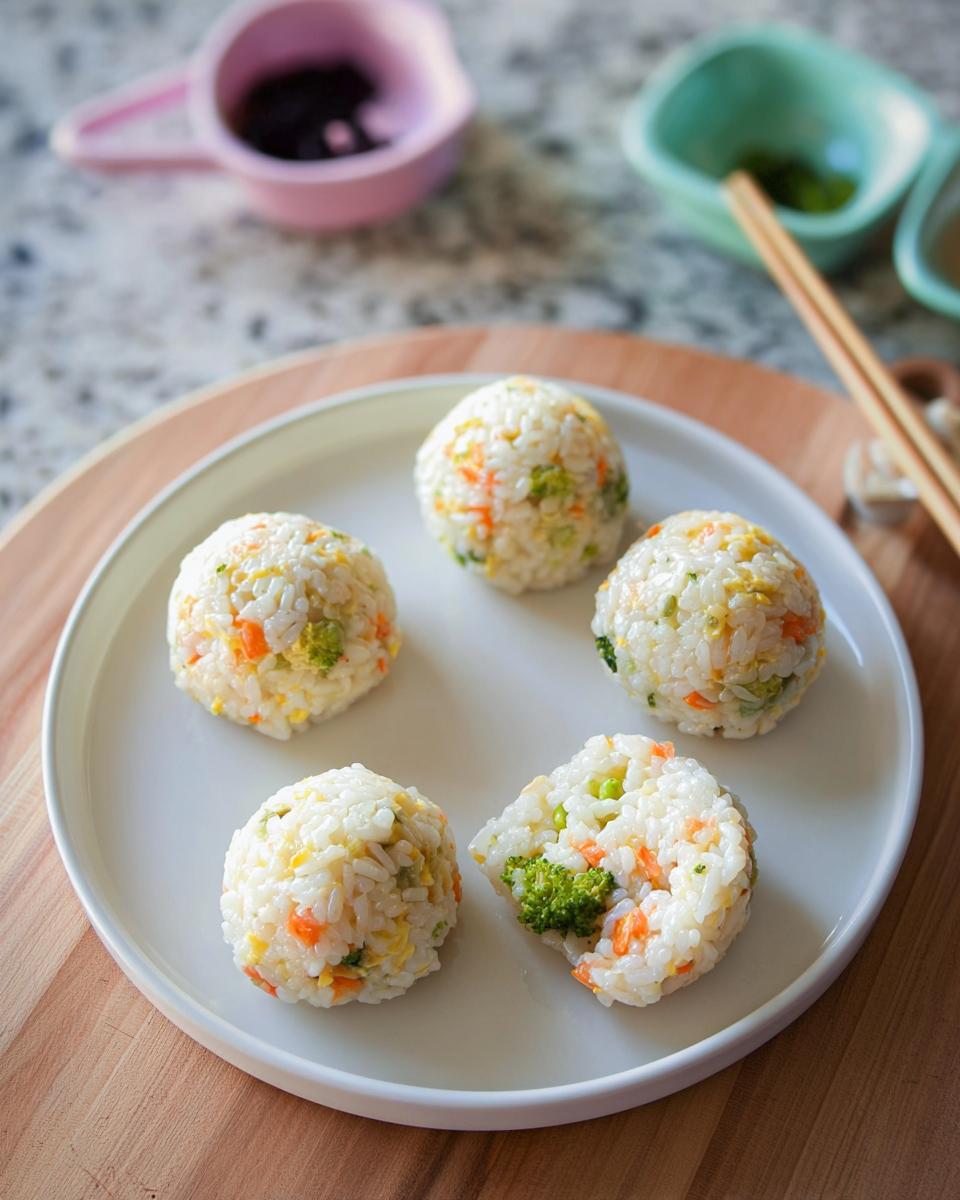
Now for the texture part! Take your cooked fish and veggies and pulse them in the food processor. Do not turn it into a paste! You want it pulsed—textured but relatively dry. This is key so your rice ball doesn’t get soggy. Take about two tablespoons of your perfectly steamed rice and mix it with just a teaspoon of your veggie/fish mixture. Wet your hands slightly so the rice doesn’t stick to you, and roll it into a neat ball, about the size of a golf ball. You can also put more rice down first, then stick a teaspoon of that filling right in the center before tightly sealing the rice around it. If you check out this guide on making onigiri, you’ll see pictures that really help show how tight these need to be to hold their shape. Serve them right away!
Tips for a Successful Rice Ball Sushi Lunch
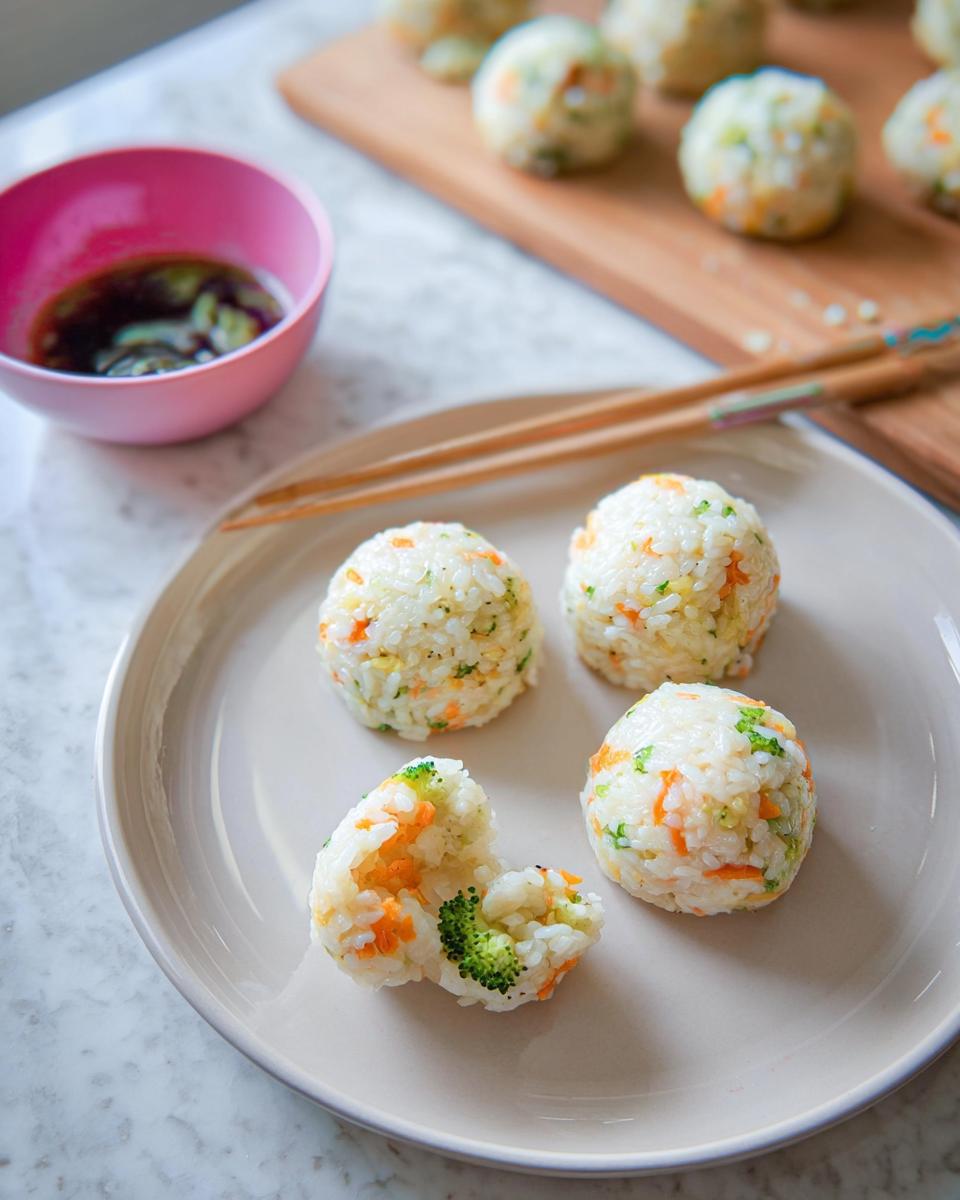
Look, sometimes these little guys don’t cooperate, I get it! The biggest enemy of any handheld rice dish is moisture creeping in where it shouldn’t be. If your filling is too wet, or if you don’t use the right rice, you’re going to end up with a soupy mess in your lunch bag instead of a neat sphere. These little tricks are what I learned after turning out a few sad, flattened rice puddles.
The first thing I noticed is that the rice itself has to be just right. You *must* use short-grain or sushi rice because of that natural stickiness. When you mix rice with that filling, you want it to bond, not dissolve! Also, make sure you stir that cooked rice gently after resting—we want distinct grains that stick together, not glue. If you want to add a little seasoning boost, remember that salt choices matter! You can read my take on Kosher salt vs. sea salt if you’re curious about how to perfectly season things like this.
For the filling, the absolute key is processing it just enough. The instruction says to pulse, and I mean it! If you turn it into a smooth paste, it releases way too much water when it sits. We need texture so it doesn’t saturate the rice. Always handle the balls with hands barely damp with cool water, not soaking wet. Too much water on your hands means the rice sticks uselessly to you, not to itself!
If you are worried about them sticking to each other in the lunch container, try wrapping each one individually in a small square of plastic wrap or wax paper. It keeps them fresh and prevents sticking! Honestly, once you get the hang of handling the warm rice, these become one of my go-to recipes for packed meals. You can see other popular methods for shaping on places like Allrecipes if you want more visual references!
Making Rice Ball Sushi Lunch for Work or School
These rice balls are total superstars when it comes to grab-and-go meals. Since we steamed the fish and veggies, they are perfectly safe and actually taste great straight out of the fridge. That makes them fantastic for Easy Lunches For Work! Forget those sad, soggy leftovers—these hold their shape beautifully, making them ideal Lunch Ideas For School too.
For packing, my favorite trick is to use small bento-style containers. Or, like I mentioned before, wrap them individually in plastic wrap or wax paper. This keeps the moisture in and stops them from getting mushed up during transport. They are shelf-stable for the workday if kept cool, and since they are already perfectly portioned, they are such Simple Lunch Ideas!
If you need quick snacks to go alongside, I often make batches of my healthy energy bites at the same time so the lunch prep is totally done.
Variations on This Rice Ball Sushi Lunch
The beauty of this simple lunch idea is just how flexible it is! While I adore the delicate flavor of steamed sole inside, you can really turn this into anything you want. That’s why these rice balls work equally well for lunch or a light supper—they become fantastic Lunch Dinner Ideas based on what you fill them with.
If you’re looking for protein swaps, ditch the breading and use firm tofu that you’ve pressed well and crumbled finely. You can season that tofu with a dash of soy sauce and ginger before tossing it in the food processor instead of the fish. For my non-fish friends, or those looking for something totally plant-based, you absolutely must try using chickpeas! I have a great recipe for seasoned chickpeas in my avocado chickpea bowl that you can adapt right here.
Don’t be afraid to change up the flavor profile of the rice, either. Instead of just plain cooked rice, try mixing in some toasted sesame seeds, finely chopped nori (seaweed), or a tiny splash of rice vinegar right at the end. Flavoring the rice itself means you don’t even need a filling sometimes! If you want to explore traditional Japanese flavor ideas, check out the fantastic inspiration over at Japan Centre; they have tons of great seasoning tips that translate perfectly to rice balls.
Frequently Asked Questions About Rice Ball Sushi Lunch
I always get tons of questions about prepping make-ahead meals, especially since these are so great for packing! Since these are considered some of the best Healthy Lunch Ideas For Work, people want to know how to nail the texture for day-two enjoyment. Here are the things I get asked about most often!
Can I make the Rice Ball Sushi Lunch ahead of time?
Oh yes, absolutely! I find they actually set up better overnight. You want to make sure they are completely cooled down before wrapping them. I wrap them individually in plastic wrap so they don’t dry out or stick to each other. They are usually at their very best eaten within 24 hours, but they hold up fine in the back of the fridge for a full two days. They are perfect for meal prepping your Cold Lunch Ideas for the week!
Are these Rice Ball Sushi Lunch balls kid friendly?
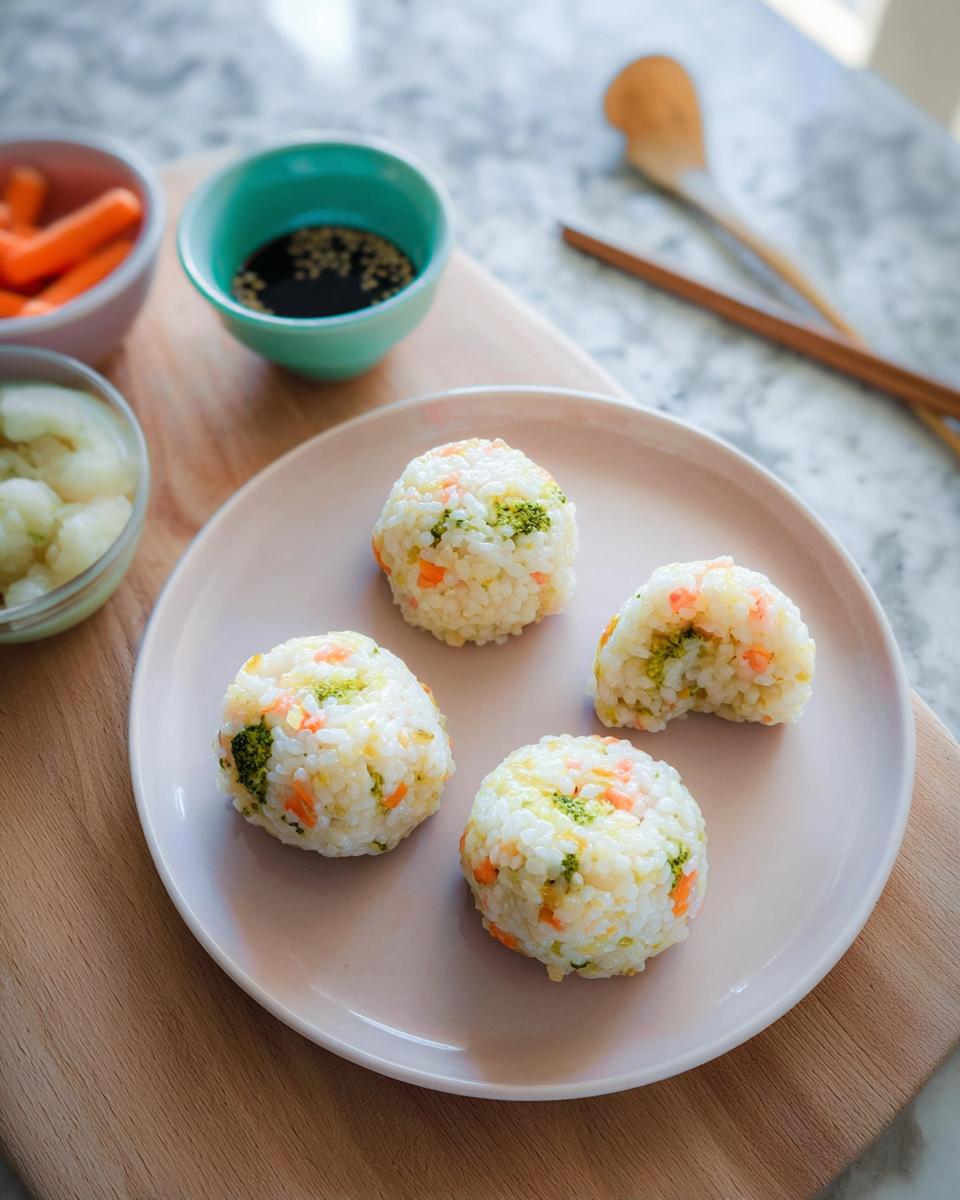
They are incredibly kid friendly! They are right up there with my favorite Kid Friendly Dinners because they are just fun to eat. If you are worried about picky eaters, try making them golf-ball sized instead of standard balls. You can also use only the softest steamed vegetables, like just a touch of carrot, and hide a tiny cube of cooked salmon inside the rice. The fun shape usually wins them over!
What is the best way to reheat this simple lunch idea?
Honestly, I almost never reheat them because they are meant to be enjoyed cold or at room temperature, just like traditional sushi. If you absolutely must warm them up—maybe it’s a freezing cold day—skip the microwave. A microwave will just turn the rice gummy and hard later. Instead, you can lightly steam them for just a minute or two, or just let them sit out on the counter while you eat lunch so they come up to room temperature naturally. You can find lots of tips on enjoying these types of meals cool over on my post about cold lunch ideas.
Nutritional Estimates for Your Rice Ball Sushi Lunch
Now, let’s talk fuel! Since these Rice Ball Sushi Lunch portions are so versatile and made with simple steamed veggies, they land in a great spot for a Healthy Dinner Ideas or lunch. I always try to keep homemade meals this light and balanced, but remember, my tracking is based on the specific ingredients I used in Option A (white rice, sole, just steamed veggies—no extra sauces).
These numbers are just an estimate for one serving (about one-quarter of the recipe yields), so if you make golf-ball sized ones versus baseball-sized ones, the totals will change! If you want to explore how different salts affect your eating plan, check out my thoughts on pink salt vs. regular salt for seasoning guidance.
- Estimated Calories: 250-280 per ball
- Estimated Fat: 3g
- Estimated Protein: 12g
- Estimated Carbohydrates: 45g
Keep in mind, if you swap the sole for salmon, those fat and calorie counts will go up a bit, but you’ll get a nice boost of Omega-3s! Enjoy these as a light, wonderful part of your balanced diet.
Share Your Homemade Rice Ball Sushi Lunch
Well, that’s it! We’ve made it through the whole process, from washing the rice five times to rolling the perfect little sphere. I really hope this Rice Ball Sushi Lunch brings as much quick joy to your kitchen as it does to mine. It’s one of those recipes that just feels inherently fun to eat, whether you’re enjoying it at your desk or packing it up for the kids.
I absolutely want to see what you decide to fill them with! Are you sticking to the simple steamed sole and veggies? Did you try that tofu swap? Let me know in the comments below—I love hearing how you customize these Simple Lunch Ideas. Don’t forget to snap a picture once you’ve packed them up and tag us on social media so I can share your colorful creations!
If you have any lingering questions about technique or need to get in touch about a recipe adaptation, you can always reach out via my contact page.
Happy rolling!
By Hanna Foster, Adaptation Specialist at Recipes by Betty.
Rice Ball Sushi Lunch
Equipment
- heavy bottomed pot
- Food Processor
- onigiri mold optional
Ingredients
For the Rice
- 1 cup short grain white rice or sushi rice
- 1.5 cups water
For the Filling
- 8 baby carrots
- 1 cup broccoli florets
- 1 piece sole, or any mild white fish
Instructions
- Wash 1 cup of rice in a bowl. Rub the rice with water and immediately dump the water out. Repeat this washing process 4 or 5 times until the water is clear.
- Put the washed rice in a heavy bottomed pot. Add 1 1/2 cups of water. Let the rice soak for 30 minutes.
- Put the lid on the pot and bring the rice to a boil for 5 minutes. Change the heat to low and simmer for 15 minutes. Turn off the heat and let the rice sit covered for 15 minutes so it can steam.
- Stir the rice with a flat spoon so that the rice does not completely stick together.
- While the rice is cooking, put the carrots in a steamer pot over boiling water for 3 minutes. Add the broccoli and steam for 2 more minutes. Add the fish and steam for another 3 minutes or until everything is cooked through and fork tender.
- Place the fish and vegetables in a food processor and pulse. Do not puree the mixture; you want it to have a little texture but still be dry. Do not add extra liquid.
- Take 1-2 tablespoons of rice and 1 teaspoon of the vegetable/fish mixture and combine them.
- With moistened hands, roll the mixture into a ball about the size of a golf ball. Alternatively, you can add all of the vegetable/fish mixture to the rice, but make sure the mixture is not too wet or the balls will fall apart.
- Serve the rice balls.