
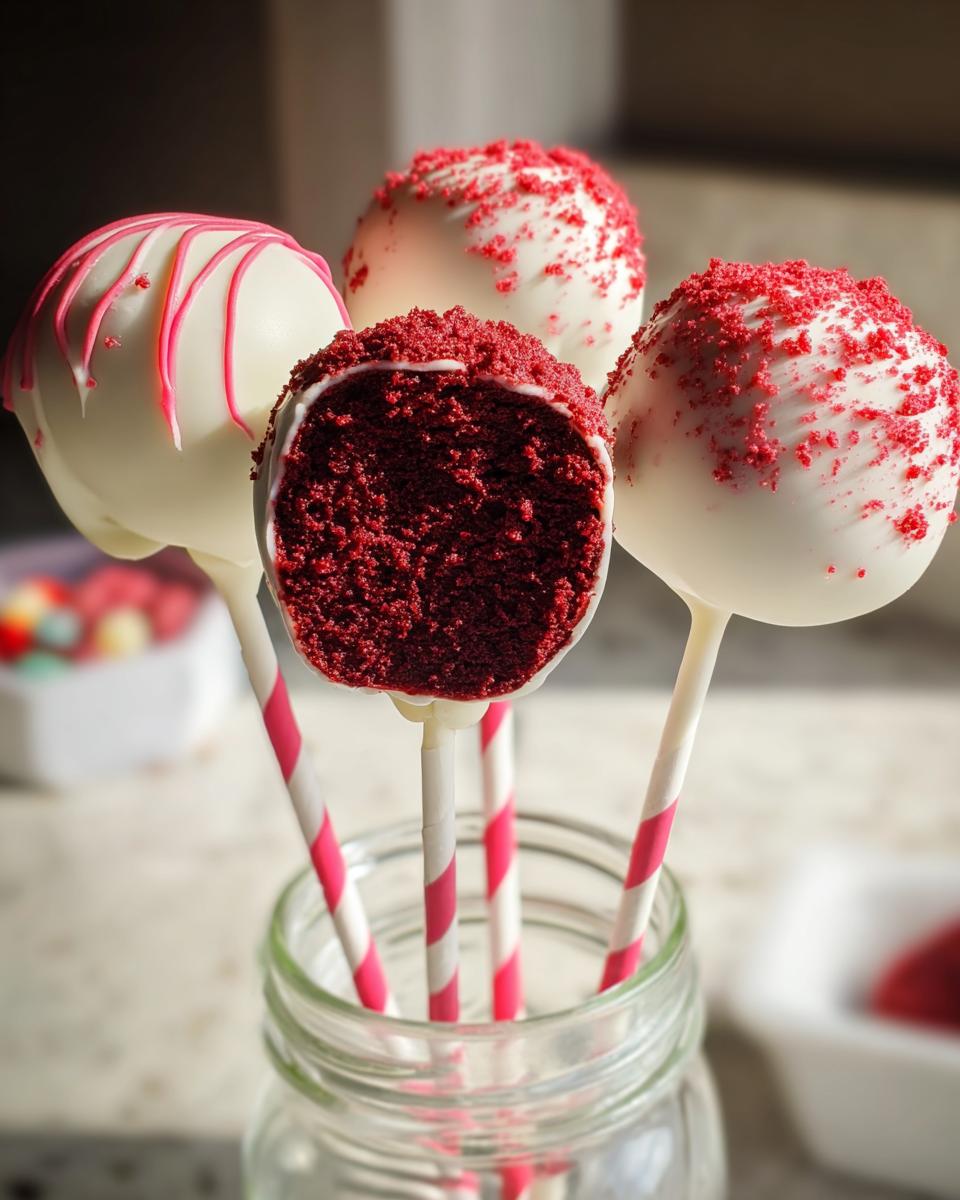
When it comes to celebrations, nothing brings instant elegance quite like a pop of deep, festive color. If you’re looking for those show-stopping, yet incredibly easy desserts, you have come to the right place! We are making the most beautiful, rich Red Velvet Cake Pops today, and trust me, they are the ultimate shortcut to dessert perfection for any crowd.
I truly love refining red velvet recipes because those small, careful adjustments make such a big difference in achieving the perfect texture and that deep, signature color. This version proves you don’t need to be a pastry chef to pull off something stunning. These are wonderfully simple, use very few ingredients, and they are definitely showstoppers.
As an Adaptation Specialist at Recipes by Betty, I focus on making complex flavors accessible, and these pops fit the bill perfectly. They are easy treats that look like they took hours!
Why You Will Love These Red Velvet Cake Pops
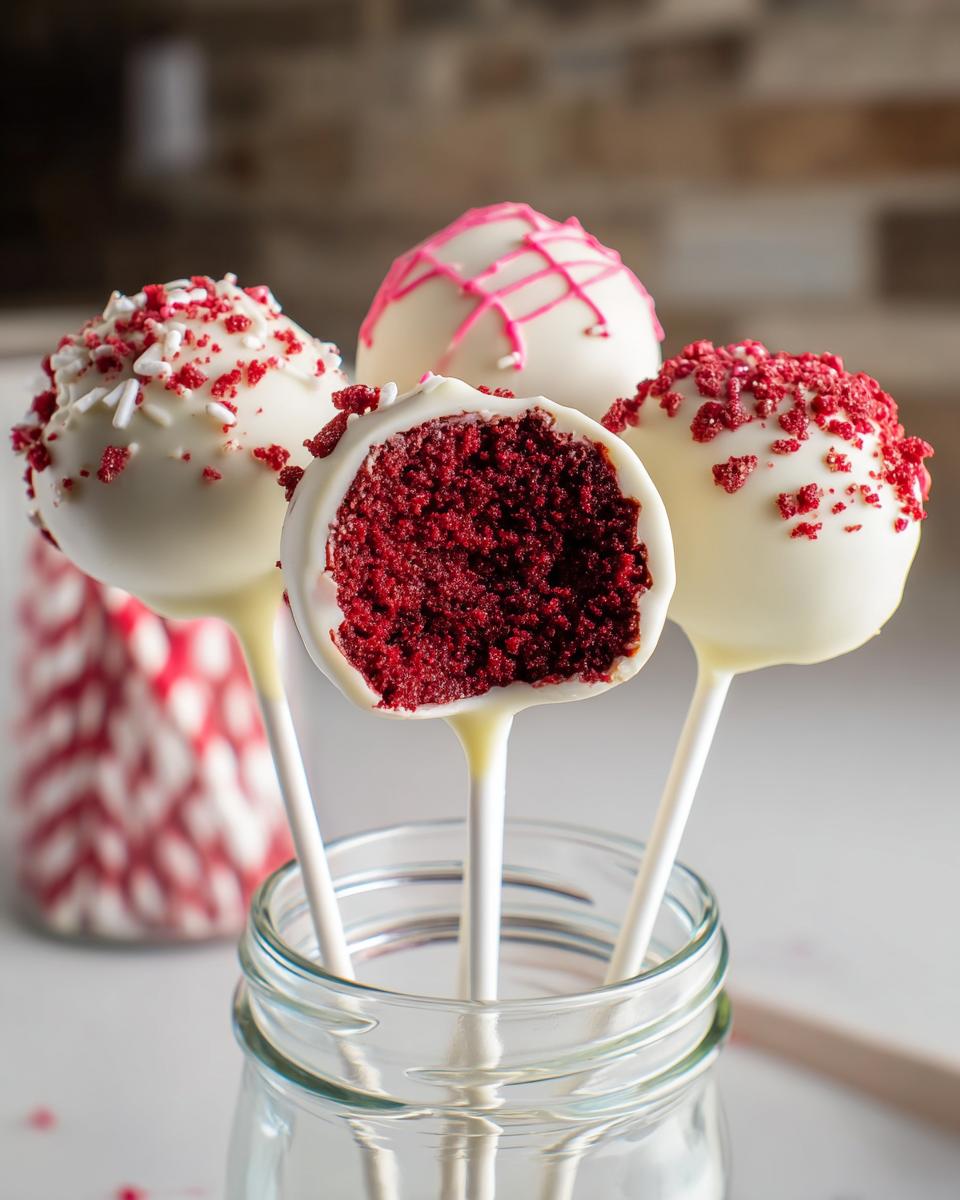
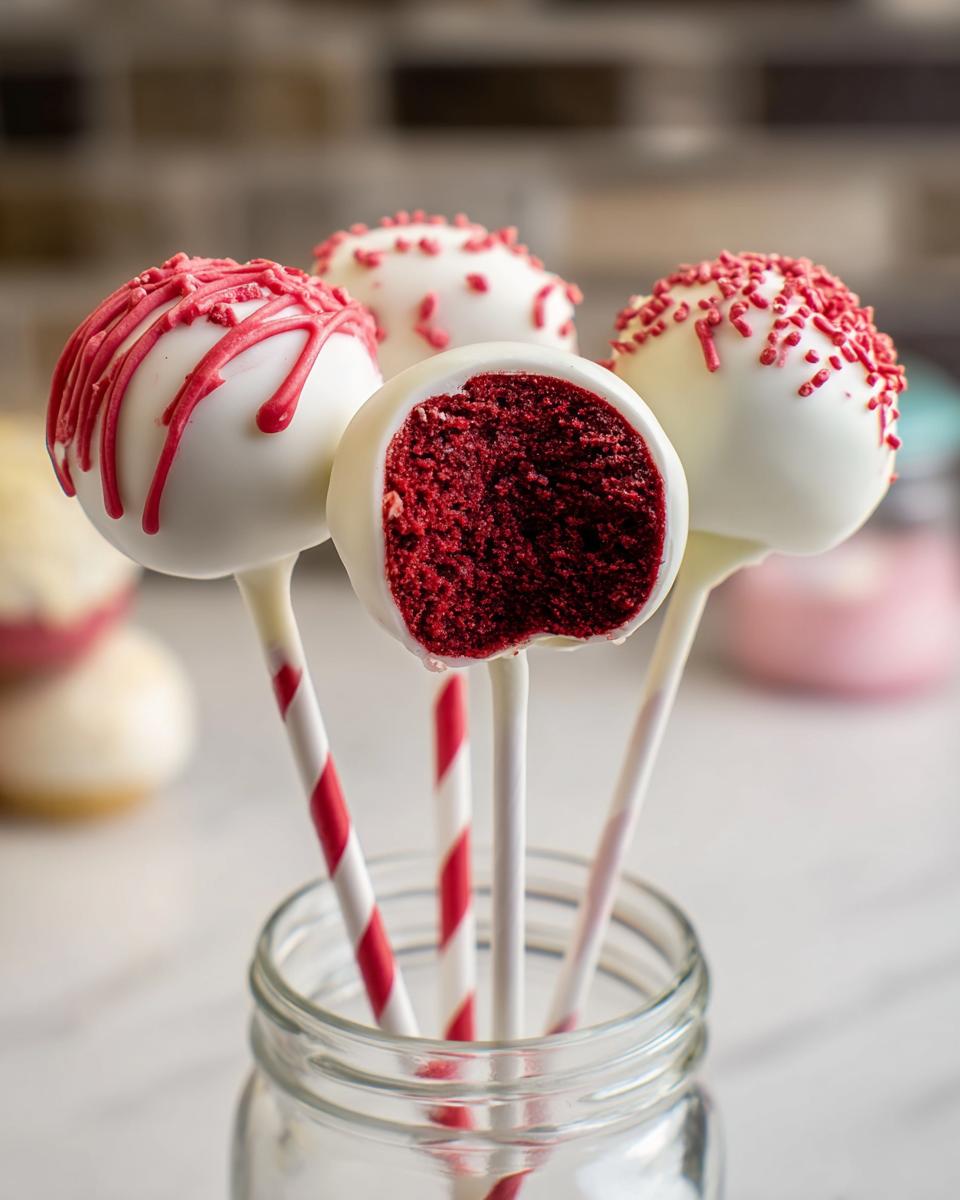
These aren’t just tasty—they are little bundles of celebratory joy! You are going to adore how quickly these come together. They are perfect when you need Easy Desserts For A Crowd because they travel so well. Plus, that deep red cake contrasted with the bright white chocolate coating makes them look incredibly fancy.
- They truly count as Easy Treats—seriously, no complicated baking required!
- Amazing visual appeal for parties or just brightening up your week.
- No-fuss assembly means less time in the kitchen and more time enjoying the party.
If you’re looking ahead to holiday baking inspiration, check out all our amazing holiday party recipes.
Essential Equipment for Perfect Red Velvet Cake Pops
You don’t need a giant kitchen setup for these, thankfully! To get these beauties shaped and dipped just right, you only need a few key items. Think simple and essential here, which is why these are such great Easy Desserts With Few Ingredients.
- A sturdy Mixing Bowl for getting that perfect blend of cake and frosting.
- A flat Baking Sheet lined with parchment paper for chilling the balls.
- Your Cake Pop Sticks—don’t skimp on these! They make presentation a breeze.
Ingredients Breakdown for Red Velvet Cake Pops
Even though these are simple desserts, the ingredients need to be right to guarantee that perfect mouthfeel. I always measure carefully here; if you get the ratio wrong, your balls might fall apart! Everything is broken down simply, so you know exactly what belongs where before you start rolling.
We are keeping this recipe lean, which makes it one of my favorite Easy Dessert Ideas for last-minute parties.
For the Cake Pops Mixture
- 1 red velvet cake (It MUST be already baked and completely cooled—this is non-negotiable!)
- 120 g cream cheese frosting (This is our glue!)
For the White Chocolate Coating
This coating is what gives our Red Velvet Cake Pops that stunning finish, contrasting beautifully with the deep red interior. When you’re thinking about salt in your baking, sometimes the small details matter so much. Check out my thoughts on kosher salt vs sea salt if you’re curious about ingredient comparisons!
- 300 g white chocolate (Make sure this is good quality, and it has to be fully melted when you use it.)
Step-by-Step Instructions for Making Red Velvet Cake Pops
Okay, this is where the magic happens! Don’t rush the chilling time—it’s the secret to keeping those gorgeous little spheres intact. Think of this like setting up the foundation for a beautiful piece of art. If your steps are precise now, your final Red Velvet Cake Pops will look professional, even if you’re a beginner.
Preparing the Cake Base and Rolling the Red Velvet Cake Pops
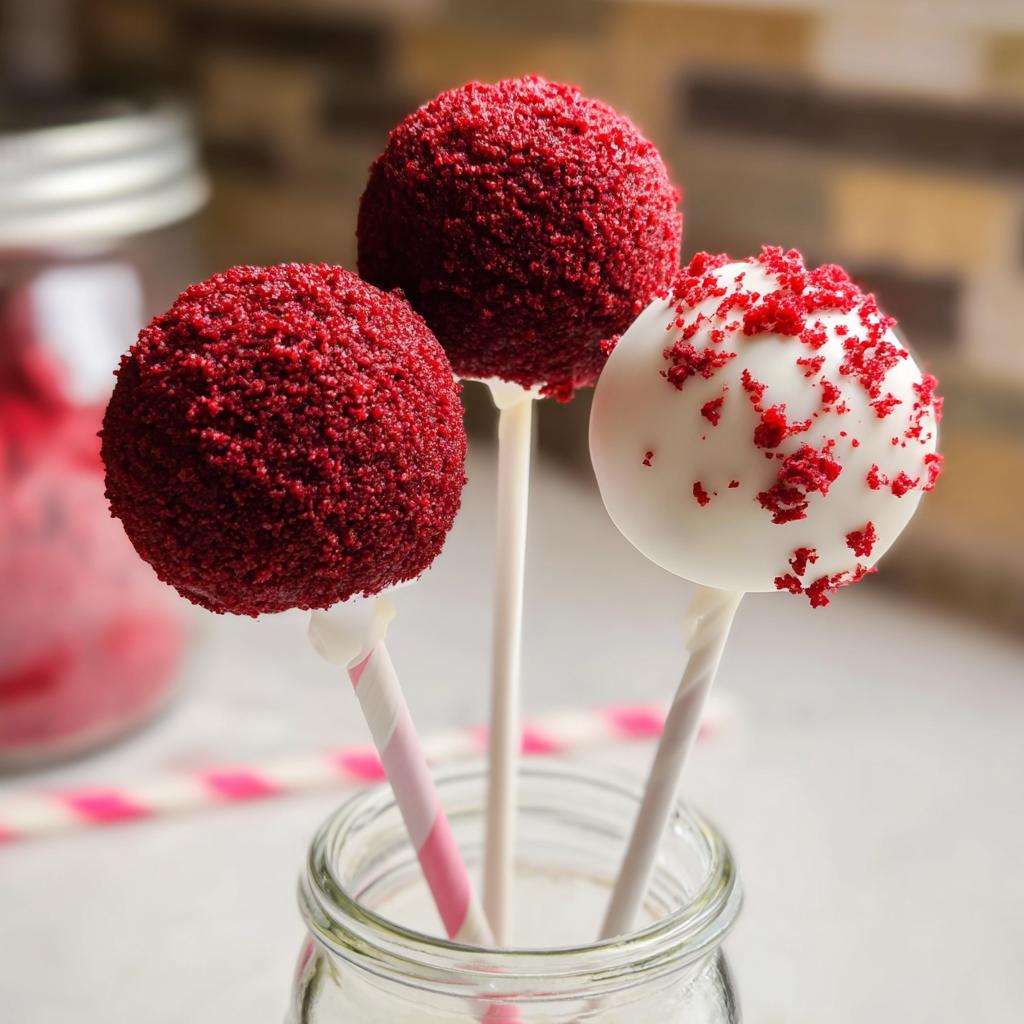
First things first: take that cooled red velvet cake—and I mean totally cool, no residual warmth—and just start crumbling it right into your big mixing bowl. Get in there with your hands; it’s therapeutic! You want fine crumbs, almost like coarse sand. Now, slowly work in your cream cheese frosting. Seriously, add it little by little! You are looking for a consistency that is moist enough to stick together when you squeeze it, but not so wet that it feels squishy.
Once it feels right, start rolling. Make sure every ball is about the same size, maybe a tablespoon or so. Uniformity is vital so they all bake and dip evenly later on. Line them neatly on that parchment-covered sheet and take a breath. We’re heading to the fridge!
Chilling and Sticking the Cake Balls
This next step guarantees success. Pop those uniformly rolled balls into the refrigerator for a solid 60 minutes. Don’t cheat this time; they need to be firm so they don’t squish when you handle them later. While they chill, melt your white chocolate gently. Remember those scone baking secrets? If you dip the stick into the melted chocolate *first* and then insert it, that bit of chocolate acts like cement! Stick it about halfway into the firm ball, and then pop them back into the fridge for just a few more minutes to make sure that chocolate “glue” sets hard.
Coating and Setting the Red Velvet Cake Pops
Now for the fun, slightly messy part! Hold your cake pop stick firmly. Completely submerge the chilled cake ball into your melted white chocolate. You want it covered right up to where the stick enters. Slowly pull it out, gently tapping the stick against the side of the bowl to let any thick excess chocolate drip away. It’s important to let most of that excess fall off, or they get too bulky.
Stand them upright in a styrofoam block or a drying rack. Let that beautiful white coating harden completely before you try to move them or serve them. If you want more quick tips on how to master coatings, check out my notes on perfecting baking techniques—it applies here too!
Tips for Success When Making Red Velvet Cake Pops
Achieving that flawless, crack-free shell on your Red Velvet Cake Pops really comes down to the texture of your base mixture. If your cake balls are too warm or too crumbly when you dip them, the chocolate will crack as it cools, which is just a bummer!
The magic ratio I look for is just enough frosting so that when you squeeze a piece between your fingers, it just barely holds its shape without leaving greasy fingerprints all over you. Too much frosting, and they get greasy and won’t set properly. Too little, and they crumble as you try to put the stick in!
A pro tip for the coating: if your melted white chocolate seems too thick for dipping, don’t add water—that will seize it! Instead, thin it with a tiny bit of vegetable oil or cocoa butter. It helps the coating flow smoothly around the chilled cake pop. For more awesome topping tricks, you absolutely have to read up on my favorites for cookie crumble textures—the science is similar!
Ingredient Notes and Substitutions for Red Velvet Cake Pops
One of the best things about using a baked cake block is how flexible it makes this recipe! Honestly, you can use a store-bought red velvet cake—I won’t tell anyone, promise! Homemade is always best for color depth, but don’t stress if you’re running short on time. That said, the frosting consistency is key to achieving those sturdy Red Velvet Cake Pops.
If your cream cheese frosting seems too stiff, it will make rolling impossible. Try warming it *slightly*—use the microwave for 10 seconds, no more! Conversely, if it came out too thin, just whisk in a tiny sprinkle of powdered sugar to help it bind. For more deep kitchen dives, you might find my notes on cream versus buttermilk interesting, even though we aren’t technically baking here!
Frequently Asked Questions About Red Velvet Cake Pops
I always get questions about these little beauties because they look fancy but are, thankfully, really straightforward. If you’re looking for more fun, no-fuss recipes, you should definitely explore my no-bake treats category! Here are the common things people ask me about making these Red Velvet Cake Pops.
Can I make Red Velvet Cake Pops without cream cheese frosting?
You absolutely *can*, but honestly, the cream cheese frosting is my top recommendation! It cuts through the sweetness of the cake and the white chocolate coating perfectly, giving you that classic red velvet tang. If you must substitute, a quality, stiff buttercream will work as a binder, but be mindful—it’s much sweeter, so you might want to slightly reduce the sugar in your cake mix itself.
How do I store these Easy Treats?
These Easy Treats store beautifully! Because the center is cake and frosting, I prefer to keep them at cool room temperature (around 68-70°F) in a completely airtight container for up to three days. If your kitchen is really warm or humid, you can refrigerate them, but before serving, let them sit out for about 20 minutes so the cake softens up a bit. Never stack them too tightly, or the chocolate coating might stick together!
Storage and Reheating Instructions for Red Velvet Cake Pops
Keeping your gorgeous, deep red pops fresh is so easy! Since the inside is cake and frosting, they are quite stable. You can actually leave your finished Red Velvet Cake Pops out on the counter—in a good airtight container, of course—for about two to three days. This keeps that cake center nice and soft!
If you need them to last longer, pop them into the fridge. Just make sure you pull them out about 20 minutes before serving so they aren’t too hard. The coating holds up beautifully, but we never want a cold center!
Sharing Your Homemade Desserts
Now that you have these beautiful, homemade desserts sitting on your counter, I just have one more request! I truly want to see your creations! These Red Velvet Cake Pops are so much fun to customize with sprinkles or drizzles, and I love seeing how you all put your own spin on my tried-and-true methods.
Please take a picture of your pops—I’m dying to see that gorgeous red-and-white contrast you achieved! Tag me on social media so I can cheer you on. And if you followed along and loved these Easy Dessert Ideas, won’t you take two minutes to hop over and leave a rating on the recipe card? It helps me know what easy treats you want to see next!
If you have any lingering questions about the process, or if you found a substitution that worked beautifully for you, please reach out! You can always send me a note directly through the contact page. Happy baking, everyone!
Red Velvet Cake Pops
Equipment
- Mixing Bowl
- Baking Sheet
- Cake pop sticks
Ingredients
For the Cake Pops
- 1 red velvet cake baked and cooled
- 120 g cream cheese frosting
For the Coating
- 300 g white chocolate melted
Instructions
- Crumble the cooled red velvet cake into a mixing bowl.
- Mix the cake crumbles with the cream cheese frosting until the mixture is cohesive and holds its shape.
- Roll the mixture into small, uniform balls. Place the balls on a baking sheet lined with parchment paper and refrigerate for 60 minutes until firm.
- Dip the tip of each cake pop stick into the melted white chocolate and insert it about halfway into a chilled cake ball. Return to the refrigerator briefly to set the chocolate holding the stick.
- Dip each cake pop completely into the remaining melted white chocolate, allowing excess chocolate to drip off.
- Place the dipped cake pops upright in a holder or on parchment paper. Let the chocolate harden completely before you serve them.