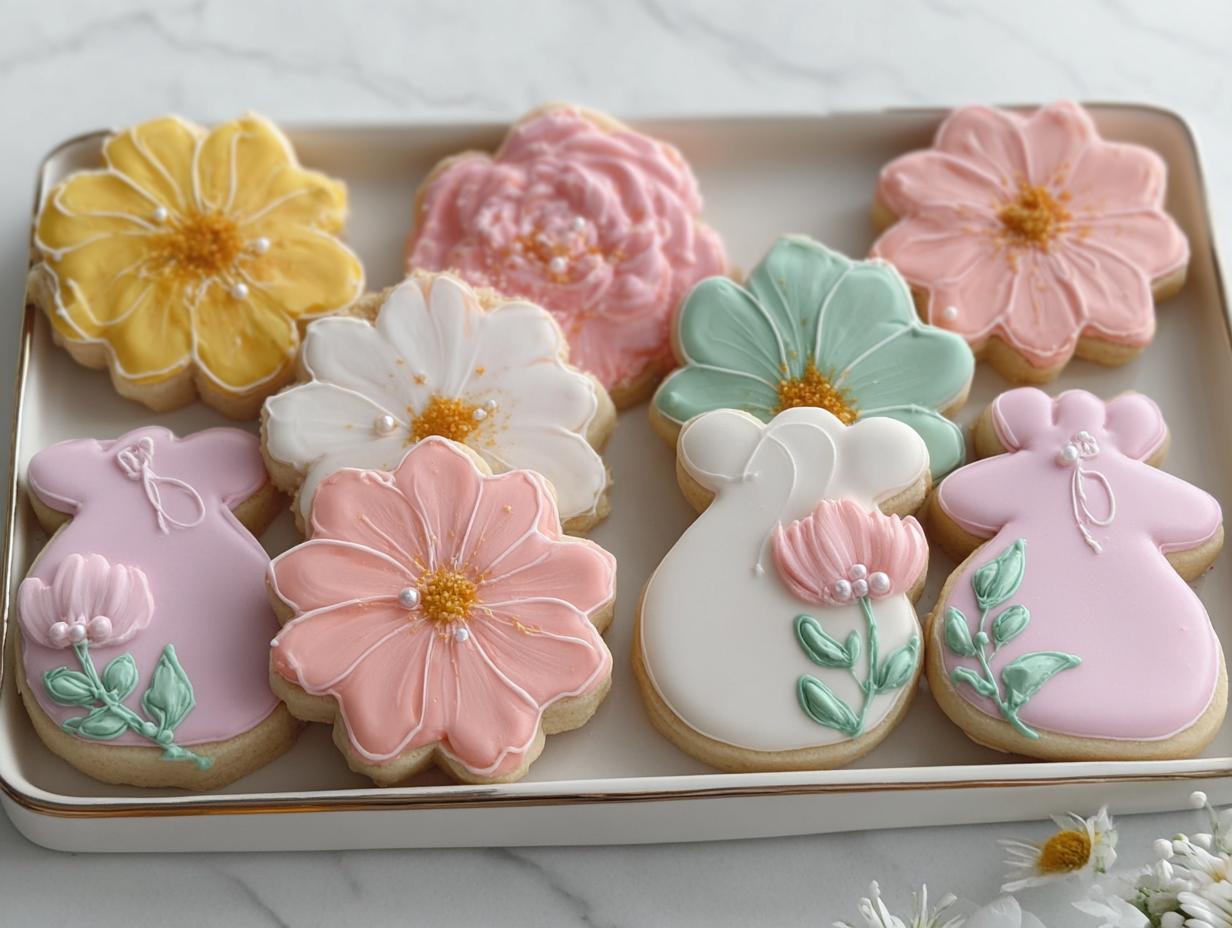
Oh my goodness, if you are planning a celebration that needs to feel whisper-soft and utterly charming, you *have* to see these recipes! I swear, every time I pull out my flower cutters, it feels like the sun is shining just a little bit brighter in my kitchen. There is just something about a perfectly decorated cookie that sets the mood for elegance, and that’s why these Pastel Flower Baby Shower Cookies became my go-to for spring events.
I remember the first batch I made; the soft pinks and greens just screamed ‘new beginnings.’ These aren’t just sugar cookies; they’re little pieces of edible art perfect for welcoming a new little one. Plus, they hold their shape beautifully, which is something we all crave when we spend hours decorating!
Don’t forget to check out my advice for wildflower baby shower cookies if you’re looking for a slightly more rustic feel, but for sheer, delicate elegance, you’ll want to stick close for this recipe!
Why You Will Make These Pastel Flower Baby Shower Cookies
Honestly, these cookies check every single box for a stress-free, beautiful shower dessert. Planning parties can be overwhelming, but these treats make the dessert table look instantly sophisticated. I want you to feel confident serving these, even if you’ve never piped royal icing before!
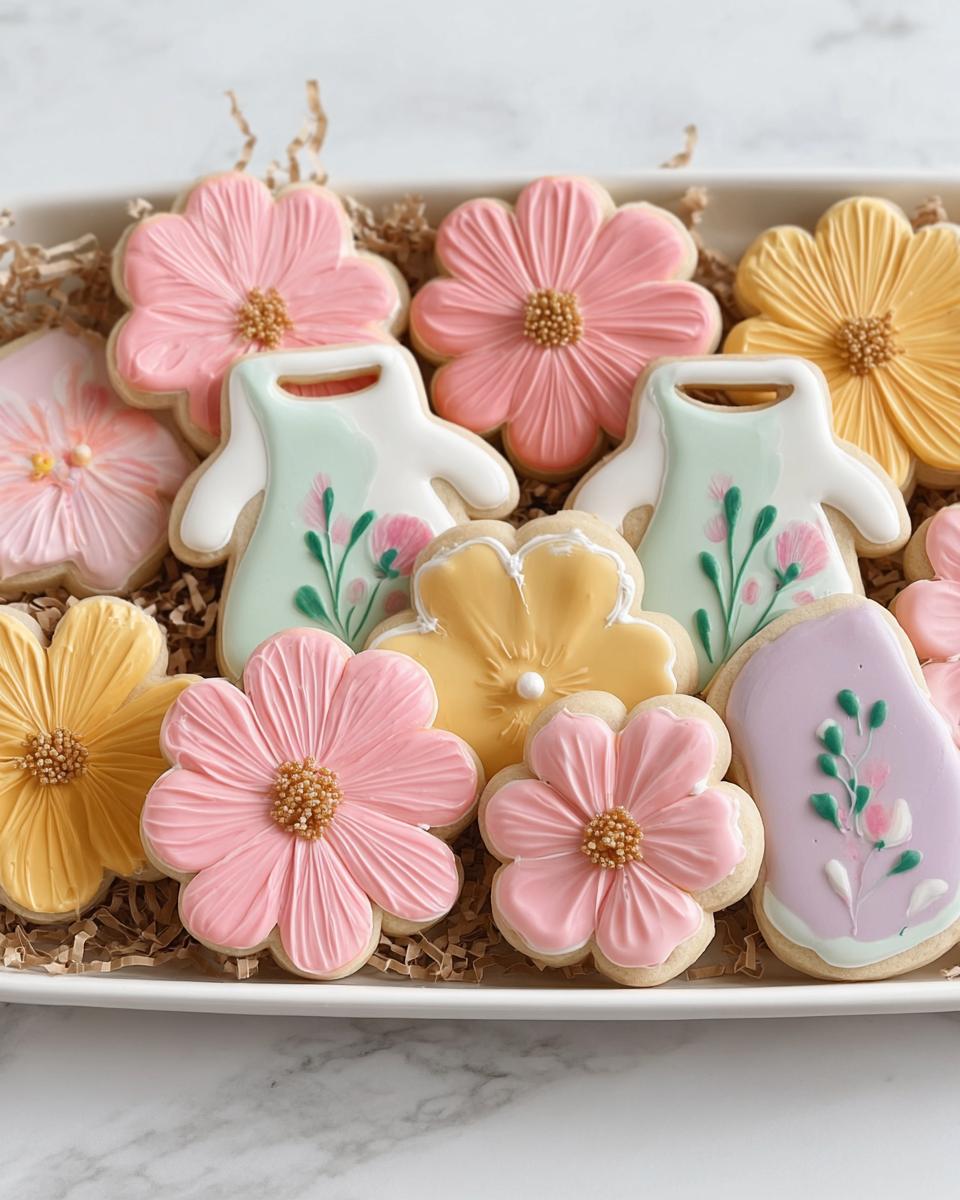
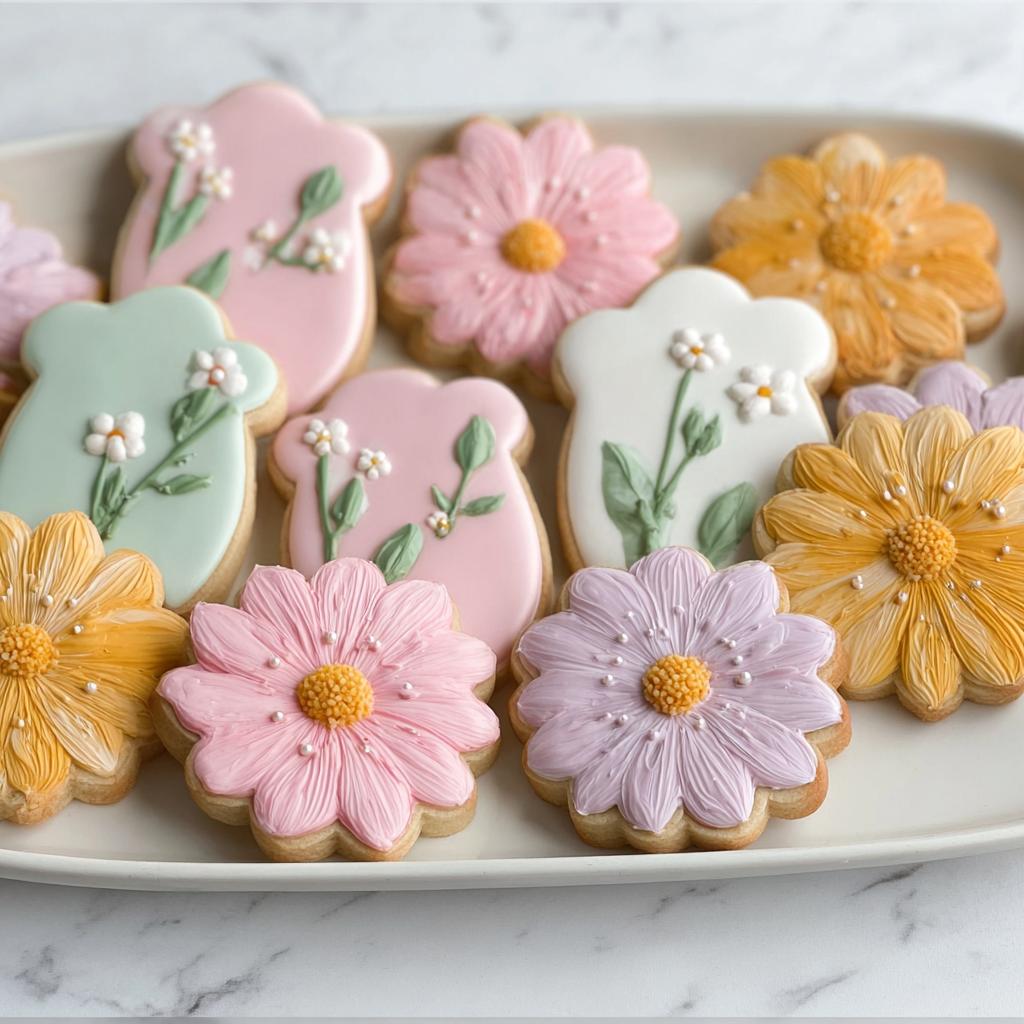
- They offer unmatched visual appeal with soft, calming pastel shades perfect for a springtime welcome.
- The base sugar cookie recipe is sturdy—it resists spreading, meaning your detailed cuts stay sharp!
- They look incredibly professional, but I promise, the decorating process is totally beginner-friendly once you get the icing consistency right.
- These Pastel Flower Baby Shower Cookies instantly become the star of any dessert table.
Essential Equipment for Your Pastel Flower Baby Shower Cookies
You don’t need some fancy professional bakery setup to make these beautiful cookies, which is great! Having the right tools just makes the whole process smoother, especially when rolling dough and dealing with that tricky icing.
I’m listing out what you’ll need. Trust me, having a good electric mixer saves your arm power when creaming the butter for the dough. For high-quality flour and baking supplies, I often rely on trusted sources like King Arthur Baking when I run low.
Here’s the rundown of what you should gather before you start mixing:
- You’ll need a medium bowl, but definitely grab a large bowl for creaming the butter and sugar.
- An electric mixer is your best friend here—your hand mixer or stand mixer will work wonders!
- For the shapes, you absolutely need 2- to 3-inch flower cutters. Smaller cutters are cute, but they bake too fast and can burn before the middle is done.
- Don’t forget your standard baking sheets.
- Two cooling racks are essential for letting the baked cookies and the finished decorations dry completely.
Ingredients for Perfect Floral Baby Shower Sugar Cookies
Okay, this is where the real magic starts to set up, and honestly, the dough needs to be perfect so the cookies hold those delicate flower shapes we need! I’ve divided everything into the dough components and the icing ingredients because tackling them separately keeps things so much cleaner. If you’re prepping icing ahead of time, you might want to peek at my favorite recipe for sprinkle sugar cookie frosting for my favorite backup techniques!
Cookie Dough Components
For the actual cookie base, we need standard pantry staples, but the measurements have to be right. You’ll start by making sure you have about 2 and 3/4 cups of all-purpose flour combined with 1 teaspoon of baking powder and just 1/2 teaspoon of fine salt. For the wet ingredients, grab 1 full cup of unsalted butter. Now, the butter has to be softened—not melted, softened! You’ll mix that with 1 cup of granulated sugar until it’s light and fluffy. The recipe calls for 1 large egg, and please make sure it’s at room temperature; cold eggs can sometimes cause the butter to seize up a little. Finally, for that lovely flavor, you need 1 and 1/2 teaspoons of pure vanilla extract, plus an optional 1/4 teaspoon of almond extract if you want a little extra pop!
Royal Icing Base and Colors
The icing is what turns these into beautiful pastel decorated cookies, so we can’t skimp here. For the base, you’ll need about 4 cups of powdered sugar—and you must sift it, or you get lumps, trust me! Pair that with 3 tablespoons of meringue powder, which is what gives royal icing its stability. The water is super important: you start with 5 to 6 warm tablespoons of water. Here’s the secret: use exactly 5 tablespoons for your thick piping consistency, and maybe up to 6 tablespoons if you need a looser flood consistency later on.
For the beautiful baby shower look, you’ll need gel food colors. You don’t need much! Just get colors like blush pink, a soft butter yellow, a gentle sage green for leaves, and maybe a light lavender. Oh, and if you want a little sparkle on top after everything dries, grab some edible pearl sprinkles—they make them look so expensive!
Step-by-Step Guide to Making Pastel Decorated Cookies
This process seems long because of all the waiting and drying, but the hands-on time is really quick! We are going to make sure these cookies stand up beautifully so they can handle all those gorgeous floral details. I always put on my favorite podcast while I’m mixing and rolling, because patience is the real secret ingredient when making Pastel Flower Baby Shower Cookies!
Preparing and Chilling the Cookie Dough
First things first, grab that medium bowl and whisk your dry stuff: the flour, baking powder, and salt. Whisking is better than just stirring, trust me, it helps break up any lumps before they hit the wet team! In your large bowl, beat that softened butter and sugar until it looks absolutely pale and fluffy—it takes a good solid 2 or 3 minutes with the mixer. Then, beat in your room-temperature egg and those vanilla and almond extracts. Now, you add the dry mix to the wet mix, but this is important: keep the mixer on low speed and stop mixing the second everything comes together! We do *not* want overmixed dough here. Divide that soft dough into two discs, wrap them tight in plastic wrap, and send them to the fridge for at least one hour. That chill time is non-negotiable!
Cutting, Baking, and Cooling the Shapes
When you’re ready to roll, preheat your oven to 350°F (175°C). Roll the dough out between two sheets of parchment paper until it’s exactly 1/4-inch thick. Using those 2- to 3-inch flower cutters, press out your shapes. Before they ever see the oven, you need to chill the cut cookies on the baking sheet for about 10 minutes. This little rest stops them from spreading out into sad, blobby flowers! Bake them for 8 to 10 quick minutes—you want the edges set, but absolutely avoid any brown coloring. Let them rest on the hot tray for 5 minutes only, then move them straight over to a wire rack to cool down completely. I usually let them sit there until the next day, but at least until they are room temp! If you need more tips on getting your baked goods to behave, I often look at techniques from folks at Betty Crocker for simple baking success.
Mixing and Coloring the Royal Icing
This is where you need to pay attention to your wrist action! Beat your sifted powdered sugar, meringue powder, and 5 tablespoons of warm water together until it’s glossy. The goal here is a “10-second flood consistency.” That means if you drag a spoon through it, it takes about 10 seconds for the surface to smooth itself back out. If it’s too thick, add that last tablespoon of water slowly until it flows nicely. Make sure you reserve a small amount of this icing and mix it much thicker—maybe just 4 tablespoons of water total—this thicker stuff is for piping all those tiny flower details later on. Color your main batch into those lovely soft pastel shades you chose.
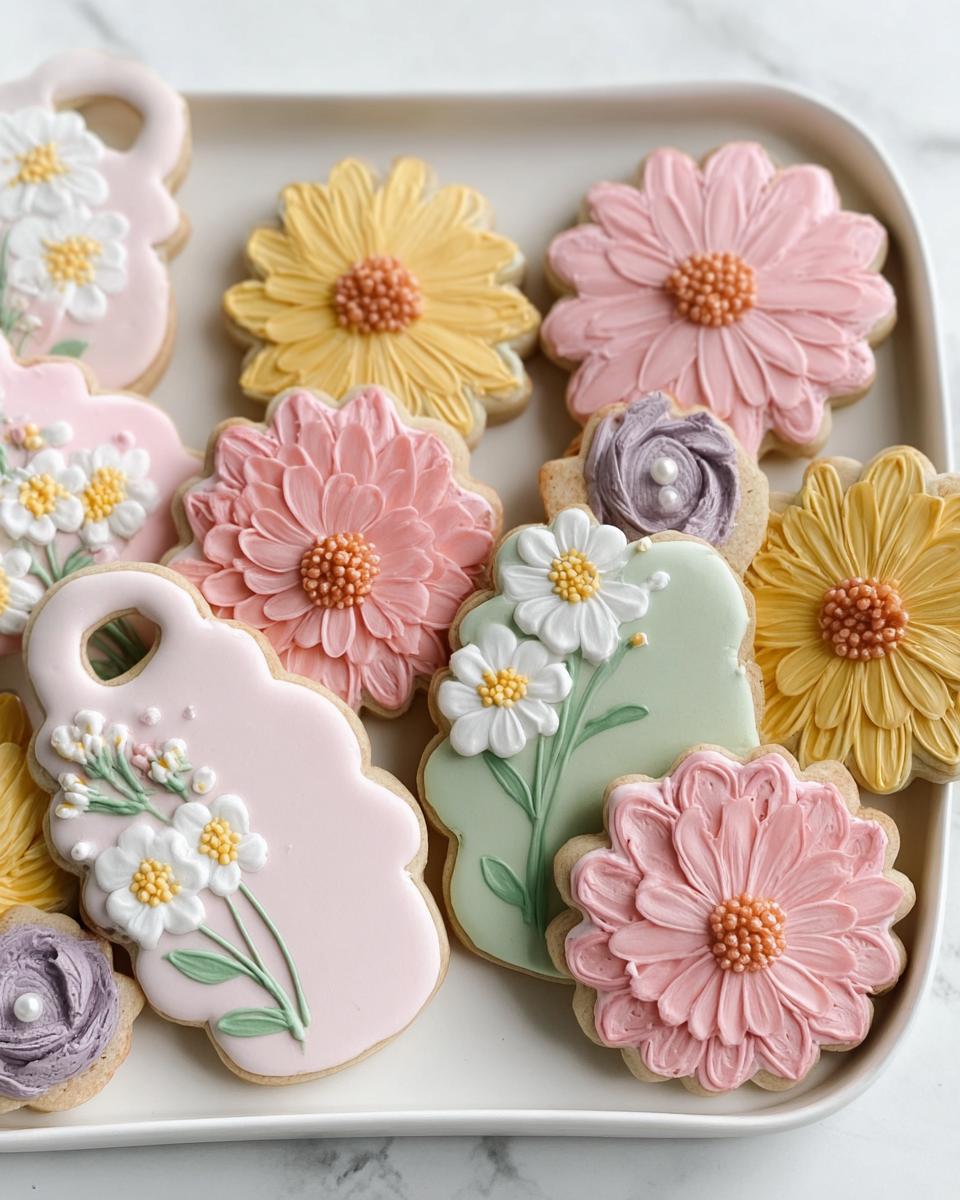
Decorating Your Pastel Flower Baby Shower Cookies
Once your cookies are totally cool, it’s time to flood them! Use a small squeeze bottle or spoon to cover the entire surface with your colored, thinned icing base. Once flooded, set them aside to dry completely. This is where patience comes in again—you need them dry for at least 6 hours, or honestly, just leave them overnight. Trying to pipe onto wet icing is a recipe for a total disaster! Once that base is hard, you can take your thicker icing (which you colored in richer shades) and pipe those tiny petals, centers, and leaves on top. If you’re feeling fancy, you can gently press those edible pearl sprinkles onto the wet details right after piping. See? You’ve made professional-looking Pastel Flower Baby Shower Cookies!
Tips for Success with Floral Baby Shower Sugar Cookies
Making beautiful floral baby shower sugar cookies really comes down to a few small tricks that make a huge difference in the end. First off, never rush that base icing! I mentioned the 10-second rule, but if your icing is too thin, it will bleed right over the edges and ruin all your clean flower outlines.
Also, keep your dough cold, cold, cold! If your kitchen is warmer than usual, pop the rolled-out dough back in the fridge for 15 minutes before cutting. That extra chill time makes sure your beautiful flower cutters don’t give you sad, wide puddles in the oven. If you want more overall baking confidence—and who doesn’t?—I always turn to advice like my favorite baking secrets, or even check out reliable sites like Taste of Home when I’m troubleshooting!
Finally, make sure you use good quality extracts. That touch of almond extract I added? It’s subtle but it makes the vanilla taste so much richer!
Storage and Shelf Life for Pastel Flower Baby Shower Cookies
Now that you’ve poured your heart into decorating these gorgeous little blooms, we need to make sure they stay perfect until the baby shower day! Royal icing is tricky because it needs to be rock solid before you even *think* about packaging them up. Remember I told you the flood icing needs about 6 hours to dry? Don’t skip that part! If the base isn’t completely dry, the piped details will smudge or stick to whatever is next to them.
Once you are positive the icing is hardened—give it the gentle touch test!—you can start thinking about storage. The best way to keep these fresh is to store them in an airtight container at room temperature. I like to use sturdy plastic containers or metal tins, but you have to place some parchment paper or wax paper between the layers of cookies.
If you stack them directly on top of each other, even if the icing feels hard, you risk ruining those delicate petals. I usually put a sheet of parchment paper between every single layer of cookies. This prevents sticking and keeps the designs pristine. They should stay beautifully fresh and lovely for about a week this way!
Seriously, avoid the fridge if you can. The humidity in the refrigerator can actually make the royal icing go soft and weep a bit, and we certainly don’t want that after all that hard work!
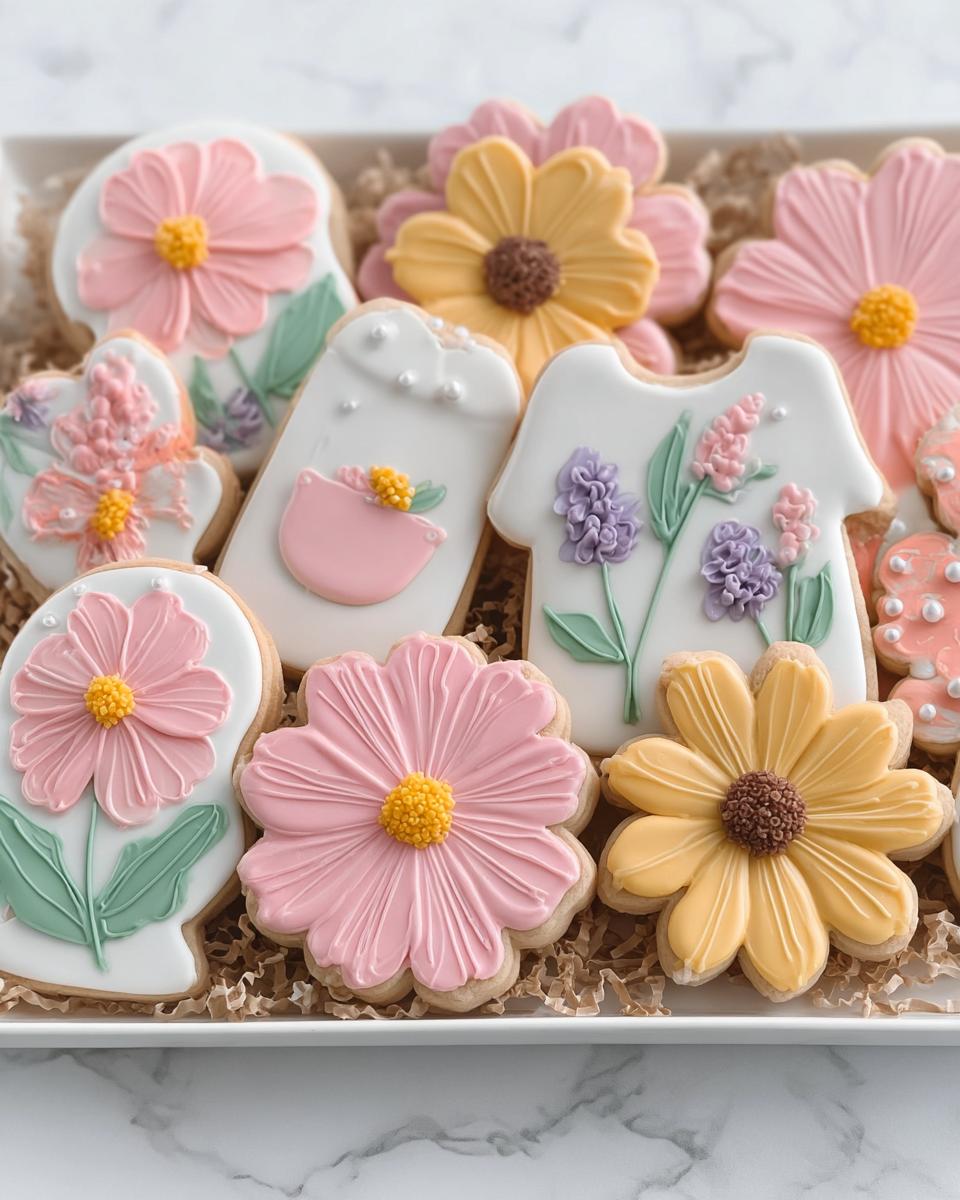
Variations on Pastel Decorated Cookies
Sometimes you need a cookie that fits a theme that isn’t exactly baby-shower soft, or maybe you just want to challenge yourself a little! These cookies are so versatile because the base dough is solid, and the flowers are just painted on top, artistically speaking.
If you want to move away from simple daisies or tiny rosebuds, try switching up the cutter entirely. Instead of flowers, use simple circular or square cutters, and then paint a beautiful watercolor-style design on top of the flooded base.
For example, for a spring birthday instead of a baby shower, you could lean into brighter, almost neons, for your pastel palette. Think vibrant coral instead of blush pink, or a deep mint green instead of sage. These slight color shifts can totally change the mood!
If you want to try adapting these for a different kind of celebration, consider making them into floral baby shower sugar cookies but using blues and yellows for a ‘Little Man’ theme, or maybe sticking to mint and lemon if the mom-to-be loves citrus!
Another fun idea is to use the same royal icing technique but switch to a simple leaf or sprig cutter, then use the leftover colored icing to pipe tiny little dots or patterns onto those shapes. It keeps the elegance but cuts your decoration time in half!
Frequently Asked Questions About Pastel Flower Baby Shower Cookies
I know when you’re planning a big event like a shower, you have a million tiny details floating around in your head! Don’t worry; these cookies are far more forgiving than they look. Here are a few things people always ask me before they start decorating their own batches!
Can I make the dough for these Pastel Flower Baby Shower Cookies ahead of time?
Oh, absolutely! I encourage it, actually. Making the dough ahead of time cuts down on that huge party-prep day stress. Once you’ve made the dough and divided it into those two chilled discs (remember we talked about wrapping them tight in plastic wrap), you can pop them straight into your freezer. They last great in the freezer for up to three months! When you want to bake, just pull them out the night before you plan to roll and cut, and let them thaw slowly in the fridge. You’ll still need that initial chill after rolling, though, so plan accordingly!
What is the best way to store royal icing?
Storing royal icing is all about keeping air and moisture OUT, but you have to be careful not to let it dry out completely! For the icing you plan to use the next day, seal it tightly in airtight containers or zipper-lock bags, squeezing out as much air as possible. If you notice a hard crust forming on top when you open the container later, just scrape that hard layer off before you start mixing or coloring the soft icing underneath. For coloring, I always store my colored icing in small, tight containers, too! If you need a refresher on dealing with different icing consistencies, you might find my guide on handling delicate icings helpful, especially if you are trying to achieve that perfect flood consistency.
How do I ensure my floral baby shower sugar cookies don’t puff up?
Puffing happens when the leavening agents—the baking powder in our case—activate too quickly before the dough sets in the heat. We combat this in two major ways in this recipe, which is why these turn out so flat and perfect for detailed work. First, make sure your butter isn’t too warm when creaming; we want it soft, not greasy! Second, and this is the most crucial part, is chilling those cutouts *again* before they go into the oven. That 10-minute chill on the baking sheet right before baking slows down the spread just enough so the cookie structure locks itself in place. If you see any puffing, you might need to check your oven temperature against a standalone oven thermometer. You can look up troubleshooting tips from reliable sources like Food Network if you notice major puffing issues!
Nutritional Estimate for Pastel Decorated Cookies
Now, look, nobody actually eats these gorgeous Pastel Flower Baby Shower Cookies worrying about the macros, right? These are celebration treats! But I know some of you like to plan everything out, so I did a quick estimate based on standard measurements for ingredients like butter, flour, and all that sugar in the icing.
Please know that this is just a rough guide per cookie—and remember, we are making about 24 cookies. If you make them smaller or use less icing, the numbers change! This is just to give you a general idea of what you’re serving when you plan out that lovely baby shower spread.
Here are the standard estimates:
- Calories: Around 180 to 210 per cookie
- Total Fat: Approximately 8 to 10 grams
- Protein: Roughly 2 to 3 grams
- Total Carbohydrates: About 25 to 30 grams
Take this information with a grain of salt—or maybe a pinch of edible pearl dust! Since these cookies are loaded with butter and powdered sugar (which is necessary for that perfect royal icing texture), they are definitely a treat meant for special occasions. Don’t let the numbers stress you out; just enjoy the beauty and elegance of these pastel decorated cookies when the time comes!
Share Your Beautiful Creations
Whew! We made it! I truly hope you love baking these as much as I love sharing them with you. Decorating these soft, lovely cookies is such a joy, and I can’t wait to see what beautiful pastel arrangements you come up with for your celebrations!
When you finish your batch of gorgeous, delicate cookies, please don’t keep all that beauty to yourself! We all love to see how different kitchens tackle the same design. If you have a minute, could you hop back here and leave a quick star rating for the recipe? It really helps other bakers know this recipe is a winner!
And if you share pictures of the finished cookies on Instagram or Facebook, please tag me! I always want to see your interpretation of these soft blooms. You can always reach out directly through my contact page if you have any questions while you’re decorating or if you just want to tell me how much the baby shower loved them!
Happy baking, and enjoy every single beautifully decorated bite!
Pastel Flower Baby Shower Cookies
Equipment
- Medium bowl
- Large bowl
- Electric mixer
- 2- to 3-inch flower cutters
- Baking sheets
- Cooling racks
Ingredients
For the Cookies
- 2 3/4 cups all-purpose flour
- 1 tsp baking powder
- 1/2 tsp fine salt
- 1 cup unsalted butter, softened
- 1 cup granulated sugar
- 1 large egg, room temperature
- 1 1/2 tsp pure vanilla extract
- 1/4 tsp almond extract optional
For the Royal Icing
- 4 cups powdered sugar, sifted
- 3 tbsp meringue powder
- 5 to 6 warm water Use 5 tbsp for piping consistency, up to 6 tbsp for flood consistency.
- As needed gel food colors blush pink, butter yellow, sage green, lavender
For Decoration
- As needed edible pearl sprinkles optional
Instructions
- In a medium bowl, whisk together the flour, baking powder, and salt.
- In a large bowl, beat the butter and sugar with an electric mixer on medium speed for 2 to 3 minutes until the mixture is pale and fluffy.
- Beat in the egg, vanilla extract, and almond extract, if using.
- Add the dry ingredients to the wet ingredients on low speed just until combined. Do not overmix.
- Divide the dough into 2 discs, wrap each disc in plastic wrap, and chill for 1 hour.
- Preheat your oven to 350°F (175°C).
- Roll the dough between two sheets of parchment paper to a 1/4-inch thickness.
- Cut shapes using 2- to 3-inch flower cutters. Chill the cut cookies for 10 minutes before baking to help them keep their shape.
- Bake for 8 to 10 minutes until the edges are set but not browned. Cool the cookies for 5 minutes on the baking tray, then transfer them completely to a wire rack to cool.
- To make the icing, beat the powdered sugar, meringue powder, and 5 tablespoons of water until glossy. Adjust the consistency with the remaining water until you reach a 10-second flood consistency for your base colors. Reserve a small portion of the icing and make it thicker for piping details.
- Color the flood icing in soft pastel shades. Flood the cookies with the base colors and allow them to dry for 6 hours or overnight.
- Pipe petals, tiny blossoms, and leaves onto the dried base icing using the thicker icing.
- Add edible pearl sprinkles as accents only after the piped details have set.