Ever been mid-cookie decorating when your frosting suddenly turns into cement? I’ve been there too—frantically trying to soften rock-hard buttercream while my sugar cookies sat there looking sad. That’s why I created this No-Fridge Buttercream Frosting recipe. It stays perfectly soft and spreadable at room temperature, so you can decorate without panic.
This frosting became my secret weapon during a chaotic cookie-decorating party last Christmas. While everyone else was wrestling with stiff royal icing, mine stayed creamy and smooth for hours. The best part? No refrigeration needed—just whip it up and keep decorating. It’s saved me countless times when piping intricate designs on cupcakes or smoothing layers on celebration cakes.
The magic comes from just the right balance of butter, sugar, and vanilla. Unlike traditional frostings that harden quickly, this version maintains its dreamy texture thanks to a special mixing technique I perfected after many kitchen experiments. Now I never worry about my frosting seizing up mid-project—and neither will you!
Why You’ll Love This No-Fridge Buttercream Frosting
This frosting is my go-to for all my decorating needs because it solves so many common baking frustrations. Seriously, once you try it, you’ll never go back to finicky frostings that need constant refrigeration or go stiff on you halfway through piping those perfect swirls.
- Stays soft as a dream: No more cement-like frosting that cracks when you bite into cookies. This stuff stays beautifully spreadable at room temperature for hours, just like I discovered during that epic decorating marathon last Christmas.
- Spreads like butter (because… well, it is butter!): Glides onto cookies and cakes effortlessly, whether you’re using a knife, offset spatula, or piping bag. Even my 8-year-old niece can decorate with this without making a gloppy mess.
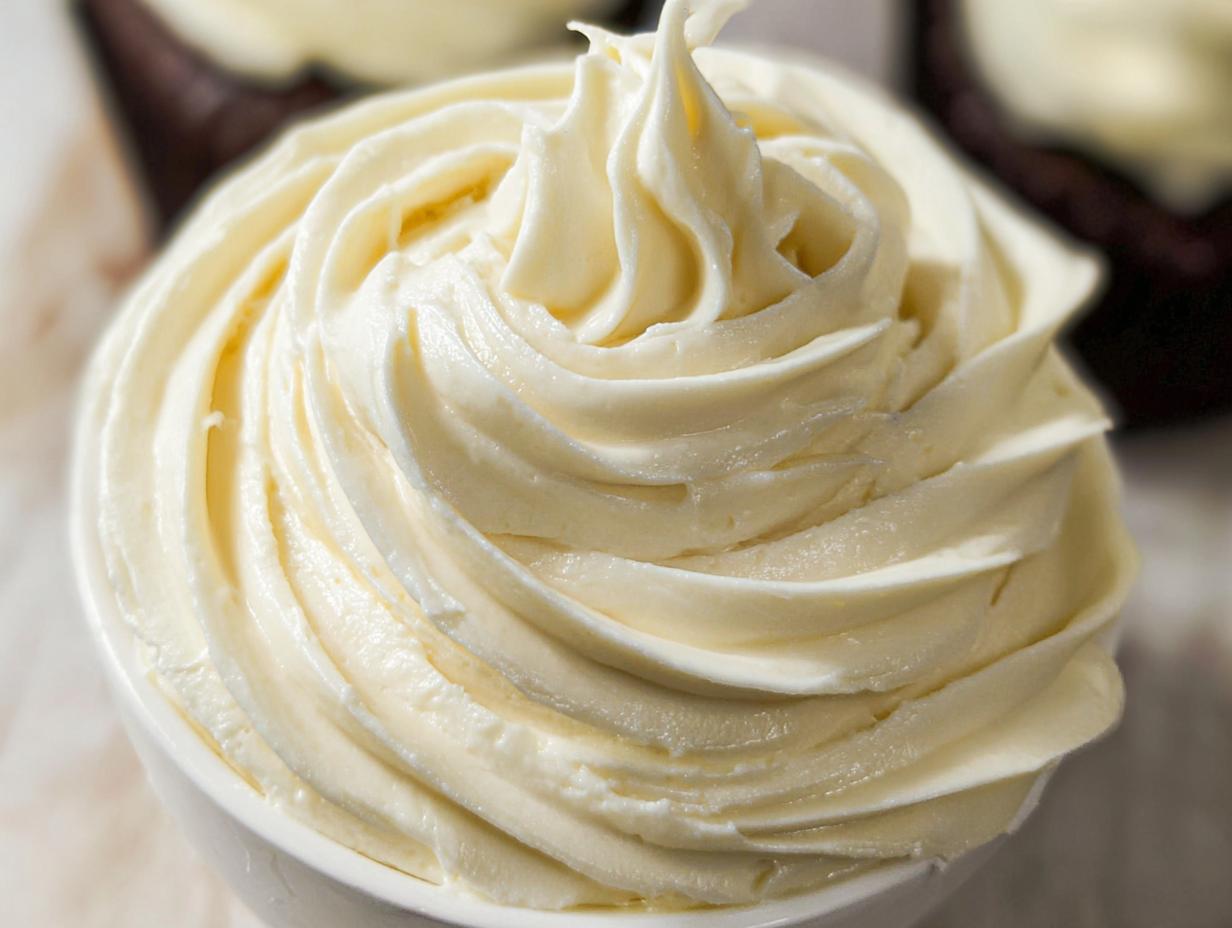
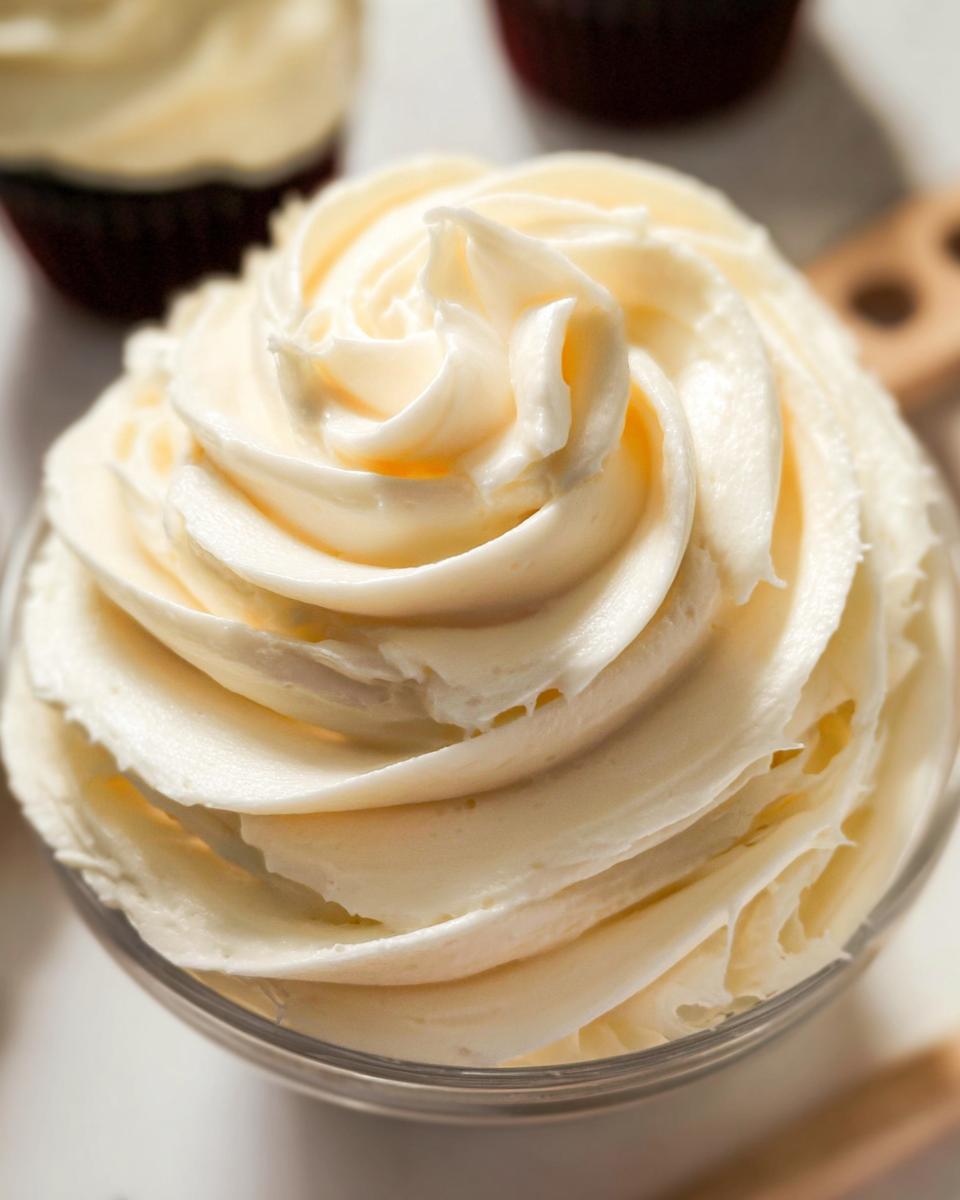
- Decorator’s secret weapon: Holds its shape for piping but stays soft to bite into. Those pretty swirls and rosettes won’t deflate or get crunchy – perfect for when you want showstopping cookies without the royal icing chew.
- Pantry staples only: Butter, powdered sugar, vanilla – that’s basically it! No speciality ingredients or last-minute grocery runs required. My kind of simple.
- No fridge dance: Forget constantly moving cookies in and out of the fridge. This frosting stays perfect on the counter – meaning you can actually enjoy your beautifully decorated cookies at room temperature like nature intended!
Trust me, after one batch of this No-Fridge Buttercream Frosting, you’ll wonder how you ever decorated without it. It’s the little things – like frosting that actually behaves – that make baking joyful rather than frustrating!
Ingredients for No-Fridge Buttercream Frosting
I can’t tell you how many times I’ve started making frosting only to realize I’m missing something crucial. That’s why I love this recipe—it’s just four simple ingredients you probably already have in your kitchen. Here’s what you’ll need to make this magical, non-fussy frosting:
- 1 cup salted sweet cream butter: Slightly softened (this part is key—you should be able to make an indent with your finger, but it shouldn’t feel greasy or melty)
- 2-3 tsp vanilla extract: The good stuff, please! This gives that classic buttercream flavor we all love
- 1 lb (about 4 cups) powdered sugar: Pack it lightly into your measuring cups—too dense and your frosting gets stiff
- 1-2 tbsp milk: Whole milk works best, but any kind will do in a pinch
Optional but fun: A few drops of food coloring if you want to get creative with your cookie decorating! I’m partial to pastel pinks and blues myself.
Ingredient Notes & Substitutions
Over years of testing this recipe (and several frosting fails), I’ve learned a few things about why these specific ingredients work so well together:
Salted butter is my secret weapon—it gives just the right balance that keeps the frosting from tasting too sweet. If you only have unsalted, add a tiny pinch of salt (about 1/8 tsp) to mimic the effect.
When it comes to powdered sugar, brand matters more than you’d think. Some store brands have more cornstarch, which can make your frosting taste chalky. Splurge on the name brand for special occasions—your taste buds will thank you.
Short on milk? No problem. Water works in a pinch, though milk gives richer flavor. For a dairy-free version, almond milk or even coconut milk (the canned kind) make great substitutes.
Vanilla choices: That 2-3 tsp range lets you adjust to your taste. Got fancy vanilla paste? Use 2 tsp. Using extract? Go for 3. I once made it with maple syrup when I ran out of vanilla—not traditional, but wow was it good on pumpkin cookies!
The most important thing? Use real butter. Margarine or spreads just don’t whip up the same way. Trust me—I learned this the hard way during my great butter shortage of 2020!
Equipment Needed
You won’t need any fancy gadgets for this No-Fridge Buttercream Frosting – just a few basic tools you probably already have in your kitchen. Here’s what I always grab when I’m whipping up a batch:
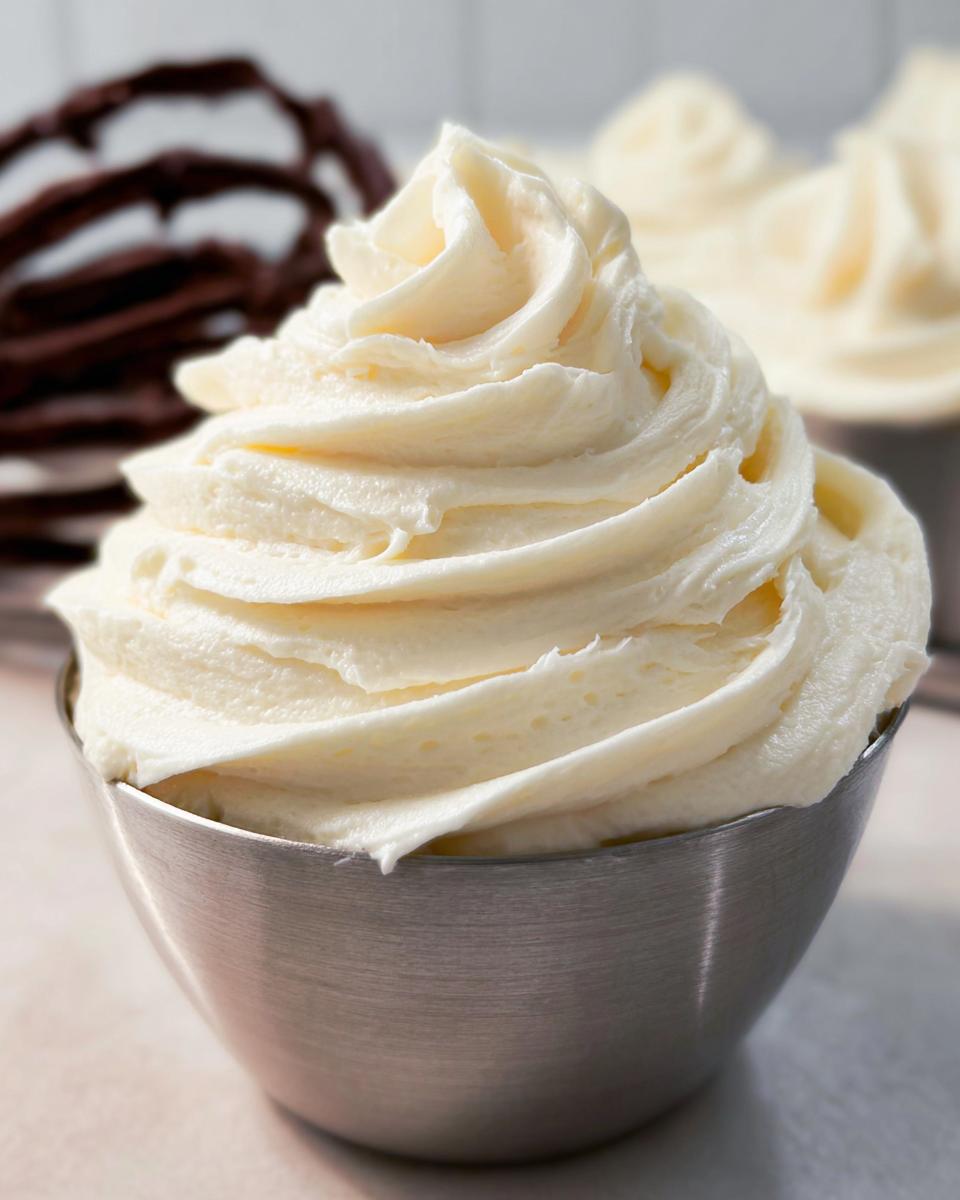
- A good mixing bowl: My trusty stainless steel one works perfectly – it’s wide enough to prevent powdered sugar clouds but deep enough to contain the splatters (and trust me, there will be splatters!)
- Electric mixer: A hand mixer works great if that’s what you’ve got, though my stand mixer gets the most use in my kitchen. Either way, you’ll want something with at least medium speed – this isn’t a job for elbow grease alone!
- Spatula: My rubber spatula is practically glued to my hand when I’m baking. You’ll need it to scrape down the sides of the bowl and make sure everything gets evenly mixed.
Now, if you’re feeling fancy and want to take your cookie decorating to the next level (like I did for those pistachio cupcakes last spring), here’s some optional equipment:
- Piping bags: Disposable or reusable – doesn’t matter as long as they don’t burst mid-squeeze (been there!)
- Decorating tips: A simple round tip (like Wilton #12) or star tip (#32) can make your cookies look bakery-worthy
- Offset spatula: Not essential, but oh-so-helpful for smooth frosting on flat cookies
The beauty of this recipe? You can go all-out with professional tools or keep it simple with just a bowl and spoon – either way, you’ll end up with dreamy, spreadable frosting that stays perfect at room temperature!
How to Make No-Fridge Buttercream Frosting
Okay, let me walk you through my foolproof method for making this magical frosting. I’ve made this so many times I could probably do it in my sleep, but I’ll share all my little tricks so yours turns out perfect on the first try!
- Start with the right butter texture: This is where most people go wrong! Your butter should be slightly softened – think “cool room temperature.” When you press it with your finger, it should leave an indent but still feel slightly firm. If it’s melty or greasy, pop it back in the fridge for 10 minutes. Too cold? Microwave it for 5-second bursts until just right.
- Cream the butter and vanilla: Toss them in your mixing bowl and beat on medium speed for a full 2 minutes. I know it seems long, but this is what creates that dreamy texture. You’ll know it’s ready when it looks pale and creamy – like fluffy clouds!
- Scrape down the bowl: Don’t skip this! I use my trusty rubber spatula to get every bit of butter off the sides. Any unincorporated bits will make your frosting grainy.
- Add powdered sugar slowly: Start mixing on low speed unless you want a powdered sugar explosion (been there!). I usually add about 1 cup at a time, letting each incorporate before adding more. It’ll look dry at first – that’s normal!
- Scrape again: Another quick scrape ensures everything mixes evenly. See a pattern here? Scraping = smooth frosting.
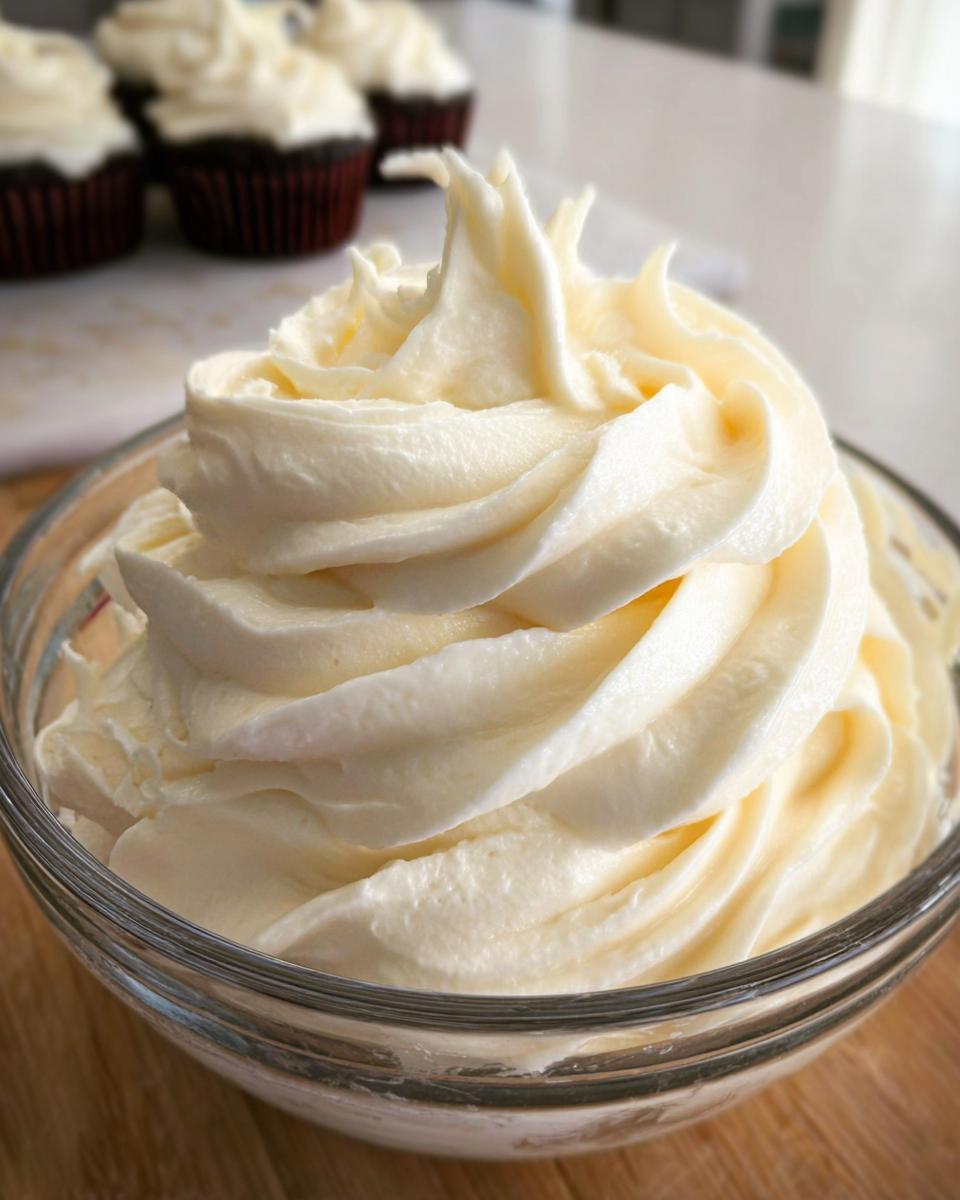
- Whip it good: Now crank that mixer up to medium-high and let it go for 30-45 seconds. This is when the magic happens! Watch as it transforms from crumbly to light and fluffy. If it’s not coming together, add 1 tsp milk and mix again.
- Adjust consistency: Need it thicker? Add a bit more powdered sugar. Too stiff? Milk to the rescue – add just 1/2 tsp at a time until perfect. The ideal texture should hold its shape but still be easy to spread.
That’s it! In less than 10 minutes, you’ve got frosting that stays perfect at room temperature. Want to see another great buttercream method? Check out this King Arthur Baking recipe for inspiration!
Tips for Perfect No-Fridge Buttercream Frosting
After making countless batches (and yes, a few disasters), here are my golden rules for frosting success:
Temperature is everything: Room temp ingredients mix better, period. If your kitchen is cold, let everything sit out an extra 15 minutes. Too warm? Chill the bowl for 5 minutes before starting.
Don’t overmix: Once your frosting looks fluffy, STOP! Overbeating makes it greasy. I set a timer because I’ve definitely gotten distracted and ruined a batch before.
The spoon test: Not sure if it’s the right consistency? Dip a spoon in and turn it upside down. The frosting should slowly slide off – not run like soup or cling like cement. If it’s not quite right, adjust with tiny amounts of milk or sugar.
Bonus troubleshooting tip: If your frosting gets too soft while decorating (maybe your hands warmed it up), just pop the bowl in the fridge for 5 minutes. It’ll firm right up without needing to refrigerate your cookies!
Using Your No-Fridge Buttercream Frosting
Oh, the possibilities with this frosting! I swear, it’s like the little black dress of baking—incredibly versatile and perfect for so many occasions. Since discovering this recipe, I’ve used it for everything from last-minute cookie decorating emergencies to fancy birthday cakes.
My absolute favorite way to use it? Slathering it on warm sugar cookies fresh from the oven. There’s something magical about how the frosting gently melts into the cookies’ nooks and crannies—just like Grandma used to do! Pair them with some homemade fruit roll-ups for a nostalgic treat that’ll have everyone begging for seconds.
But sugar cookies are just the beginning! Here are all the delicious ways I’ve used this frosting:
- Cookie decorating masterpiece: Pipe intricate designs or keep it simple with a swipe of the knife. Unlike royal icing that cracks, this stays gloriously soft when you bite into it.
- Cupcake swirl wonder: Holds beautiful peaks but won’t tear apart delicate cupcake tops when you bite in. Perfect for birthdays and bake sales!
- Naked cake perfection: Spread a thin layer between cake layers—it stays put without refrigeration but stays moist for days.
- Whoopie pie filling: Sandwich between two soft cookies for an irresistible treat. Pro tip: Add a dash of cinnamon to the frosting!
- Edible glue: Use it to attach sprinkles, candy decorations, or even gingerbread house pieces—sticks like a dream!
Just last week, I used this same frosting recipe to decorate Valentine’s cookies AND frost a three-layer birthday cake. The birthday girl couldn’t believe the frosting stayed soft all afternoon—her exact words were “It’s like biting into a cloud!” That’s the beauty of this recipe—one batch, endless possibilities.
The best part? Since it doesn’t need refrigeration, you can decorate cookies hours before serving (hello, stress-free holiday baking!). I’ve even left frosted cupcakes out overnight with perfect results. Though let’s be honest—they never last that long in my house!
Storage & Shelf Life
One of my favorite things about this No-Fridge Buttercream Frosting? It stays perfect at room temperature—no refrigeration needed! After years of testing (and accidentally leaving frosted cookies out overnight more times than I’d like to admit), here’s everything I’ve learned about keeping it fresh:
Room temperature stability: This frosting stays dreamy soft for 2-3 days when stored properly. I’ve decorated cookies on Friday afternoon and served them Sunday evening with no change in texture—still as creamy as when I first piped them!
Airtight container tips: My secret weapon? A cake carrier with a tight seal! But any airtight container works wonders. Just make sure to:
- Let the frosting set for about 15 minutes before covering (prevents condensation)
- Place parchment paper between layers if stacking frosted cookies
- Press plastic wrap directly onto the surface if storing extra frosting in a bowl
Why refrigeration isn’t needed: The high sugar content acts as a natural preservative—just like Grandma’s jam recipes! Refrigeration actually makes most frostings harden, but this one stays perfectly spreadable right on your counter. I learned this the hard way when I refrigerated a batch “just in case” and ended up with rock-hard frosting that took forever to soften again.
Freezing option: Need to make it ahead? No problem! This frosting freezes beautifully for up to 3 months. Here’s my foolproof method:
- Scoop into an airtight container (leave about 1/2 inch headspace)
- Press plastic wrap directly onto the surface
- Seal tightly and freeze
- Thaw overnight in the fridge when ready to use
- Give it a quick whip with your mixer to restore the fluffy texture
Pro tip: I always label my containers with the date—because frozen frosting looks suspiciously like frozen mashed potatoes (don’t ask how I know this!).
The best part? Whether you’re storing frosted cookies or extra frosting, this recipe gives you flexibility without sacrificing quality. No more panicked refrigeration checks or last-minute frosting emergencies—just delicious, spreadable perfection whenever you need it!
No-Fridge Buttercream Frosting FAQs
I get so many questions about this frosting—it’s become my most requested recipe! Here are the answers to everything you might wonder, from butter choices to vegan swaps. These are pulled straight from years of kitchen tests and reader emails:
Can I use unsalted butter instead?
Absolutely! I prefer salted butter because it balances the sweetness perfectly, but unsalted works fine too. Just add a tiny pinch of salt (about 1/8 tsp) when creaming the butter. My baking buddy Sarah insists unsalted gives more control—she adds exactly 1/4 tsp fine sea salt for what she calls “grown-up buttercream.”
How do I fix frosting that’s too runny or too thick?
Don’t panic—this happens to me all the time! For runny frosting: Chill the bowl for 5 minutes, then beat in powdered sugar 1 tbsp at a time until perfect. Too thick? Add milk 1/2 tsp at a time. Pro tip: If you accidentally over-thin it, microwave 1/4 cup of the frosting for 10 seconds and beat it back in—the melted butter helps emulsify everything again!
Can I make this frosting ahead?
Oh honey, this is my secret weapon for stress-free baking! It keeps beautifully in an airtight container at room temp for 2 days—just press plastic wrap directly on the surface. Need longer? Freeze for up to 3 months! Thaw overnight in the fridge, then let it come to room temp and give it a quick whip before using. The texture stays dreamy—I’ve done this for three weddings without issues!
What’s the best way to color this frosting?
Gel food coloring works best—it gives vibrant color without thinning the frosting. Start with a toothpick dipped in gel, then mix thoroughly before adding more. Liquid dyes can make it runny (though in a pinch, reduce milk slightly to compensate). My favorite trick? A tiny drop of AmeriColor “Electric Pink” makes the prettiest Valentine’s hue without tasting artificial!
Are there vegan alternatives?
You bet! Substitute equal amounts of high-quality vegan butter sticks (not tub spreads—they’re too soft) and unsweetened almond milk. The texture might be slightly softer, so chill briefly if needed. My vegan sister swears by Miyoko’s butter—she makes me vegan batches that fool everyone at family gatherings! Just avoid coconut oil-based butters unless you want subtle coconut flavor.
Still have questions? Slide into my DMs—I love helping troubleshoot frosting emergencies! After all, we’ve all been there: mid-baking project, covered in powdered sugar, wondering why our frosting isn’t cooperating. The good news? This recipe solves most common frosting frustrations—so happy decorating!
Nutrition Information
Now, I’m no nutritionist—just a butter enthusiast with a sweet tooth—but I know some folks like to keep track of these things. Here’s the scoop on what’s in this dreamy No-Fridge Buttercream Frosting. Remember, these numbers are estimates based on standard ingredients (your mileage may vary depending on brands and exact measurements).
A standard serving (about 2 tablespoons of frosting) contains roughly:
- 180 calories: Mostly from that glorious butter and sugar combo. Worth every bite if you ask me!
- 22g sugar: Powdered sugar does pack a sweet punch—which is why a little goes a long way when decorating.
- 10g fat: Mostly from the butter (the good kind of fat, if you ask this baker!).
Small disclaimer: These values can change if you adjust the milk quantity or use different butter brands. I once ran calculations with European-style butter (higher fat content) and the numbers jumped up slightly. And let’s be real—when you’re making frosting for special occasion cookies, sometimes nutritional details take a backseat to pure deliciousness!
Pro tip from my dessert-loving heart: If you’re watching sugar intake, try spreading the frosting thinner—you’ll still get that signature buttery vanilla flavor with less sugar per bite. Or better yet, share those beautifully frosted cookies with friends and family (my favorite way to “lighten” the calorie load!).
Share Your No-Fridge Buttercream Frosting Creations
There’s nothing that makes me happier than seeing this frosting bring joy to someone else’s kitchen! Ever since I shared this recipe with my sister-in-law (who swore she “couldn’t bake”), I’ve been getting the sweetest photos of lopsided but adorable first attempts and professional-looking cookie masterpieces alike.
One of my favorite things is waking up to notifications of your creations—that moment when I spot someone’s twist on the recipe or brilliant decorating idea totally makes my day. Like when Rachel from Boise added lavender extract to hers and piped the prettiest purple swirls I’ve ever seen! Or when 12-year-old Marcus tagged me in his dinosaur cookie collection—complete with volcanic “frosting lava” he tinted orange.
So if this frosting brings a little happiness to your baking adventures like it has to mine, I’d be absolutely delighted if you wanted to share:
- Tag me @ClarasCookieChronicles so I can cheer you on!
- Snap a pic of your kitchen covered in powdered sugar—we’ve all been there!
- Tell me about your fun flavor experiments (peppermint? lemon zest? chai spices? I want to try them all!)
- Share your frosting fails too—some of my best recipe tweaks came from kitchen disasters!
This little recipe has become such a happy corner of my life, and nothing gives me more joy than seeing it become part of your baking traditions too. Whether it’s your great-aunt’s birthday cake or your toddler’s first decorating attempt, those sweet moments are what baking memories are made of. Can’t wait to see what you create!
No-Fridge Buttercream Frosting
Equipment
- Mixing Bowl
- Electric mixer
Ingredients
- 1 cup salted sweet cream butter, slightly softened
- 2-3 tsp vanilla extract
- 1 lb powdered sugar or 4 cups
- 1-2 tbsp milk as needed
Instructions
- Add the slightly softened butter and vanilla extract to a mixing bowl.
- Mix on medium speed for 2 minutes until fully combined.
- Scrape down the sides of the bowl.
- Add the powdered sugar to the bowl.
- Start mixing on low speed for 30 seconds until incorporated. Scrape down the bowl again.
- Increase speed to medium-high and mix for 30-45 seconds until light and fluffy.
- If the frosting is dry, add 1 teaspoon of milk and mix again. Adjust consistency with more milk as needed.