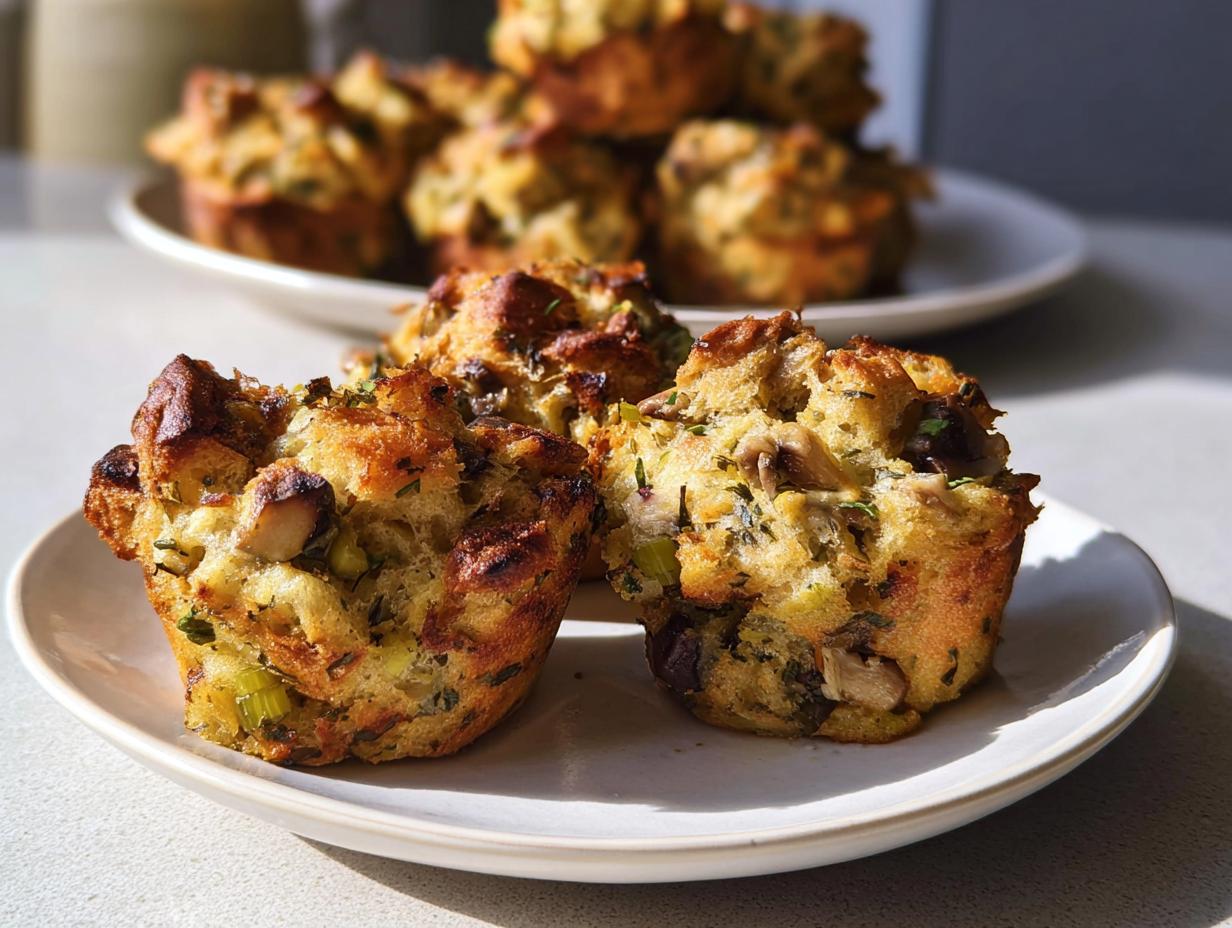
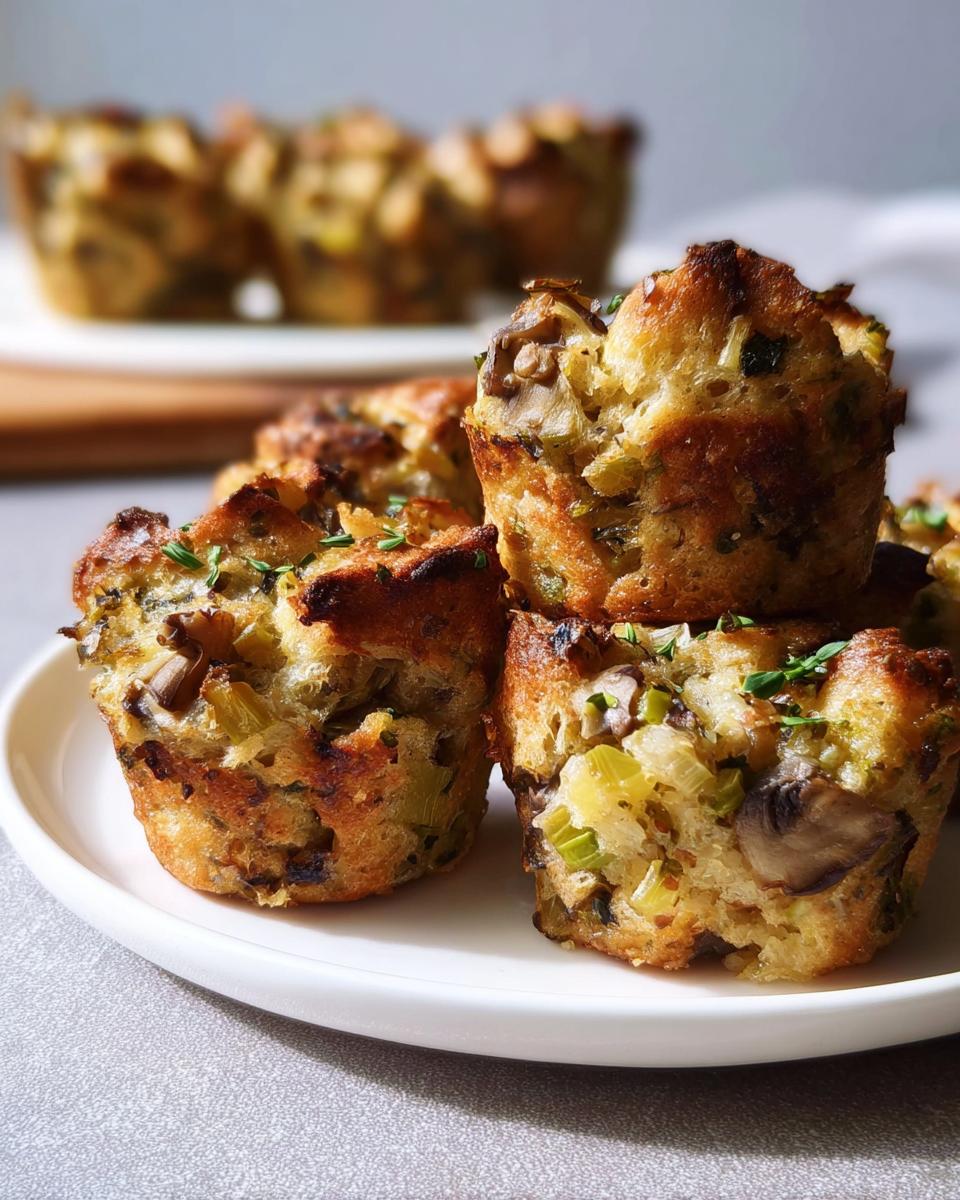
I’ll never forget the first time I made Mini Stuffing Cups—it was a total kitchen accident! I was hosting my first big Thanksgiving and realized last minute I didn’t have a casserole dish big enough for my usual stuffing. With guests arriving soon, I grabbed my muffin tin in desperation. The result? Little golden cups of herby, crispy perfection that had everyone reaching for seconds. Now, Mini Stuffing Cups are my go-to holiday dish—no more scooping messy servings from a big dish, and the individual portions make cleanup a dream. Plus, they’re just so darn cute on the plate!
Why You’ll Love These Mini Stuffing Cups
Oh, where do I even start? These little cups of stuffing magic have completely changed my holiday hosting game. Let me tell you why you’re going to adore them as much as I do:
- No more serving mess: Forget awkward scooping—each guest gets their own perfectly portioned cup. No fighting over crispy bits!
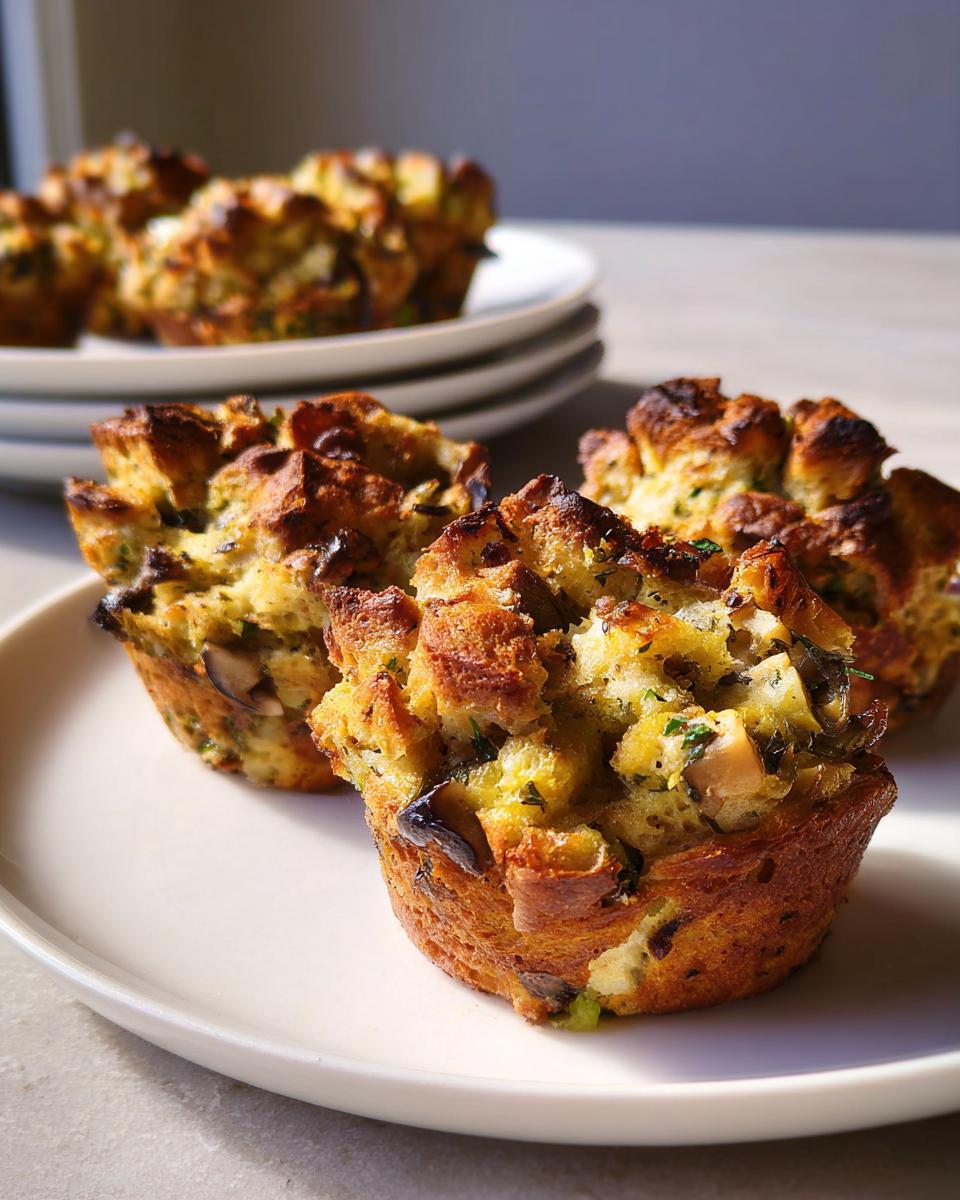
- Crispy-every-bite texture: That golden crust all around? Absolute perfection. Way better than soggy casserole edges.
- Hosting made easy: They stay warm longer in their little cups, and you can pass them around effortlessly.
- Leftover heaven: They reheat beautifully—just pop them back in the oven to crisp up again.
- Crowd-pleaser: Kids love the cute factor, adults love how elegant they look on the table.
Trust me, once you try these, you’ll never go back to regular stuffing. My family practically cheers when they see these coming out of the oven now!
Ingredients for Mini Stuffing Cups
Alright, let’s dive into what makes these Mini Stuffing Cups so darn delicious! I’ve broken everything down into three simple parts—trust me, it’s easier than it looks. And don’t skip fresh herbs here—they make all the difference!
For the Bread Base
- 1 loaf country-style French bread, crust cut into 1-inch cubes (about 8 cups)—this gives that perfect chewy-yet-crispy texture
For the Vegetable Mixture
- 10 tablespoons butter—real butter only! This is where the richness comes from
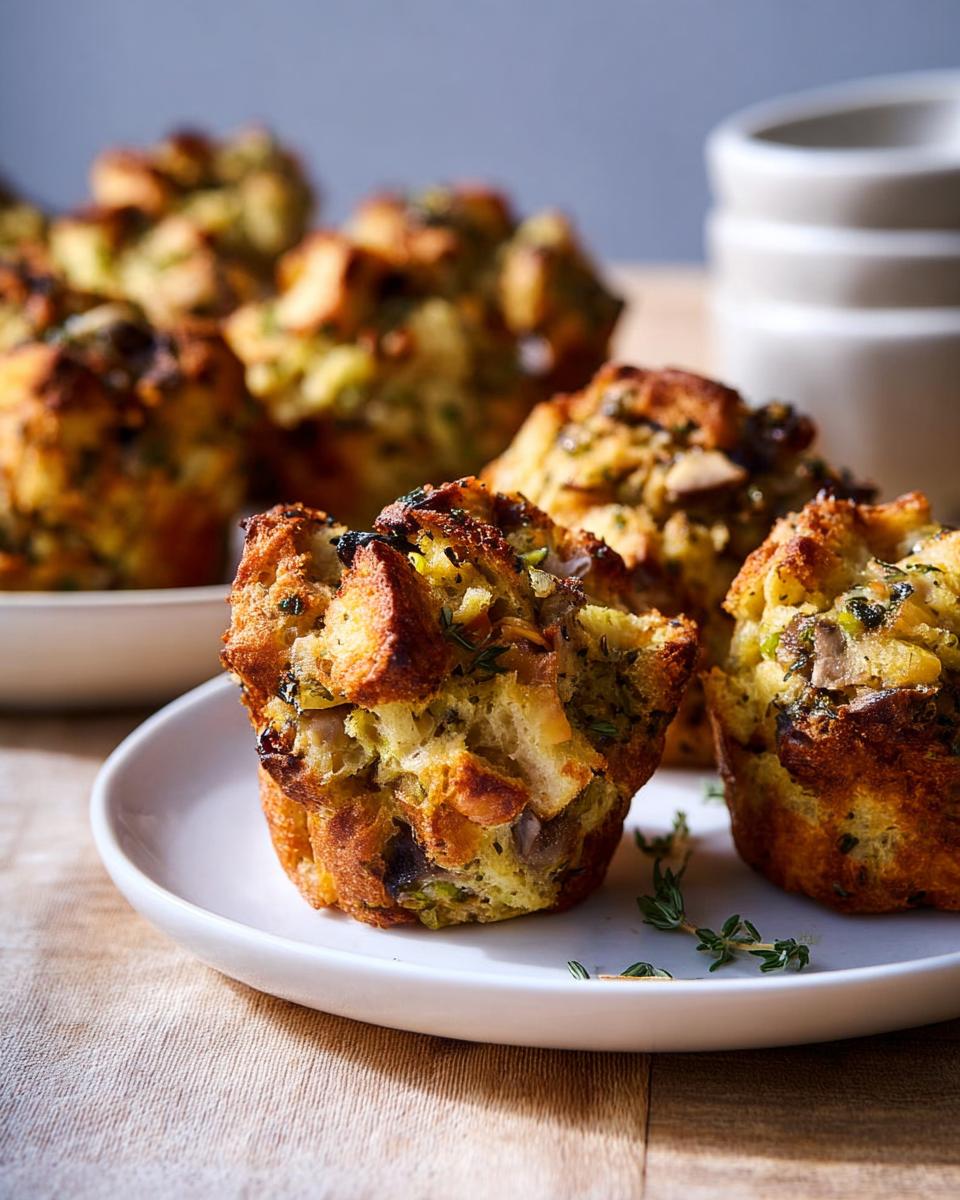
- 10 ounces crimini mushrooms, sliced—they add such great earthy flavor
- 2 bunches green onions, thinly sliced—both white and green parts
- 2 cups celery, finely chopped—this gives that classic Thanksgiving crunch
- ¾ cup chopped fresh Italian parsley—no dried stuff here!
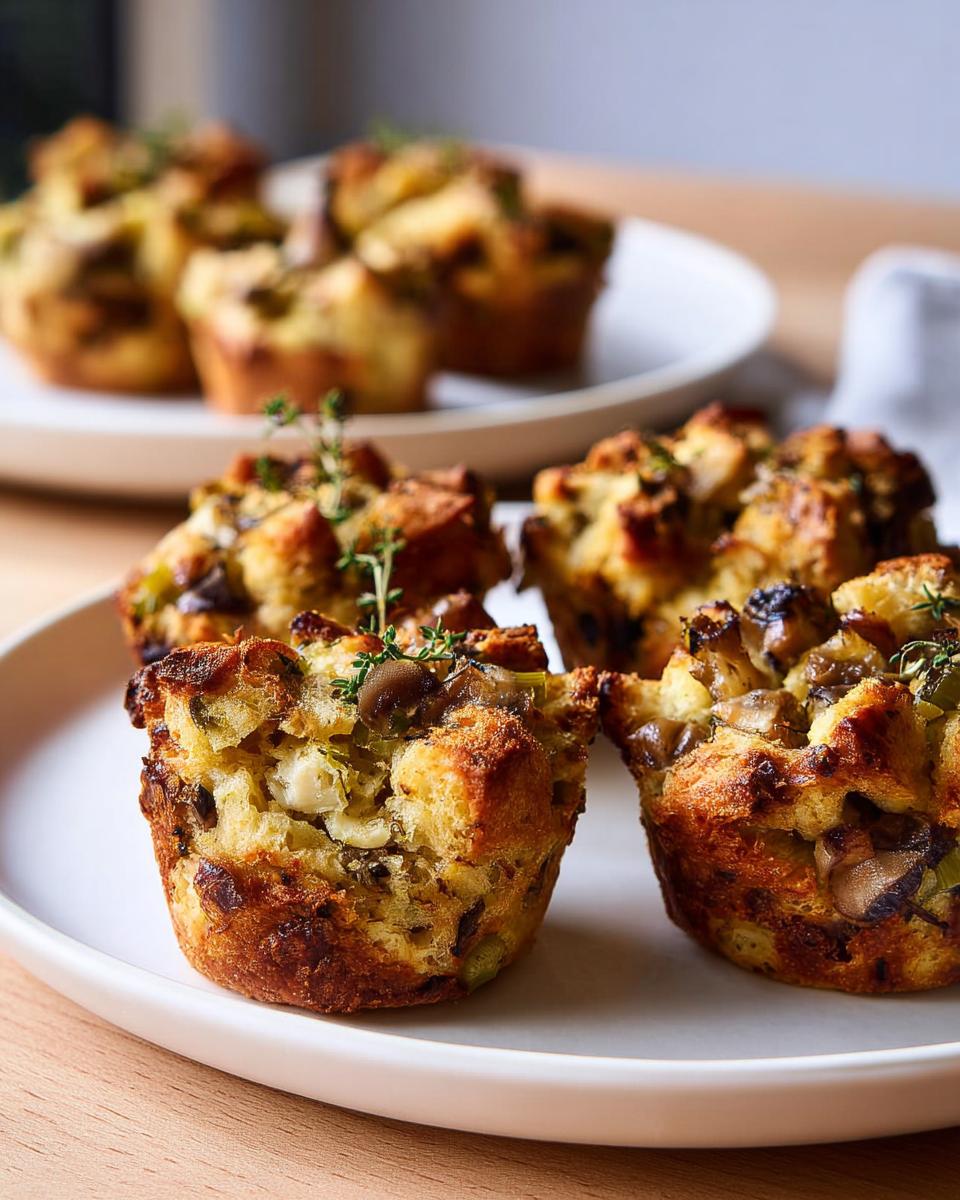
- 2 tablespoons each: fresh oregano, sage, and thyme—trust me, fresh herbs make these shine
- 3 large garlic cloves, minced—because more garlic is always better
- 2 teaspoons coarse kosher salt
- 1 teaspoon freshly ground black pepper
For the Egg Mixture
- 3 large eggs—these bind everything together
- 1¼ cups chicken broth—homemade if you’ve got it!
- 4 ounces coarsely grated Parmesan cheese—this is my secret for extra savoriness
See? Simple, wholesome ingredients that come together for something truly special. Now let’s get cooking!
Equipment Needed for Mini Stuffing Cups
Okay, let’s talk tools! You won’t need anything fancy here—just a few basic kitchen essentials to make these Mini Stuffing Cups shine. Here’s what I always grab:
- Large rimmed baking sheet – for toasting those bread cubes to golden perfection
- Large skillet – a good one for sautéing all those beautiful veggies and herbs
- 12-cup muffin tin – the star of the show! This is what turns your stuffing into cute individual cups
- Offset spatula – my secret weapon for gently lifting those crispy cups out without any trouble
That’s it! See? I told you this would be easy. Now let’s get to the fun part—making the magic happen!
How to Make Mini Stuffing Cups
Now for the fun part—let’s turn all those beautiful ingredients into the most adorable (and delicious) Mini Stuffing Cups you’ve ever seen! Follow these steps, and you’ll have golden, crispy little cups of Thanksgiving magic in no time.
Preparing the Bread Base
First things first: we need to dry out that bread! Spread your bread cubes in a single layer on a large rimmed baking sheet—no need to grease it. Pop them into a preheated 375°F oven for about 15 minutes. You want them just dry and slightly toasted, not browned. This step is crucial for that perfect texture, almost like homemade croutons. Let them cool completely before mixing—patience pays off here!
Sautéing the Vegetable Mixture
While your bread cools, let’s make the kitchen smell amazing. Melt all that glorious butter in a large skillet over medium heat. Add your mushrooms first—they need about 6 minutes to soften and release their juices. Then toss in the green onions, celery, all those fresh herbs (oh, that sage scent!), garlic, salt, and pepper. Keep sautéing until the celery turns tender—about 6-8 more minutes. You’ll know it’s ready when the celery loses its raw crunch but still has some bite. The aroma alone will have everyone asking when dinner is!
Combining and Baking
Here’s where the magic happens! Keep your oven at 375°F and generously butter a 12-cup muffin tin—no shortcuts here, or those cups won’t release nicely. Dump your dried bread cubes into the biggest bowl you’ve got (trust me, you’ll need the space). Pour the warm vegetable mixture right over the bread and toss everything together—the butter will coat every cube. In a separate bowl, whisk the eggs and broth together, then pour this over your bread mixture and gently combine. Finally, fold in the Parmesan—it adds that extra savory kick. Now, pack the mixture firmly into your muffin cups using a ½ cup measure (I like to slightly overfill for extra height). Bake for 30-35 minutes until they’re golden brown and crisp on top. Let them rest for 5 minutes, then carefully loosen with an offset spatula—perfect little moist-yet-crispy cups every time!
Tips for Perfect Mini Stuffing Cups
After making these Mini Stuffing Cups more times than I can count (my family demands them year-round now!), I’ve picked up some foolproof tricks to guarantee crispy, golden perfection every time:
- Butter like you mean it: Don’t be shy with greasing that muffin tin—get into every nook with a pastry brush or your fingers. I’ve learned the hard way that skimping leads to heartbreak when half your crispy cups stick!
- Fresh herbs are non-negotiable: That triple-threat of sage, thyme, and oregano? Dried just won’t give you that vibrant holiday flavor. Trust me, it’s worth the extra chopping.
- The golden rule: Wait for that deep golden-brown color on top—if they look done, give them 2 more minutes. That extra crispiness makes all the difference!
- Pack it tight: Really press the mixture into the cups—this keeps them from crumbling when you serve them. My trick? Use a small glass to compact everything evenly.
- Rest before serving: Let them sit for 5 minutes after baking—they’ll firm up beautifully and won’t burn anyone’s fingers!
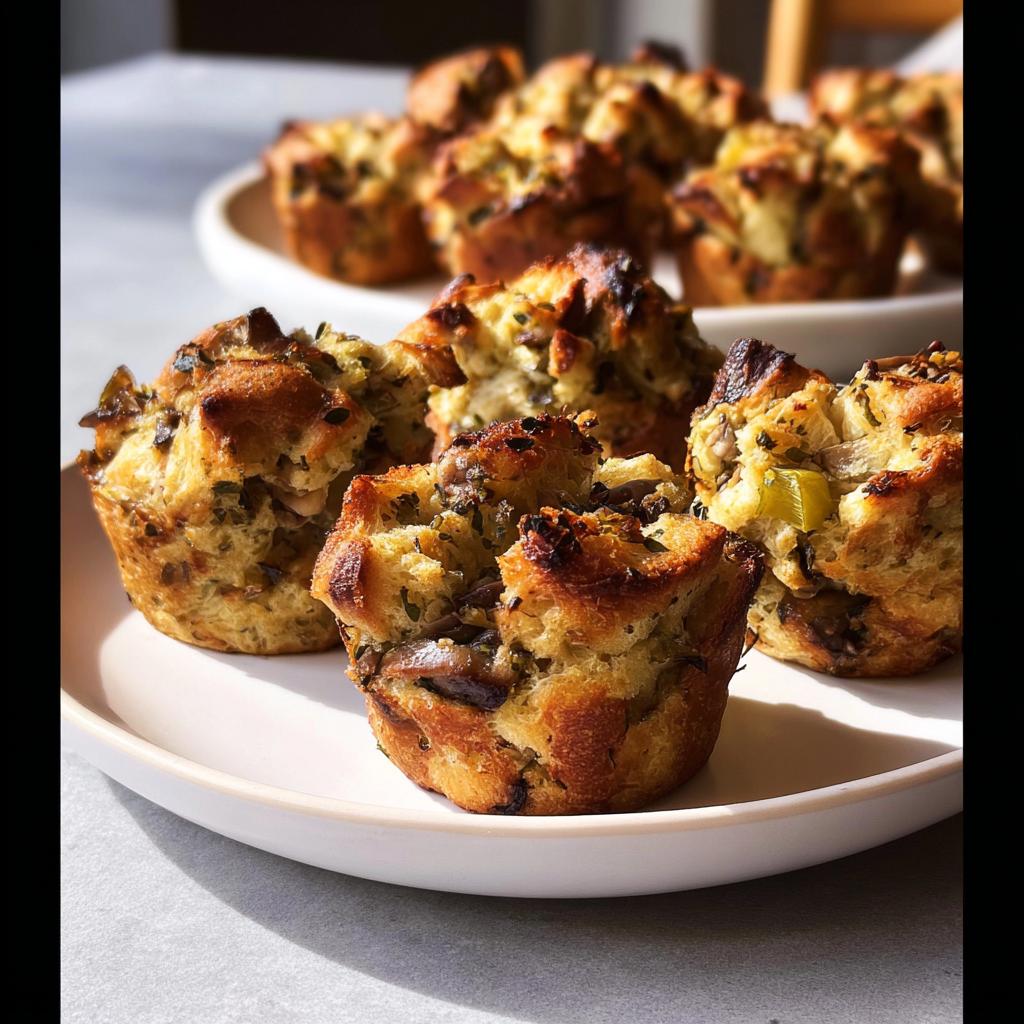
Follow these simple tips, and you’ll have the most Instagram-worthy (and delicious!) Mini Stuffing Cups at your holiday table.
Make-Ahead and Storage Tips
Oh, you’re going to love this part—these Mini Stuffing Cups are practically made for busy hosts! Here’s how I handle them when prepping ahead (because who has oven space on Thanksgiving day?). You can assemble them completely up to 2 days before baking—just cover the filled muffin tin tightly with plastic wrap and refrigerate. When ready, pop them straight into a preheated oven (add 5 extra minutes since they’re cold). Already baked? Let them cool completely, then store in an airtight container for up to 3 days in the fridge or freeze for a month (they reheat beautifully at 350°F until crispy again). Genius, right?
Serving Suggestions for Mini Stuffing Cups
Oh, these little cuties go with just about everything on your holiday table! I love arranging them on a platter as appetizers—they disappear fast when paired with cranberry sauce for dipping. For the main event, they’re perfect alongside a juicy roast turkey or turkey leftovers the next day. My personal favorite combo? A trio of stuffing cups with silky mashed potatoes and garlicky green beans—each bite is pure Thanksgiving bliss! Want to go fancy? Add a drizzle of balsamic reduction for a stunning presentation that’ll wow your guests.
Nutritional Information
Just a quick note—nutritional values can vary based on ingredient brands and specific measurements used. Since we’re all about enjoying these delicious Mini Stuffing Cups without stress, I haven’t included precise calculations. Focus on the joy of sharing good food with loved ones!
Frequently Asked Questions
You’ve got questions? I’ve got answers! Here are the most common things people ask me about making these adorable Mini Stuffing Cups—plus all my hard-earned solutions from years of happy holiday baking.
Can I use dried herbs instead of fresh?
Oh honey, I get why you’d ask—chopping all those fresh herbs can feel like a chore! But trust me, fresh herbs make these stuffing cups sing with flavor. If you’re in a pinch, you can substitute dried herbs, but use only 1/3 the amount (since dried is more concentrated). So 2 teaspoons dried instead of 2 tablespoons fresh. But really, those fresh herbs? Worth every minute of prep—they give that bright, holiday magic we all crave!
How do I prevent the cups from sticking?
This one’s a game-changer: butter that pan like it owes you money! Seriously, get into every nook with soft butter (I use my fingers to ensure full coverage). For extra insurance, you can dust with breadcrumbs after buttering—just tap out excess. And here’s my secret weapon: let them rest 5 minutes after baking before gently loosening with an offset spatula. Sticking issues solved! (P.S. If you love this tip, check out my tricks for preventing dryness in baked goods.)
Can I freeze these stuffing cups?
Absolutely! These are freezer champs—just cool completely, then freeze in a single layer before transferring to bags. When ready, reheat at 350°F until crispy (about 15 minutes straight from frozen). They make the best emergency appetizers or quick Thanksgiving sides. My freezer always has a stash for surprise guests—they’ll never know they weren’t baked fresh!
Mini Stuffing Cups
Equipment
- Large rimmed baking sheet
- Large Skillet
- 12-cup muffin tin
- Offset spatula
Ingredients
For the Bread Base
- 1 loaf country-style French bread, crust cut into 1-inch cubes (roughly 8 cups)
For the Vegetable Mixture
- 10 tablespoons butter
- 10 ounces crimini mushrooms
- 2 bunches green onions, thinly sliced
- 2 cups celery, finely chopped
- 3/4 cup chopped fresh Italian parsley
- 2 tablespoons chopped fresh oregano
- 2 tablespoons chopped fresh sage
- 2 tablespoons chopped fresh thyme
- 3 large garlic cloves, minced
- 2 teaspoons coarse kosher salt
- 1 teaspoon freshly ground black pepper
For the Egg Mixture
- 3 large eggs
- 1 1/4 cups chicken broth
- 4 ounces coarsely grated Parmesan cheese
Instructions
- Preheat oven to 375°F. Spread bread on large rimmed baking sheet. Bake until bread is dry, about 15 minutes. Cool.
- Melt the butter in large skillet over medium heat. Add mushrooms and sauté for 6 minutes, until softened. Add green onions, celery, herbs, garlic, salt and pepper and sauté until celery is tender, 6 to 8 minutes.
- Keep oven temperature at 375°F. Generously butter a 12-cup muffin tin and set aside. Place bread cubes in very large bowl. Add warm vegetable mixture; toss to combine.
- Whisk eggs and broth in medium bowl. Add egg mixture to stuffing and toss to coat. Mix in Parmesan.
- Use a ½ cup measuring cup to transfer the stuffing mixture into the prepared muffin tin. Bake, uncovered, for 30-35 minutes, until the muffins are golden brown and crisp. Let cool slightly before using an offset spatula to remove the muffins from the muffin tin.