I’ll never forget the Thanksgiving when my full-sized pumpkin pie became a casualty of the dessert rush – one messy slice after another until it looked more like abstract art than a pie! That’s when I had my mini pie epiphany. These adorable Mini Pumpkin Pies solve every holiday host’s dilemma – no slicing, no fighting over portions, just perfect little packages of spiced pumpkin goodness. Each bite delivers that classic autumnal flavor we all crave, with none of the serving stress. Now they’re my secret weapon for holiday gatherings, and trust me, your guests will go crazy for their own personal pumpkin pies!
Why You'll Love These Mini Pumpkin Pies
Okay, let me count the ways I'm obsessed with these little cuties – and why you will be too:
- No slice squabbles: Everyone gets their own perfectly portioned pie – no more arguing over who got more whipped cream!
- Stress-free serving: Just pop them out of the muffin tin and arrange on a platter – way easier than slicing a messy pie while everyone watches.
- Holiday magic: Their adorable size makes them irresistible on dessert tables – try them next to our Pumpkin Patch Dirt Cups for a fall theme!
- That classic taste: All the cozy cinnamon, ginger and nutmeg flavors you love in full-sized pumpkin pie, just in bite-sized form.
- Make-ahead dream: Bake them days before your gathering – the flavors actually get better as they sit in the fridge.
Honestly, after making these once, I swear you'll never go back to wrestling with pie servers again. They're the stress-free secret every holiday host needs!
Ingredients for Mini Pumpkin Pies
Let me tell you exactly what you’ll need to make these adorable pumpkin pies – I’ve learned through trial and error that getting the ingredients just right makes all the difference!
For the Crust
The crust is everything – it’s the perfect little vessel for that spiced pumpkin goodness. Here’s what you’ll need:
- 2 pie crusts (homemade or store-bought) – I won’t judge if you take the easy route!
For the Filling
This is where the magic happens. You’ll want to measure carefully because the balance of spices makes these mini pies sing:
- 1 cup canned pumpkin puree (225g) – not pumpkin pie mix, pure pumpkin!
- ½ cup packed light brown sugar (110g) – pack it in there nice and tight
- ⅓ cup milk (80ml) – whole milk makes it extra rich, but evaporated milk works too
- 1 large egg – don’t forget to bring it to room temperature first
- ½ tsp ground cinnamon – trust me, you’ll want to smell this
- ¼ tsp each of ground ginger and nutmeg – these spices complete the trio
- ¼ tsp salt – just enough to make all the flavors pop
See? Simple, classic ingredients come together to make something truly special. Just wait until you smell them baking – your kitchen will smell like a perfect autumn day!
Equipment You’ll Need for Mini Pumpkin Pies
Let me walk you through my trusty tools for making these mini pies – nothing fancy, just the essentials with a few clever shortcuts I’ve picked up along the way:
- 12-cup muffin pan: Non-stick is ideal, but any standard muffin tin will work – this is where our little pies take shape!
- 3½-inch round cookie cutter: Perfect for cutting those adorable little crust circles. No cutter? No problem – a drinking glass with about the same diameter works great in a pinch.
- Mixing bowls: One large one for the filling, maybe a smaller one for whisking the egg.
- Whisk: For blending that gorgeous pumpkin filling until it’s silky smooth.
That’s really all there is to it – simple tools for maximum cute pie potential!
How to Make Mini Pumpkin Pies
Alright friends, let’s get these adorable little pies in the oven! I’ve made this recipe dozens of times, and I’ll walk you through each step just like I was standing next to you in the kitchen:
- Preheat to perfection: Start by heating your oven to 350°F. This gives your oven time to stabilize while you prepare everything – trust me, it makes a difference in how evenly your mini pies bake!
- Roll with it: Take your pie crusts and roll them out on a lightly floured surface until they’re about ⅛-inch thick. I like to rotate my rolling pin in quarter turns to keep the circle shape. Those little cracks? Just pinch them together – we want nice smooth crusts!
- Cut and shape: Use that 3½-inch cookie cutter (or glass) to cut out circles. Reroll the scraps for extra circles – every bit counts! Gently press each circle into the muffin cups, working the dough up the sides. If you’re feeling fancy, try our cheesecake cup technique for extra crispiness.
- Chill out: Pop the whole pan in the fridge or freezer for about 10 minutes. This helps prevent shrinking during baking – my trick for perfect little pie shells!
- Mix the magic: While the crusts chill, whisk together all the filling ingredients in a large bowl. The Joy of Baking has great pumpkin pie wisdom, but honestly, just whisk until it’s smooth and fully blended.
- Fill with care: Pour the filling into your chilled crusts, stopping about ¼-inch from the top. This gives them room to puff without overflowing – learned that lesson the hard way!
- Bake to golden perfection: Bake for about 25 minutes until the edges of the crusts are golden and the centers just barely jiggle when you nudge the pan. They’ll set more as they cool.
- Cool completely: Let them rest in the pan for 15 minutes, then transfer to a wire rack. The smell will drive you crazy, but resist – they’ll hold their shape better if you let them cool completely.

See? Not complicated at all. Just follow these steps and you’ll have two dozen perfect mini pumpkin pies that’ll make you the hero of any holiday gathering!
Tips for Perfect Mini Pumpkin Pies
After making these countless times, here are my can’t-live-without tips for Mini Pumpkin Pie success:
- Chill those crusts: That extra 10 minutes in the fridge makes a world of difference – it prevents shrinkage and gives you those crisp, flaky edges everyone loves.
- Measure the filling: I use a small ladle or measuring cup to portion the filling evenly – about 2 tablespoons per pie keeps them from overflowing.
- Spice check: Fresh spices make all the difference! If your cinnamon jar is older than a year, it’s time for a new one – stale spices equal flat flavor.
- Toothpick test: Insert it near the center when baking time is up – it should come out mostly clean with maybe a few moist crumbs, not wet batter.
Follow these simple tips and I promise your mini pies will be the talk of the table – they’ll disappear faster than you can say “seconds please!”
Serving and Storing Mini Pumpkin Pies
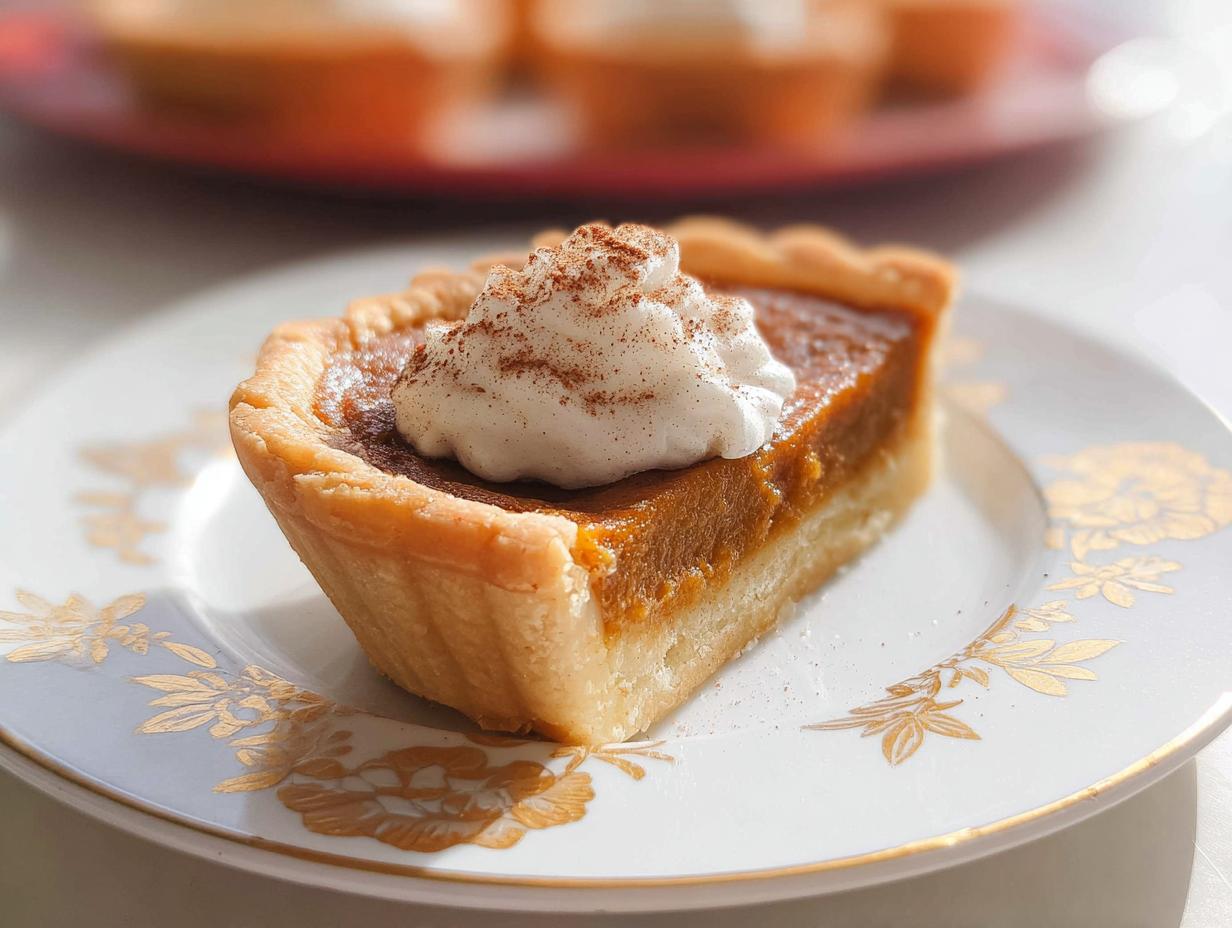
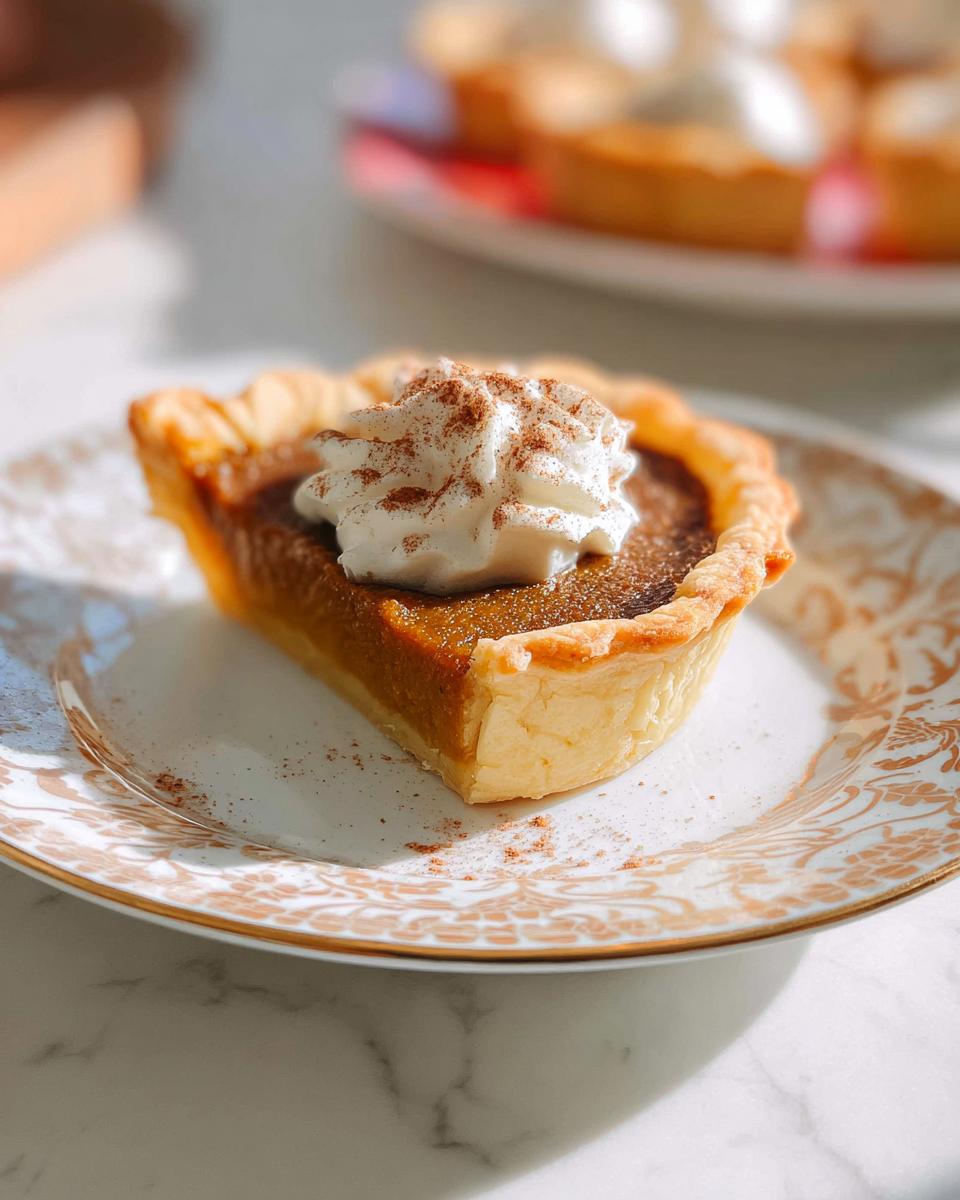
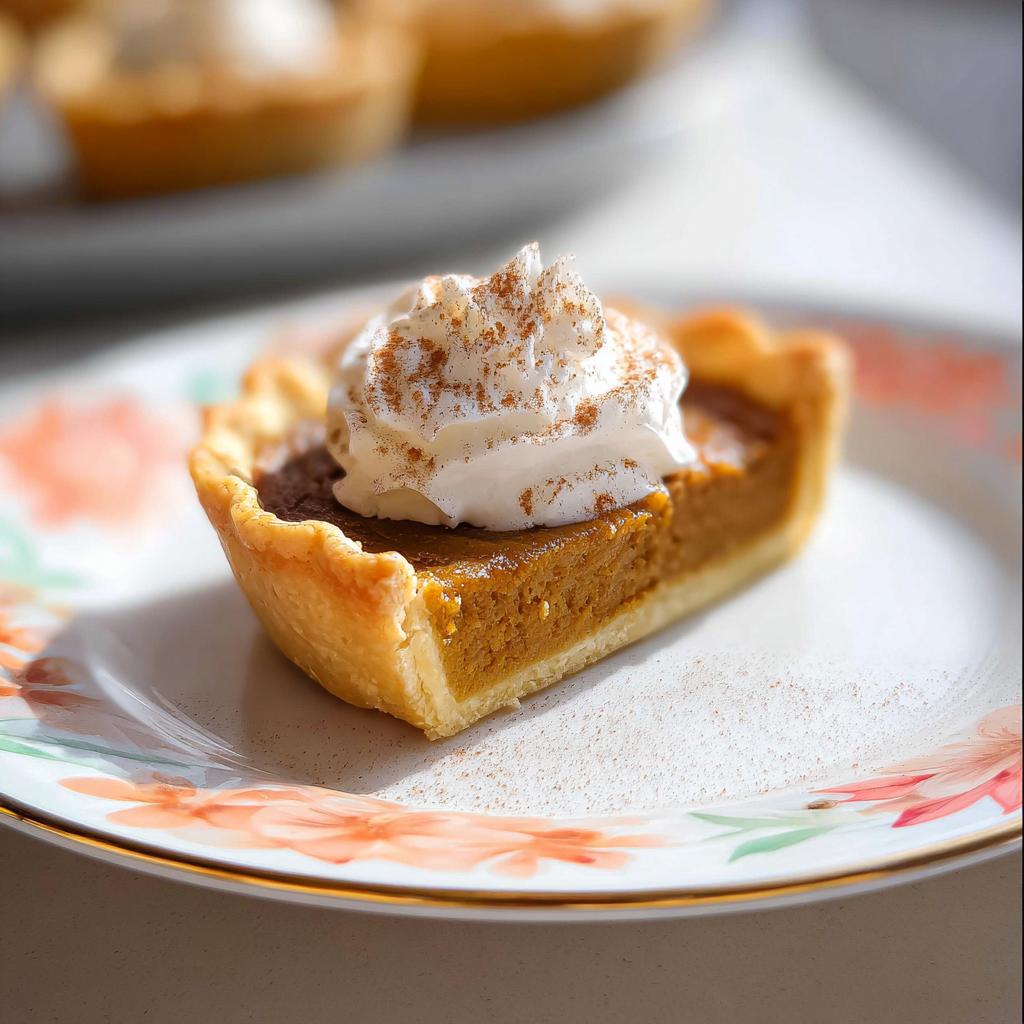
Oh, the fun part – serving these cuties! I love dusting them with cinnamon and adding a playful dollop of whipped cream right before serving. For gatherings, arrange them on a pretty cake stand so everyone can grab their own perfect little pie. Now, here’s my storage secret: they’ll keep beautifully in the fridge for up to 3 days – just cover them tightly. Want to get ahead? Freeze them for up to a month! Just thaw overnight in the fridge and warm slightly in a 300°F oven for about 10 minutes if you like them toasty. They’re just as delicious cold – I may or may not eat them straight from the fridge at midnight sometimes!

Mini Pumpkin Pies Variations
Now that you’ve mastered the classic, let’s play with some fun twists! My personal favorite? Roughly chop some pecans and sprinkle them over the filling before baking—that nutty crunch takes these to another level. Want to mix it up? Try swapping the pumpkin for sweet potato puree (your guests will swear it’s pumpkin!). And for the grand finale, drizzle the cooled pies with warm caramel sauce—because everything’s better with caramel. These little tweaks keep the recipe fresh and exciting year after year!
Nutritional Information for Mini Pumpkin Pies
Just a quick note about nutrition – these little pies pack all the cozy flavors but remember, nutritional values are estimates that can vary based on your specific ingredients. Store-bought crust versus homemade, different milk choices, that sort of thing. But hey, it’s the holidays – let’s focus on how happy these mini pumpkin pies make everyone around the table!
Frequently Asked Questions
I get asked about these little pies all the time – here are the answers to the most common questions that pop up (usually while people are reaching for seconds!):
Can I use homemade pie crust for Mini Pumpkin Pies?
Absolutely! My homemade crust-loving friends swear by their own recipes for these. Truth be told, I often use store-bought crust when I’m short on time (shh!), but homemade adds that extra special touch. Just make sure to roll it to about ⅛-inch thickness so it’s sturdy but still tender.
How long do Mini Pumpkin Pies last?
They’ll stay delicious in the fridge for up to 3 days if you keep them covered tightly. The flavors actually deepen after a day or two – if they last that long! For longer storage, check out my freezing tips below. By the way, if you love pumpkin desserts, you might enjoy our Moist Pumpkin Bread Recipe too!
Can I freeze Mini Pumpkin Pies?
You bet! These freeze beautifully for up to a month. Let them cool completely, then wrap each one individually in plastic wrap before popping them in a freezer bag. Thaw overnight in the fridge – I like to warm mine slightly in a low oven before serving to refresh that just-baked taste.
Can I make these ahead for Thanksgiving?
Oh honey, these are my secret weapon for stress-free Thanksgiving desserts! Bake them up to 2 days before and keep refrigerated. The crust stays crisp, and the flavors just get better. On turkey day, arrange them on a pretty platter while everyone’s eating dinner – they’ll come to room temperature by dessert time!
What’s the best way to serve Mini Pumpkin Pies?
The options are endless! I love them with a dollop of fresh whipped cream and a sprinkle of cinnamon. For parties, set up a cute topping bar with chopped nuts, caramel drizzle, or even a scoop of vanilla ice cream. They’re perfect finger food for holiday gatherings – no plates needed!
Mini Pumpkin Pies
Equipment
- 12-cup muffin pan
- 3½-inch round cookie cutter
Ingredients
For the Crust
- 2 pie crusts (homemade or store-bought)
For the Filling
- 1 cup canned pumpkin puree 225g
- ½ cup packed light brown sugar 110g
- ⅓ cup milk (whole or evaporated milk) 80ml
- 1 large egg room temperature
- ½ tsp ground cinnamon
- ¼ tsp ground ginger
- ¼ tsp ground nutmeg
- ¼ tsp salt
Instructions
- Preheat the oven to 350°F.
- On a lightly floured surface, roll the pie crust to ⅛-inch thickness.
- Use a round 3½-inch cookie cutter to cut circles for the mini pies. Reroll the scraps if needed. Press each dough round into the wells of a 12-cup muffin pan. If the crusts look shallow, use your fingers to work the crust upwards toward the top rim. Refrigerate or freeze until firm.
- In a large bowl, whisk together the pumpkin, brown sugar, milk, egg, cinnamon, ginger, nutmeg, and salt.
- Fill each mini pie crust about three-quarters full, leaving about ¼-inch of the crust exposed at the top.
- Bake for 25 minutes or until the fillings are set and the crust edges are golden. Cool for 15 minutes in the pan, then transfer to a wire rack to finish cooling.
- Serve with sweetened whipped cream and a sprinkle of cinnamon.