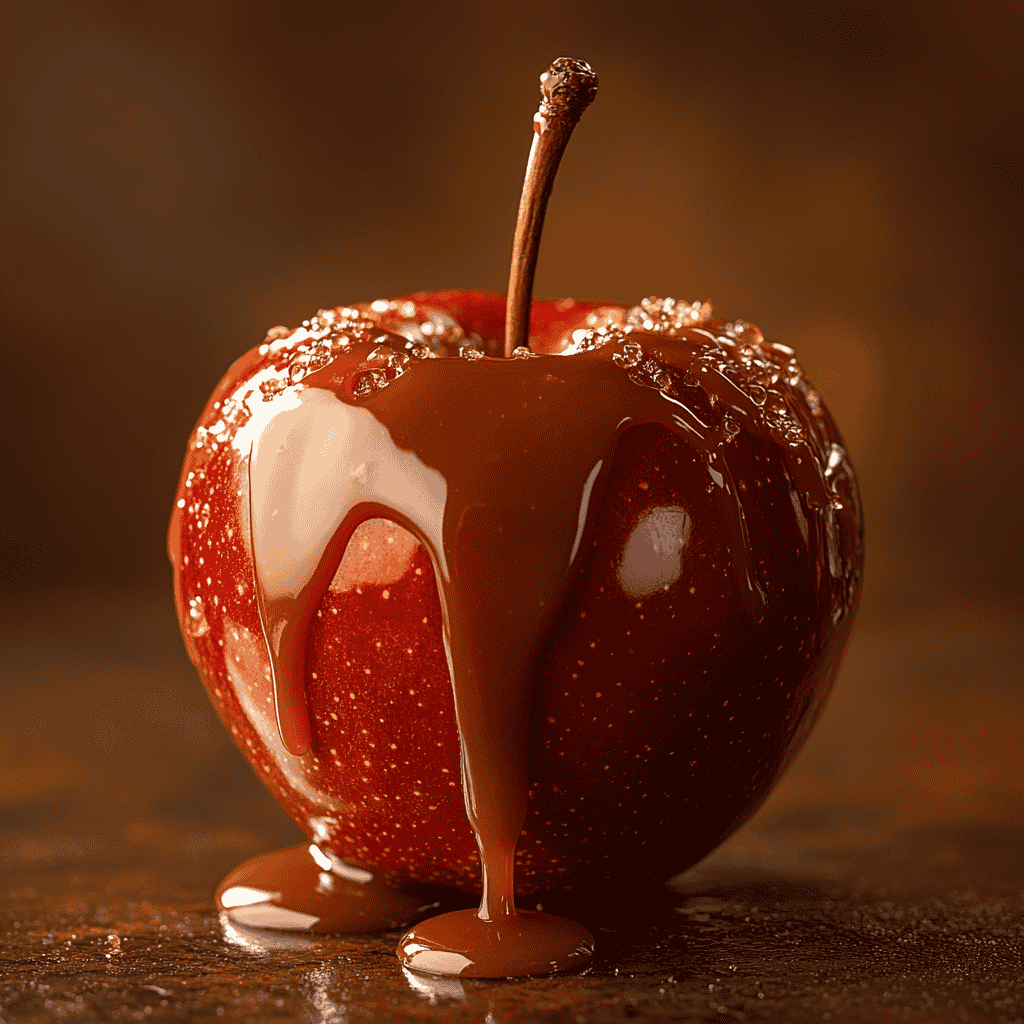
How Do You Keep Caramel From Sliding Off Apples? Caramel apples are a delightful treat enjoyed by many, especially during fall and festive seasons. They offer the perfect mix of tart and sweet, making them a hit at parties, fairs, and even as homemade desserts.
However, anyone who has made caramel apples at home knows that one common issue can ruin the experience: the caramel sliding off the apple. This problem can be frustrating, but it’s completely avoidable with the right techniques and preparation.
In this article, we’ll explore why this happens, the steps to prevent it, and some creative alternatives to make sure your caramel stays where it belongs—on the apple!
Table of Contents
Why Does Caramel Slide Off Apples?
To prevent caramel from sliding off apples, it’s important to understand why this happens in the first place. Let’s break down the science behind the issue and the factors that contribute to it.
The Science Behind Sliding Caramel
Caramel is a sticky, sugary mixture that hardens as it cools. However, its adhesion depends on the surface it’s applied to. Apples have a naturally waxy coating, and this wax makes it hard for caramel to stick properly. Additionally, if the surface of the apple is moist or not clean, the caramel is more likely to slide off.
Factors That Contribute to the Problem
- Waxy Coating on Apples
Most store-bought apples have a thin layer of wax applied to preserve their shine and freshness. This wax is a major culprit because it creates a slippery surface. - Moisture on the Apple Surface
Any leftover water from washing or natural condensation can weaken the bond between the caramel and the apple. Caramel needs a completely dry surface to adhere properly. - Temperature of the Caramel and Apples
If the apples are warm, the caramel takes longer to cool and harden. This gives it more time to slide off. On the other hand, caramel that’s too hot when applied may also run off before it sets. - Type of Apple Used
Softer apples, like Red Delicious, have smoother skins that are less textured. This can make it harder for the caramel to grip the surface.
Key Takeaway
Understanding these factors is the first step to solving the issue. In the next section, we’ll explore how to properly prepare apples to ensure caramel sticks and stays in place. With a few simple steps, you’ll be able to make picture-perfect caramel apples every time!
Preparing the Apples for Caramel
Preparation is the most important step when it comes to making caramel apples. Skipping or rushing this stage can lead to the caramel sliding off, ruining both the appearance and the enjoyment of your treat. Follow these steps to get your apples ready for the perfect coating.
Step 1: Wash and Dry the Apples Thoroughly
Most apples sold in stores have a layer of wax to give them a shiny appearance and extend their shelf life. While this wax is safe to eat, it’s a major obstacle when making caramel apples. Here’s how to remove it:
- Use Warm Water and Vinegar:
Fill a bowl with warm water and add a splash of vinegar or lemon juice. Submerge the apples and scrub gently using a clean cloth or sponge. - Dry Completely:
After washing, use a clean kitchen towel to dry the apples. Make sure there’s no moisture left on the skin, as even a small amount of water can cause caramel to slip.
Step 2: Remove the Wax Coating
If washing alone doesn’t remove all the wax, you can try these additional methods:
- Boiling Water Dip: Quickly dip each apple into boiling water for a few seconds and wipe them immediately with a towel. This process loosens the wax.
- Baking Soda Scrub: Sprinkle a small amount of baking soda on the apples and gently scrub with a brush before rinsing.
Step 3: Choose the Right Apples
Not all apples are ideal for caramel coating. The type of apple you choose can make a big difference in how well the caramel sticks. Here are some tips for selecting the best apples:
- Tart Apples: Varieties like Granny Smith are firm and tart, creating a nice flavor balance with the sweetness of caramel.
- Firm Apples: Ensure the apples are fresh and firm to the touch. Soft or overripe apples are more likely to cause the caramel to slide off.
Step 4: Chill the Apples Before Dipping
Cold apples help the caramel set faster. Place the cleaned and dried apples in the fridge for about 30 minutes before dipping them into caramel. This step ensures the caramel hardens quickly and adheres well to the apple.
Step 5: Insert Sticks Carefully
Using wooden sticks or skewers to hold the apples is a must for easy dipping and eating. However, improperly inserting the sticks can create air gaps that cause the caramel to slide. Here’s how to do it right:
- Push the stick into the apple firmly but not too deeply.
- Make sure the stick is centered and stable to provide a secure grip.
A Little Effort Goes a Long Way
Taking the time to prepare your apples correctly will save you from frustration later. In the next section, we’ll dive into the best techniques for applying caramel to ensure it stays in place and looks flawless.
Best Techniques to Keep Caramel Sticking
Once your apples are properly prepared, the next step is to apply the caramel in a way that ensures it sticks well and stays in place. Using the right techniques during this stage is key to creating caramel apples that look as good as they taste.
Use Cold Apples
Cold apples are one of the most effective ways to keep caramel from sliding off. When the caramel touches the chilled surface, it starts to set immediately, reducing the risk of dripping. Here’s how to do it:
- Place the cleaned apples in the fridge for at least 30 minutes before dipping.
- Work quickly to dip each apple before they return to room temperature.
Heat Caramel to the Right Consistency
Caramel consistency plays a significant role in how well it sticks. If the caramel is too hot, it may become too runny, while caramel that’s too cool can clump or form uneven layers.
- Check the Temperature: Use a candy thermometer to heat the caramel to the recommended temperature, usually between 235°F and 240°F (soft-ball stage).
- Stir Frequently: This prevents the caramel from burning or developing lumps.
Apply a Thin, Even Layer
A thick layer of caramel may seem tempting, but it’s more likely to slide off. Instead, aim for a thin, even coat. Follow these steps for the best results:
- Hold the apple by the stick and dip it into the caramel, tilting the pot to coat the apple completely.
- Rotate the apple while lifting it out to allow excess caramel to drip off.
- Use a spoon to smooth any uneven areas or fill gaps.
Let the Caramel Set Quickly
After dipping, allow the caramel to set in a cool, dry place. You can place the apples on a baking sheet lined with parchment paper or a silicone mat. Avoid using wax paper, as caramel can stick to it.
- Avoid Refrigeration Immediately: While it’s tempting to put the apples in the fridge right away, this can cause condensation, which might weaken the caramel’s grip. Let them sit at room temperature for 10–15 minutes first.
Add Toppings for Better Adhesion
Adding toppings like chopped nuts, crushed cookies, or sprinkles can improve the adhesion of the caramel. The toppings help anchor the caramel in place, preventing it from sliding.
- Dip the apple into the caramel as usual.
- Roll the freshly dipped apple in your chosen toppings while the caramel is still warm.
- Gently press the toppings onto the surface to ensure they stick.
Work in Small Batches
If you’re making multiple caramel apples, work in small batches. This helps maintain the right caramel consistency and ensures each apple is dipped while the caramel is still warm and easy to work with.
The Importance of Patience
Taking your time during this stage will yield the best results. Properly coated caramel apples not only look impressive but also offer a delightful eating experience. In the next section, we’ll discuss some common mistakes to avoid to ensure your caramel apples turn out perfectly every time.
Common Mistakes to Avoid
Even with the best intentions, certain mistakes can lead to caramel sliding off your apples or creating an uneven coating. By recognizing and avoiding these common pitfalls, you’ll be able to achieve flawless caramel apples every time.

Mistake 1: Skipping the Cleaning Process
Many people skip the step of removing the wax coating from apples, thinking it’s unnecessary. However, the waxy layer is one of the main reasons caramel slides off. If you don’t take the time to wash and scrub the apples properly, the caramel won’t stick.
- Solution: Always wash your apples thoroughly and remove the wax using warm water, vinegar, or baking soda.
Mistake 2: Using Moist or Wet Apples
Moisture is another major enemy of caramel adhesion. Even small droplets of water can create a barrier between the caramel and the apple, causing it to slide off.
- Solution: Dry your apples completely with a clean towel after washing. Let them air dry if necessary to ensure there’s no moisture left.
Mistake 3: Applying Caramel That’s Too Hot
If caramel is too hot when applied, it remains runny for too long, increasing the chances of it sliding off before it sets. Overheating caramel can also cause it to burn, leading to a bitter taste.
- Solution: Use a candy thermometer to monitor the temperature of your caramel. Aim for the soft-ball stage (235°F to 240°F) for the perfect consistency.
Mistake 4: Using Overripe or Soft Apples
Soft or overripe apples are not ideal for caramel apples. Their texture makes it harder for the caramel to stick, and the weight of the caramel may cause the apple to collapse.
- Solution: Choose firm and fresh apples, such as Granny Smith, Fuji, or Honeycrisp, for the best results.
Mistake 5: Skipping the Cooling Step
Dipping warm or room-temperature apples into caramel often results in a slippery coating that doesn’t set properly.
- Solution: Chill the apples in the refrigerator for at least 30 minutes before dipping them in caramel.
Mistake 6: Using the Wrong Tools
Improper tools can lead to uneven coatings or make the process messier than necessary. For example, using wax paper instead of parchment paper may cause the caramel to stick to the surface.
- Solution: Use parchment paper or silicone mats to avoid sticking. Additionally, wooden sticks or skewers provide the best grip for dipping.
Mistake 7: Not Allowing Caramel to Set Properly
Rushing to store or transport caramel apples before the caramel has fully set can lead to smudging, sliding, or dripping.
- Solution: Allow the caramel to set at room temperature for about 15 minutes before refrigerating or serving.
Mistake 8: Skipping Toppings
Toppings like nuts, sprinkles, or cookie crumbs do more than just add flavor—they also help secure the caramel to the apple.
- Solution: Roll the freshly dipped apples in your favorite toppings while the caramel is still warm and sticky.
Avoiding Frustration
Learning from these common mistakes will save you time and effort. By following these tips, you’ll avoid common pitfalls and make caramel apples that look and taste amazing. In the next section, we’ll explore some creative solutions and alternatives for those looking to try something new.
Creative Solutions and Alternatives

Caramel apples are a classic treat, but there are many creative ways to avoid common problems or add a fun twist. Here are a few ideas to try:
Use Caramel Dips
Instead of coating the apples, serve them with a caramel dip. This option is perfect for gatherings and eliminates concerns about caramel sliding off.
- How to Make: Heat butter, brown sugar, corn syrup, and condensed milk until thick. Serve with apple slices.
- Benefits: No extensive prep, customizable portions, and easy storage.
Wrap Caramel Around Apples
Soft caramel candies can be used to wrap apples instead of melting caramel.
- How to Wrap: Soften candies in the microwave, roll into sheets, and wrap around apples. Add toppings for extra flavor.
Use Chocolate Coatings
Chocolate is a great alternative that adheres well and hardens quickly.
- How to Coat: Melt chocolate, dip cold apples, and add toppings before the chocolate sets.
- Benefits: Faster setting, smoother finish, and works well in humid conditions.
Mini Caramel Apple Bites
Create bite-sized treats for easier handling.
- How to Make: Use a melon baller to scoop apple balls, insert toothpicks, dip in caramel, and roll in toppings.
- Benefits: Less waste and perfect for parties.
Combine Caramel and Chocolate
For a gourmet touch, layer caramel and chocolate. Dip in caramel first, let it set, then add a chocolate coating. Customize with drizzles, sea salt, or crushed pretzels.
Caramel-Free Alternatives
Try these options for a unique spin:
- Peanut Butter Coating: Mix with honey for a sticky, flavorful layer.
- Yogurt Coating: Dip apples in Greek yogurt and roll in granola.
- Cinnamon Sugar: Brush with melted butter and coat with cinnamon sugar.
Have Fun Experimenting
The beauty of caramel apples lies in the creativity. Whether you stick to the classic or try something new, the result is always a delicious fall treat.nd refine your technique.
FAQs
Why Does My Caramel Keep Sliding Off the Apples?
Caramel often slides off due to the waxy coating on store-bought apples or because the apples weren’t dried completely before dipping. Ensure that you thoroughly clean and dry the apples and chill them before dipping. Also, make sure the caramel is at the right consistency—warm enough to coat but not too runny. For a more in-depth look at working with caramel, check out The Ultimate Guide to Making Caramel Apple Pie.
What Type of Apples Are Best for Caramel Apples?
Firm and tart apples, like Granny Smith, Fuji, or Honeycrisp, work best. These varieties provide a crisp texture and a tangy flavor that balances the sweetness of the caramel. Avoid soft or overly sweet apples, as they might not hold up well during preparation. To learn more about choosing and preparing apples for recipes, visit Should You Cook Apples Before Putting Them in a Pie?.
Can I Make Caramel Apples in Advance?
Yes, caramel apples can be made up to 2–3 days in advance. Store them in the refrigerator and ensure they’re covered to prevent moisture buildup. For the best taste and texture, serve them fresh within a day or two. If you’re looking for other dessert topping options, explore Cookie Crumble: The Perfect Dessert Topping for ideas
Conclusion
Making caramel apples is easy and fun with the right preparation and techniques. Whether you stick to the classic method or try creative alternatives like dips, chocolate coatings, or mini bites, you’re sure to enjoy a delicious treat. Get creative, experiment, and enjoy this timeless favorite!

