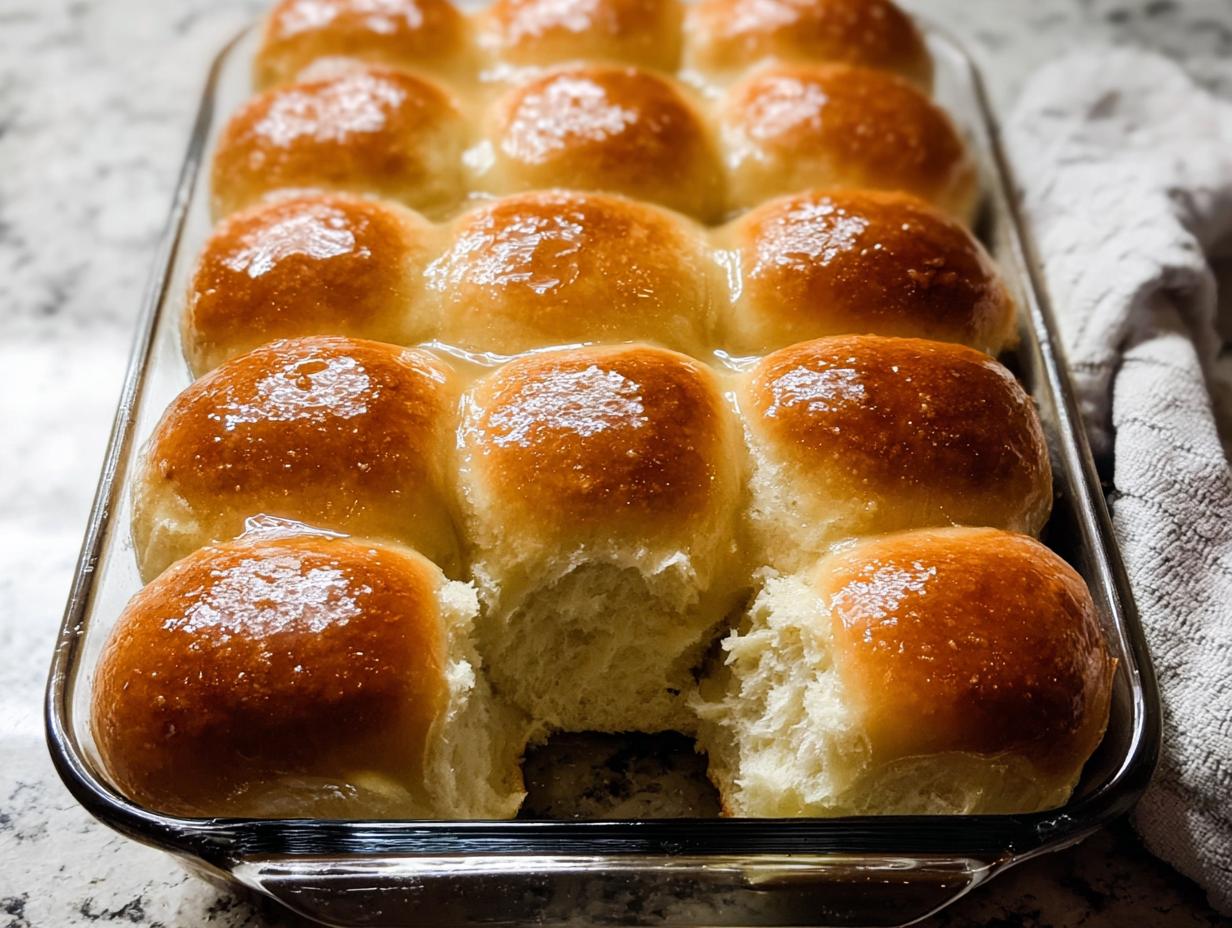
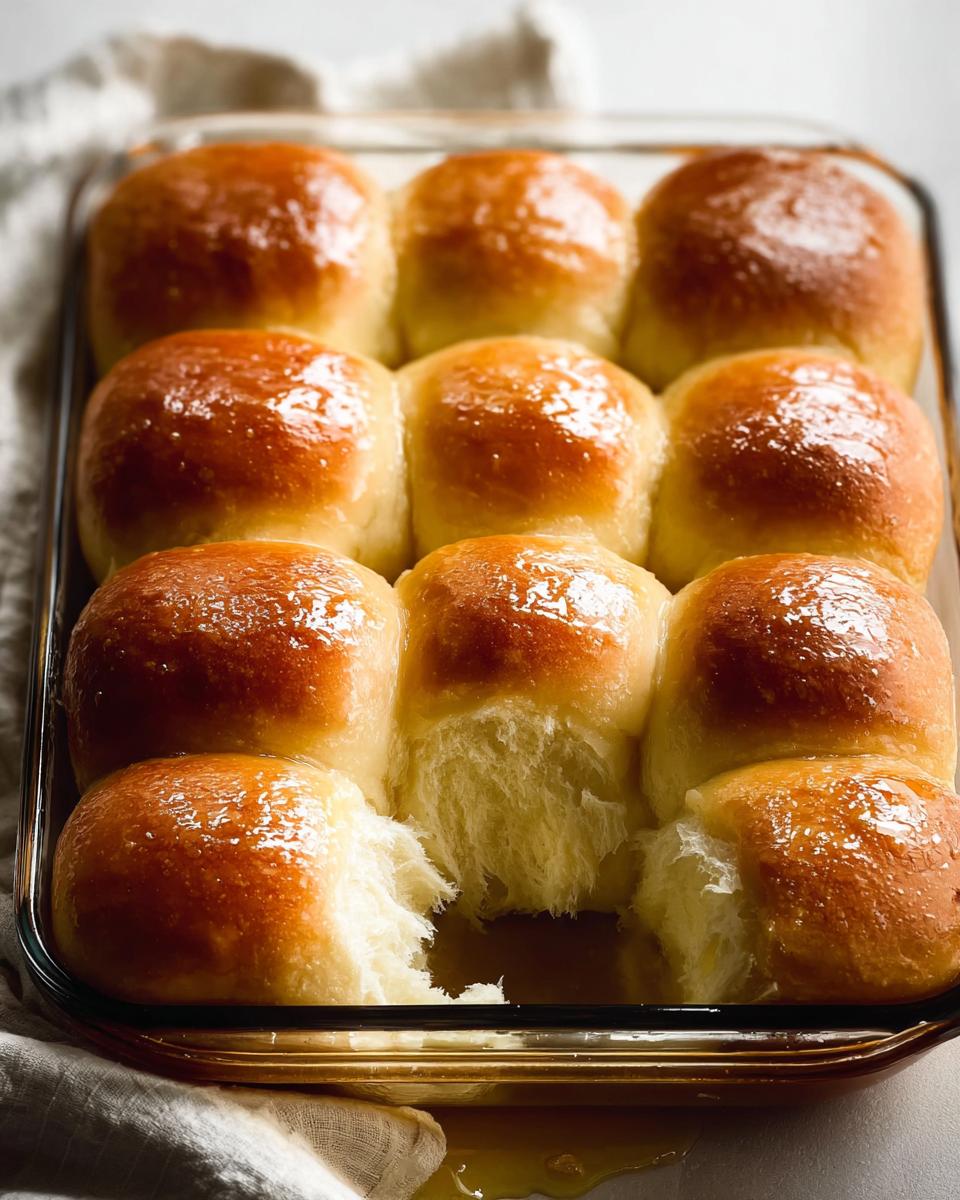
There’s nothing quite like the smell of homemade dinner rolls fresh from the oven – that warm, buttery aroma that fills the kitchen and pulls everyone to the table. Every time I bake these, I’m instantly transported back to my grandmother’s flour-dusted countertop, where she taught me the magic of turning simple ingredients into pillowy clouds of comfort. She’d hum while she worked, showing me how to test the milk’s temperature with my finger (“Just like a baby’s bathwater, sweetheart”) and letting me punch down the risen dough with my small fists. These homemade dinner rolls aren’t just bread – they’re love made edible, perfect for Sunday suppers, holiday feasts, or anytime you want to wrap your people in that unmistakable “home” feeling. And the best part? They’re easier than you think. With just a few pantry staples and some patience (that’s the secret ingredient), you’ll be pulling golden-brown beauties from your oven that beat any store-bought roll hands down. Your family won’t believe you made them yourself – until they taste that first fluffy bite.
Why You’ll Love These Homemade Dinner Rolls
Once you try these rolls, you’ll never go back to store-bought. Here’s why they’re my go-to recipe for every gathering (and many just-because weeknights):
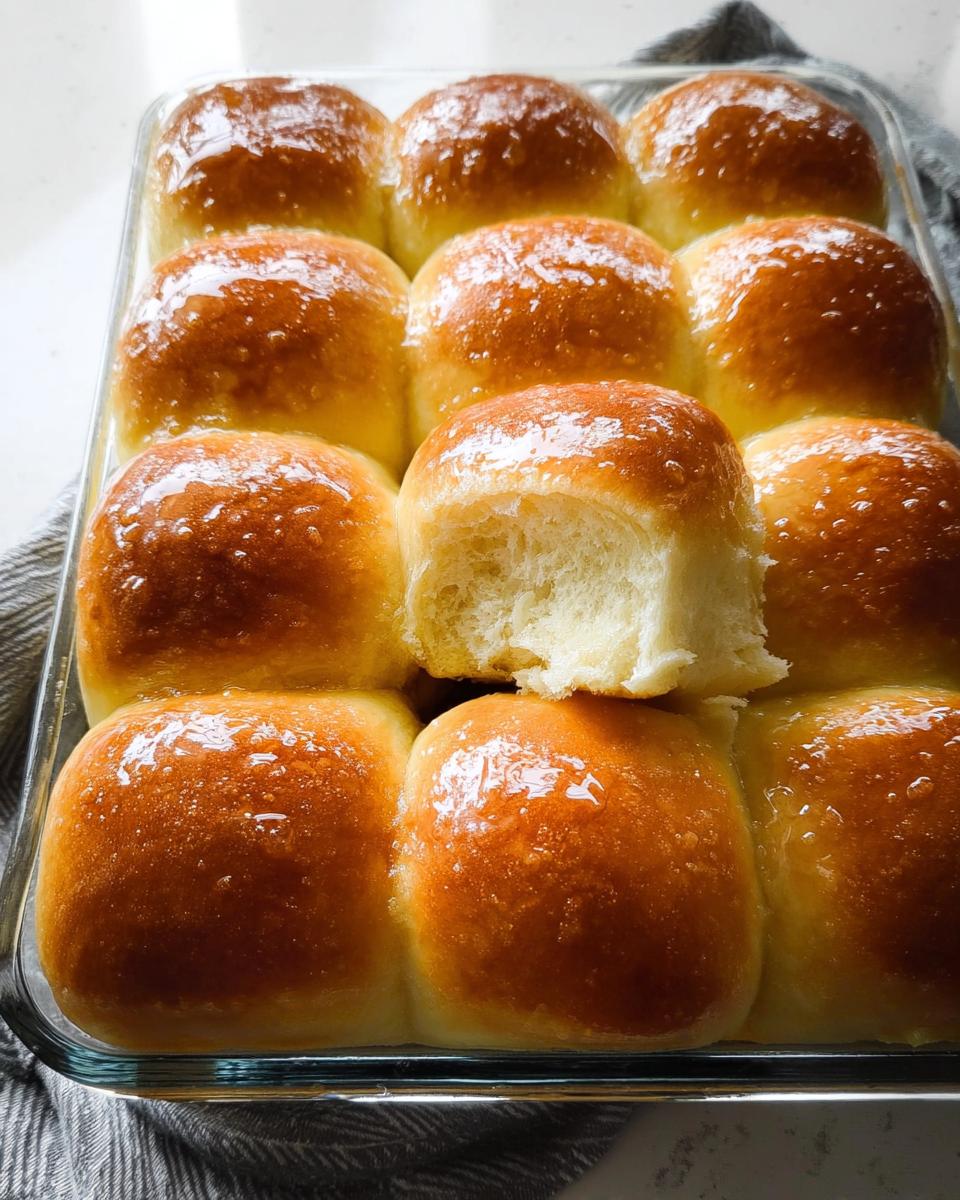
- Cloud-like texture: These pull-apart beauties stay impossibly soft thanks to that perfect combo of milk, butter, and honey. Your guests will rave about the tender crumb.
- Beginner-friendly magic: No fancy skills needed – just mix, knead, and watch the dough work its rising wonders. Even my 8-year-old niece makes them now!
- Holiday superstar: Thanksgiving tables rejoice! They’re the ideal side for turkey and gravy, but I’ve served them at every potluck from Easter to Friendsgiving with equal success.
- Your canvas: Add garlic butter, everything bagel seasoning, or fresh herbs to make them your own. Sometimes I fold in shredded cheddar for extra oomph.
- The therapy of baking: There’s something magical about turning flour and yeast into warm, golden perfection. That moment when you pull them from the oven? Pure happiness.
Ingredients for Homemade Dinner Rolls
Gather these simple ingredients – you probably have most in your pantry already! I always set everything out before starting (my grandma called this “mise en place” long before it was trendy). Here’s what you’ll need:
Dough Ingredients
- 1 cup whole milk, warmed to about 110°F (43°C) – test it on your wrist like baby’s bottle temperature
- 2 and 1/4 teaspoons instant yeast (that’s one standard packet)
- 2 Tablespoons granulated sugar, divided – we’ll use half to wake up the yeast
- 1 large egg, straight from the fridge is fine
- 1/4 cup unsalted butter, softened to room temperature and cut into 4 pieces (no cheating with cold butter!)
- 1 teaspoon salt – I use fine sea salt for even distribution
- 3 cups all-purpose flour or bread flour, spooned & leveled (don’t scoop directly from the bag!)
Optional Topping
- 2 Tablespoons melted unsalted butter mixed with 1 Tablespoon honey – trust me, this golden glaze is worth the extra step
How to Make Homemade Dinner Rolls
These light, fluffy rolls come together in a few simple steps – the hardest part is waiting for them to rise! I’ve made this recipe dozens of times, and trust me, there’s nothing quite like pulling that first warm roll apart. Here’s exactly how we’ll bring them to life:
Step 1: Prepare the Dough
First things first – let’s wake up that yeast! Pour your warmed milk (110°F is perfect – any hotter and you’ll kill the yeast, any colder and it won’t activate properly) into your stand mixer bowl. Add 1 Tablespoon sugar and all the yeast, then give it a quick whisk. Watch for tiny bubbles forming after about 5 minutes – that’s your yeast saying “I’m alive!” Now add the remaining sugar, egg, butter, salt, and just 1 cup of flour. Mix on low until combined, scraping down the sides. Gradually add the rest of the flour until the dough starts pulling away from the bowl – it should look shaggy but come together beautifully.
Step 2: Knead and Let Rise
Here comes the fun part – kneading! If you’re using a stand mixer with a dough hook, let it run for a good 5 minutes. No mixer? No problem – turn the dough onto a lightly floured surface and knead by hand for the same amount of time. You’ll feel it transform from sticky to smooth and elastic. When it springs back slowly when poked, it’s ready. Now place it in a greased bowl, turn to coat all sides, cover with a damp towel, and let it rise in a warm spot until doubled – usually 1-2 hours. Don’t rush this – the rise is when all the magic happens (just like in this guide to perfect bread).
Step 3: Shape and Bake
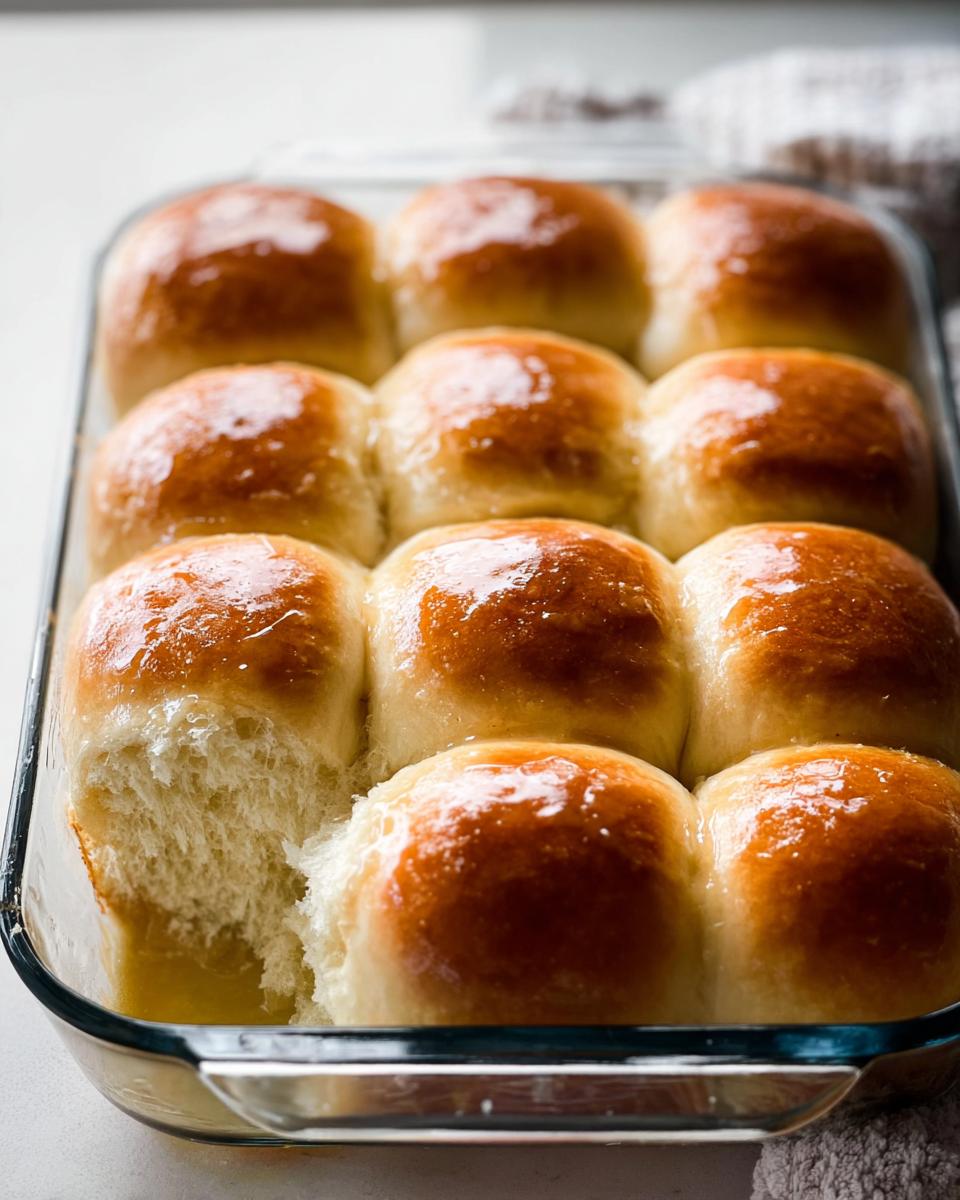
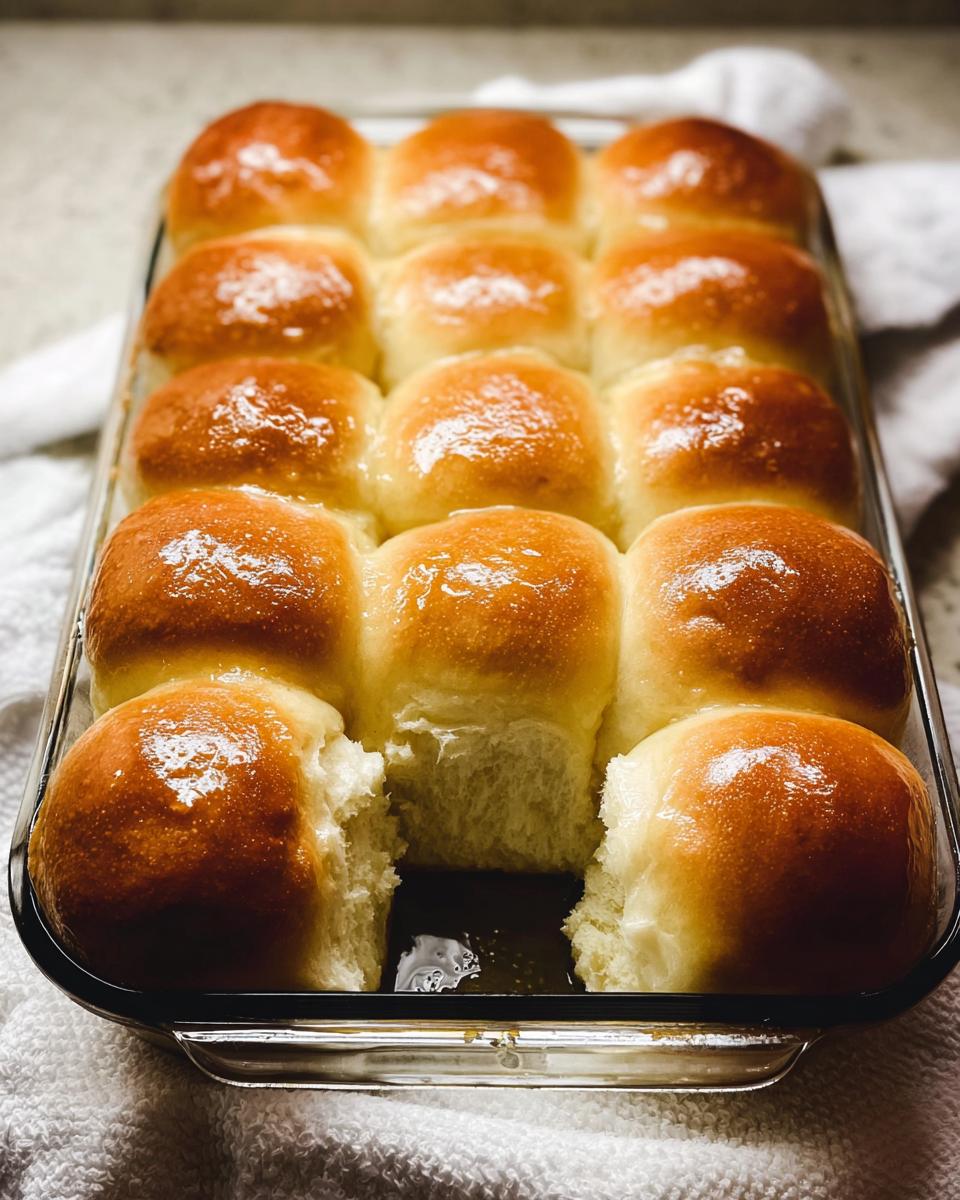
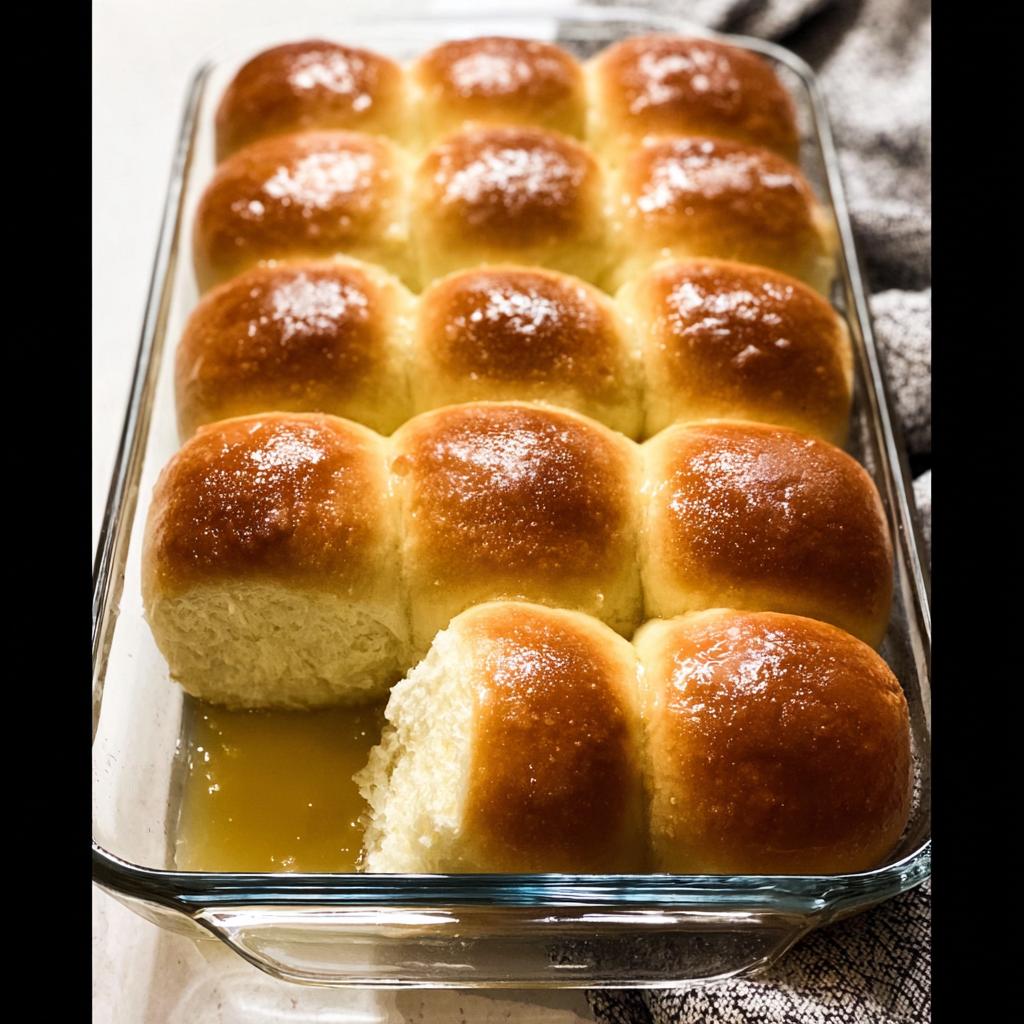
Time to make those rolls! Punch down the dough (my favorite stress-reliever) and divide into 16 equal pieces. Roll each into a smooth ball between your palms – if they’re a little sticky, dust your hands with flour. Arrange them in your greased 9×13 pan like little soldiers. Cover again and let rise for another hour until puffy and touching. Preheat your oven to 375°F. Bake for 20-25 minutes, rotating the pan halfway through for even browning (if they’re getting too dark, tent loosely with foil). The moment they’re golden, brush them with that honey butter mixture – it gives them the most gorgeous sheen. Let cool just enough so you don’t burn your fingers, then dig in! For more inspiration, I sometimes browse classic roll recipes to mix things up.
Tips for Perfect Homemade Dinner Rolls
After years of trial and error (and a few hockey puck rolls I won’t mention), I’ve learned these foolproof tricks for bakery-worthy results every time:
- Yeast check: Always test your yeast first – if it doesn’t bubble in warm milk after 5 minutes, it’s past its prime. I keep extra packets in the freezer just in case!
- Flour wisdom: Add flour gradually – the dough should be slightly tacky but not stick to your fingers. Too much flour makes dense rolls, and we want clouds, not bricks!
- Rise right: Create a cozy spot for rising by placing the bowl on a warm oven (turned off) or near a sunny window. If your kitchen’s chilly, I sometimes microwave a mug of water for 2 minutes, then put the dough in beside it with the door closed.
- Golden touch: Brush with honey butter right after baking – it soaks in better than pre-bake brushing and gives that irresistible sheen. I use a silicone brush to get into all the nooks.
- Storage secret: Keep leftovers in an airtight bag at room temp for 2-3 days. To revive day-old rolls, spritz with water and warm at 300°F for 5 minutes – they’ll taste fresh-baked again!
Serving Suggestions for Homemade Dinner Rolls
Oh, these golden beauties are the ultimate team players at any table! Of course they’re Thanksgiving royalty – nothing beats tearing one open to soak up gravy from your turkey plate. But don’t save them just for holidays! I love serving them warm with a big pot of turkey noodle soup the day after – it’s become our family’s Black Friday tradition. For Friendsgiving, I’ll often make mini versions as appetizers with honey butter or garlic herb butter for dipping. They’re also perfect with fall soups, Sunday roasts, or even just a smear of jam for breakfast. Honestly? My kids have been known to sneak them plain from the bread basket – that’s how good they are fresh from the oven!
Storing and Reheating Homemade Dinner Rolls
Fresh-baked rolls are heavenly, but let’s be real – they rarely last long in my house! When you do have leftovers (a rare occurrence, I know), here’s how to keep them tasting just-baked: Cool completely, then stash in an airtight bag at room temp for 2-3 days. For longer storage, wrap tightly and freeze for up to 3 months. To revive, pop frozen rolls straight into a 300°F oven for 8-10 minutes – that quick warm-up brings back that divine fresh-from-the-oven magic!
Homemade Dinner Rolls FAQ
I get asked about these rolls all the time – here are the answers to the questions that pop up most often!
Can I use active dry yeast instead of instant?
Absolutely! Just add an extra 15 minutes to your first rise time. With active dry yeast, I like to let it dissolve completely in warm milk with sugar before adding other ingredients (“proofing”). You’ll still get those same fluffy Thanksgiving-worthy results!
How do I know when my rolls are perfectly baked?
Look for golden tops that sound hollow when tapped lightly – usually around 22 minutes in my oven. But my granny taught me the “under-the-roll sneak peek” trick: gently lift one and check for a golden bottom. If they’re getting too dark on top but need more time, just tent with foil.
Can I make these ahead for Thanksgiving?
Yes! Roll your dough balls and arrange them in the pan, then cover tightly and refrigerate overnight. Next morning, let them sit at room temp for 30 minutes before baking – perfect timing for holiday meals!
What can I substitute for milk?
For dairy-free Friendsgiving guests, I’ve had great results with almond milk or oat milk warmed the same way. The rolls might be slightly less rich, but they’ll still beat store-bought!
Why did my rolls turn out dense?
Aw honey, we’ve all been there! Usually it’s one of three things: using cold milk that didn’t activate the yeast, adding too much flour (measure carefully!), or not letting them rise long enough in a warm enough spot. Trial and error is part of the bread-baking journey!
Nutritional Information
Just a quick note – these nutrition estimates can vary based on your specific ingredients and sizes. But for a typical homemade dinner roll from this recipe (without extra honey butter topping), you’re looking at roughly:
- Calories: 130 per roll
- Fat: 4g (mostly from that glorious butter)
- Carbs: 20g (the good kind that makes them pillowy soft)
- Protein: 3g
Now go enjoy them guilt-free – life’s too short not to savor warm homemade bread!
Share Your Homemade Dinner Rolls Experience
I can’t wait to hear how your homemade dinner rolls turned out! Did your family gobble them up like mine always does? Leave a comment below to share your baking triumphs (we’ve all had the occasional dough mishap too – no judgment here!). Snap a photo of those golden beauties fresh from the oven – tag me so I can virtually smell them! And if this recipe became part of your family traditions like it did mine, give it a star rating to help other bakers discover the joy of homemade rolls. Nothing makes me happier than seeing your kitchen fill with that warm, buttery magic too!
Homemade Dinner Rolls
Equipment
- stand mixer
- 9×13 inch baking pan
- silicone spatula
Ingredients
Dough Ingredients
- 1 cup whole milk, warmed to about 110°F (43°C)
- 2 and 1/4 teaspoons instant yeast
- 2 Tablespoons granulated sugar, divided
- 1 large egg
- 1/4 cup unsalted butter, softened to room temperature and cut into 4 pieces
- 1 teaspoon salt
- 3 cups all-purpose flour or bread flour spooned & leveled
Optional Topping
- 2 Tablespoons melted unsalted butter mixed with 1 Tablespoon honey
Instructions
- Prepare the dough: Whisk the warm milk, yeast, and 1 Tablespoon of sugar together in the bowl of your stand mixer. Cover and allow to sit for 5 minutes.
- Add the remaining sugar, egg, butter, salt, and 1 cup flour. With a dough hook or paddle attachment, mix/beat on low speed for 30 seconds, scrape down the sides of the bowl with a silicone spatula, then add the remaining flour. Beat on medium speed until the dough comes together and pulls away from the sides of the bowl, about 2 minutes.
- Knead the dough: Keep the dough in the mixer and beat for an additional 5 full minutes, or knead by hand on a lightly floured surface for 5 full minutes.
- 1st Rise: Lightly grease a large bowl with oil or nonstick spray. Place the dough in the bowl, turning it to coat all sides in the oil. Cover the bowl with aluminum foil, plastic wrap, or a clean kitchen towel. Allow the dough to rise in a relatively warm environment for 1-2 hours or until double in size.
- Shape the rolls: When the dough is ready, punch it down to release the air. Divide the dough into 14-16 equal pieces. Shape each piece into a smooth ball. Arrange in prepared baking pan.
- 2nd Rise: Cover shaped rolls with aluminum foil, plastic wrap, or a clean kitchen towel. Allow to rise until puffy, about 1 hour.
- Bake the rolls: Bake for 20-25 minutes or until golden brown on top, rotating the pan halfway through. If you notice the tops browning too quickly, loosely tent the pan with aluminum foil. Remove from the oven, brush with optional honey butter topping, and allow rolls to cool for a few minutes before serving.