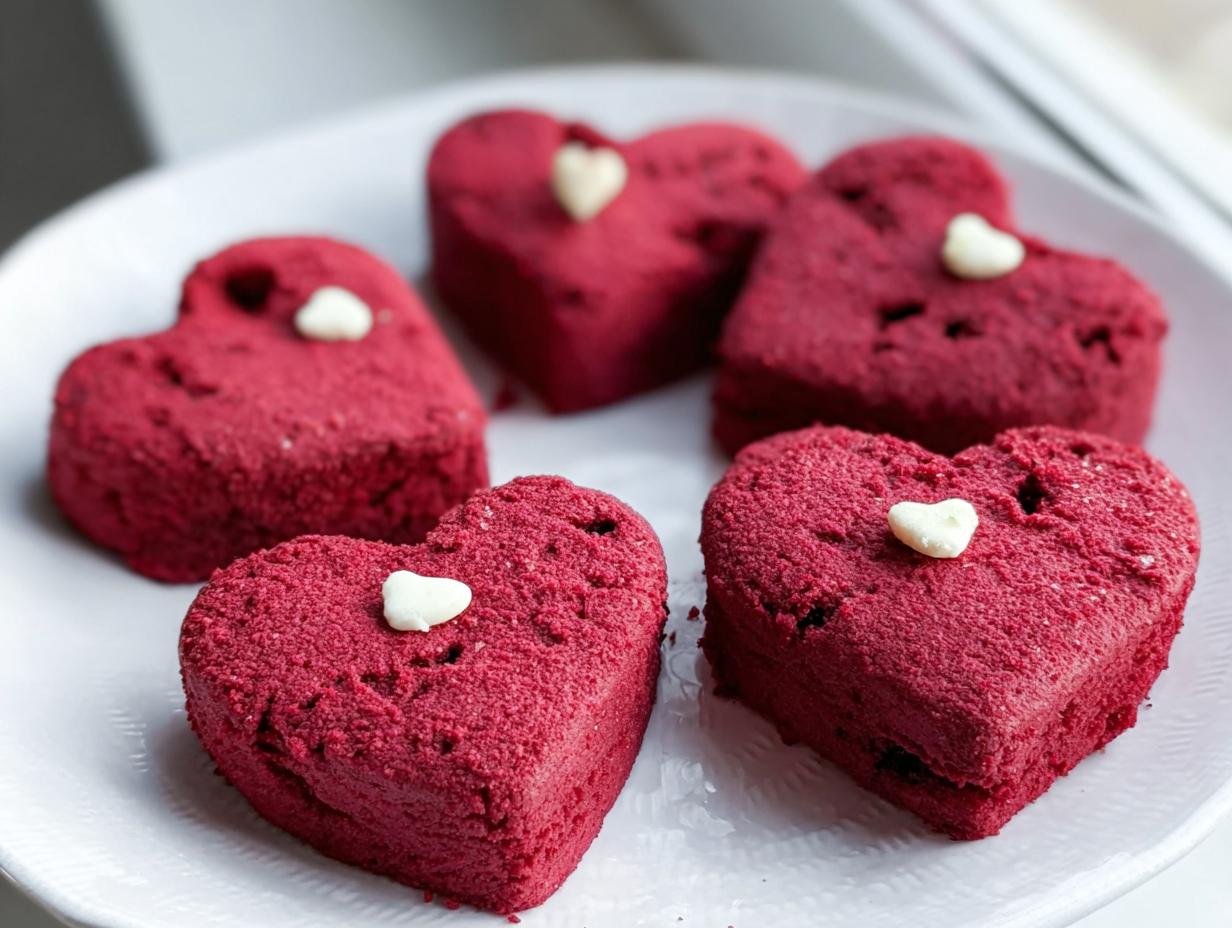
Oh my goodness, are you ready for some serious Valentine’s Day baking magic? I swear, once February hits, my kitchen just wants to burst with pink and red, and nothing says love quite like a perfectly crisp cookie. We’ve nailed the recipe for Heart-Shaped Red Velvet Cookies, and trust me, this takes things way past your standard sugar cookie.
The deep red color made these cookies feel special even before decorating. That vibrant shade just sets the mood! I spent ages testing ingredients to get that classic red velvet flavor profile—a tiny hint of cocoa, just the right amount of tang—while making sure they hold their shape beautifully when cut. These Heart-Shaped Red Velvet Cookies are sturdy enough for all your decorating dreams, but tender on the inside. You’re going to love how easily this dough comes together for your big Valentines Day baking session!
Why You Will Love These Heart-Shaped Red Velvet Cookies
Seriously, you need these for your Valentines Day Treats platter this year. They check every single box for holiday perfection. Forget fussy sugar cookies that crack; these are wonderfully dependable!
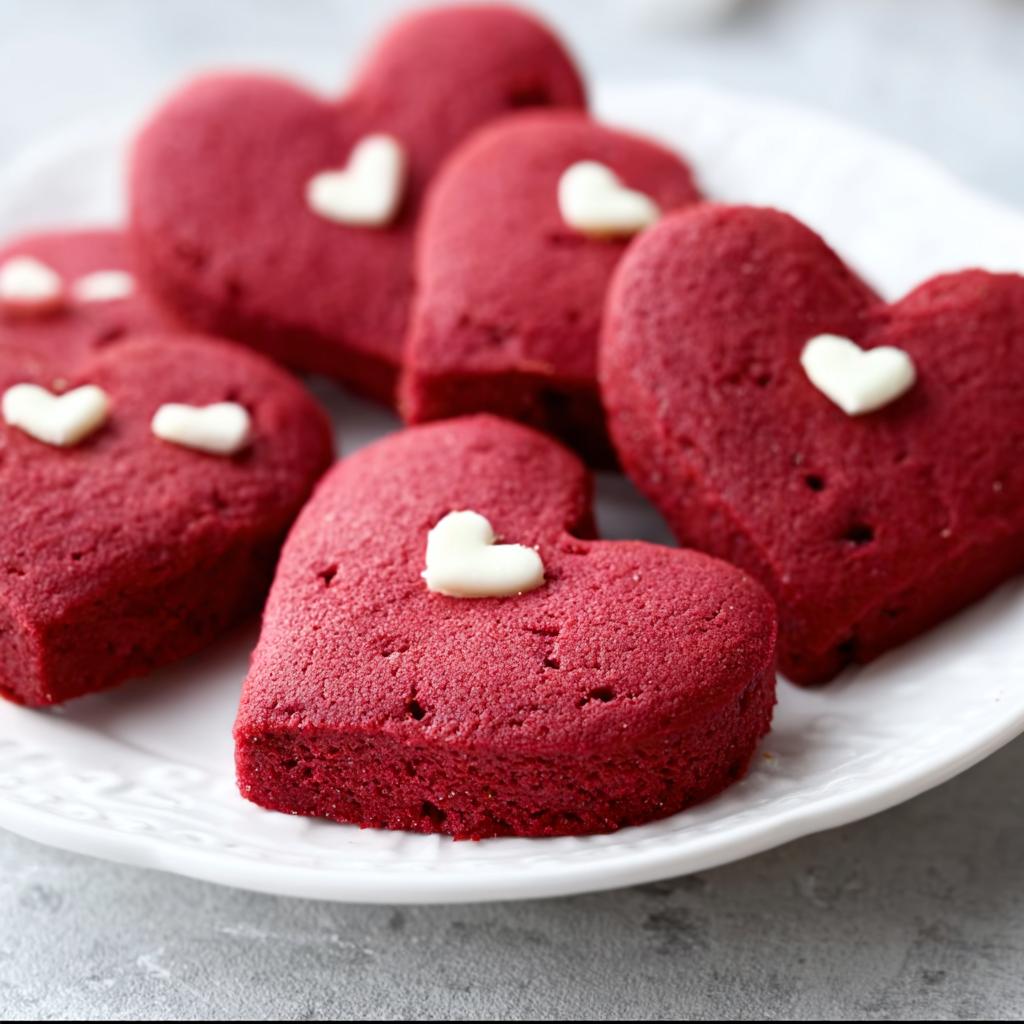
- They snap right out of the heart-shaped cutter with clean edges, perfect for neat outlines.
- The flavor is rich red velvet heaven—that subtle cocoa note is irresistible, even undecorated!
- With only 30 minutes of chilling time, these are so fast for a batch of gorgeous Valentines Dessert Ideas.
- They look stunning just wrapped up with a little ribbon, making lovely gift sets!
Essential Equipment for Perfect Heart-Shaped Red Velvet Cookies
You don’t need a mountain of fancy gadgets, but having the right tools really helps these cookies shine, especially when aiming for perfect shapes. I always keep this list handy before I even pull out the butter!
- We definitely need sturdy mixing bowls and your trusty electric mixer—it makes creaming the butter so much faster.
- Baking sheets are a must, obviously, but make sure you have enough so you don’t crowd the cookies in the oven.
- And here’s the star: grab that heart-shaped cookie cutter! A good, solid cutter ensures your Heart-Shaped Red Velvet Cookies look identical.
Ingredients for Heart-Shaped Red Velvet Cookies Dough
Getting the dough right is half the battle, right? If your base is perfect, you don’t have to worry as much when you start decorating later. For these beauties, we are keeping it simple because the color does most of the heavy lifting!
For the dough, you’re going to need the following things listed out. I always suggest measuring your flour using the spoon-and-level method—otherwise, these cookies get too cakey and crumbly.
- 2.5 cups of all-purpose flour
- 2 tablespoons of good quality cocoa powder—it adds that necessary depth!
- 1 teaspoon of baking powder
- 0.25 teaspoon of salt
- 0.75 cup of softened butter—make sure it’s actually soft, not melted!
- 0.75 cup of sugar
- 1 whole egg
- 1 teaspoon of vanilla extract
- Red food coloring—and use enough to get that deep, gorgeous red. I love using gel tints for the best color saturation, like what you’d find in great baking supply kits.
That’s it for the dough! See? It’s straightforward, which leaves you more time for the fun part: getting those Valentines Day Sugar Cookies Decorated!
Step-by-Step Instructions for Heart-Shaped Red Velvet Cookies
Okay, now we get to the fun part where all that measured goodness turns into beautiful cookies! Follow these steps closely, especially the chilling time, and you won’t have any spread-out messes. You want perfect little hearts, not red velvet puddles, right?
Mixing the Dry and Wet Components for Heart-Shaped Red Velvet Cookies
First thing’s first, let’s handle the dry stuff. Use a whisk to combine the flour, cocoa powder, baking powder, and salt in one medium bowl. Whisking them together keeps all those leaveners nicely distributed, so you don’t get a weird bite of pure baking powder later! We need this foundational step done well, just like when I test out new flour blends for my scone recipes.
In your big mixing bowl, beat that softened butter and sugar until it gets genuinely nice and fluffy—we’re trying to incorporate air here! Then, you mix in the egg, vanilla, and, the highlight, your red food coloring. Don’t skimp; you need real saturation! Once that’s lovely and uniform, slowly add the dry mix into the wet. Mix it on low just until you see the last streaks of flour disappear. Stop mixing immediately! Overmixing is the enemy of a tender cookie, trust me.
Chilling and Shaping Your Heart-Shaped Red Velvet Cookies
This is non-negotiable if you want those sharp edges. Wrap up your beautiful red dough tightly in plastic wrap and let it chill in the fridge for a full 30 minutes. It firms up nicely and makes rolling so much easier—it’s worth the wait!
Once chilled, preheat that oven to 350°F (175°C). Flour your surface lightly. Roll the dough out evenly, aiming for about a quarter-inch thickness. Then, go to town with that heart-shaped cookie cutter! Press firmly and lift straight up so you don’t drag the dough. Place those little lovelies onto your prepared baking sheets. If you want the absolute best dough consistency, sometimes I even reference tips from bakers like those at King Arthur Baking!
Baking and Cooling for the Best Texture in Your Heart-Shaped Red Velvet Cookies
Bake these crimson cuties for about 10 to 12 minutes. Keep an eye on the edges; they might just start looking slightly set, but the centers should still look soft. You don’t want them to brown at all, since they are red velvet!
When they come out, let them hang out on the baking sheet for about 5 minutes. Then, you need to transfer them to a wire rack to cool completely. Seriously, wait! If you try to decorate warm Heart-Shaped Red Velvet Cookies, your icing will melt right off, and we put in all that work for the vibrant color!
Tips for Decorating Your Valentines Day Sugar Cookies
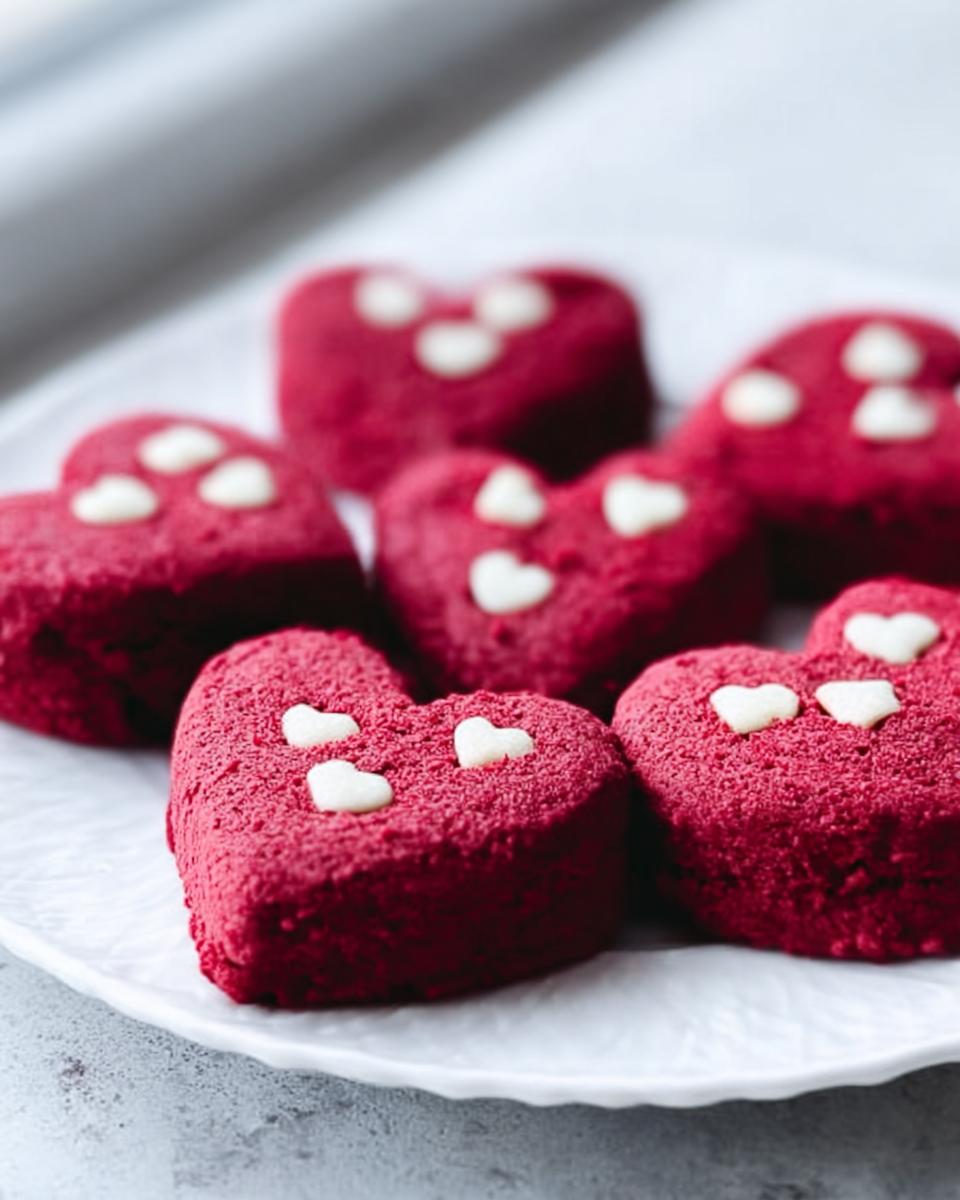
This is where the real personality comes out! Your Heart-Shaped Red Velvet Cookies are the perfect deep canvas for showing off your love. Since the cookie itself is so flavorful, we actually don’t need overly complicated toppings, though you totally can go wild!
For a quick fix, you can dip the cooled hearts halfway into a simple powdered sugar glaze. I have this fantastic, easy recipe for sprinkle sugar cookie frosting that uses just a touch of milk and corn syrup to make it shiny. If you’re feeling fancy, take some of that glaze and color half of it pink! Then you can trace the edges of the heart, or create a cute little border.

Honestly though, sprinkles make everything look instantly festive for your Valentines Day Treats. Use white nonpareils or tiny red hearts to stick onto the wet icing right away. Or, if you want to look professional without the hassle, check out some of the incredible inspiration over at Martha Stewart’s site for cute piping ideas. These cookies look lovely even with just a simple dusting of powdered sugar if you’re short on time for your Valentines Day Cookies Decorated Ideas!
Ingredient Notes and Substitutions for Heart-Shaped Red Velvet Cookies
I always get questions when I post these, mainly about how I get that color so vibrant, or if you can skip the chilling time (I promise, don’t!). Ingredient choices matter a ton here since we aren’t using tons of chocolate chips or things to hide behind.
Let’s talk about the real stars of the show, shall we? Those little tweaks can be the difference between a good cookie and one that screams romance. If you’re aiming for those perfectly piped borders when you get to the Valentines Day Sugar Cookies Decorated stage, the cookie base really needs to be firm.
The Food Coloring Dilemma: Gel vs. Liquid
This is my biggest tip for these beautiful Heart-Shaped Red Velvet Cookies: use gel food coloring if you can get your hands on it. Liquid coloring adds too much moisture to the dough, and that extra wetness breaks down the structure we worked so hard to create while creaming! Too much liquid means a flatter cookie.
If you absolutely only have the standard liquid dye, start with just half the amount you think you need. You might have to add another drop or two, but you want to keep your dough as dry as possible for those sharp edges. We want depth of color, not a cakey texture!
Butter Consistency is Everything
I mentioned this in the instructions, but it bears repeating: that butter needs to be properly softened! It should yield to gentle pressure but shouldn’t feel gooey or greasy. If your butter is too cold, your sugar won’t cream properly, and you’ll end up with dense little hockey pucks instead of tender hearts.
Think about what happens when you try to mix cold butter—it just shreds up rather than whipping up! If you forget to take the butter out early, you can slice it into small cubes and let it sit on the counter for about 15 minutes. That helps speed things up without melting it completely.
Using Salt Correctly in Your Valentines Day Baking
We only use a tiny bit of salt here, but choosing the right kind makes a difference to the overall flavor balance, especially since we are relying heavily on cocoa and sugar. I always use standard table salt, but if you prefer something fancier, make sure you adjust. For instance, if you are using flaky sea salt, you’ll need less. If you want to dive deeper into how that small change affects the whole flavor profile, check out my notes on salt differences.
The goal here is just to cut the sweetness slightly, so don’t go overboard! A small pinch is all you need to make your Valentines Day Treats taste professionally balanced.
Storage and Make-Ahead Tips for Valentines Day Baking
When planning for a big holiday like Valentine’s Day, knowing you can make things ahead of time is a lifesaver! These Heart-Shaped Red Velvet Cookies freeze like a dream, which is fantastic for getting a head start on your Valentines Day Baking Ideas.
For undecorated cookies, stack them in an airtight container layered with wax paper between them. They’ll stay perfect at room temperature for about five days. If you need them to last longer, pop the container into the freezer; they hold up beautifully for about two months. Don’t forget to check out my tips on preventing dryness, because even cookies can get sad if stored wrong—see my guide on keeping baked goods moist!
Once you decorate them with icing, it’s best to let the frosting set completely—usually an hour or two on the counter. Store the finished Heart-Shaped Red Velvet Cookies in a single layer in an airtight tin, again using parchment to separate them, for about three days maximum for the freshest icing.
Frequently Asked Questions About Heart-Shaped Red Velvet Cookies
I get so many questions about these vibrant cookies, and I’m happy to clear things up! People always ask about getting that perfect color and shape, especially when they are aiming to make beautiful Valentines Day Treats.
Can I use liquid food coloring instead of gel for these Valentines Day Treats?
Yes, you absolutely can, but you have to approach it carefully! Liquid coloring adds more water content to the dough than the concentrated gel paste does. If you add too much liquid, your dough will get soft, and your beautiful Heart-Shaped Red Velvet Cookies will spread out like sad little puddles on the baking sheet. I always recommend starting with half the amount you think you need if you must use liquid, and only adding more if the dough still looks pale after mixing.
What is the best way to store these for Valentines Day Cookie Sets?
For the best quality, I separate the storage based on whether they are decorated or not. If you’re making Valentines Day Cookie Sets, keep the undecorated cookies in an airtight container layered with parchment paper—they stay good for nearly a week that way. If they are iced, you must wait until the royal icing is completely rock hard before stacking them, or the colors will transfer. Once hard, keep them in a single layer or separated with wax paper in a sturdy tin.
How do I get my Valentines Day Cookies Decorated to look professional?
It’s all about two things: a firm cookie base and patience with the icing! Make sure your dough is well-chilled so the edges are crisp when you cut them. For the icing itself, if you’re piping delicate lines for your Valentines Day Cookies Decorated Ideas, you need a stiff consistency icing, not the runny glaze. Let the first layer of icing dry completely (sometimes overnight is best!) before adding a second color or fine details. That two-step process makes all the difference!
Sharing Your Valentines Dessert Ideas
Now that you’ve made these gorgeous, deep-red Heart-Shaped Red Velvet Cookies, I really want to hear about them! Seriously, the best part of baking for me is seeing how they turn out in someone else’s kitchen.
Did you stick to a classic white frosting, or did you go all out with tiny piping details? Did you manage to get that perfect, crisp heart shape we talked about? Please don’t keep your triumphs to yourself! Head over to the comments section below and drop a rating for the recipe—it really helps other bakers know these are worth their time.
And if you have any amazing decoration ideas that you think I should try next year, please share them! I love fresh inspiration for my next batch of Valentines Dessert Ideas. If you have photos of your final creations, you can always reach out to me directly through my contact page, too. Happy Valentine’s Day baking, darlings!
Heart-Shaped Red Velvet Cookies
Equipment
- Mixing Bowls
- Electric mixer
- Baking sheets
- Heart-shaped Cookie Cutter
Ingredients
Red Velvet Dough
- 2.5 cups flour
- 2 tbsp cocoa powder
- 1 tsp baking powder
- 0.25 tsp salt
- 0.75 cup butter, softened
- 0.75 cup sugar
- 1 egg
- 1 tsp vanilla extract
- Red food coloring Sufficient amount for deep red color
Instructions
- Whisk the flour, cocoa powder, baking powder, and salt together in a bowl.
- Beat the softened butter and sugar in a separate bowl until the mixture is fluffy.
- Add the egg, vanilla extract, and red food coloring to the butter mixture. Mix well.
- Mix the dry ingredients into the wet ingredients until just combined.
- Wrap the dough and chill it in the refrigerator for 30 minutes.
- Preheat your oven to 350°F (175°C). Roll out the chilled dough and cut out heart shapes.
- Place the cutouts on baking sheets and bake for 10 to 12 minutes.
- Let the cookies cool completely before you decorate or serve them.