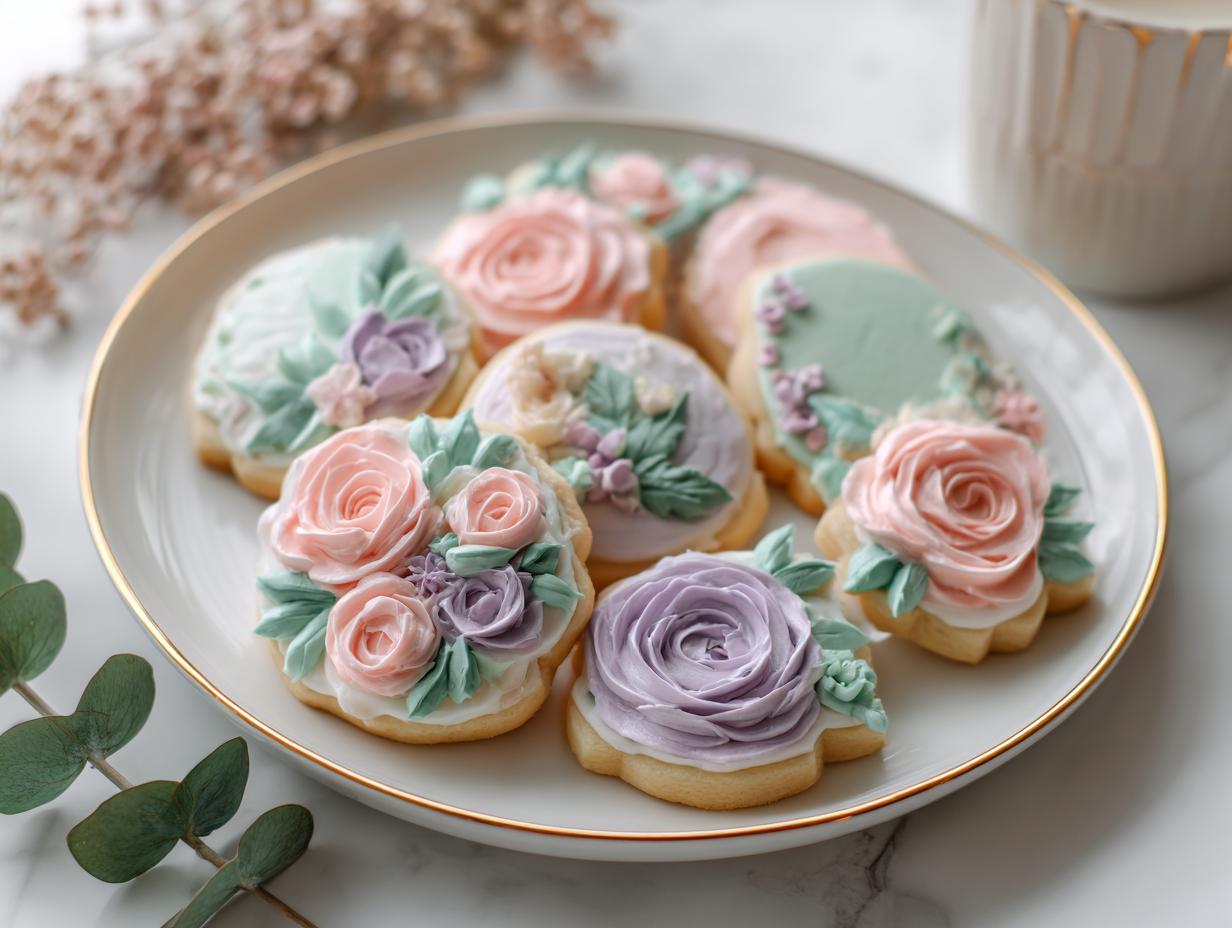
If you are planning a baby shower, you know that the tiniest details make the biggest impression. Forget those boring square crackers, we are aiming for elegance! I’m Clara Bennett, and as the Lead Plate Designer here at Recipes by Betty, I’ve spent way too much time perfecting treats that look like they came from a professional bakery but are actually doable right in your kitchen. These Floral Baby Shower Decorated Cookies are my secret weapon for creating an elegant vibe.
The real magic here is the pairing: you get a soft, buttery sugar cookie underneath, but the royal icing holds those crisp, detailed floral designs perfectly. I first developed this recipe last spring when I was making cookies for my sister’s garden-themed baby shower. I wanted something delicate, but honestly, a lot of recipes end up tasting like chalk!
After testing countless batches of icing consistency, I landed on this combination. They were the absolute hit of the party, and now they are my go-to for every celebration. Trust me, these are surprisingly straightforward once you get the icing right.
Why You Will Love These Floral Baby Shower Decorated Cookies
Making your own decorated sugar cookies can seem intimidating, but these are built for success! I promise you these are worth the little bit of extra effort because they look unbelievably professional.
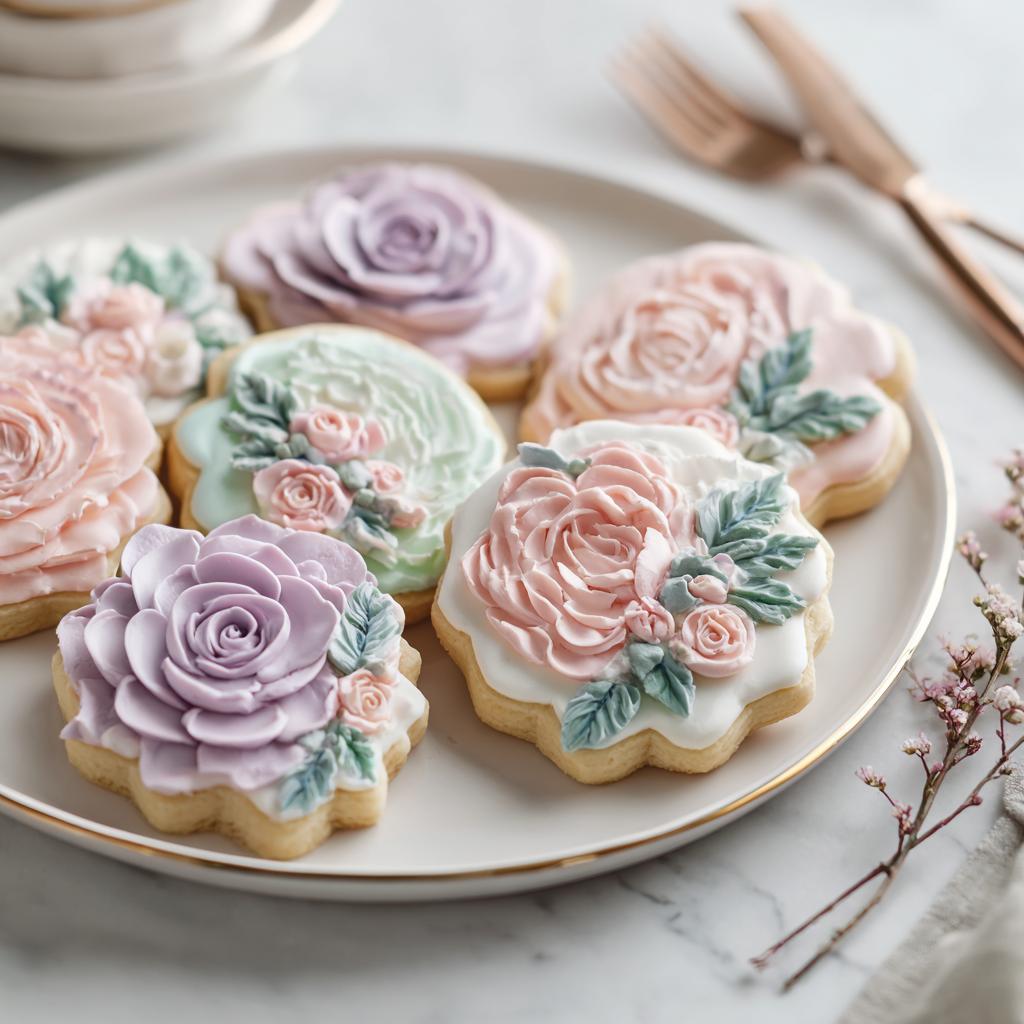
- The cookie base itself is soft and buttery—no dry, hard snaps here!
- The royal icing dries firm, which lets you create those stunning, detailed floral designs without worrying about smudging.
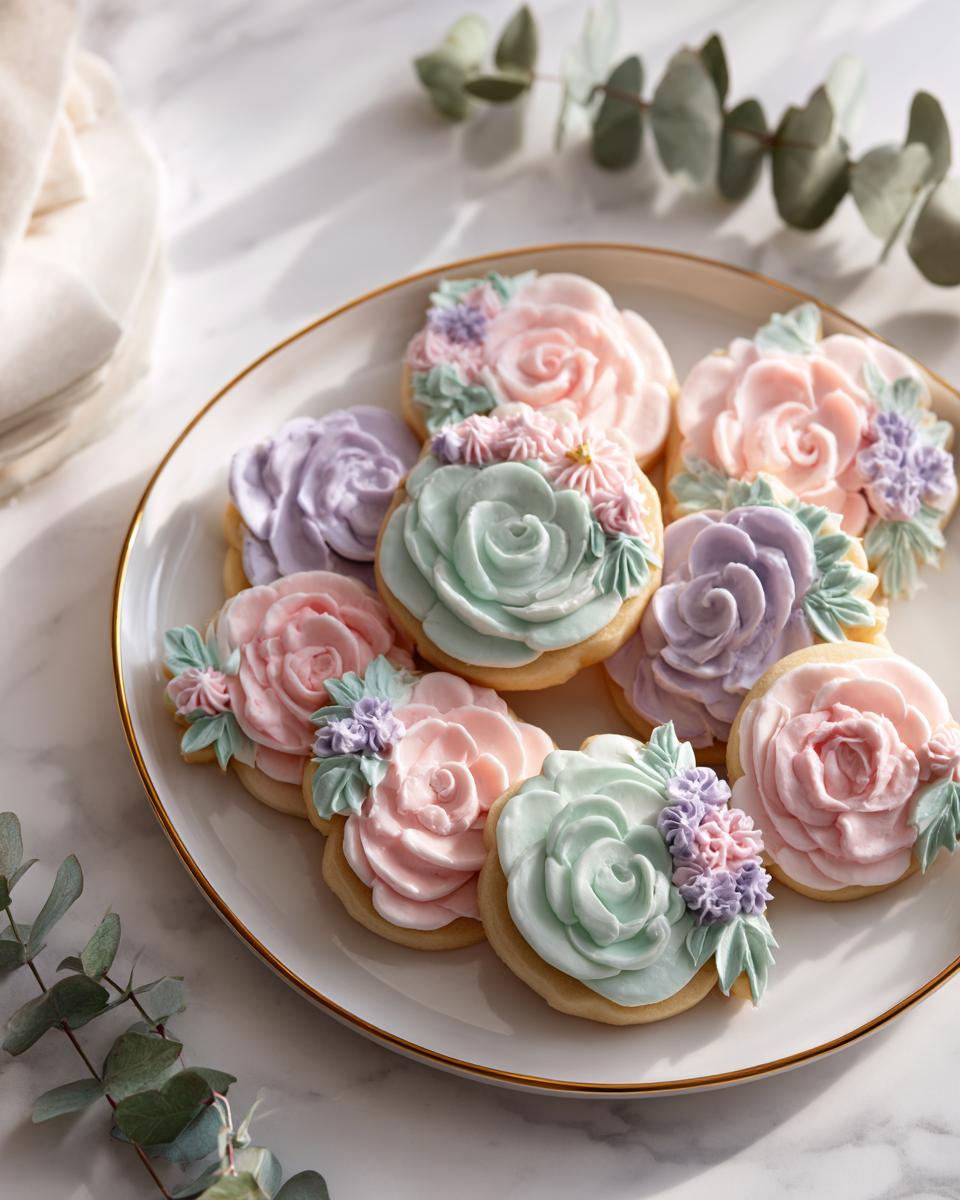
- They make the perfect centerpiece for any elegant shower, especially wonderful for those beautiful spring baby shower treats.
Essential Ingredients for Perfect Floral Baby Shower Decorated Cookies
Getting the right foundation is everything when you are making beautiful cut-out sugar cookies. You need a dough that holds its shape and an icing that acts like edible glue for those tiny flowers! Don’t substitute the butter here; it gives the cookies the best flavor and texture. For the icing, we rely on meringue powder, not egg whites—it’s safer and gives you that incredible stability we need for piping details.
When you look at the list, keep in mind that the food coloring is specific—we are using gel colors because they won’t break down the icing consistency like liquid drops do. These gorgeous colors are what bring the floral theme to life!
For the Sugar Cookies
Remember, the butter must be truly softened, not melted! That’s the secret to getting air into that batter mixture. I always check my pantry before starting to ensure I have enough flour, as these are worth making a special trip for if you run short!
- 3 cups all-purpose flour
- 1 teaspoon baking powder
- 1/2 teaspoon salt
- 1 cup unsalted butter, softened
- 1 cup granulated sugar
- 1 large egg
- 2 teaspoons vanilla extract
For the Royal Icing
This is where the artistry happens! Meringue powder is the backbone of this recipe; it ensures your lovely King Arthur ingredients give you hard-setting icing. You’ll need 5 to 6 tablespoons of water total—start with 5 and add drops slowly. We are aiming for stiff peaks before we start thinning parts of it!
- 3 cups powdered sugar
- 3 tablespoons meringue powder
- 5 tablespoons warm water (Use 5-6 tablespoons total)
- As needed Gel food coloring (soft pink, lavender, mint green, white)
- Optional Edible gold luster dust
Baking the Soft Sugar Cookies for Your Floral Baby Shower Decorated Cookies
We need these cookies to look picture-perfect, right? That means we have to treat the dough with respect, especially when cutting out shapes for our baby shower cookies. The most important, non-negotiable step in this whole process is chilling the dough. If you skip chilling, your beautiful onesie or bottle shapes will spread out in the oven like sad puddles. Yuck! We’re going for structure here, which is what a good, patient baker provides.
Mixing and Chilling the Dough
First up, get those dry things whisked together—flour, baking powder, and salt. Set that aside. Now, grab your softened butter and sugar and start creaming them up! You have to beat them together for a full 3 minutes until the mixture looks genuinely light and fluffy, almost pale yellow. I learned early on that rushing this step means a dense cookie later. Once the egg and vanilla are in, slowly add the dry mixture on low speed. You want it combined, but stop mixing as soon as it comes together!
This is the hard part: divide that perfect dough in half, wrap it up tightly in plastic wrap, and shove it in the fridge. I insist on at least 2 hours, or 120 minutes, for chilling. Honestly, if you can wait longer, do it! This lets the gluten relax, which is a secret you learn from working with bakery doughs.
Cutting and Baking
Once chilled, get your oven preheated to 350°F (175°C). We aren’t using thin cookies for these delicate floral designs; roll your chilled dough out to a sturdy 1/4-inch thickness on a floured surface. Now cut whatever sweet shapes you need for your baby shower cookies canvas.
Place them on parchment-lined baking sheets. Don’t crowd them! I bake mine right around the 10 to 12 minute mark. You’ll know they’re ready because the edges will just start to look set. Let them rest on the warm sheet for five minutes—this helps them firm up just a tad—then move them to a wire rack to cool completely. And I mean *completely*. If there’s any warmth left when you try to ice them, your beautiful royal icing base will melt right off!
Mastering Royal Icing for Beautiful Decorated Baby Cookies
Okay, listen up, because the cookie is only half the battle! If your icing goes soft or cracks, those delicate floral designs we worked so hard on are going to look rough. Royal icing is the professional’s choice for a reason—it dries hard as a rock, which is exactly what we need for these intricate Martha Stewart-worthy projects. We need two main consistencies—one for outlining the shape and one for filling it in smoothly.
When you mix up that powdered sugar and meringue powder, you have to commit to the mixing time. I beat mine for a good 7 to 10 minutes on medium-high speed. You want stiff peaks that look solid. This stable icing is what lets us pipe amazing details later. It’s the best foundation for all those pretty decorated baby cookies.
Achieving the Right Icing Consistency
Once you have that thick, stiff icing base, you have to thin down some of it for the ‘flood’ layer. This base coat fills in the cookie after you outline it. Take some of the stiff icing and slowly, drip by drip, whisk in warm water. I mean tiny amounts! You’re looking for a consistency where if you drizzle a line across the batch of icing, it smooths out almost instantly—that’s flooding consistency. Remember, we need the outlining icing to be much thicker so it keeps the flood icing contained inside the border—don’t confuse the two!
Decorating Your Floral Baby Shower Decorated Cookies with Flowers
This is the fun part, but it requires a little patience! Once your cookie base coats are completely dry—and I mean hard to the touch, usually waiting 4 to 6 hours—we can start painting with icing! Tint your thinned icing the colors you picked out: pinks, lavenders, and greens for the leaves. You want to work in small batches so the icing doesn’t dry out in the piping bag while you’re working.
We are aiming for light and airy here, perfect for making those beautiful baby shower cookies look like they belong on a magazine cover. Don’t rush the drying of the base layer, or your detailed piping will sink right into a sugary mess. Trust me, I’ve had to scrape off whole batch failures because I got impatient!
Piping Delicate Floral Details
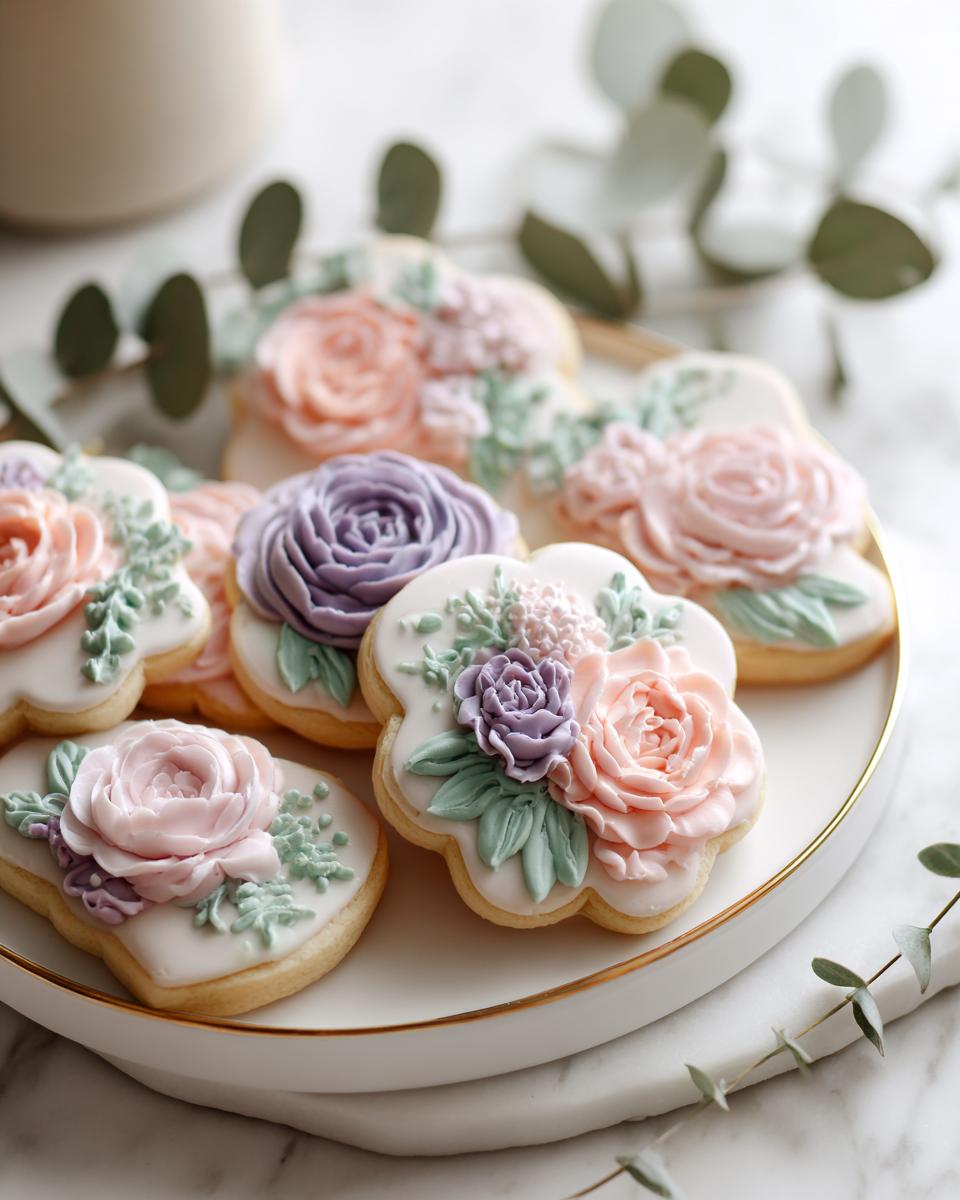
Grab your finest piping tip—the tiny round ones are your best friends here. Start by creating simple little dots for blossoms, and then use the tip to practice pulling out tiny petals for small roses or daisies right on the cookie surface. A dot with a tiny swirl on top often looks just like a perfect miniature bud!
Use the green icing to pipe tiny, almost comma-shaped strokes to make leaves that tuck under your flowers. Keep practicing a few leaves on the parchment paper scrap until you feel the flow. The more varied you make them—some big roses, some tiny forget-me-nots—the more natural and full the arrangement on your floral decorated cookies will look. Once everything is piped and lookin’ gorgeous, you have to let them dry completely. I always aim to let the decorated cookies sit out overnight on the wire rack. That ensures the royal icing is rock hard before you even dream of stacking them!
Tips for Success with Sugar Cookies for Baby Shower
You’ve got the shape, you’ve got the icing, but sometimes those tiny details fight you, don’t they? Don’t worry, that’s totally normal when you’re working on something this delicate. These little tips helped me stop making beginner mistakes when I was working on my first large batch of sugar cookies for baby shower events!
Here’s what I learned that really keeps things smooth:
- Use a pastry scraper or offset spatula when rolling. After flouring your surface, sprinkle a tiny bit of flour right on top of the dough before rolling to 1/4 inch. This prevents your cutter edge from dragging the dough, which is what causes those sad little ridges that leak icing later.
- If your cookie dough gets sticky while you are cutting shapes out, don’t try to fix it by adding more flour to the dough! Just pop the whole slab back in the fridge for 15 minutes. Cold dough is happy dough that keeps its shape perfectly.
- Humidity is the enemy of royal icing, period. If it’s a super muggy day, your icing will take forever to dry, and you might get those awful pinholes or cracks. Try to decorate in the coolest, driest room in your house, and always let them dry overnight if possible.
Storing and Serving Your Floral Decorated Cookies
Once you have spent all that precious time piping those beautiful little blossoms, you absolutely must store them correctly so all your hard work doesn’t get ruined! Since the royal icing is rock hard after drying overnight, these baby shower cookies actually store really well.
Don’t stack them right away! Keep them in a single layer on a cookie sheet or tray for the first few hours after they are completely dry. After that, store them in an airtight container at room temperature—no refrigeration needed, which is a huge plus! Keep a layer of parchment paper between individual layers if you must stack them later on. They should stay stunning for at least a week like this, ready to grace your display table!
Frequently Asked Questions About These Cookies
I get so many questions rolling in about decorating, especially when people are making these for a big event like a baby shower! Royal icing definitely seems like the tricky part, but once you nail the consistency, you’ll feel like a total pro. Here are the things that come up most often when folks are making these gorgeous spring baby shower treats.
Can I use regular frosting instead of royal icing?
Oh, you *can*, but I really, really wouldn’t if you plan on piping detailed little flowers! Regular buttercream is lovely for spreading or swirling, but it stays soft. If you try to pipe a tiny rose with buttercream, it will just slump over, or worse, the flowers will smudge right into the base coat when you put them back in the box. Royal icing is the secret because it dries hard and smooth. This means you get that stable, non-smudging canvas that lets you create intricate, professional-looking Food Network-worthy designs!
What cookie cutters work best for a floral theme?
When your theme is heavily floral, you want a cutter that gives you plenty of space to decorate, so avoid weird, skinny shapes. Simple circles, squares, or maybe even nice big ovals are fantastic canvases. They let you treat the whole surface like a mini painting. Of course, you still need some cute baby-themed shapes like rattles or onesies, but save those for simpler flood coats or just a border—they don’t always lend themselves easily to complex floral arrangements, you know?
How far in advance can I make these baby shower cookies?
This is the best part about royal icing: they last! The cookie itself stays soft for about ten days if stored correctly, but the icing needs time to cure. You must let the final decoration dry completely—I always recommend letting them sit out uncovered for a full 12 to 18 hours, or even overnight. After that, seal them in an airtight container at room temperature. You can easily make these gorgeous baby shower cookies up to a week before the party without any worry at all!
Estimated Nutritional Data for Floral Baby Shower Decorated Cookies
Now, I know when you are baking treats this beautiful for a party, you aren’t worrying too much about the numbers, but I always feel like I should give you a heads-up! Since these are specialty decorated cookies, these figures aren’t going to be a perfect match for your fitness tracker. They are really just estimates based on the ingredients we used and the fact that we yielded 24 cookies total.
When you look at these numbers, remember that the butter and sugar in both the cookie and the icing really drive up the totals. If you are just having one or two of these incredibly gorgeous baby shower cookies with your coffee, it’s a wonderful treat! The sugar content is what you expect from a rich sugar cookie with a hefty layer of royal icing.
- Calories: 250
- Fat: 11g
- Carbohydrates: 35g
- Protein: 3g
- Sugar: 20g
Please note that these are estimations! If you swap out butter for a different fat or use specialty flours, things will change a bit. But for our standard rich, buttery recipe, this gives you a great ballpark figure for planning your menu!
Floral Baby Shower Decorated Cookies
Equipment
- Medium bowl
- Large bowl
- Baking sheets
- Parchment paper
- Wire Rack
- Piping Bag
Ingredients
For the Cookies
- 3 cups all-purpose flour
- 1 teaspoon baking powder
- 1/2 teaspoon salt
- 1 cup unsalted butter, softened
- 1 cup granulated sugar
- 1 large egg
- 2 teaspoons vanilla extract
For the Royal Icing
- 3 cups powdered sugar
- 3 tablespoons meringue powder
- 5 tablespoons warm water Use 5-6 tablespoons total
- As needed Gel food coloring (soft pink, lavender, mint green, white)
- Optional Edible gold luster dust
Instructions
- Whisk together flour, baking powder, and salt in a medium bowl. Set the dry mixture aside.
- Cream the softened butter and granulated sugar in a large bowl until the mixture is light and fluffy, which takes about 3 minutes. Add the egg and vanilla extract, mixing until everything is combined.
- Add the dry ingredients to the wet ingredients gradually, mixing on low speed until the dough forms. Divide the dough in half, wrap each half in plastic wrap, and refrigerate for a minimum of 2 hours.
- Preheat your oven to 350°F (175°C). Roll out the dough on a lightly floured surface to a 1/4-inch thickness. Cut out shapes using baby-themed cookie cutters like onesies, bottles, or rattles.
- Place the cut cookies on parchment-lined baking sheets, leaving 2 inches of space between them. Bake for 10 to 12 minutes until the edges are just set. Cool the cookies on the baking sheet for 5 minutes, then move them to a wire rack to cool completely.
- Prepare the royal icing by beating the powdered sugar, meringue powder, and water on low speed for 7 to 10 minutes until stiff peaks form. Divide the icing into separate bowls and tint them with your gel food coloring.
- Thin some of the icing with water, adding a few drops at a time, until it reaches a flooding consistency for the base coats. Outline the cookies using thicker icing, then fill the centers with the thinned icing. Let the base layer dry for 4 to 6 hours.
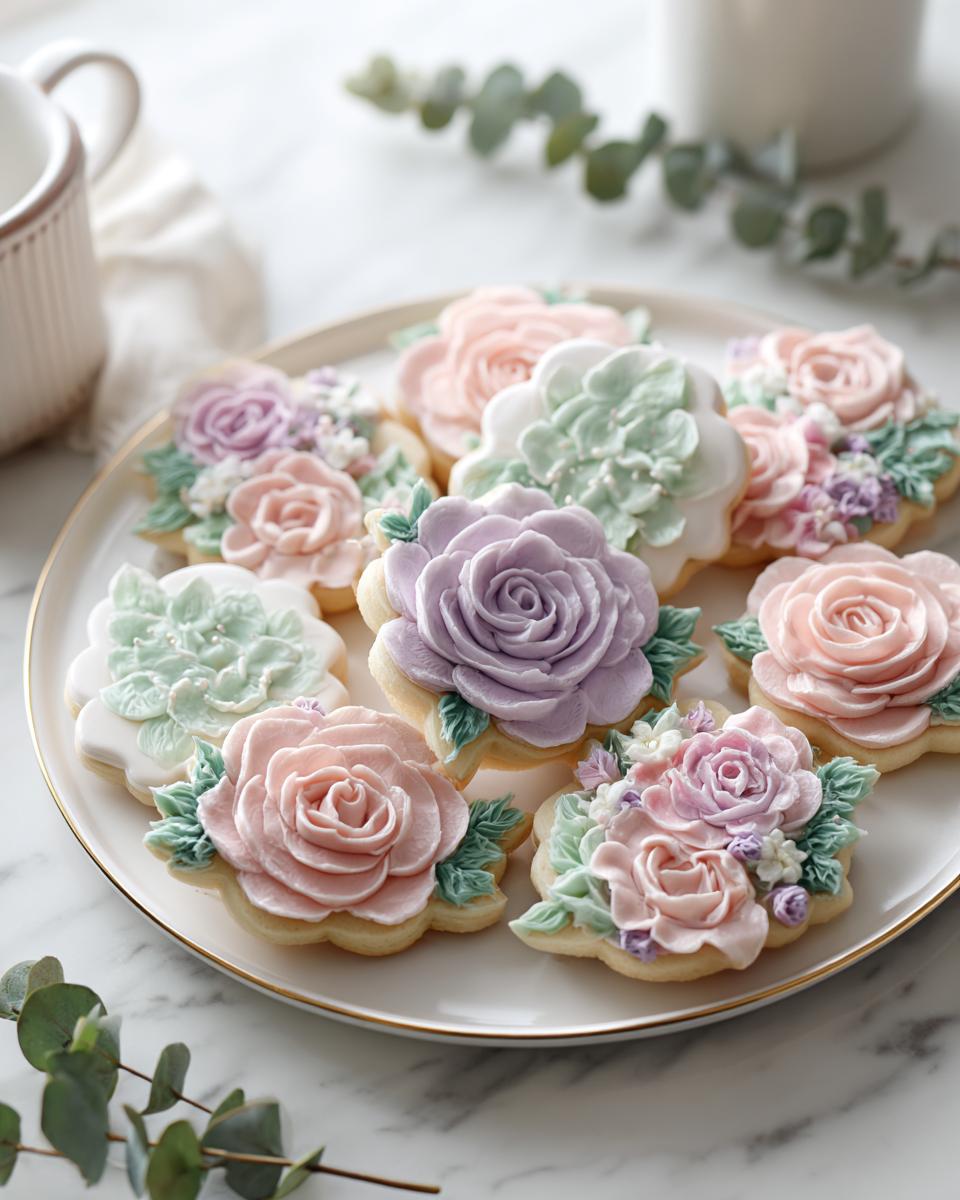
- Use a piping bag with a fine tip to pipe delicate floral designs, such as small roses, daisies, leaves, and vines, onto the dried base icing using coordinating colors.
- Add small details like dots, swirls, and tiny blossoms to finish the floral arrangements. If desired, dust the cookies with edible gold luster for a shimmer.
- Allow the decorated cookies to dry completely overnight before you package them or serve them at your baby shower.