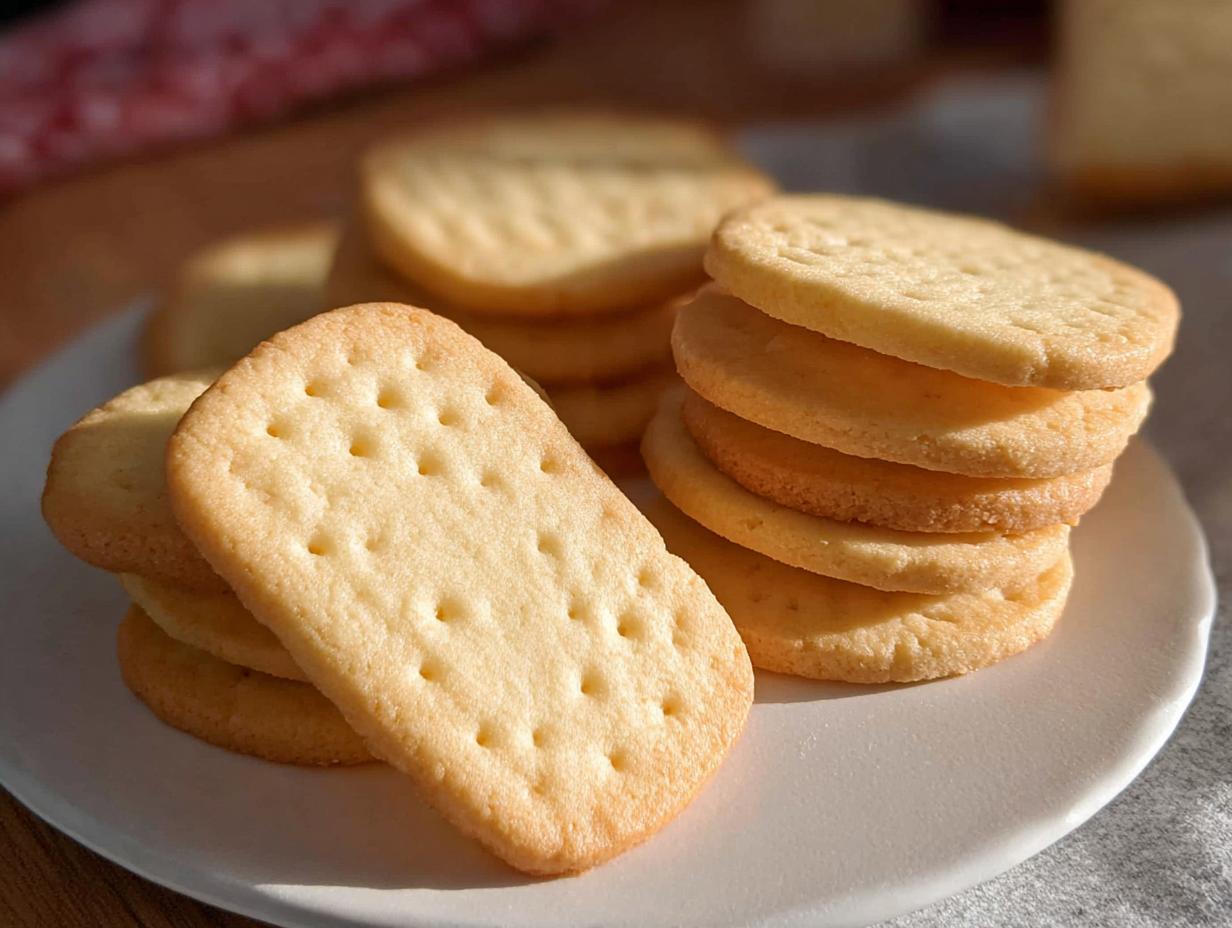
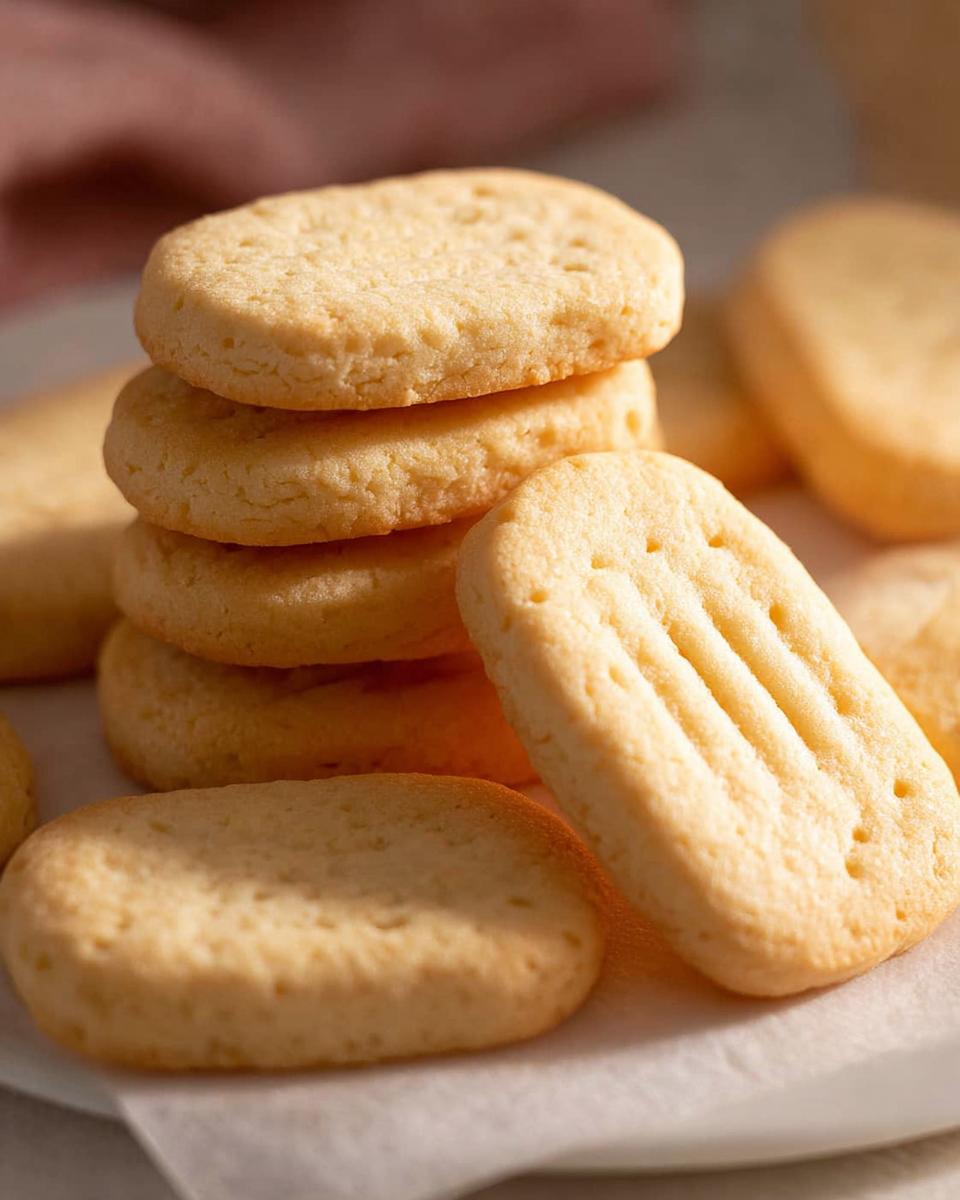
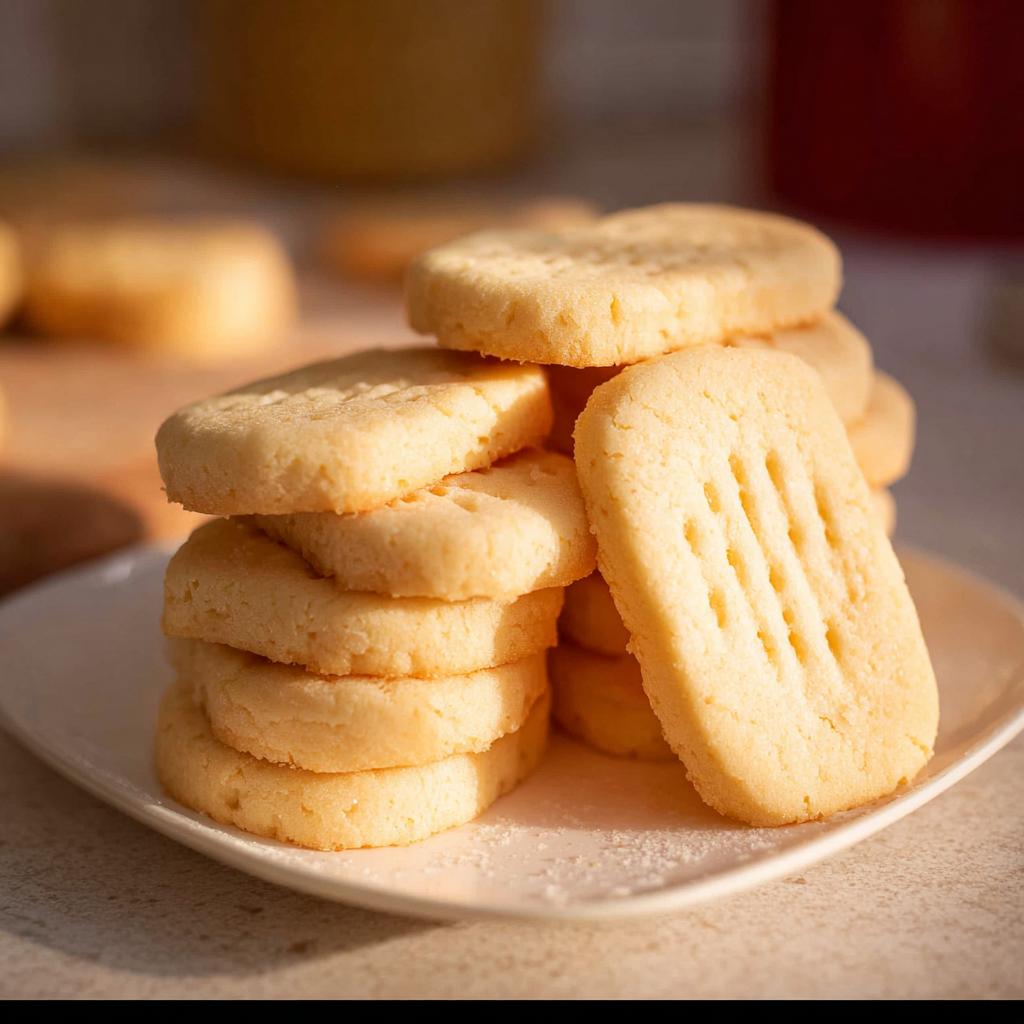
There’s something magical about the smell of butter and sugar caramelizing in the oven – it instantly transports me back to childhood Christmases at my grandmother’s house. She’d always have a batch of Classic Shortbread Cookies cooling on the countertop, their golden edges glistening. I can still picture her flour-dusted apron as she’d let me poke decorative fork marks into the dough. These simple, buttery treats were our holiday secret weapon – just three basic ingredients transformed into something extraordinary. Now when I make them with my own kids, that first crumbly bite still tastes like home. Classic Shortbread Cookies aren’t just dessert – they’re edible memories.
Why You’ll Love These Classic Shortbread Cookies
Oh, where do I begin? These cookies are pure magic in the simplest package. Trust me, once you’ve tried them, you’ll never go back to store-bought versions. Here’s why they’re special:
- That buttery melt-in-your-mouth texture – they practically dissolve on your tongue with the perfect crumbly crunch
- Just five simple ingredients you probably have in your pantry right now (no fancy equipment needed!)
- The dough comes together in under 15 minutes – perfect for spontaneous baking sessions
- They’re holiday decoration-ready – those cute fork marks make them look professionally decorated without any fuss
- These freeze like a dream – bake now, enjoy later when surprise guests arrive!
I love how these humble cookies feel fancy enough for Christmas cookie swaps but simple enough for Tuesday afternoon cravings. The best part? Even my picky little nephews devour them every time! Now go preheat that oven – you’re about to make your kitchen smell like pure happiness.
Essential Ingredients for Classic Shortbread Cookies
Let me tell you a secret – the magic of these cookies lies in their simplicity. You only need a handful of ingredients, but each one plays a starring role. I learned the hard way that skimping on quality here makes all the difference!
First up – the butter. And I mean real butter, none of that margarine business. You’ll need 10 tablespoons (that’s 142g for my metric friends) of unsalted butter at room temperature. Not cold, not melted – that perfect soft-but-not-greasy stage where your finger leaves a gentle indent. This is non-negotiable for that signature melt-in-your-mouth texture.
For sweetness, we’re using 1/2 cup of confectioners’ sugar (also called powdered sugar). The fine texture blends beautifully without making the cookies gritty. A half teaspoon of pure vanilla extract adds that warm, comforting note – don’t even think about the imitation stuff!
The dry team consists of 1 1/2 cups (180g) of all-purpose flour – I like to fluff mine before measuring. And here’s a little trick I picked up from my grandma: a half teaspoon of kosher salt (totally optional) to balance the sweetness. It might sound odd, but trust me, it makes the flavors pop!
That’s it! Five simple ingredients that transform into something magical. Now let’s get mixing – your future self will thank you when that first buttery bite hits your tongue.
Step-by-Step Guide to Making Classic Shortbread Cookies
Okay, grab your mixing bowl – we’re about to make kitchen magic happen! I’ve made this recipe a hundred times (literally – my family won’t let me stop), and these are the steps that guarantee perfect shortbread every time. Don’t worry, I’ll walk you through each part like we’re baking together in my kitchen.
First, let’s cream that gorgeous butter. In your stand mixer fitted with the paddle attachment (or with a good old wooden spoon if you’re feeling nostalgic), beat the butter and vanilla extract until it’s perfectly creamy – about 2 minutes should do it. You’ll know it’s ready when it looks pale and fluffy, like whipped honey. Now sprinkle in that confectioners’ sugar and salt if using. Mix just until combined – we’re not making whipped cream here!
Here comes the flour! Add it gradually while mixing on low speed. This is where patience is key – stop the moment the dough comes together. You might still see some flour streaks, and that’s okay. Scrape down the bowl once, mix for maybe 10 more seconds, and walk away. Overmixing is the enemy of tender shortbread, as I learned from my scone disasters.
Now for the shape-up. Turn that crumbly dough out onto a clean surface and gently press it into a rectangular log (like playdough, but much tastier). Aim for about 1.5 inches thick – we’ll slice these later. Wrap it tight in plastic and pop it in the fridge. Non-negotiable chilling time: at least 1 hour. This prevents spreading in the oven and gives that perfect snap.
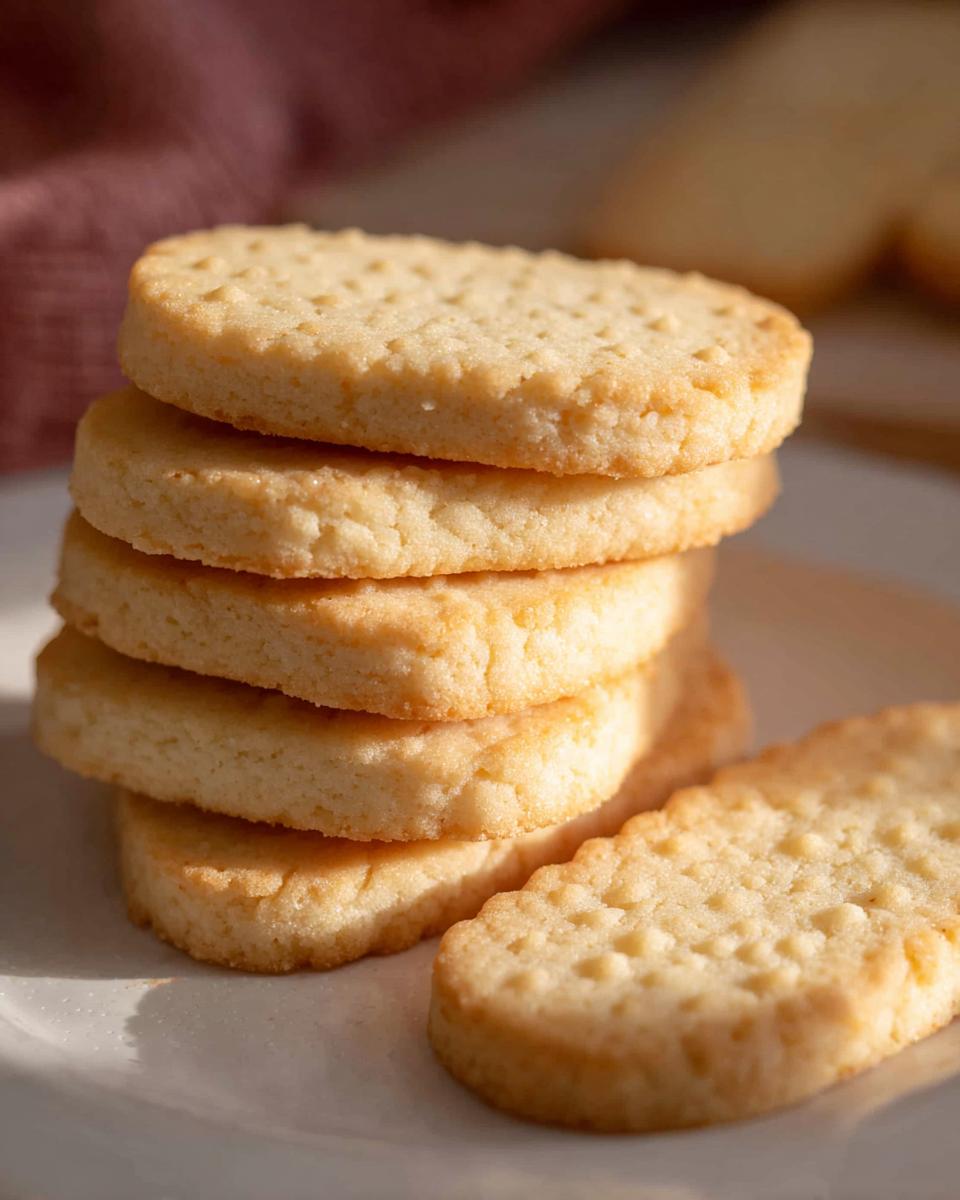
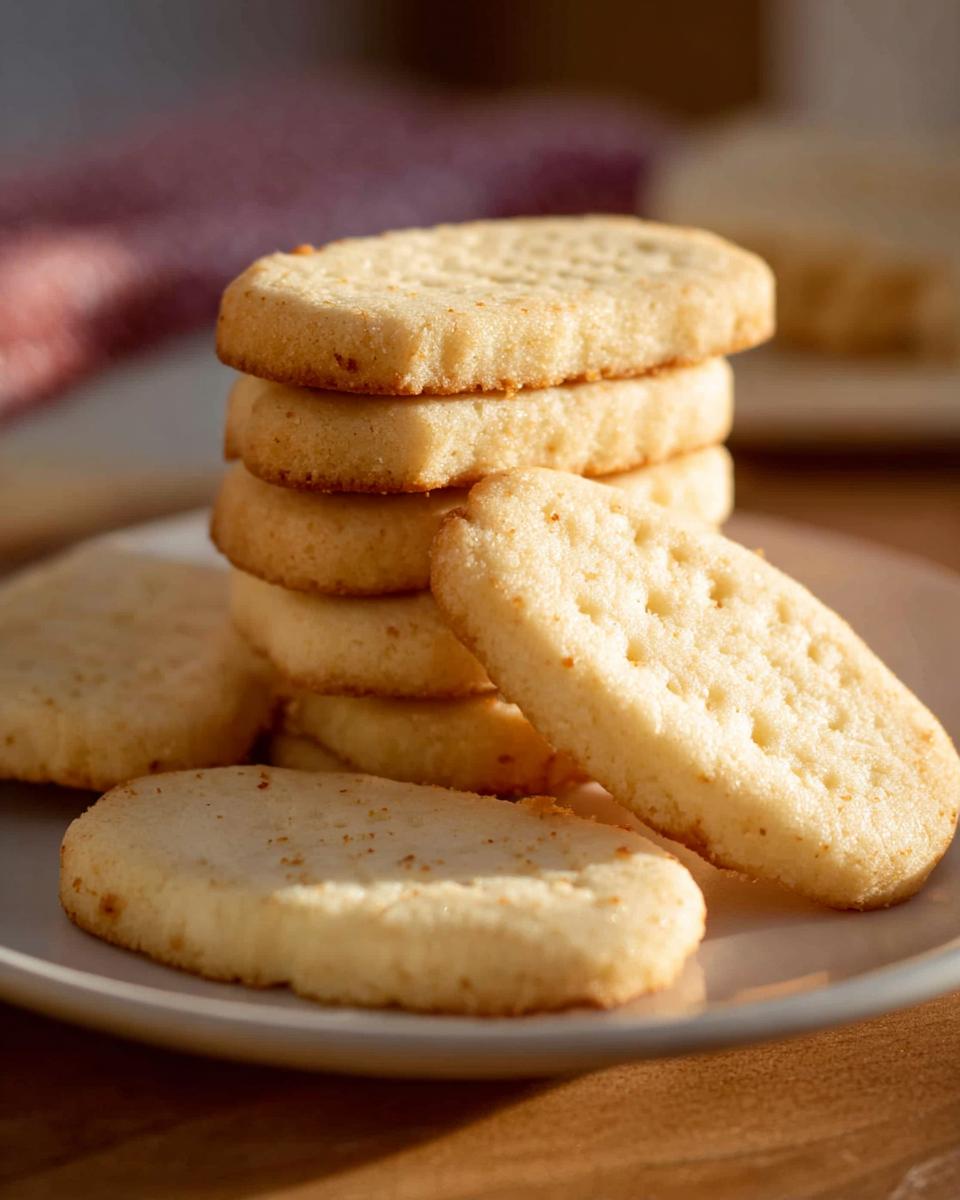
When you’re ready to bake, preheat to 350°F (177°C). Line your baking sheet with a silicone mat or parchment paper – trust me, it’s worth it. Now grab your chilled dough and slice 1/2-inch thick cookies with a sharp knife (no sawing motions!). Space them about an inch apart – they don’t spread much, but they like breathing room. For that classic shortbread look, poke decorative holes with a fork or skewer. It’s tradition in my house to let the kids do this part!
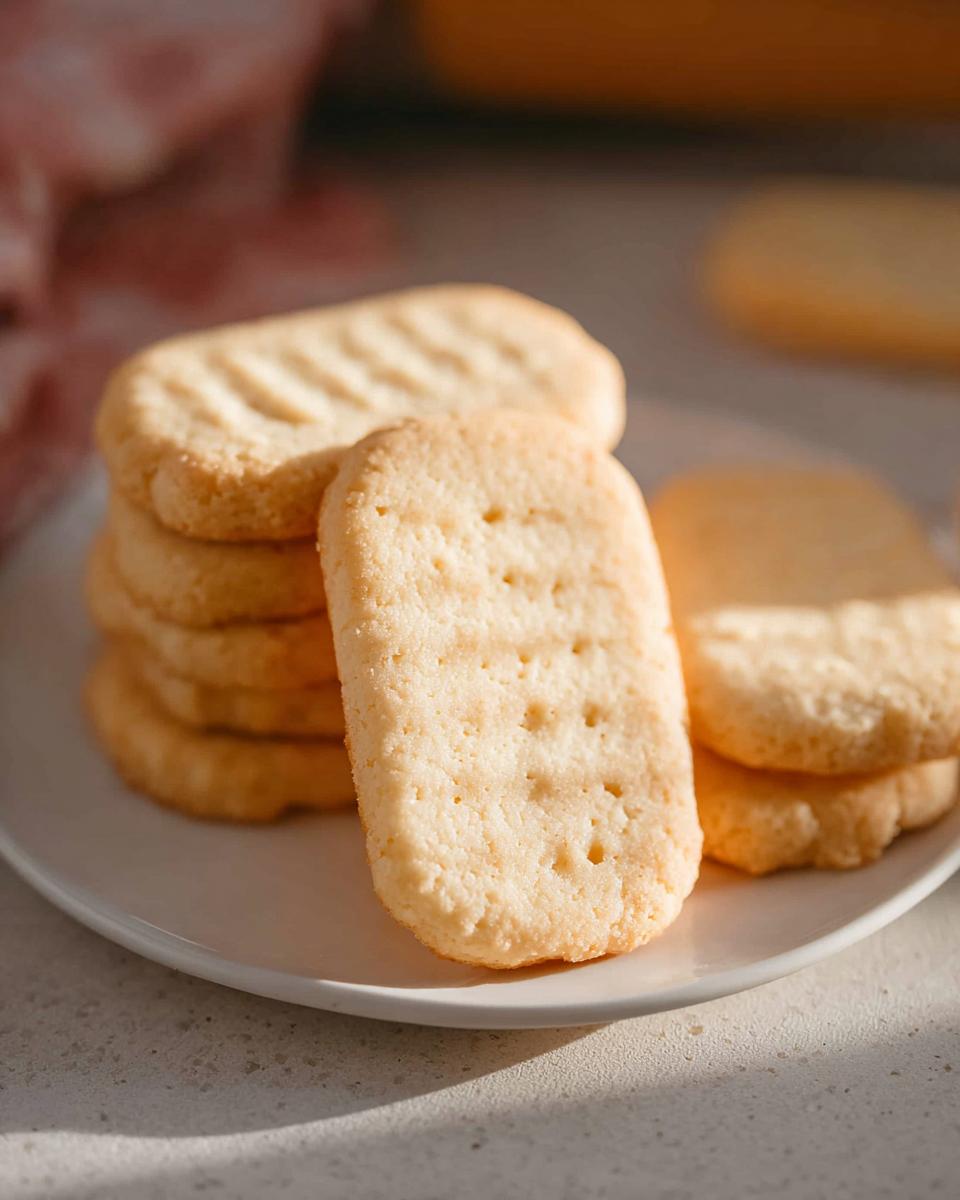
Bake for about 10 minutes, rotating the pan halfway through. You’re looking for lightly golden edges but still pale centers. They’ll firm up as they cool on the wire rack. The hardest part? Waiting until they’re cool enough to eat – but oh, that first buttery bite is worth it! For more tips, I love this expert guide that taught me a few tricks.
Pro Tip for Perfect Classic Shortbread Cookies
Here’s my golden rule for shortbread success: treat the dough like you’re handling fine china. Gentle is the name of the game! Overmixing makes them tough, so stop when you’ve got shaggy crumbs that just hold together when pressed. And that chill time? It’s not just a suggestion – cold dough means cookies that hold their shape beautifully in the oven while staying perfectly tender inside. Want them extra crisp? Slice them a smidge thinner before baking (but no thinner than 1/4 inch or they’ll burn).
Creative Variations for Classic Shortbread Cookies
Let me tell you a little secret – this Classic Shortbread Cookies recipe is like your favorite blank canvas waiting for your personal touch! I’ve had so much fun playing with variations over the years, and now it’s your turn to get creative. The basic dough is beautifully forgiving, so don’t be afraid to make it your own.
For a festive twist, try adding the zest of one lemon, lime, or orange to the dough – that citrusy brightness cuts through the butter perfectly. My friend Sarah swears by adding a handful of finely chopped toasted pecans (her Southern roots showing!), while I’m partial to a teaspoon of ground cardamom for those cozy spice notes that say “holidays” to me. If you’re feeling extra fancy, press a single dried cranberry or homemade fruit topping into each cookie before baking for a pop of color and tartness.
Kids love when we add rainbow sprinkles to half the batch (just knead them in after chilling), and chocolate dip the cooled cookies – it’s messy, but so worth it. The best part? These variations all use the same foolproof base recipe, so you’re guaranteed delicious results no matter which path you choose. Go ahead, play with your food – that’s where kitchen magic happens!
Storing and Freezing Classic Shortbread Cookies
Oh honey, let me tell you about my shortbread cookie stash – it’s my secret weapon for last-minute guests and sudden sweet cravings! These beauties keep like a dream if you treat them right. Once completely cooled (and I mean completely – no cheating!), store them in an airtight container at room temperature. They’ll stay fresh and buttery for up to two weeks – if they last that long in your house!
Now here’s my favorite trick: the dough freezes beautifully! Shape it into logs, wrap tightly in plastic, then slip into freezer bags. It’ll keep happily for about a month. When the cookie craving hits, just slice frozen (no thawing needed!) and bake a few extra minutes. Perfect for when surprise visitors drop by or when you need instant holiday cheer.
Already baked cookies can be frozen too – layer them between parchment paper in an airtight container. They’ll keep for three months, though in my experience they never last that long. Pro tip: hide them behind the frozen peas if you actually want some left for later!
Nutritional Information for Classic Shortbread Cookies
Now, let’s be real – we’re not eating shortbread for the health benefits! But since you asked (and because my nutritionist sister insists), here’s the scoop on what’s in these buttery delights. Remember, these are estimates based on standard ingredients – your exact numbers might vary slightly depending on your butter brand or flour type.
Each Classic Shortbread Cookie (assuming you get 12 from the batch) packs about 168 calories, with 9.8g of fat (2.9g saturated). You’re looking at 18.3g carbs per cookie, with 7g of sugar and 0.6g fiber. They’ve got just 1.6g protein, so maybe pair them with milk for balance!
Here’s how I see it: life’s too short to stress over cookie calories. These are treats meant to be savored slowly, preferably with a cup of tea and good company. Everything in moderation, right? Now go enjoy that buttery goodness guilt-free!
Frequently Asked Questions About Classic Shortbread Cookies
I’ve gotten so many questions about these cookies over the years – seems like everyone wants to make them just right! Here are the ones that pop up most often in my kitchen (and my inbox):
Can I use salted butter instead of unsalted?
You sure can, but here’s my trick – just skip the added salt in the recipe. I prefer unsalted because it lets me control the saltiness perfectly, but I’ve made them with salted butter in a pinch and they still disappear fast!
Help! My dough is too crumbly – what did I do wrong?
Don’t panic! This happens to me sometimes too. Just knead in a teaspoon of cold water at a time until it comes together. Usually 1-2 teaspoons does the trick. And remember – it’s supposed to be drier than regular cookie dough, so don’t overdo it!
What’s the best way to package these for holiday gifts?
Oh, I love gifting these! Stack them in a pretty tin with parchment between layers, or tie bundles with baker’s twine and cellophane. For extra flair, dip half in chocolate and sprinkle with crushed candy canes – instant holiday magic! This recipe has great decorating ideas too.
Can I make these without a mixer?
Absolutely! My grandma never used one. Just soften that butter really well and use a sturdy wooden spoon – it’ll take some elbow grease, but the results are just as delicious. Bonus: you’ll burn off some cookie calories before you even bake them!
Why do mine spread too much in the oven?
Two likely culprits: butter too soft or dough not chilled enough. Make sure your butter is soft but still cool to the touch, and never skip that hour in the fridge. If it’s hot in your kitchen, try chilling the sliced cookies for 10 minutes before baking – works like a charm!
Classic Shortbread Cookies
Equipment
- Baking Sheet
- stand mixer
- Silicone mat
- Wire Rack
Ingredients
- 10 tbsp unsalted butter, at room temperature 142g
- 1/2 cup confectioners’ sugar
- 1/2 tsp pure vanilla extract
- 1 1/2 cups all-purpose flour 180g
- 1/2 tsp kosher salt optional
Instructions
- In a stand mixer fitted with a paddle attachment, beat butter and vanilla extract until creamed.
- Add confectioners sugar and salt; mix until combined.
- Scrape bowl down and add flour while beating on low. Scrape bowl once more and mix until combined.
- Shape the dough into a rectangular prism, wrap in plastic and chill until firm. At least an hour.
- Preheat oven to 350F (177C). Use a sharp knife to cut 1/2 inch thick slices.
- Place slices, spaced at least an inch apart onto a baking sheet lined with a silicone mat or parchment paper.
- Use a fork or skewer to indent a pattern onto the top.
- Bake for about 10 minutes, rotating baking sheet in the oven halfway through.
- Transfer to a wire sheet to cool.