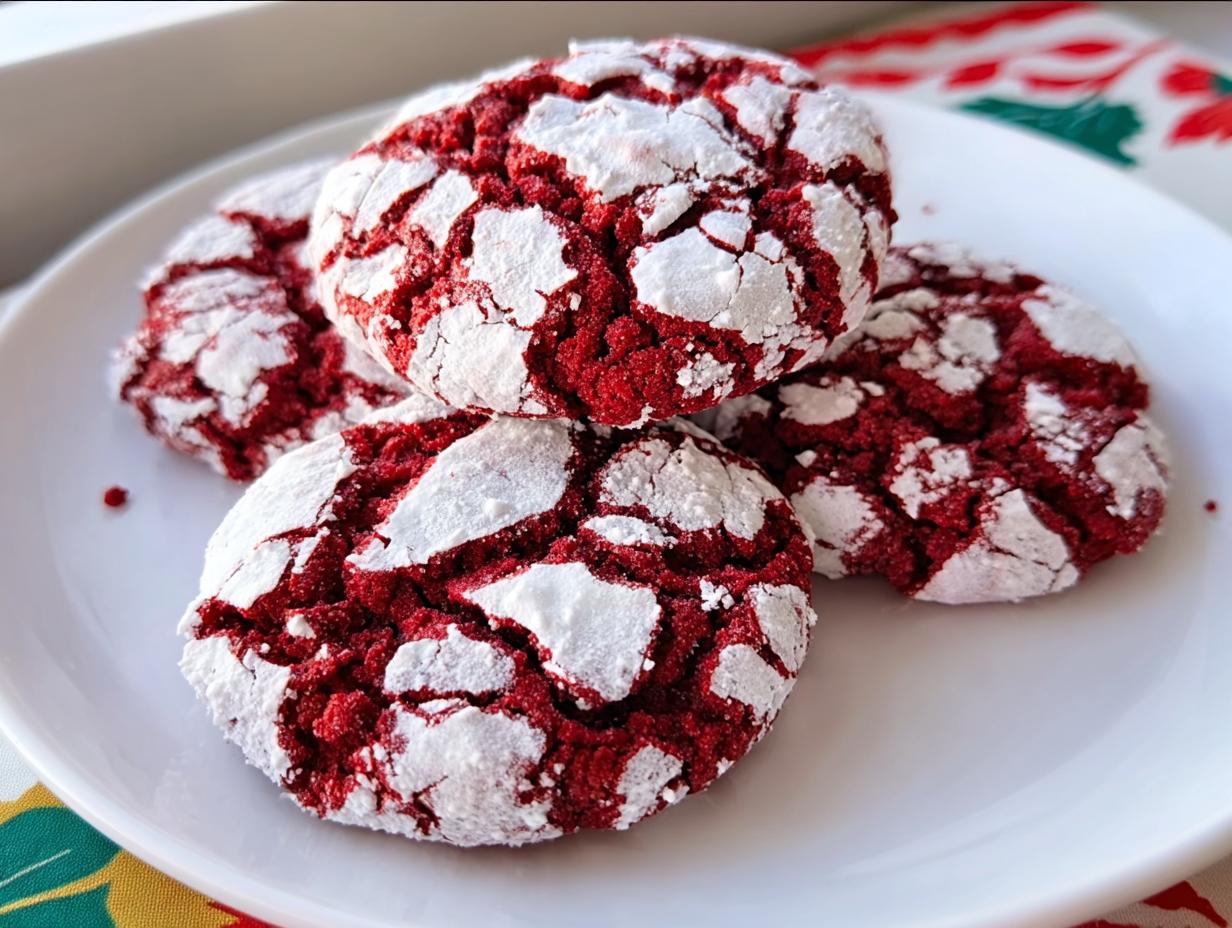
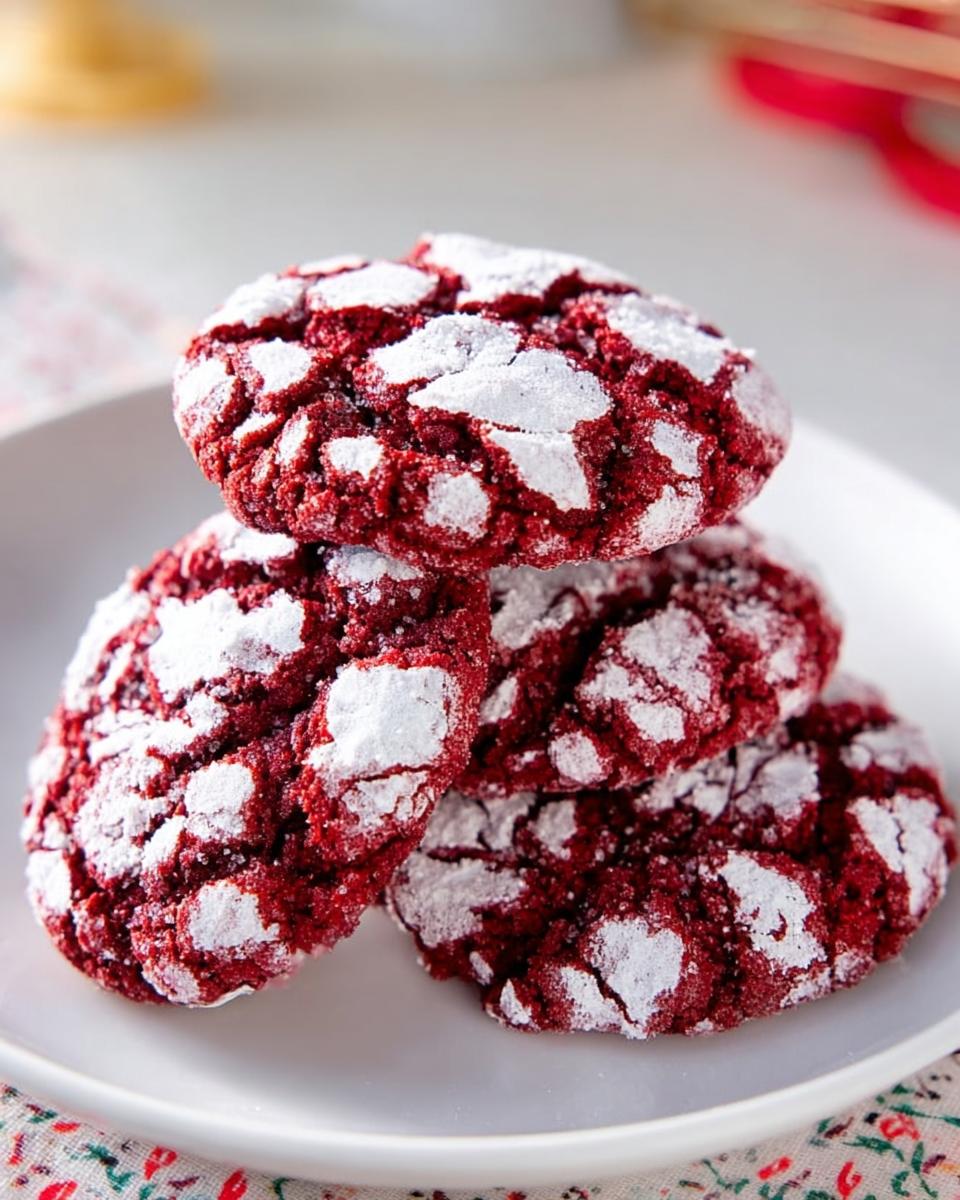
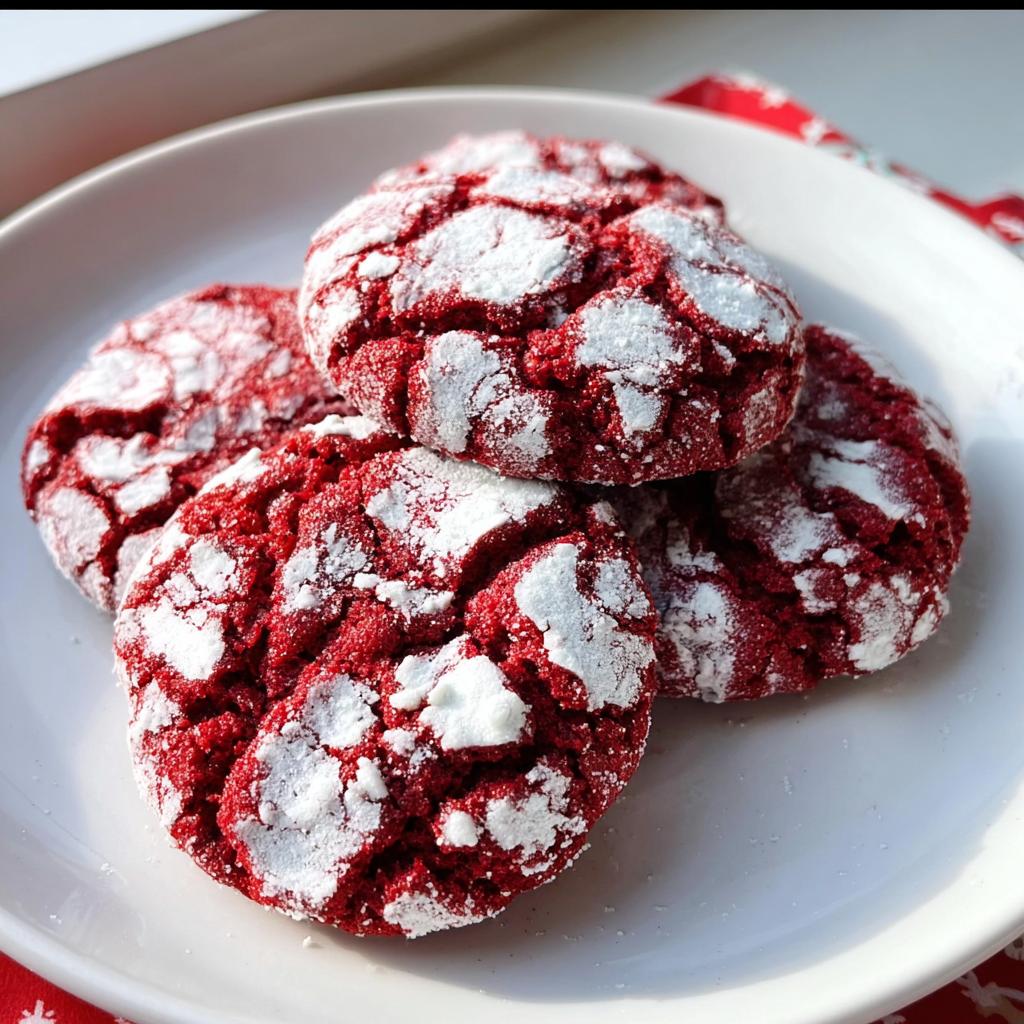
There is just something about festive baking that puts me in the best mood! If you’re looking for that perfect showstopper cookie that looks amazing on any tray, you’ve found it. I absolutely adore a cookie that manages to be incredibly soft on the inside while sporting those gorgeous, deep cracks on the outside. Trust me, I tested these several times to get the crackled tops just right—they’re what make these cookies instantly recognizable. Forget fussy shapes; these Classic Red Velvet Crinkle Cookies deliver that rich chocolate and vanilla flavor we all crave, wrapped up in a stunning, snow-dusted package. They bake up soft and decadent every single time, making them a must-have for any celebration.
Why You’ll Love These Classic Red Velvet Crinkle Cookies
Honestly, once you try these, they might become your go-to recipe for every holiday! They just hit different, especially when you’re doing a lot of tedious decorating on other things. Here’s why these cookies are going straight into your permanent rotation:
- They taste exactly like your favorite red velvet cake—that tiny hint of cocoa balanced by deep vanilla flavor!
- The texture is pure heaven: a chewy, soft center that practically melts in your mouth.
- That signature crinkle top is so dramatic and festive; they look like they took hours, but they’re super simple.
- They are a fantastic make-ahead option for your big Valentine’s Day baking plans.
- You can skip the messy rolling pin and frosting battles when you need quick impact. We love an easy win!
- If you’re looking for ideas beyond basic sugar cutouts, these offer wonderful texture variety on your dessert platter. For other festive ideas, check out my thoughts on other crinkle cookie variations if you want to see how flexible this style is!
Essential Equipment for Perfect Classic Red Velvet Crinkle Cookies
You don’t need a thousand fancy gadgets for these beauties, which is another reason I adore them! Getting the right tools ready beforehand makes the process flow so much smoother, especially when you’re working on a tight schedule getting ready for Valentine’s Day.
To make sure your dough creams up beautifully and those cookies set just right, here is the simple equipment list I rely on:
- Baking sheets – You really need at least two so you aren’t waiting around for one batch to finish before you can bake the next.
- Parchment paper – Don’t skip this! It makes cleanup a dream, and nobody wants stuck cookies when the pressure is on.
- Mixing bowls – You’ll need a couple—one for your dry ingredients and a big sturdy one for creaming the butter and sugar.
- Electric mixer – While you can mix this by hand, using a stand mixer or a hand mixer makes getting that light and fluffy texture much easier.
Ingredients for Your Classic Red Velvet Crinkle Cookies
Getting the ingredients right is step one for stellar Classic Red Velvet Crinkle Cookies. This recipe relies on quality components to get that signature deep red color and melt-in-your-mouth texture we are aiming for. You want that rich cocoa note to shine through, which means measuring carefully is key here, especially when dealing with the leavening agents.
If you ever wonder about salt choices (I know I do!), I have a great guide on kosher salt vs. sea salt that helps decide which one plays best with the cocoa powder in this mix!
For the Cookie Dough
This is where the magic starts! Make sure your butter is truly softened—room temperature, not melted—otherwise your cookies won’t cream up correctly. And don’t skimp on the food coloring; you want that vibrant red that screams Valentine’s Day!
- 2.25 cups all-purpose flour
- 2 tbsp cocoa powder (the unsweetened kind!)
- 1 tsp baking powder
- 0.25 tsp salt
- 0.75 cup unsalted butter, softened
- 0.75 cup granulated sugar
- 1 large egg
- 1 tsp vanilla extract
- Red food coloring (Use enough to reach your desired color—be generous!)
For the Coating
This part is non-negotiable! The coating is what creates those gorgeous cracks when the cookie bakes. You need more than you think you do, so grab a big container!
- Powdered sugar (For coating—you’ll be rolling the dough balls in this heavily)
Step-by-Step Instructions for Classic Red Velvet Crinkle Cookies
Okay, now for the fun part where we turn that beautiful batter into those irresistible little ruby spheres! Getting the steps right here is what ensures you get that lovely crackle we talked about earlier. If you’ve been checking out my other red velvet adventures, like these green velvet cookies, you know how important color is!
Mixing the Dough Base
First things first, we need to get organized. Go ahead and set your oven to 350°F (175°C) and line those baking sheets with parchment paper—I sourced this great link for a classic version if you want to compare techniques here.
Grab a medium bowl and gently whisk your flour, cocoa powder, baking powder, and salt together. Whisking them now keeps everything evenly distributed, so you don’t have clumps later. Now, switch to your big bowl. You need to cream that softened butter and granulated sugar together. Work it with your mixer until it looks genuinely light and fluffy. This step is key; we are building air pockets for texture!
Achieving the Perfect Red Velvet Color and Chill Time
Once the butter and sugar are happy, toss in that egg, vanilla extract, and then add your red food coloring. Mix until it’s all just combined into that gorgeous red velvet shade. Do not overdo the mixing! When you add the dry stuff, mix it slowly on low speed until just a dough forms. Seriously, stop mixing when you see the last dry streak disappear.
Development time is crucial here for the crinkles! You must wrap up that dough tight and stick it in the fridge for 30 minutes. Chilling stops the cookie from spreading too thin before those cracks can set up later. Don’t try to rush this!
Coating and Baking Your Classic Red Velvet Crinkle Cookies
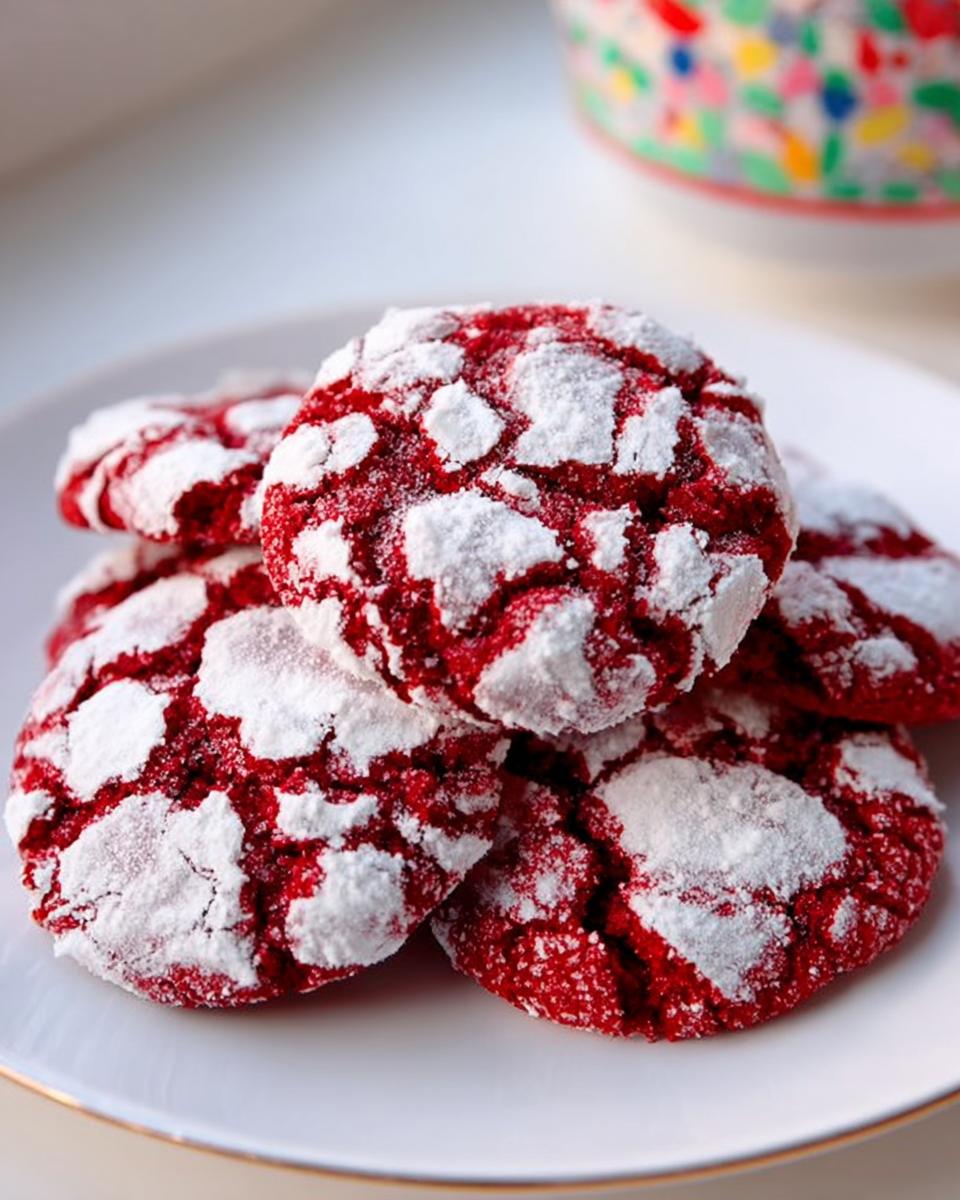
Once chilled, scoop your dough into little balls—think small, not giant! Then, you need to roll those balls *generously* in the powdered sugar. I mean, really bury them! The heavier the coating, the better the crinkle happens in the oven.
Place them on your prepared sheets, giving them space to grow. Pop them into your preheated oven and bake for just 11 to 13 minutes. You’ll know they are done when you see those beautiful, deep cracks spreading across the top. Let them cool slightly on the pan before moving them!
Tips for Perfect Classic Red Velvet Crinkle Cookies
You know, baking is fun, but getting that *perfect* picture-ready cookie takes a little inside knowledge. Since I spent way too much time testing these for the bakery, I’ve got a few tricks up my sleeve to guarantee you get those amazing crinkles and that soft texture every single time.
The #1 secret, which they mention briefly in the notes, is all about the coating process. Don’t just give the dough a light dusting! You absolutely need to roll those chilled dough balls heavily, even packing the powdered sugar onto them. The thick layer of sugar helps insulate the outside of the cookie while the inside is still rising and spreading, forcing those dramatic cracks to appear. It’s totally worth the extra time, trust me!
Another thing that seems small but makes a huge difference is how you handle the dough temperature. If your dough is too warm when you roll it, it’s going to melt too fast in the oven and you’ll end up with flat, shiny discs instead of fluffy crinkled mounds. Keep that dough **chilled**! If your kitchen is warm, work quickly or chill the formed balls for an extra 10 minutes before you even think about coating them.
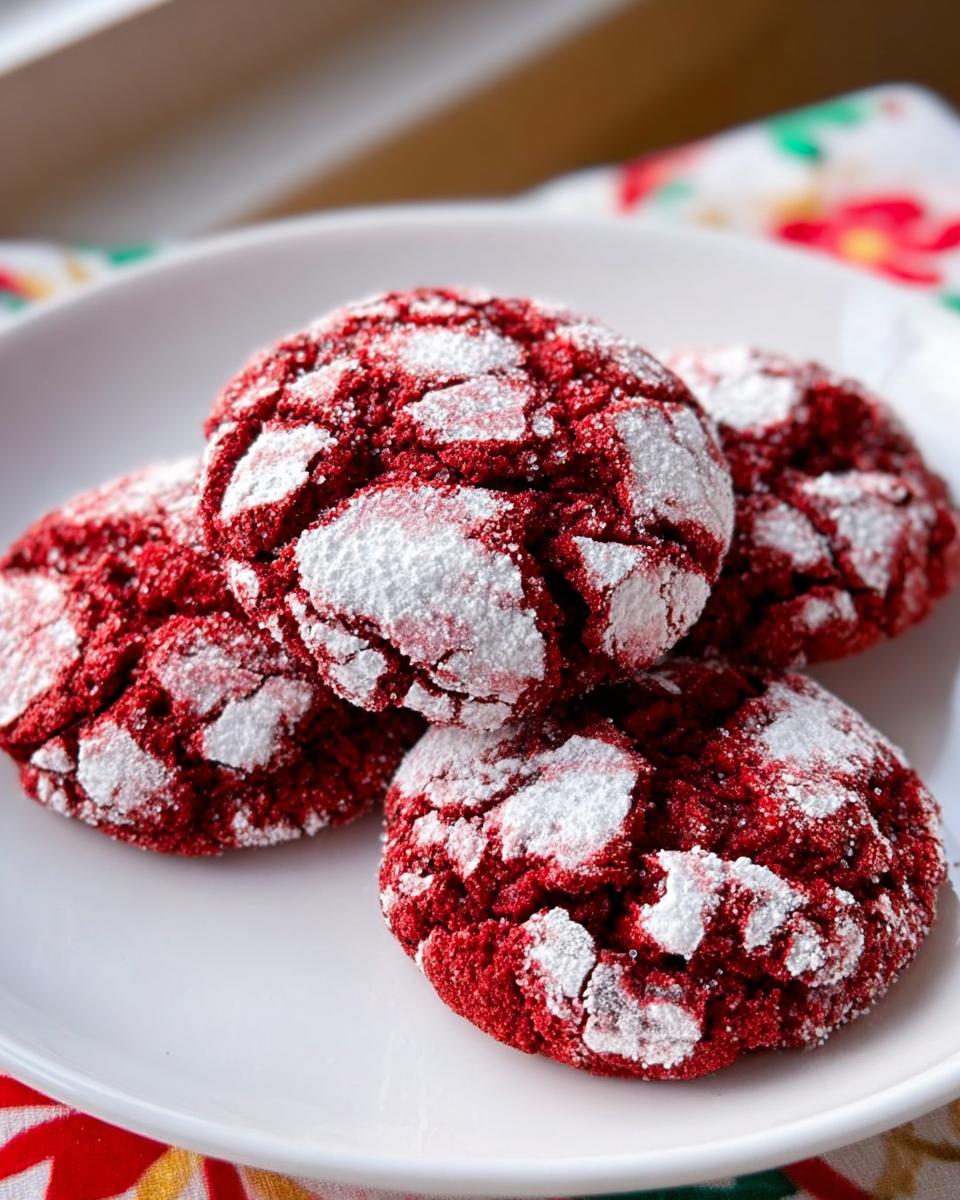
When it comes to the color, don’t panic if you need more food coloring than you expect. Red velvet relies on that deep hue to contrast beautifully with the white powdered sugar, making the cracks really pop. Use gel food coloring if you can find it, as it’s super concentrated and won’t water down your dough like liquid coloring sometimes can. For more advanced baking tips on getting perfect results generally, sometimes I look back over my advice for things like perfect scones—it’s amazing how similar the attention to detail is when you look at baking techniques across recipes.
Finally, watch the edges: when 11 minutes hits, pull one out to check. If the edges look set but the center still looks a little soft, they are probably perfect. They firm up quickly on the hot baking sheet!
Storage and Keeping Your Classic Red Velvet Crinkle Cookies Fresh
One of the best things about Classic Red Velvet Crinkle Cookies is that they stay soft for days! You don’t want to lose that wonderful texture overnight, so proper storage is important. As soon as they are completely cool—and I mean totally cool, or they’ll steam up, yuck—transfer them into a truly airtight container.
I keep mine right on the counter at room temperature because they don’t need refrigeration. Storing them separately from other, drier cookies helps them retain maximum softness. If you want long-term storage, you can totally freeze them! I’ve found that freezing works best with my bread recipes, but for cookies, just wrap tightly. For bread tips that often help with cookie storage too, check out my thoughts on the secret to keeping bread moist.
Variations on Classic Red Velvet Crinkle Cookies
Even though these Classic Red Velvet Crinkle Cookies are perfect as they are, sometimes you want to mix things up a little bit, right? Especially when you are planning out all your festive treats for Valentine’s Day baking, you need a few different showstoppers going on.
These variations let you play with the texture or add extra indulgence without messing up that beautiful red velvet base. It’s all about maximizing those delicious red velvet profiles!
Here are a couple of easy swaps that keep the theme festive but add a little surprise when people bite in:
- White Chocolate Lovers: Fold in about a cup of white chocolate chips right at the end when you add the flour mixture. The chips melt just enough during baking to create gooey pockets of sweetness that contrast wonderfully with the slight cocoa tang. We still coat these in powdered sugar just before baking, of course!
- A Different Dusting: If you’re tired of plain white sugar, try mixing your powdered sugar coating with a little bit of fine white sanding sugar (the kind that doesn’t melt). This gives you a subtle sparkle and a slightly crunchier exterior texture instead of the classic soft crackle. It looks so pretty, especially if you’re aiming for those elegant cookies decorated ideas you see online.
- Peppermint Twist: For a winter twist that bleeds nicely into early February, add half a teaspoon of pure peppermint extract right alongside the vanilla when mixing the wet ingredients. When serving, dust them with powdered sugar mixed with a few drops of red food coloring for a candy-cane look amongst your general Valentines Dessert Ideas.
It takes zero extra effort to add these little twists, but it makes your spread look much more thoughtful. Who doesn’t love an exciting surprise in their holiday cookie platter?
Frequently Asked Questions About Classic Red Velvet Crinkle Cookies
I know sometimes when you’re planning out a big batch of festive sugar cookies, you end up with a ton of questions. It’s totally normal! Here are the things people ask me most often when they are getting ready to bake these for their Valentine’s Day celebrations. We want perfect results for all your Valentines Day baking!
Can I decorate these cookies like Valentines Sugar Cookies Decorated?
Oh, you definitely can! While the classic look relies on that beautiful snowy powdered sugar coating that creates the crinkles, these cookies are the perfect base for extra flair if you’re putting together fancy Valentines Day Cookie Sets. Once the cookies are totally cool, you can drizzle them lightly with a thinned cream cheese glaze or even dark chocolate. If you are going for that decorated look, skip the powdered sugar coating entirely and just give them a light dusting of cocoa powder mixed with white sugar before baking. They won’t crinkle as much, but they look amazing!
Why didn’t my cookies form the classic crinkle top?
Don’t stress! This is almost always a temperature or coating issue. Did you generously roll the dough balls? I mean, you need to really pack that powdered sugar on there. That thick sugar layer is what creates the beautiful contrast and cracking as the cookie spreads. If they look flat, it usually means your dough was too warm when it went into the oven. Remember that crucial 30-minute chill time? If your kitchen is hot, that dough needs to be *cold* when it hits the heat!
Can I make these ahead for Valentines Day Treats?
Yes, absolutely! That’s one of their best features for busy holiday schedules. You have two great options for making these for your Valentines Day Treats planning. You can form the dough into balls, roll them heavily in the powdered sugar, set them on parchment-lined trays, and then freeze them solid. Once frozen, stack them between sheets of parchment paper in a sealed freezer bag. When you’re ready to bake, just pull out what you need and bake them straight from frozen—add about 2-3 minutes to the baking time. The dough itself can also be chilled for up to 3 days if you want to prep it a bit ahead of time.
Nutritional Estimates for Classic Red Velvet Crinkle Cookies
If you’re counting macros or just curious about what’s in these glorious little bites, I’ve put together the general estimates for one cookie. Since these are Classic Red Velvet Crinkle Cookies, they do lean a little toward the sweeter side—that’s the joy of holiday baking, right?
I always try to be upfront that these numbers are based on the exact measurements I provided in the recipe above, so they are just an estimate. Things like portion size or the brand of butter you use can shift the total slightly. For more in-depth looks at how different elements affect nutrition, you might want to check out my notes on ingredient choices, like my post about pink salt and dieting, to see what kinds of swaps might make small differences.
Here is the breakdown per cookie:
- Calories: 180
- Carbohydrates: 28g
- Fat: 7g
- Protein: 2g
See? Not bad for such a decadent treat! They are wonderfully soft, and getting that high-quality taste doesn’t mean sacrificing knowing exactly what you are eating.
Share Your Classic Red Velvet Crinkle Cookies Creations
Now that you’ve baked these gorgeous Classic Red Velvet Crinkle Cookies, I really, really want to know what you think! Seriously, the best part of sharing these recipes is seeing them come to life in your kitchens.
Did you manage to get that perfect crackle on the first try? Or maybe you tried one of the variations and decided that drizzling chocolate is the only way to enjoy your Valentines Dessert Ideas from now on?
Please, leave me a rating using those little stars—it helps other bakers know this recipe is gold! And if you took a beautiful picture showcasing that stunning red velvet against the white powdered sugar, tag me on social media or reach out via my contact page. I love seeing how you all enjoy these little pieces of holiday magic!
Classic Red Velvet Crinkle Cookies
Equipment
- Baking sheets
- Parchment paper
- Mixing Bowls
- Electric mixer
Ingredients
Cookie Dough
- 2.25 cups all-purpose flour
- 2 tbsp cocoa powder
- 1 tsp baking powder
- 0.25 tsp salt
- 0.75 cup unsalted butter, softened
- 0.75 cup granulated sugar
- 1 large egg
- 1 tsp vanilla extract
- Red food coloring To reach desired color
Coating
- Powdered sugar For coating
Instructions
- Preheat your oven to 350°F (175°C). Line baking sheets with parchment paper.
- Whisk together the flour, cocoa powder, baking powder, and salt in a medium bowl.
- In a separate large bowl, cream the softened butter and granulated sugar using a mixer until the mixture is light in color and fluffy.
- Add the egg, vanilla extract, and red food coloring to the butter mixture. Mix until just combined.
- Gradually add the dry ingredients to the wet ingredients. Mix on low speed until a cohesive dough forms. Do not overmix.
- Wrap the dough and chill it in the refrigerator for 30 minutes.
- Roll the chilled dough into small balls. Generously coat each ball in powdered sugar.
- Place the coated dough balls onto the prepared baking sheets, leaving space between them. Bake for 11 to 13 minutes, or until the tops have cracked.