There is just something undeniably elegant about giving someone perfectly dipped fruit, isn’t there? It takes an ordinary treat and turns it into something really show-stopping, especially when you put it together yourself. Trust me when I say that mastering the Classic Chocolate Covered Strawberry Bouquet at home is easier than you think! Chocolate-covered strawberries always remind me of simple gestures that feel deeply special. This is my tried-and-true method, developed over years of making these for holidays and last-minute gestures, that ensures your chocolate sets beautifully every single time. We’re going to skip all the fuss and nail that luxurious, dipped look.

Why You Will Create the Perfect Classic Chocolate Covered Strawberry Bouquet
Honestly, making these arrangements feels high-end, but it’s incredibly quick. Once you see how beautifully these turn out, you’ll never buy an expensive pre-made version again!
- They look stunning for any occasion, from anniversaries to fun Birthday Strawberries.
- The process is quick—you’re drizzling and dipping, not baking for hours!
- Achieving that elegant, glossy chocolate coating is surprisingly simple with my method.
- You get to control the quality of every single berry you use.
You can even use these tips to learn more about making strawberry cheesecake rolls later on!
Essential Ingredients for Your Classic Chocolate Covered Strawberry Bouquet
Getting the right foundation makes all the difference when you’re crafting a gorgeous arrangement. Don’t skimp on quality here; we want those perfect, visually appealing berries showing off their green caps!
- 1 pound fresh strawberries—make sure they are firm and about the same size for consistency in the final bouquet.
- 8 ounces semi-sweet chocolate, chopped fine. I prefer chopping it myself over using chips for a smoother melt, like when I make dark chocolate fondue.
- Floral sticks or wooden skewers.
Ingredient Preparation Notes
Okay, listen up, this is non-negotiable for a successful chocolate-covered strawberries ideas project: they have to be DRY. Wash your berries gently, then lay them out on paper towels and seriously pat them dry. Any water droplets mean sad, seized-up chocolate! Leave those lovely green leaves on; they act like a built-in handle for dipping and look so much more like real Strawberry Roses that way. Don’t trim them!
Equipment Needed for a Stunning Chocolate Bouquet Diy
You don’t need a full professional kitchen for this job, thankfully! Just a few trusty tools will get you ready for dipping. Having these items ready before you start melting your chocolate makes the whole process so much smoother.
- You absolutely need a double boiler setup, or at least a heat-safe bowl that nests nicely over simmering water—we don’t want scorched chocolate ending up in our chocolate fondue for fruit!
- Parchment paper is your best friend for setting up a non-stick drying station.
- Wooden skewers or sturdy floral sticks—make sure they are food-safe for assembling your final edible bouquets.
Step-by-Step Guide to Making the Classic Chocolate Covered Strawberry Bouquet
Alright, now for the fun part! This is where we turn simple berries into something seriously drool-worthy. I used to rush this part, but trust me—taking your time here is what separates a good dip from a showstopper for your Classic Chocolate Covered Strawberry Bouquet.
Melting the Chocolate Correctly
We have to treat this chocolate right, or it gets all grainy and sticky. Get your double boiler set up. You want a little bit of water simmering gently—not boiling like a raging sea! Place your chopped semi-sweet chocolate in the top bowl. Keep the heat low and just let that chocolate do its thing. Stirring occasionally is key, and usually, after about 8 to 10 minutes, you’ll have perfectly smooth, glossy chocolate ready for dipping. No microwave tricks here; the gentle heat wins every time!
Dipping and Setting the Chocolate Covered Strawberries Ideas
Once the chocolate is liquid silk, grab a berry by its leaves. Dip it about halfway in, making sure the chocolate covers the fruit but leaves a nice clean line near the top. Don’t over-dip! Gently swirl off any extra chocolate drips—you can use the side of the bowl for this. Then, lay the dipped berries down on your parchment paper. Make sure none of them are touching, or they’ll weld together! This is essential for making great chocolate covered strawberries ideas that look professional.
Assembling Your Strawberry Roses Into an Edible Bouquet
Okay, the chocolate is set, and now we turn these gorgeous, dipped berries into something you’d be proud to walk into a party with! This step is purely artistic, so have fun with it. Make sure your chocolate coating is completely firm before you try to assemble anything, or you’ll end up with a gooey mess instead of pretty Strawberry Roses.
Take one of those skewers or floral sticks and gently push it right into the base of the chocolate-covered strawberry. Go slow and straight so you don’t crack the chocolate shell. You want the stick to go right up to the base of the berry, giving you excellent stability.
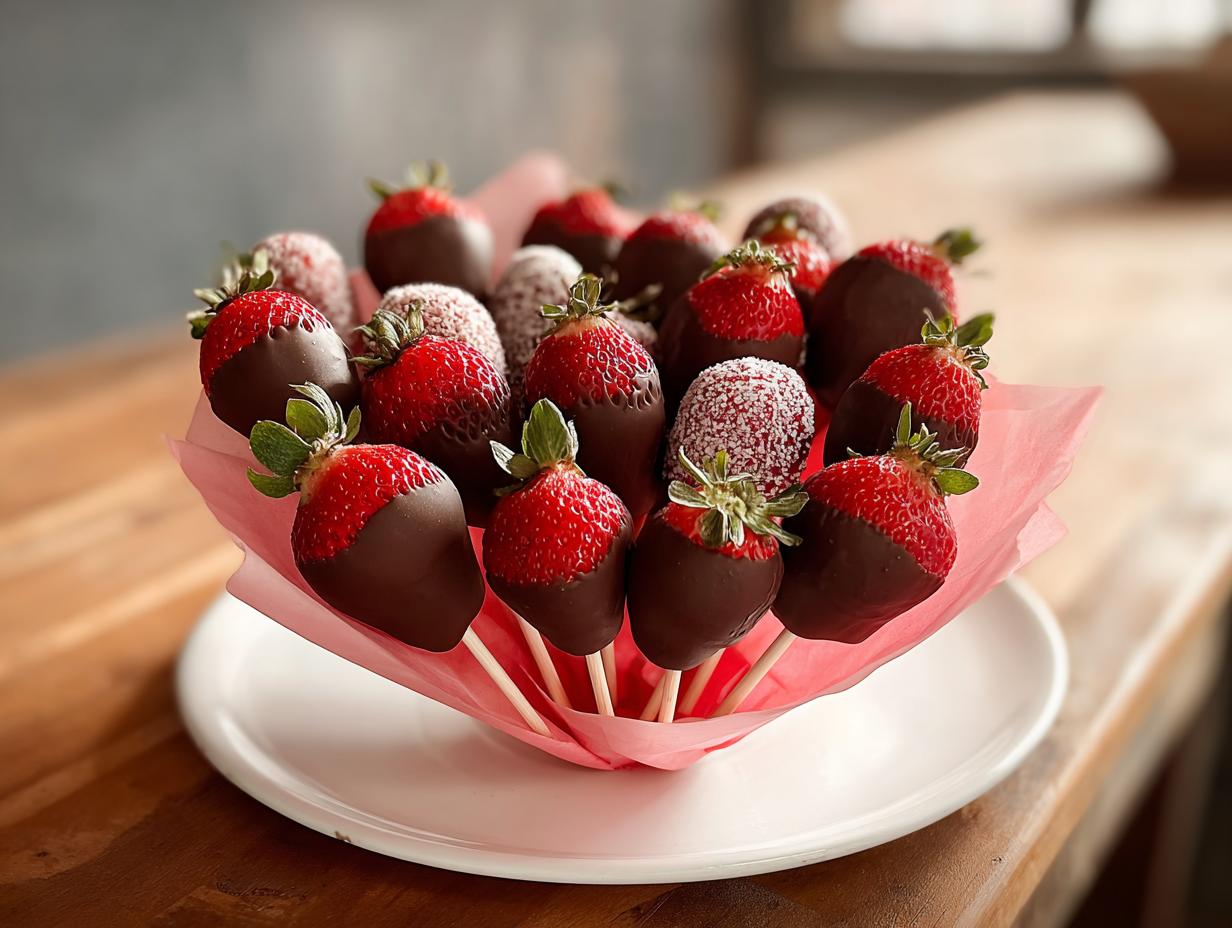
Now, arrange them! Think upward motion, grouping the berries so they look like a cluster of blooms. You can stand them up in a nice vase or even a sturdy jar lined with crinkly tissue paper. It immediately gives that stunning Strawberry Shortcake Flower Bouquet vibe. This is the final touch that transforms your dessert into a true centerpiece for your Classic Chocolate Covered Strawberry Bouquet presentation.

If you’re using a solid base instead of a vase—like a block of floral foam wrapped in cellophane—just push the sticks in firmly so they stand proudly. It’s so satisfying when you finally see the full arrangement! Don’t forget to check out edible arrangements inspiration online for more ideas on structuring your final display.
Tips for Success When Making Birthday Strawberries
Even when everything looks right, sometimes the humidity in your kitchen decides to fight you—we’ve all been there! If your chocolate starts turning dull or seizing up, don’t panic. It usually means there was a tiny bit of steam or water that got where it shouldn’t be.
Here are my foolproof tips for making sure your dipped berries always look their best:
- Definitely avoid making these on super rainy or steamy days. High humidity is chocolate’s arch-nemesis!
- If your chocolate gets too thick later on, stir in just one tiny teaspoon of vegetable oil or coconut oil to loosen it up slightly—it helps prevent seizing after melting.
- Work quickly once the berries are dipped. Place them right onto parchment paper and leave them alone until the chocolate is completely hard; moving them too soon ruins the finish.
- For the best flavor stability, I always try to give my finished arrangements a quick chill for about 10 minutes before I even think about presenting them. Learn more about stabilizing baked goods with good tips like these secrets to perfect scones!
Storage and Presentation for the Classic Chocolate Covered Strawberry Bouquet
Once you’ve finished assembling your beautiful Classic Chocolate Covered Strawberry Bouquet, you need to keep it looking perfect until it’s time to give it away! These are best enjoyed the day they are made, but they handle storage pretty well if you’re planned ahead for that big event.
I store mine in the refrigerator, but here’s the trick: don’t seal them up tightly in a plastic container. The condensation will totally ruin that gorgeous chocolate shell! Instead, place them gently in a box and cover the top loosely with plastic wrap or foil.
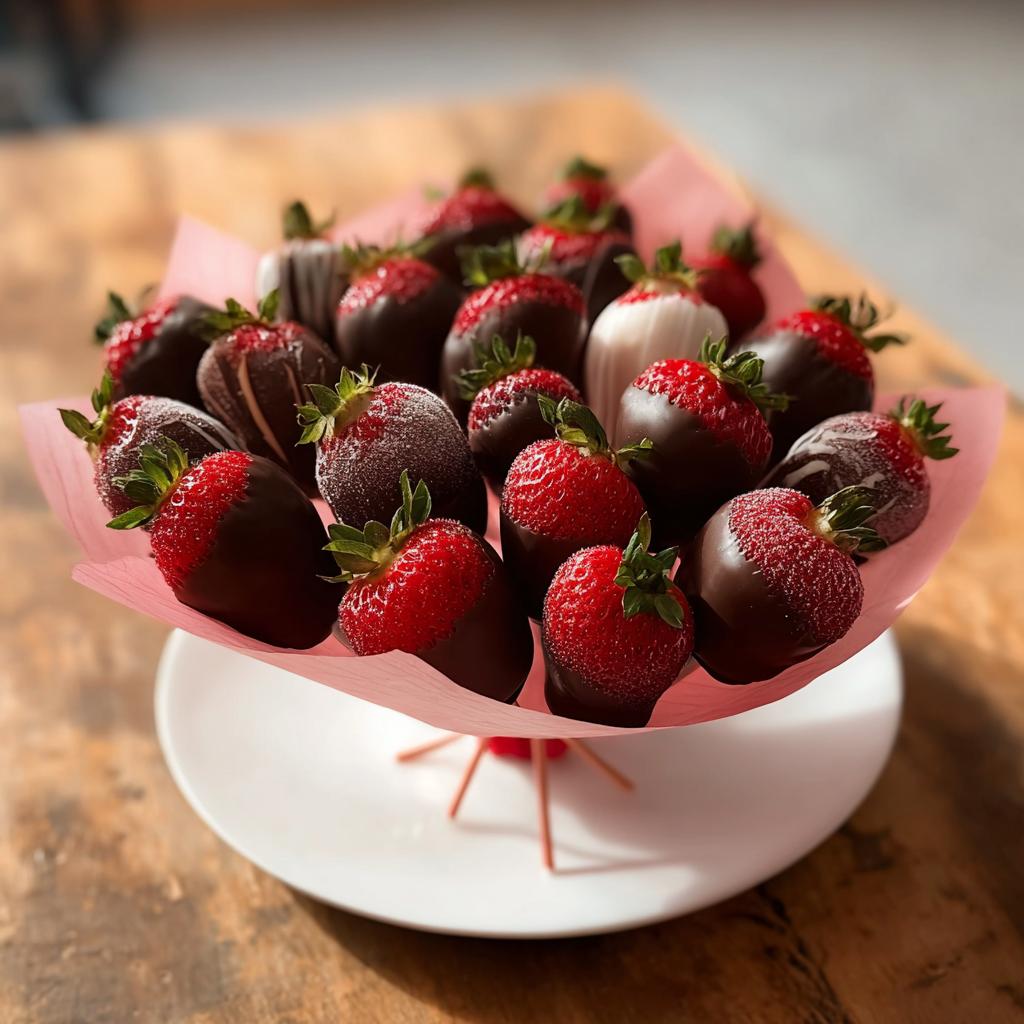
For presentation, think grand! If you used a vase, you can line the bottom with crinkled tissue paper in rich colors—think deep reds or golds for a romantic look. If you need more ideas for dressing up your arrangement, check out some fun holiday party recipes inspiration. You can also see gorgeous visuals over at Cheryl’s for presentation ideas.
They should stay fresh in the fridge for about 24 to 36 hours. Take them out about 30 minutes before gifting so the chocolate isn’t rock hard when they take that first bite!
Variations on the Classic Chocolate Covered Strawberry Bouquet
While the pure, dark chocolate look of the Classic Chocolate Covered Strawberry Bouquet is timeless, sometimes you just need a little extra dazzle, especially if you’re aiming for a certain vibe! This is where we get playful with the chocolate coating.
If you want that beautiful, soft look reminiscent of a Strawberry Shortcake Aesthetic, you absolutely have to try drizzling. After your base layer of semi-sweet chocolate sets, melt a small amount of white chocolate separately. Use a fork to drizzle thin lines back and forth over the dark berries—it looks amazing!
Do the reverse, too! Dip in white chocolate and then drizzle with milk chocolate or dark chocolate. You can even add sprinkles right before the chocolate hardens. If you’re looking for the world’s easiest frosting recipe to practice drizzles on first, check out my sprinkle sugar cookie frosting recipe. For more presentation inspiration on chocolate-dipped fruit, take a peek over at Wolferman’s!
Frequently Asked Questions About Fruit Bouquet Ideas
I get so many questions about keeping these beautiful arrangements perfect, especially when they are meant to be a gift like a Strawberry Shortcake Ramo! Here are a few quick answers to the things I hear most often about making these desserts shine.
How long do chocolate covered strawberries last?
Because we are using fresh fruit, the lifespan is pretty short, which is why they taste so good right away! For the absolute best texture and flavor, try to enjoy your arrangement within 12 hours of making it. If you must store them, keep them cozy in the fridge, covered loosely, for up to 2 days maximum. Any longer and the strawberries start releasing moisture, making that beautiful chocolate sad and watery.
Can I use milk chocolate instead of semi-sweet?
You totally can, but be prepared for a sweeter result! Semi-sweet or bittersweet chocolate gives you that lovely contrast against the tartness of the fresh strawberry. If you use milk chocolate, your final treat will be richer and much sweeter overall. Also, milk chocolate has a lower cocoa butter content, so it might not set quite as firmly as the semi-sweet did in my recipe. It’s okay, just remember to chill those edible bouquets a little longer!
Share Your Edible Arrangements
Now that you’ve mastered the dipping, the arranging, and you’ve got a stunning centerpiece for your next gathering, I absolutely want to know how they turned out! Seriously, it makes my whole day to see your beautiful creations.
If your Classic Chocolate Covered Strawberry Bouquet was a big hit, please take a second and come back here to leave a rating! It helps other folks find this simple recipe. And if you snapped a picture while assembling your gorgeous edible bouquets, I’d love for you to share it with me via the contact page. Just knowing that you took the time to create something so elegant for someone you care about is wonderful.
Thanks so much for cooking along with me today! I hope these bring the same simple joy to your celebrations that they bring to mine.
By Grace Williams, contributor at Recipes by Betty.
Classic Chocolate Covered Strawberry Bouquet
Equipment
- Double boiler
- Parchment paper
- Skewers or floral sticks
Ingredients
- 1 lb fresh strawberries, washed and fully dried
- 8 oz semi-sweet chocolate, chopped
- Skewers or floral sticks
Instructions
- Melt chocolate gently using a double boiler.
- Dip strawberries halfway into chocolate.
- Place on parchment paper to set.
- Once firm, arrange strawberries on sticks into a bouquet.
- Chill briefly before serving or gifting.