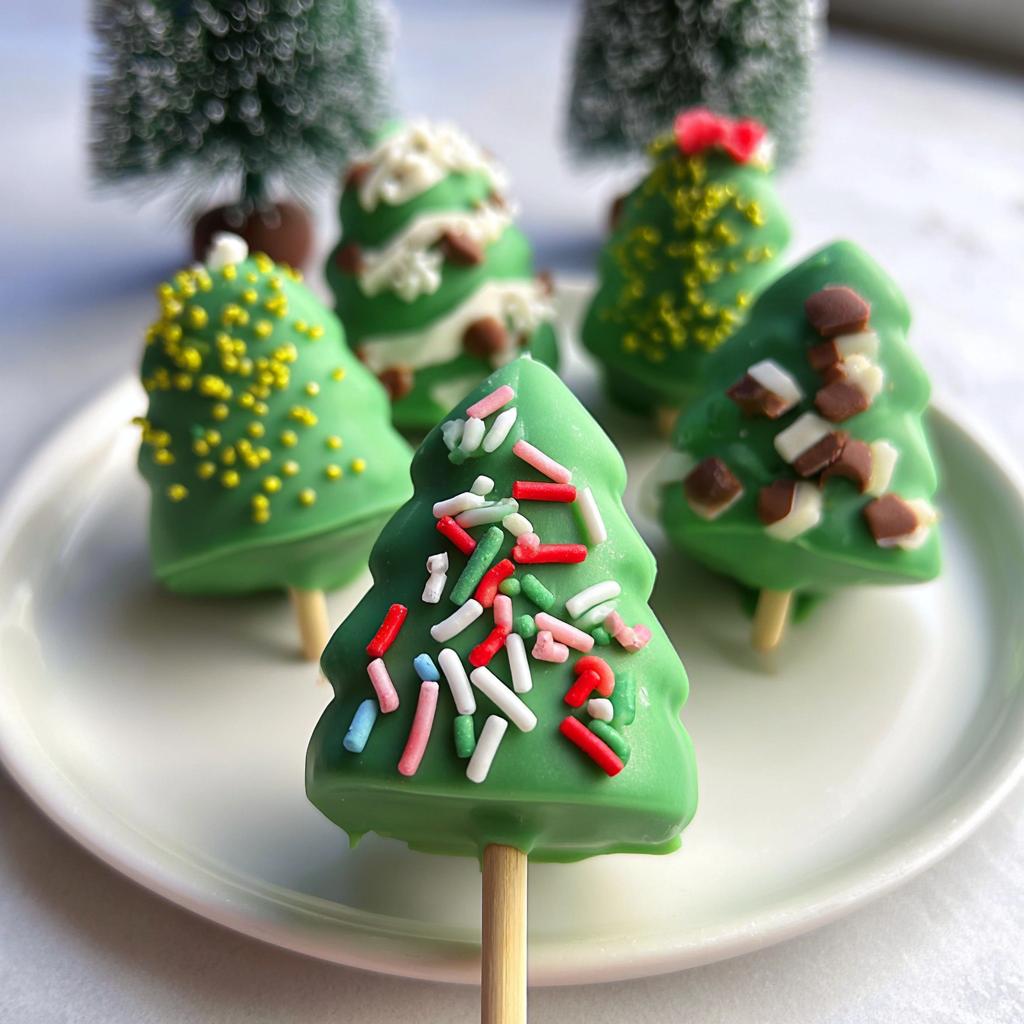
Is there anything more magical than holiday baking season? The moment my kitchen fills with the scent of vanilla and sugar, I know it’s time to start crafting our family’s favorite festive treats. This year, I wanted something extra special for our annual cookie swap – something adorable, portable, and brimming with Christmas cheer. That’s when I discovered the joy of Christmas Tree Cake Pops. I’ll never forget the afternoon I spent testing these little edible trees for a holiday photoshoot – how my counter turned into a winter wonderland as each one took shape, how the kids’ eyes lit up when they saw the first forest of green-dipped cake pops decorated with candy ornaments. They’re the perfect blend of nostalgia and novelty, and the best part? No frosting-licked fingers at parties since every bite comes with its own cute little stick!
Why You’ll Love These Christmas Tree Cake Pops
Okay, let me tell you why these little guys became my go-to holiday treat after that first magical batch! First off, they’re the most festive thing you’ll make all season – watching those green-dipped trees come to life with colorful sprinkles literally makes me giddy. But beyond looking adorable, they’re surprisingly easy to make – no fancy piping skills needed, promise! The decorating part is where the real fun begins. I may or may not have spent an entire afternoon turning my kitchen into a Christmas tree farm one year. And here’s the kicker – they make perfect edible gifts that’ll have everyone oohing and aahing. Pop them in cute little bags with ribbon, and voila – instant holiday hero status!
Ingredients for Christmas Tree Cake Pops
Gathering ingredients for these adorable Christmas Tree Cake Pops is half the fun! I like to organize everything into three groups – cake, buttercream, and decorations – so nothing gets missed in the holiday baking frenzy. Trust me, there’s nothing worse than realizing you’re out of candy melts when you’re mid-dipping!
For the Cake:
- 1 1/4 cups all-purpose flour (I always sift mine for extra fluffy cake)
- 1 tsp baking powder
- 1/4 tsp salt
- 1/2 cup unsalted butter (room temperature – this is crucial!)
- 1 cup sugar
- 2 large eggs (room temperature – they’ll blend better)
- 2 1/2 tsp vanilla extract (the good stuff makes a difference)
- 1/2 cup buttermilk (room temp – see the pattern here?)
For the Vanilla Buttercream:
- 1/2 cup unsalted butter (softened but not melted)
- 2 1/2 cups confectioner’s sugar
- 1-3 Tbsp heavy whipping cream (start with 1, add as needed)
- 1 1/2 tsp vanilla extract
- 1/4 tsp salt (balances the sweetness perfectly)
For Decorating:
- 3 cups dark green candy melts (the backbone of our little trees!)
- 2-3 Tbsp coconut oil (for thinning the melts – lifesaver!)
- Assorted colored candy melts for ornaments: 1/4 cup each of red, blue, light green, and yellow
- 1/4 cup semi-sweet chocolate sprinkles (optional but so cute as “tree trunks”)
Pro tip: If you’re feeling extra festive, check out our homemade fruit roll-ups for some natural food coloring ideas to customize your decorations!
Equipment Needed for Christmas Tree Cake Pops
Now let’s talk tools! You don’t need anything fancy to make these adorable Christmas Tree Cake Pops, but here are the essentials I always have ready on my counter:
- A trusty 9×13 inch baking pan (this is my workhorse for the cake base)
- Electric mixer (stand or hand – either works great for creaming that butter)
- Cake pop sticks (I buy the 6-inch ones – perfect for little hands to hold)
- Parchment paper (for easy cake removal – no stuck-on disasters!)
- Microwave-safe bowls (for melting all those colorful candy coatings)
That’s really it! The magic happens with just these basics – though I won’t stop you if you want to add some festive sprinkles and edible glitter to your shopping cart too!
How to Make Christmas Tree Cake Pops
Alright, let’s roll up our sleeves and make some edible Christmas magic! I’ll walk you through each step of creating these adorable Christmas Tree Cake Pops – from baking the perfect cake base to that final sprinkle of holiday joy. Don’t worry if you’re new to cake pops; I’ve included all my hard-earned tricks to help you avoid common pitfalls like crumbling cake or lumpy coatings. Just follow along, and soon you’ll have a whole forest of sweet little trees!
Step 1: Bake the Cake
First things first – preheat that oven to 350°F and line your 9×13 inch pan with parchment paper (trust me, you’ll thank me later when the cake slides right out!). In one bowl, whisk together your dry ingredients – flour, baking powder, and salt. In another bowl, cream the butter and sugar until it’s light and fluffy, about 3-5 minutes. This is where the magic starts! Add eggs one at a time, then vanilla, then alternate adding the dry mix and buttermilk. Pour into your prepared pan and bake for 20-25 minutes until golden. Let it cool completely – I know it’s tempting, but warm cake crumbles terribly!
Step 2: Shape the Cake Trees
Now for the fun messy part! Crumble your cooled cake into fine crumbs in a large bowl. Add about 3/4 cup of your prepared buttercream (start with less – you can always add more). Mix until it holds together when pressed – like damp sand at the beach! Roll tablespoon-sized portions into balls, then shape into cute little cones between your palms. Pro tip: If the mixture feels too sticky, chill it for 15 minutes first. Stick a cake pop stick into each cone’s base and chill for at least 30 minutes – this prevents disaster when dipping!
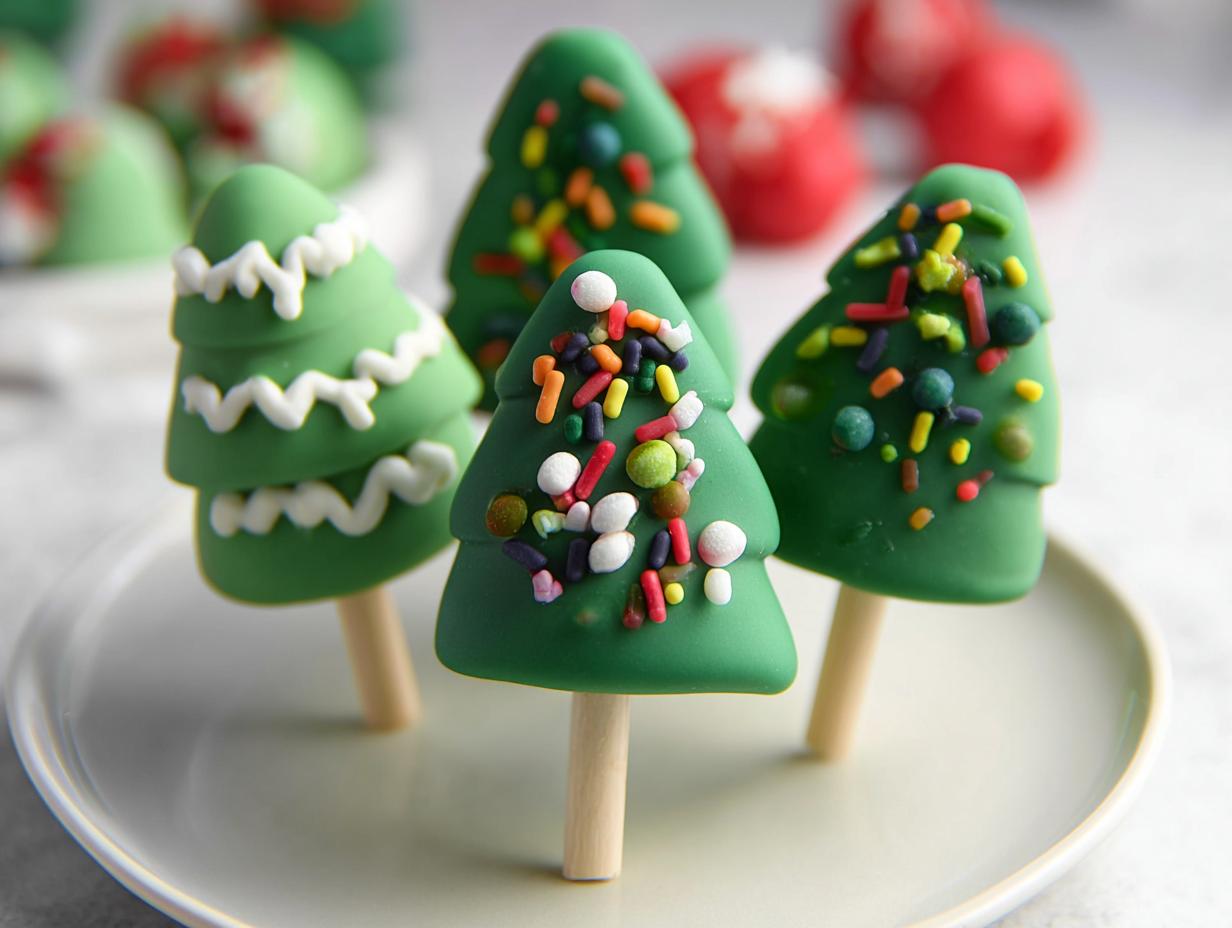
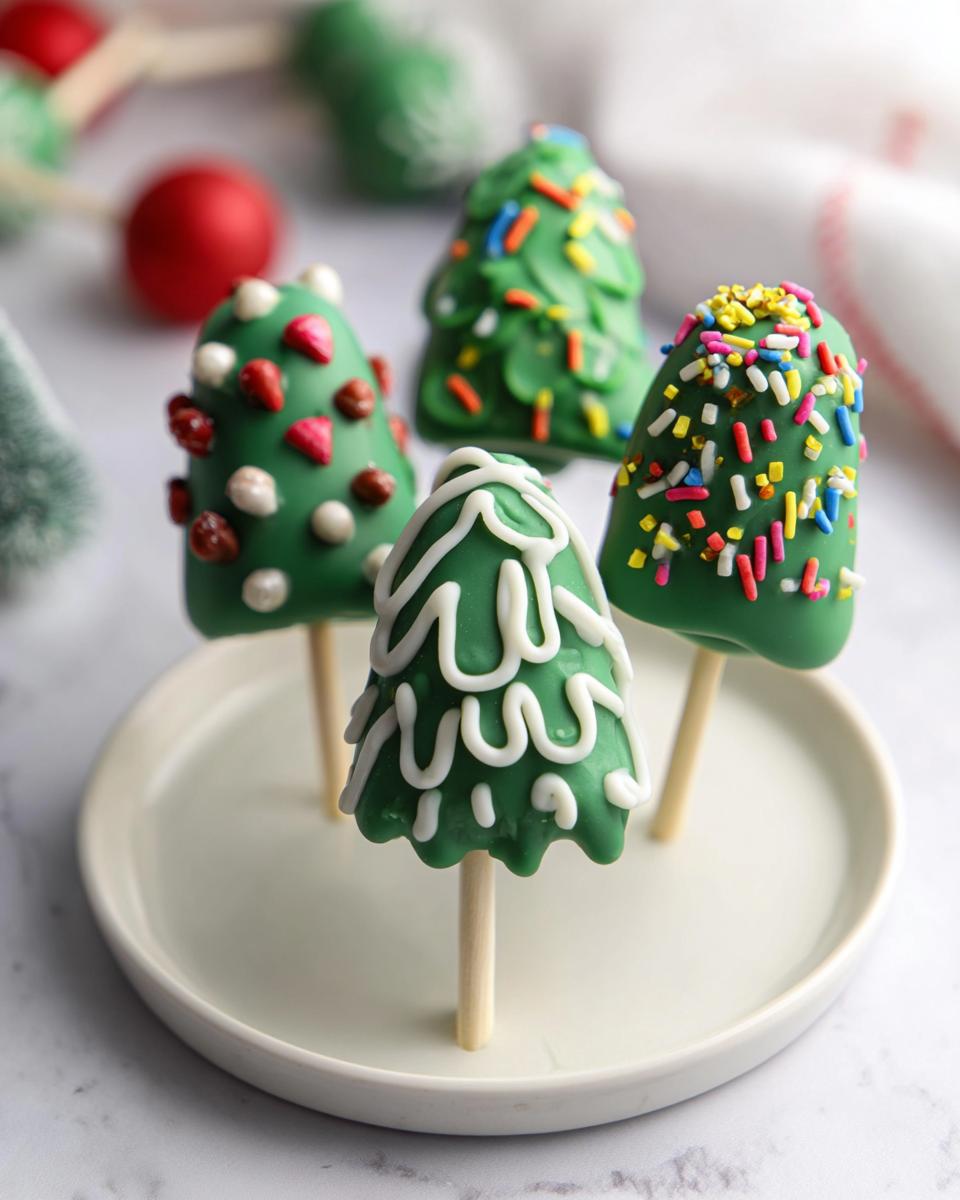
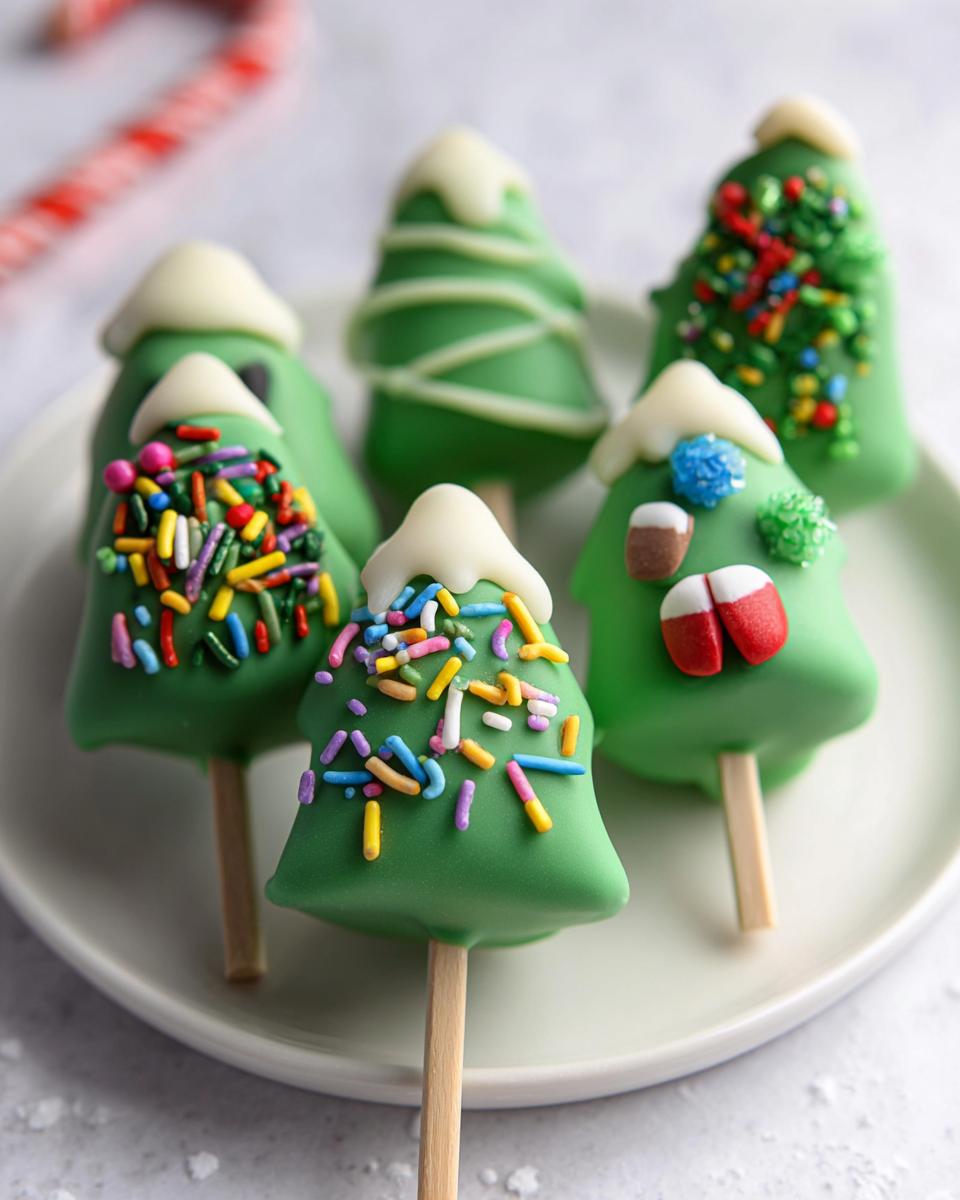
Step 3: Decorate Your Christmas Tree Cake Pops
The grand finale! Melt your green candy melts with a bit of coconut oil (this makes dipping so much smoother). Holding a chilled cake pop by the stick, dip it into the green coating, letting excess drip off. Immediately add sprinkles or drizzle with colored melts for ornaments – work quickly before the coating sets! Stand them upright in a styrofoam block to dry. For extra pizzazz, check out our monster marshmallow pops for more decorating inspiration. Now step back and admire your edible Christmas forest!
Tips for Perfect Christmas Tree Cake Pops
Oh friends, let me share all the little tricks I’ve learned through trial and (many) errors to make your Christmas Tree Cake Pops absolutely flawless! First – and I can’t stress this enough – chill those cake balls before dipping. That 30 minutes in the fridge makes all the difference between a smooth-coated tree and a crumbly mess. Second, that coconut oil isn’t just for show – adding a teaspoon at a time to your candy melts creates the perfect dipping consistency, like liquid silk for your trees! And here’s my secret weapon: gently rotate each pop as it dries to prevent that dreaded “drip line” on one side. Trust me, these tiny adjustments turn good cake pops into showstoppers!
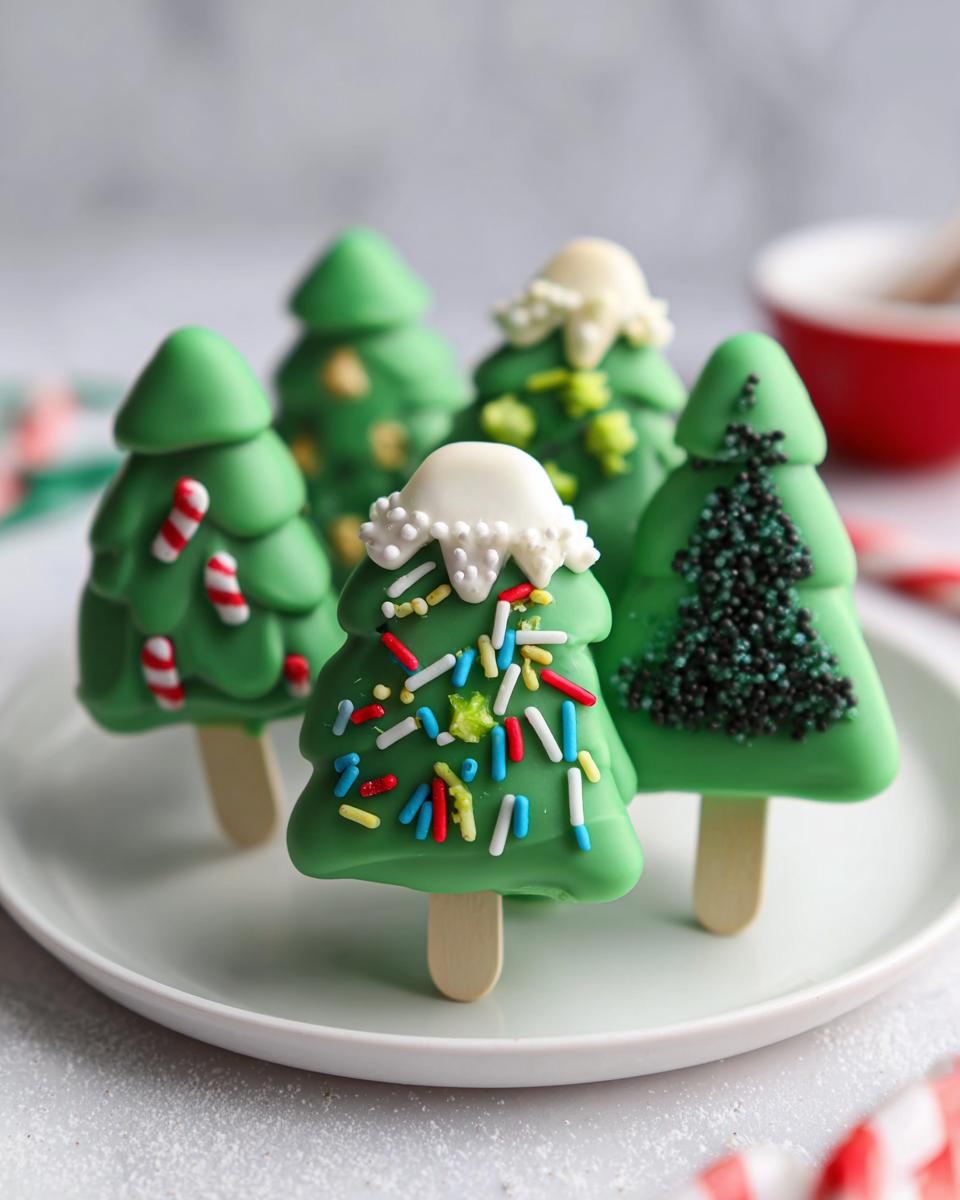
Variations for Christmas Tree Cake Pops
Oh, the possibilities with these little edible trees! Once you’ve mastered the classic version, try mixing it up – I love using peppermint extract in the cake for a festive twist (just swap 1 tsp vanilla for peppermint). For chocolate lovers, use devil’s food cake instead – those rich brown “trees” look amazing with white candy melts drizzled like snow! And don’t get me started on colors – gold-dipped trees with red ornaments? Silver with blue? Your holiday table will be the most magical forest around!

Storing and Gifting Christmas Tree Cake Pops
Let me tell you how I keep these sweet little Christmas trees fresh and festive! The key is an airtight container – I line mine with parchment paper to prevent sticking. They’ll stay perfect at room temperature for 3 days, or pop them in the fridge for up to a week (just let them come to room temp before serving for that perfect texture). For longer storage, freeze them undecorated for up to 2 months – thaw overnight in the fridge before dipping and decorating.
Now for the fun part – gifting! I package these cuties in clear cellophane bags tied with rustic twine and a handwritten tag. Stack them in a festive tin lined with tissue paper for neighbors, or arrange them upright in a foam block inside a decorated shoebox for teachers. Pro tip: Add a mini ornament or jingle bell to each package for an extra special touch. These edible trees make everyone feel like they’ve received a tiny edible Christmas!
FAQs About Christmas Tree Cake Pops
Can I use boxed cake mix for Christmas Tree Cake Pops?
Absolutely! While I love my from-scratch vanilla cake, boxed mix works wonderfully in a pinch. Just prepare according to package directions, let it cool completely, and crumble away. The key is adjusting the frosting amount – start with 1/2 cup and add more until it holds together like damp sand. This shortcut lets you focus on the fun decorating part!
How long do Christmas Tree Cake Pops last?
These sweet little trees stay fresh for 3 days at room temperature in an airtight container. If you need them to last longer, refrigerate for up to a week (the candy coating helps preserve them). For make-ahead magic, freeze undipped cake balls for 2 months – just thaw overnight in the fridge before decorating.
How do I prevent the candy coating from cracking?
Oh, I’ve battled this one! The secret is twofold: First, make sure your cake balls are thoroughly chilled before dipping (30 minutes minimum). Second, add a teaspoon of coconut oil to your candy melts – it makes the coating more flexible as it sets. If cracks still appear, just drizzle a little extra melted candy over them like “snow” to cover!
Can kids help decorate these holiday treats?
Heck yes! These are perfect for little helpers. I set up a decorating station with bowls of sprinkles and let kids add the “ornaments” after I dip the trees. For safety, I melt the candy coatings myself, but they love placing the sprinkles. Pro tip: Cover your table with parchment paper first – makes cleanup a breeze!
What’s the best way to display Christmas Tree Cake Pops at a party?
Get creative! I’ve used everything from a styrofoam block covered in white fabric (like snow) to a mini Christmas tree stand. For a real showstopper, arrange them on a cake stand surrounded by powdered sugar “snow” and mini presents. They disappear fast no matter how you display them – guaranteed conversation starters!
Nutritional Information
Just between us, these Christmas Tree Cake Pops are definitely a special holiday treat rather than an everyday snack! Since ingredients and brands vary, consider these ballpark estimates: each pop contains about 180-220 calories with 10-12g sugar. Remember – they’re meant to bring joy, not count macros! Enjoy them as part of your festive celebrations.
Christmas Tree Cake Pops
Equipment
- 9×13 inch baking pan
- Electric mixer
Ingredients
Cake
- 1 1/4 cup all-purpose flour
- 1 tsp baking powder
- 1/4 tsp salt
- 1/2 cup unsalted butter room temperature
- 1 cup sugar
- 2 eggs room temperature
- 2 1/2 tsp vanilla
- 1/2 cup buttermilk room temperature
Vanilla Buttercream
- 1/2 cup unsalted butter room temperature
- 2 1/2 cup confectioner’s sugar
- 1-3 Tbsp heavy whipping cream
- 1 1/2 tsp vanilla extract
- 1/4 tsp salt
Decorating
- 3 cup dark green candy melts
- 2-3 Tbsp coconut oil
- 1/4 cup red candy melts
- 1/4 cup blue candy melts
- 1/4 cup light green candy melts
- 1/4 cup yellow candy melts
- 1/4 cup semi-sweet chocolate sprinkles optional
Instructions
- Preheat the oven to 350 degrees F and lightly grease and line a 9×13 inch pan with parchment paper, leaving enough overhang for easy removal later. Set aside.
- In a medium bowl, whisk together the flour, baking powder, and salt. Set aside.
- In a large bowl, use an electric mixer to beat the butter and sugar until light and fluffy, about 3-5 minutes.
- Add the eggs one at a time, mixing after each addition. Stir in the vanilla.