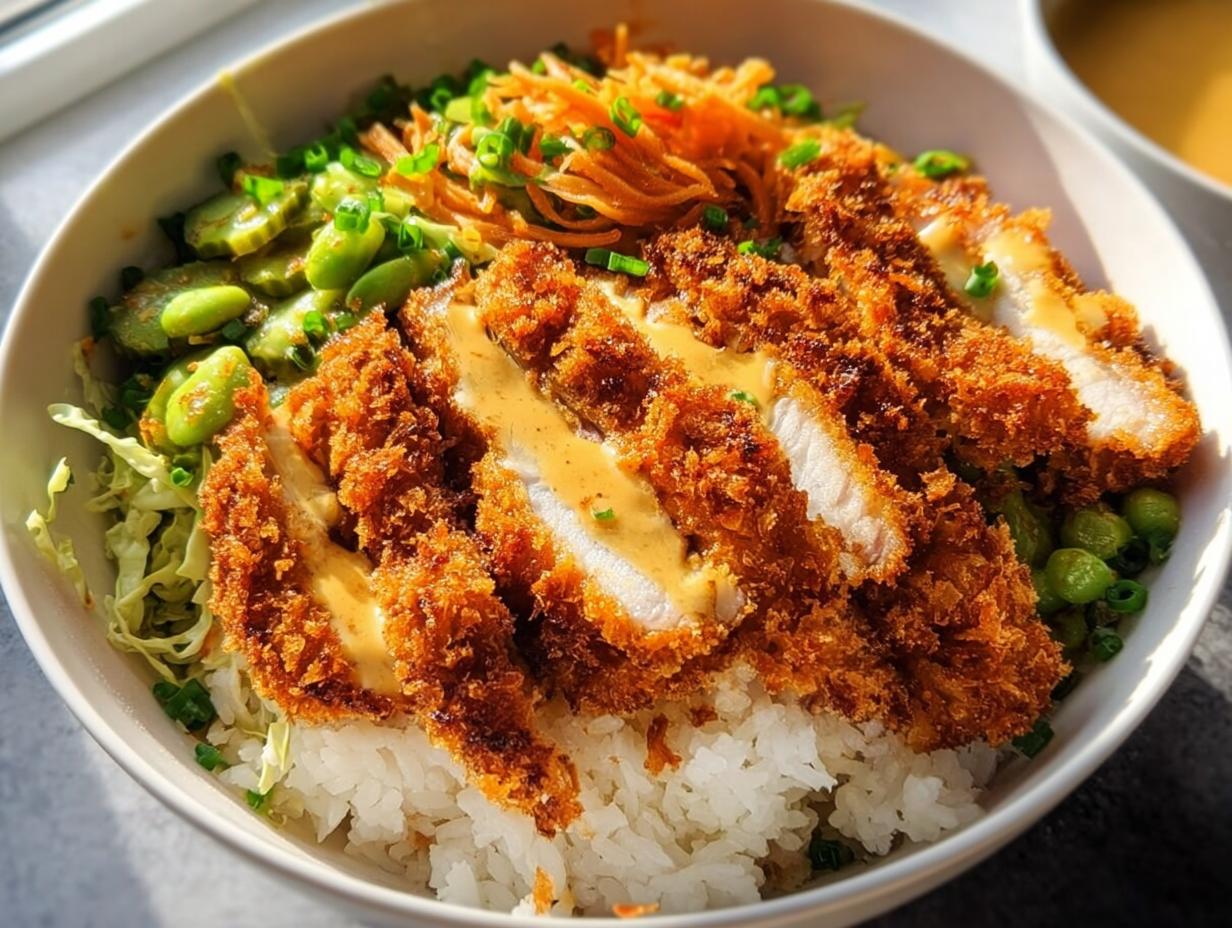
When I need a dinner that feels absolutely restaurant-worthy but only takes about 30 minutes, Japanese food recipes are my go-to solution! There’s something so incredibly satisfying about a perfectly constructed bowl, right? Forget complicated multistep dinners; this recipe for the Chicken Katsu Bowl with Pickled Veggies is proof that you can have authentic flavor fast. The crispy, golden chicken tucked around fluffy rice is comfort food, but the secret weapon, honestly, is the pickled carrots. They bring this incredible, bright zing that just cuts right through the richness of the katsu. Trust me, this is going to become one of your favorite easy Asian dishes for busy weeknights. If you want to see how we take this bowl to the next level, check out my post on katsu bowl with sesame dressing for another delicious version!
Why You Will Love This Chicken Katsu Bowl with Pickled Veggies
Honestly, this recipe is a weeknight lifesaver! I know everyone is busy, so I focus on Asian Food Ideas that are fast but still taste amazing. This Chicken Katsu Bowl with Pickled Veggies checks every single box. I think you’ll fall in love with it for a few reasons:
- It’s lightning fast! Total time is only 30 minutes, tops, which is perfect for those nights you think you’ll order takeout.
- The texture contrast is just dreamy—you get that satisfying crunch from the katsu right next to the soft white rice and the bite of the fresh vegetables.
- Assembly is so simple. These bowls practically put themselves together, making it one of the easiest Asian food recipes to pull off after a long day.
If you have an air fryer, you might also want to peek at my air fryer chicken katsu bowl recipe for a slightly different take!
Essential Equipment for Your Chicken Katsu Bowl with Pickled Veggies
You really don’t need a ton of fancy gear for this delicious Chicken Katsu Bowl with Pickled Veggies, which is great news, right? If you’ve got a standard kitchen setup, you’re probably good to go. Getting the ingredients ready is half the battle, and having the right tools makes that clean-up so much easier later on. We’re keeping things efficient here!
For this recipe, the key pieces of equipment are focused on preparation and that crucial frying step. I usually pull these out right before I start pounding the chicken breast so everything is lined up and ready for the dredging assembly line.
Key Tools for Perfect Katsu
The star piece of equipment here is definitely your skillet. You absolutely need a good, heavy-bottomed skillet for the frying part. A thicker pan holds heat much more evenly than a thin one, and that’s how you guarantee that beautiful, uniform golden crust on your katsu.
Besides the skillet, make sure you have:
- A meat mallet (or even a rolling pin, just wrapped in plastic wrap!). You need to pound the chicken breasts down evenly so they cook fast and stay tender.
- Three shallow dishes, bowls, or pie plates. These are for setting up your dredging station—flour in one, egg in another, and those lovely breadcrumbs in the third.
- A pair of tongs. Trust me, using tongs to flip the katsu in the hot oil prevents splatter and keeps your fingers safe!
Ingredients for the Chicken Katsu Bowl with Pickled Veggies
Okay, gather ’round because this is where the magic starts! For the Chicken Katsu Bowl with Pickled Veggies, the goal is quality, but not complexity. We’re using just a handful of simple things to create that fantastic Japanese Food Recipes payoff. Pay close attention to the breading station ingredients—that’s what gives us the crunch!
I’ve broken down the list into two simple groups so you can organize your work surface. Remember, the chicken needs to be pounded thin so everything cooks evenly in just a few minutes. Don’t skip that step; it’s crucial for fast and tender results in these easy Asian dishes!
For the Crispy Chicken Katsu
These are the stars of our show. We need to make sure we have enough of that coating to get a thick, crackly crust on the chicken, so measure this out precisely!
- Chicken Breasts: 2 pieces. Remember to pound these down to about half an inch thick—I use plastic wrap over the chicken when I start banging on them; it keeps the mess down!
- Flour: 60g. This is your first layer, just there to help the egg stick.
- Egg: 1 large egg, whisked up.
- Breadcrumbs: 100g. I usually opt for Panko breadcrumbs if I can find them, as they get crispier than regular ones for our Asian Cuisine Recipes.
- Oil: 30ml for frying. Use a neutral oil with a high smoke point, like canola or vegetable oil.
For Assembling the Japanese Meals
This is the foundation that makes the bowl feel like a balanced meal. The rice needs to be ready to go!
- Cooked White Rice: 300g. This should be slightly warm when you assemble the bowls.
- Shredded Cabbage: 100g. I just grab a bag of pre-shredded coleslaw mix if I’m being super lazy, but shredding it fresh is always best if you have the time!
- Pickled Carrots: 50g. These little powerhouses bring the acidity! If you don’t have pre-made ones, check out how to whip up quick pickles on my guide for soy sauce boiled eggs—the technique is similar!
Step-by-Step Instructions for Making Chicken Katsu Bowl with Pickled Veggies
You are just a few simple steps away from nailing this Chicken Katsu Bowl with Pickled Veggies. The trick here is organization—get your dredging station set up before you even touch the chicken. Once that breading is on the cutlet, you want it to hit that hot oil right away. I always tell people making this that the pounding of the chicken is non-negotiable; it ensures the inside cooks at the exact same speed as the outside gets perfectly crisp. It’s all about efficiency, which is why I love these easy Asian dishes!
Preparing the Chicken Cutlets
First things first, grab those chicken breasts and get them even. Lay one breast between two sheets of plastic wrap or inside a large zip-top bag. Now, take your meat mallet (or, yes, the bottom of a heavy saucepan works too!) and gently pound the chicken until it’s about half an inch thick all over. If you have thick spots, they won’t cook right and you’ll end up with patchy breading!
Next, set up your breading three-step system. Put the flour on Plate 1, the whisked egg in a shallow bowl (Plate 2), and the breadcrumbs on Plate 3. Take your pounded chicken, press it firmly into the flour coating all sides, shake off the excess, dip it completely into the egg, let the extra drip off, and finally, press it hard into the breadcrumbs. Give those breadcrumbs a good squeeze onto the chicken to make sure they stick! Repeat for the second cutlet.
Frying the Katsu to Golden Perfection
Pour about 30 ml of neutral oil into your skillet and warm it up over medium-high heat. You want it hot enough that if you flick a tiny bit of water in, it sizzles immediately, but not smoking violently. Carefully lay the breaded chicken into the hot oil. Don’t crowd the pan; a single layer is key for that amazing crispness!
Fry each side for about 4 to 5 minutes. You are looking for a deep, gorgeous golden brown color—that’s the sign it’s done and fully cooked through. Once they look perfect, pull them out onto a wire rack (not paper towels, or the bottoms get soggy!) to rest for just a minute before slicing them into strips. You can check out some great tips on Asian cooking techniques, including frying videos, over at Japan Guide if you want an extra visual!
Assembling Your Easy Asian Food Bowls
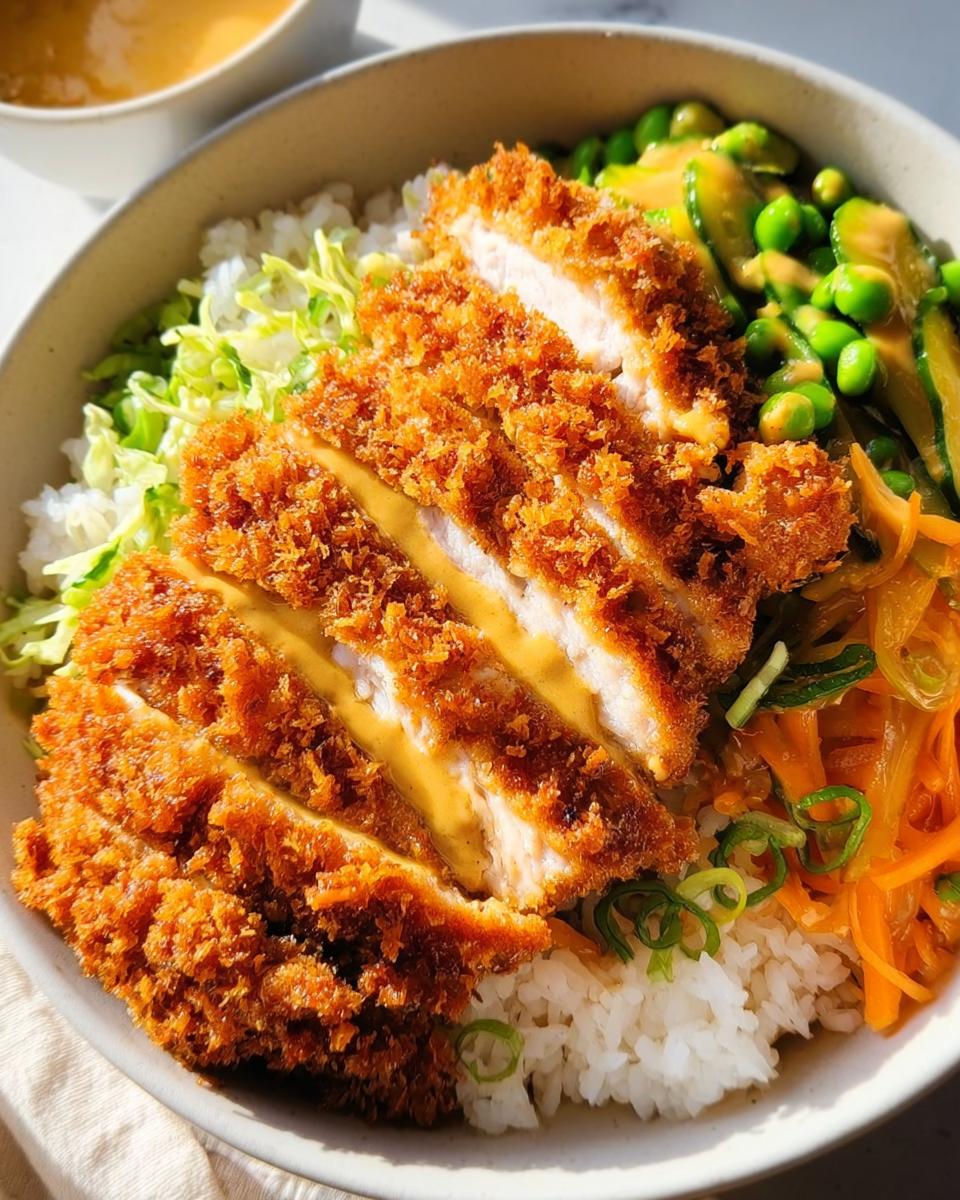
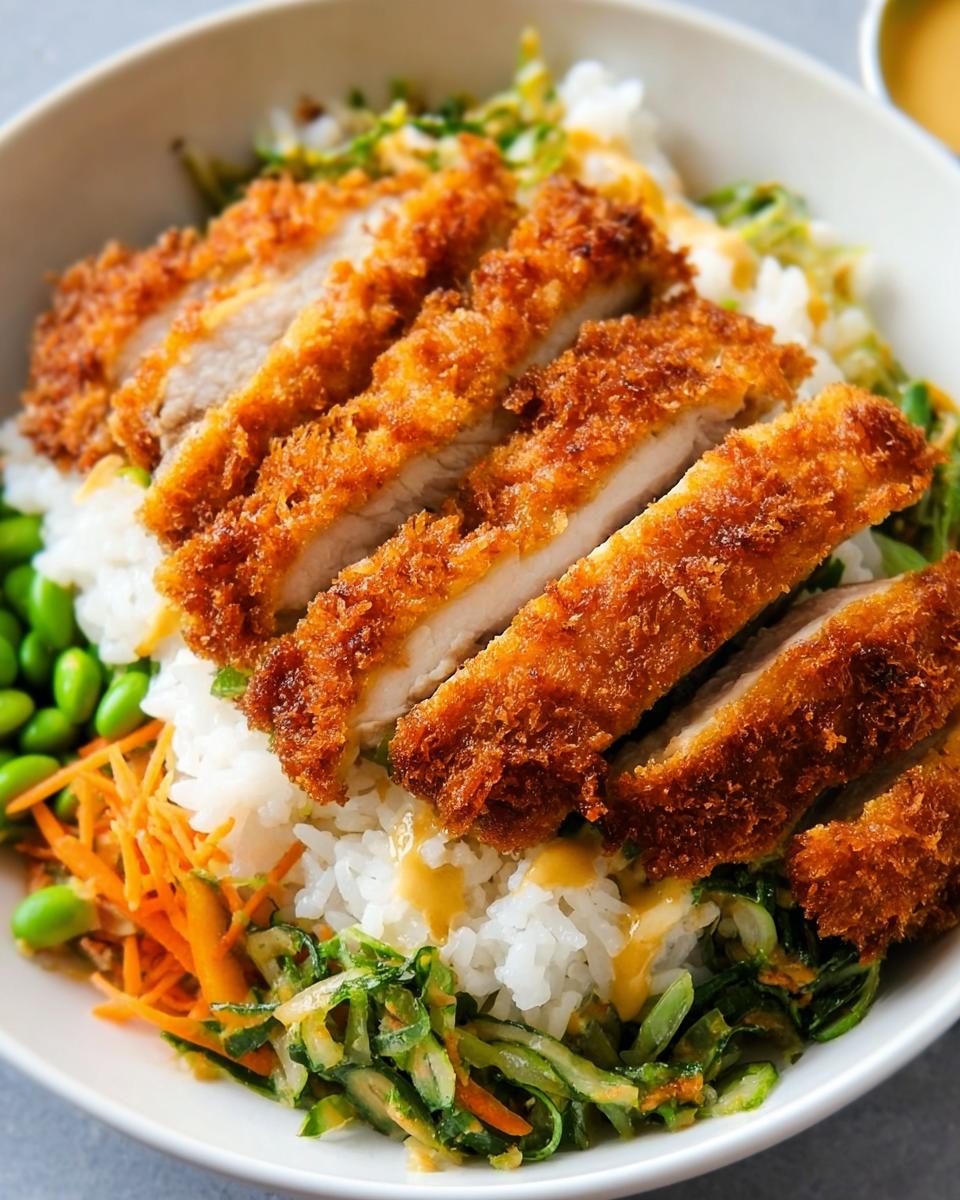
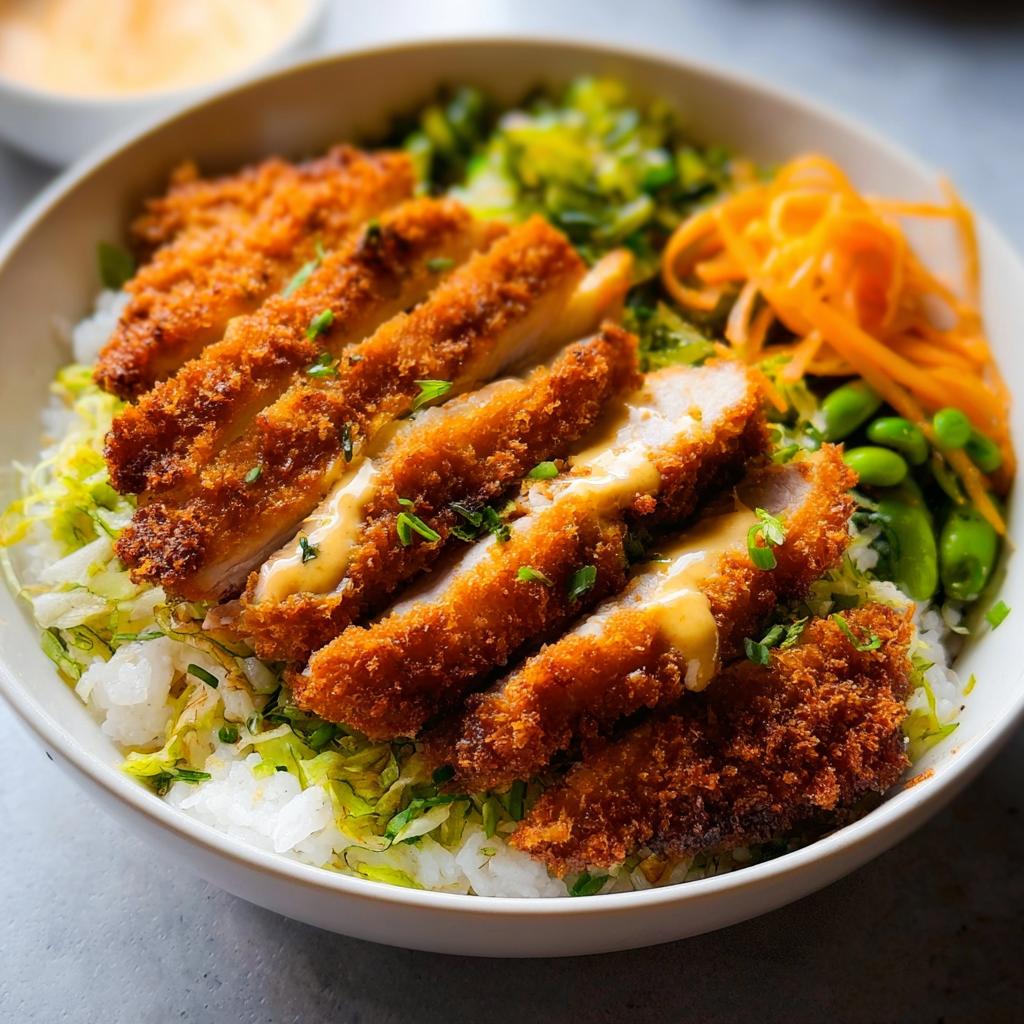
Now for the fun part—putting the meal together! Get your two bowls ready. Start by spooning the warm, cooked white rice into the bottom of each bowl. Next, pile the shredded cabbage next to the rice. The cabbage acts like a little buffer and adds incredible texture.
This is where the brightness comes in. Scatter the 50g of pickled carrots over the top of the cabbage and rice. I found during testing that the acidity of the pickles stops the whole bowl from feeling too heavy, so don’t be shy with them! Finally, lay those beautiful, freshly sliced katsu strips right on top of everything else. Serve immediately while that chicken is still hot and everything is perfectly contrasted. If you’re looking for other easy Asian food ideas for dinner tomorrow, don’t miss my recipes for crockpot teriyaki chicken and veggies!
Tips for Success in Your Chicken Katsu Bowl with Pickled Veggies
I’ve made this Chicken Katsu Bowl with Pickled Veggies probably a hundred times now, and I can tell you exactly where things can go wrong—and how to make sure they don’t! Getting that restaurant-quality crispness, especially when you’re trying to keep the whole process fast, needs a couple of little tricks I learned along the way. Forget soggy chicken; we are aiming for maximum crunch here!
Here are my top three pieces of efficiency advice to ensure your Katsu shines every time. If you want to dig deeper into general success tips, I love the precision methods over at Serious Eats, but for Katsu, these three golden rules are all you need:
- Chill Before You Fry: This is my number one secret for keeping those breadcrumbs attached! Once you have fully breaded your chicken cutlets, don’t rush them straight to the oil. Pop them onto a plate and stick them in the fridge for about 10 minutes. This chilling time lets the egg wash firm up and adhere to the breadcrumbs better. When they hit the hot oil, the coating sets instantly, making them way less likely to detach.
- Use a Wire Rack for Draining: You saw me mention this earlier, but I have to stress it again! When the katsu comes out of the skillet, do not put it on a stack of paper towels. Paper towels trap steam underneath, and steam is the absolute enemy of crispy coating. Use a wire cooling rack set over a baking sheet. This lets air circulate all around the cutlet, keeping the bottom just as crunchy as the top while the excess oil drains away.
- The Rice Temperature Matters: Since this is a bowl, the rice acts like a bed for the hot, crispy chicken. You don’t want piping hot rice, because that steam trapped underneath will immediately soften the bottom of the katsu. But you don’t want cold rice either, because it feels weird. Aim for warm, freshly cooked rice—just off the stove, but sitting for five minutes before you assemble the bowl. It provides stability without stealing the crunch. For more baking wisdom that applies to getting textures right, check out my tips on secrets to perfect scones!
Ingredient Notes and Substitutions for Asian Recipes Authentic
When you’re aiming for authentic flavor in your Japanese Food Recipes, sometimes the exact ingredient isn’t sitting in your fridge, and that’s okay! We shouldn’t let a missing specialty item derail dinner, especially when we’re going for something that feels like one of those great Asian Cuisine Recipes passed down through generations. Let’s talk about getting creative with the components of this bowl without sacrificing that essential balance.
The pickled carrots, for instance, are what make this bowl truly sing because they add that necessary sour/sweet element. If you don’t have any on hand, don’t panic! You have a couple of awesome options for adding that pop of acidity to your Asian Food Ideas.
If you’re looking for other great weeknight chicken dishes that use a savory Asian approach, I have a fantastic dump and go Asian chicken dinner recipe that’s almost no-effort!
On Pickled Carrots: Quick Fixes and Swaps
If you need pickled carrots right now, the quickest fix is to thinly slice your raw carrots and toss them immediately with a splash of rice vinegar, a pinch of salt, and a tiny bit of sugar. Let that sit for 15 minutes while you pound the chicken. It won’t be deeply pickled, but it brings the bright tang we need! Store-bought pickled daikon radish (takuan) is another solid swap if you have it—just slice it thin.
Swapping Out the Chicken Breast
While chicken breast makes this recipe lightning fast, if you want to lean into the classic Tonkatsu style, you should absolutely swap it for boneless, skinless pork loin chops! Pork loin is traditional, and it absorbs those flavors wonderfully. Just make sure you pound the pork chops just as thin as you would the chicken—maybe even a tiny bit thinner since pork tends to be slightly denser. It’s a tiny change that gives your meal a fun new identity, all within the world of excellent Asian Recipes Authentic!
What About Different Vinegars?
When making quick pickles or even just dressing those shredded cabbage leaves, always reach for rice vinegar if you have it. It’s much milder and has a touch of sweetness compared to plain white vinegar. If you must use white vinegar, definitely increase the sugar slightly to balance out that sharper bite. It really matters when you’re working with simple components like in these Easy Asian Food preparations!
Serving Suggestions for Your Chicken Katsu Bowl with Pickled Veggies
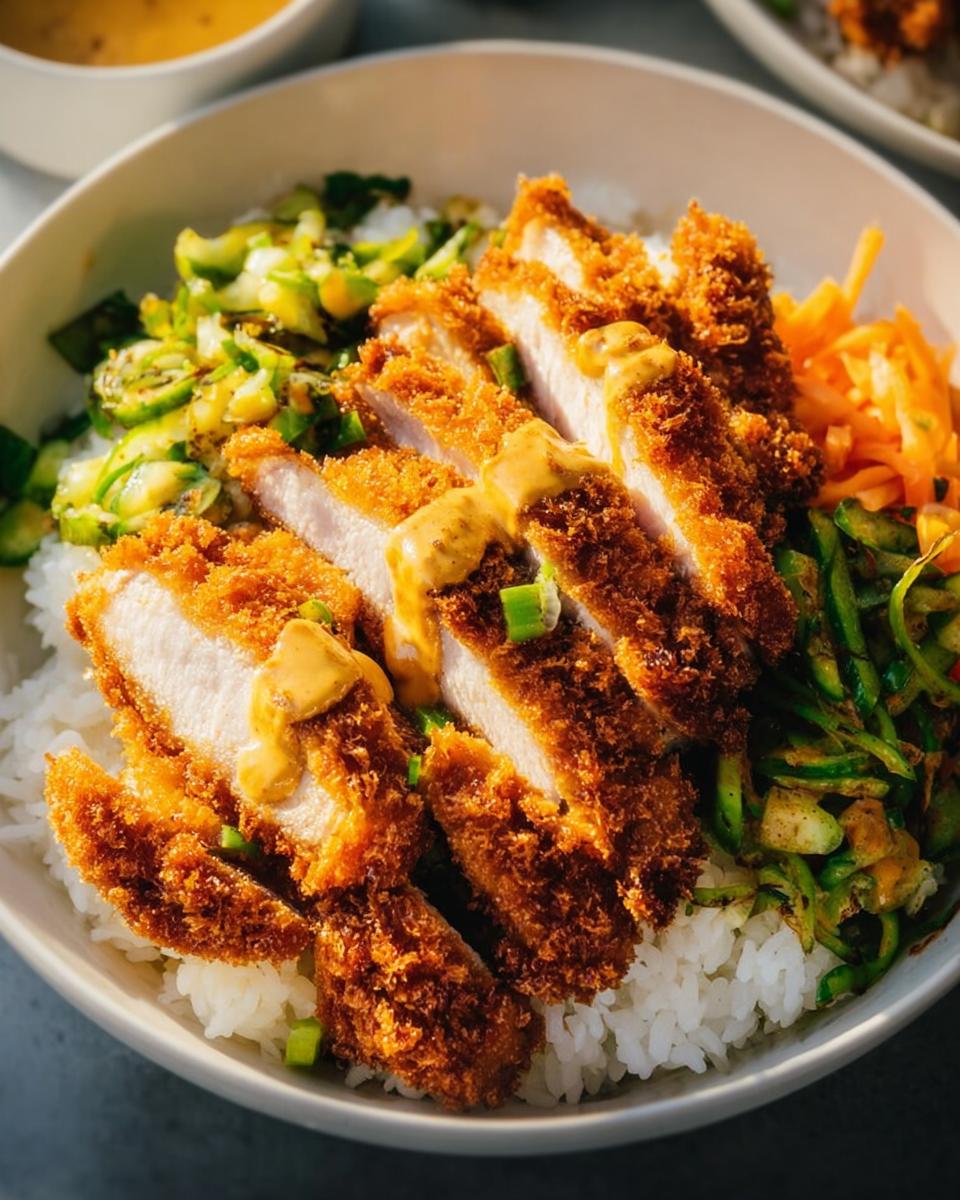
So you’ve successfully fried up the crispiest Chicken Katsu Bowl with Pickled Veggies ever! Fantastic! Now, what do you drizzle over that gorgeous golden crust? While the bowl is amazing just as it is—rice, katsu, cabbage, and those bright pickles—a little extra sauce elevates it to a proper Japanese Meals experience. Think of the sauce as the final brushstroke on your culinary artwork!
I always like to have at least two options on the side when I serve these because everyone likes a different level of richness. The flavors need to complement the savory fried pork or chicken without overpowering those fresh pickled carrots we worked so hard to include. If you’re looking for more amazing, flavorful dinners, you absolutely must try my recipe for Thai red curry chicken soup!
Here are my top must-have additions when serving up these bowls:
- Classic Tonkatsu Sauce: This is non-negotiable for true Katsu fans! It’s a thick, savory, slightly sweet sauce that’s almost vinegary. You can buy bottles of it everywhere now, but if you want to make your own, it’s usually a mix of Worcestershire, ketchup, soy sauce, and sugar. It’s the perfect pairing.
- Kewpie Mayo: If you haven’t tried Kewpie mayonnaise, you are missing out on one of the best shortcuts in Asian Food Recipes. It’s richer and tangier than standard American mayo because it uses only egg yolks and rice vinegar. A light zigzag straight over the sliced chicken is pure heaven.
- A Dash of Soy Sauce: Sometimes, the simplest things work best, especially on the rice! A tiny splash of high-quality soy sauce on the plain rice before you add the toppings adds the essential umami base note for the whole dish.
If you want to dive deeper into the authentic preparations for Katsu and other classic side dishes, the folks over at Japanese Cooking 101 have some great foundational recipes that inspire my weekly menus!
Storage and Reheating Instructions for Leftover Chicken Katsu Bowl with Pickled Veggies
Yes, we absolutely need to talk about leftovers, because sometimes these Chicken Katsu Bowl with Pickled Veggies recipes make too much—which is never a bad thing! The main challenge with any crispy, fried chicken dinner is keeping that Katsu crunchy when you put it in the fridge. Steam is the enemy, so we have to separate things out if we want to enjoy this the next day.
If you’re planning for future lunch prep, I highly recommend keeping components apart. This is standard practice for almost all my easy Asian dishes when I make them ahead of time. If you want to learn more about organizing your schedule, I have a whole post about low-carb chicken meal prep that uses the same logic!
Storing Components Separately
The key to successful leftovers is dryness! Do not assemble the full bowl and then store it. The moisture from the rice and especially the pickled veggies will turn your crispy coating into a sad, soggy blanket overnight.
For the best results, break it down:
- Chicken Katsu: Store the sliced, cooked chicken in a container with a paper towel resting on top of it, not underneath. The paper towel will absorb any residual kitchen humidity. Make sure the container isn’t sealed so tightly that condensation builds up inside.
- Rice and Cabbage: Keep these in their own separate air-tight containers. The rice heats up better on its own, and the raw cabbage stays crispier if it’s not sitting next to the chicken marinade remnants.
- Pickled Carrots: Keep these sealed tightly in a small dish. They actually taste great cold, so you don’t even need to reheat them!
Reheating Your Crispy Chicken Katsu
You have a couple of options here, but please, for the love of all things crunchy, don’t grab the microwave! The microwave will effectively steam the coating, turning your beautiful katsu soft and chewy. We want to bring the crisp back!
Oven/Toaster Oven Method (Best for a full serving): Set your oven to about 350°F (175°C). Place the slices of cold katsu on a baking sheet lined with foil (for easy cleanup). Heat them for about 8 to 10 minutes. Check them around the 7-minute mark; you’re just trying to heat them through and crisp up that coating again. They should come out hot and crunchy!
Air Fryer (Fastest Reheat): If you have an air fryer, this is the fastest way to revive your Chicken Katsu Bowl with Pickled Veggies leftovers. Put the chicken in a single layer and cook at 375°F (190°C) for just 3 to 5 minutes. Check often! This usually gives the best texture in the shortest amount of time.
Once the chicken is hot and crispy, warm your rice slightly (you can microwave rice for maybe 30 seconds just to take the chill off), and then assemble your bowl just like you did the first time—rice, cabbage, cold pickles, hot katsu on top!
Frequently Asked Questions About Japanese Food Recipes
Whenever I share these quick Japanese Meals, I always get a flood of questions—and I love it! It means you’re getting excited to try these easy Asian food ideas at home. Since this recipe is part of a broader collection of Asian Cuisine Recipes, people often ask how to adapt steps or what really makes a specific Japanese Food Recipe tick. I’ve gathered a few of the most common questions I get asked about weeknight Japanese cooking and similar Asian Recipes Authentic right here for you!
Can I make the pickled vegetables ahead of time?
Oh, please do! If you can make the pickled carrots ahead of time, that’s actually best! Think of it like cooking chili—the flavors need time to hang out and get cozy. If you make them a day ahead, the vinegar has time to really penetrate the carrots, making them sweeter and brighter. You can even make a big batch of quick pickles and use them for a few different easy Asian dishes throughout the week! They store beautifully in the fridge for about a week.
What is the difference between Katsu and Schnitzel?
That is such a good question, especially since both involve thin, pounded meat that gets breaded and fried! The main difference usually comes down to the breading and the cuisine tradition. Schnitzel (like Wiener Schnitzel) traditionally uses very fine breadcrumbs, often dipped in milk, and it’s usually served with lemon. Katsu, which is a staple in many Japanese Food Recipes, typically uses Panko breadcrumbs—those special Japanese breadcrumbs that are lighter, flakier, and absorb less oil. This is what gives Katsu its major crunch factor. Plus, Katsu is almost always served with a thick, sweet-savory sauce, unlike the simple lemon squeeze for Schnitzel. If you’re focusing on getting those perfect flakes, you’ll find my breading tips in the main section help a lot for achieving that classic crunch in these Easy Asian Dishes! For general frying ideas outside of this specific dish, I sometimes peek at what the folks over at BBC Food are making.
Is this recipe suitable for meal prepping?
Absolutely it is, provided you follow my crucial tip about separating everything! As a testing coordinator, I always try to figure out how well these meals survive the fridge, and the secret is component separation. For meal prep, cook your rice, shred your cabbage, and fry your katsu cutlets completely separately. Store the hot/dry components so they don’t steam. When you’re ready to eat, just reheat the chicken briefly in the oven or air fryer to re-crisp it, and then quickly assemble the bowl with fresh or cold rice and cabbage.
For more ideas on efficient batch cooking, you can check out my tips over at chicken taco bowl recipe—the principles of keeping textures separate for meal prep are the same!
Share Your Experience Making This Recipe
Well, that’s it! You’ve successfully conquered the Chicken Katsu Bowl with Pickled Veggies. I’m so excited for you to sit down and enjoy that perfect combination of salty, sweet, crunchy, and bright. Seriously, I want to know what you think! Did you stick to just cabbage, or did you manage to sneak some extra quick pickles in there? Did you choose the classic Tonkatsu sauce or something totally surprising?
Please, don’t be a stranger! If you made this recipe, take a second to give it a rating right below—it helps me know which of my easy Asian dishes are making it onto your regular rotation. And if you snapped a picture of your beautifully assembled bowl, tag me on social media! I absolutely love seeing how you customize these Japanese Food Recipes in your own kitchens.
For more ways to streamline your cooking routine and find reliable recipes you can trust, feel free to check out my profile page over here on Recipes by Betty. You can also browse thousands of other tested recipes submitted by our team over at Food Network for great dinner inspiration!
Happy cooking, everyone!
By Emily Mitchell, Efficiency & Testing Coordinator at Recipes by Betty.
Chicken Katsu Bowl with Pickled Veggies
Equipment
- Skillet
Ingredients
- 2 chicken breasts
- 60 g flour
- 1 egg
- 100 g breadcrumbs
- 30 ml oil for frying
- 300 g cooked white rice
- 100 g shredded cabbage
- 50 g pickled carrots
Instructions
- Pound the chicken breasts to an even thickness.
- Dredge the chicken in flour, dip it in the egg, and then coat it thoroughly in breadcrumbs.
- Heat the oil in a skillet. Fry the chicken for 4 to 5 minutes per side until it is golden brown and cooked through.
- Slice the cooked chicken into strips.
- Assemble the bowls. Divide the rice, shredded cabbage, pickled carrots, and sliced chicken among two bowls.
- Serve the bowls warm.