If you think you know cookies, get ready to level up because we’re diving headfirst into a flavor experience that leaves plain vanilla in the dust! Standard drop cookies are fine, sure, but when you introduce the magic of browned butter, everything changes. That nutty, almost toffee-like depth is what makes these Cherry Brown Butter Cookies an absolute showstopper.
I first experimented with adding cherries to brown butter cookies during a particularly rainy weekend when I had dried cherries leftover from a breakfast recipe. The combination of nutty brown butter with tart-sweet cherries was so unexpectedly delightful that these cookies became my most-requested treat at family gatherings. Now I can’t imagine making brown butter cookies any other way.
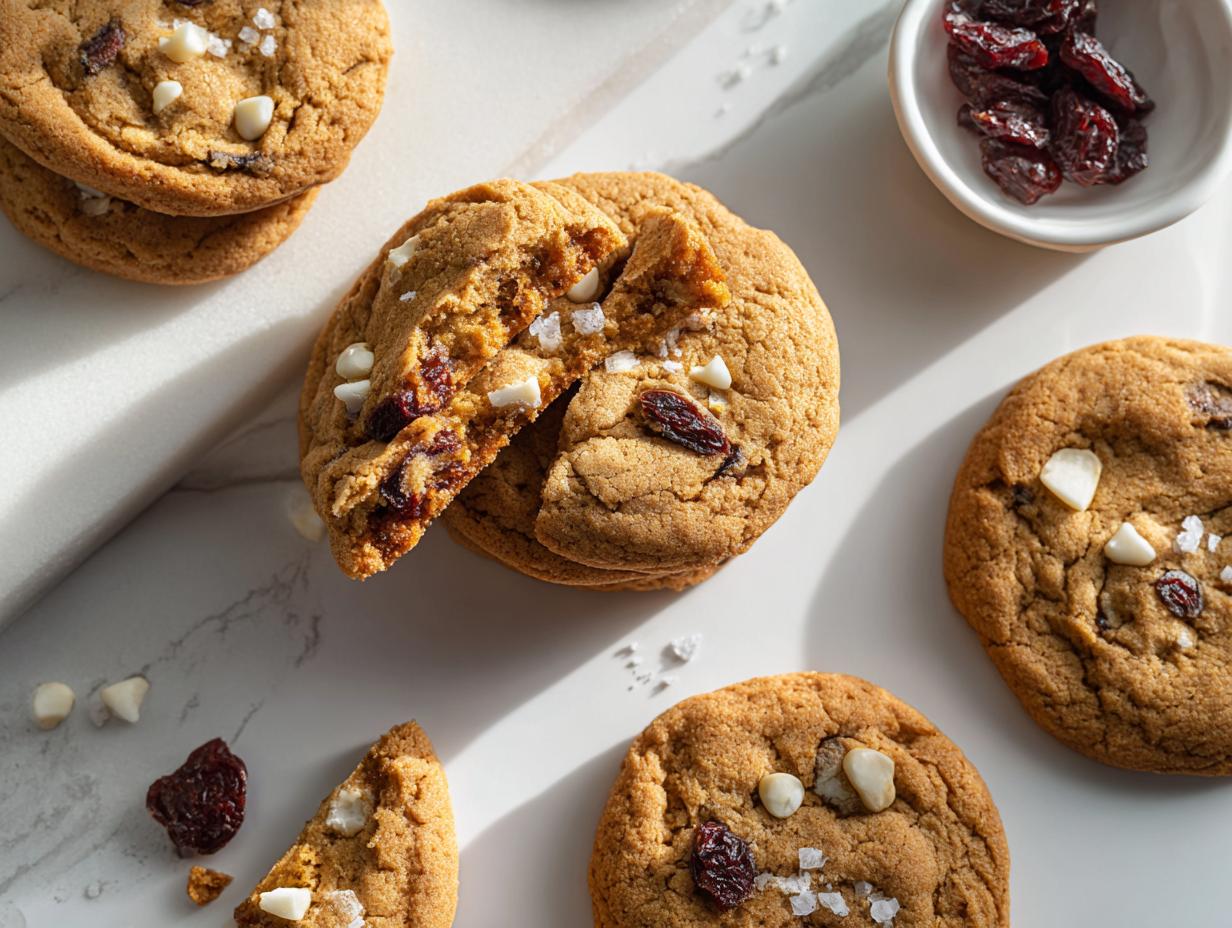
These aren’t your average bake; they give you a fantastic textural contrast between the slightly chewy cookie and those bright bursts of dried fruit. Trust me, once you try this technique, all other cookies will seem just a little bit boring!
Why You Will Love These Cherry Brown Butter Cookies
Honestly, these aren’t just cookies; they are an *experience*. I find that when people bite into them, they stop and actually ask, “What is that flavor?” It’s all thanks to the careful steps we took! Here’s why I know you’ll be making this batch again and again:
- Deep, Nutty Base Flavor: The brown butter isn’t just fat; it’s layering in a complex, nutty richness that standard melted butter simply can’t achieve. Say hello to that toffee note!
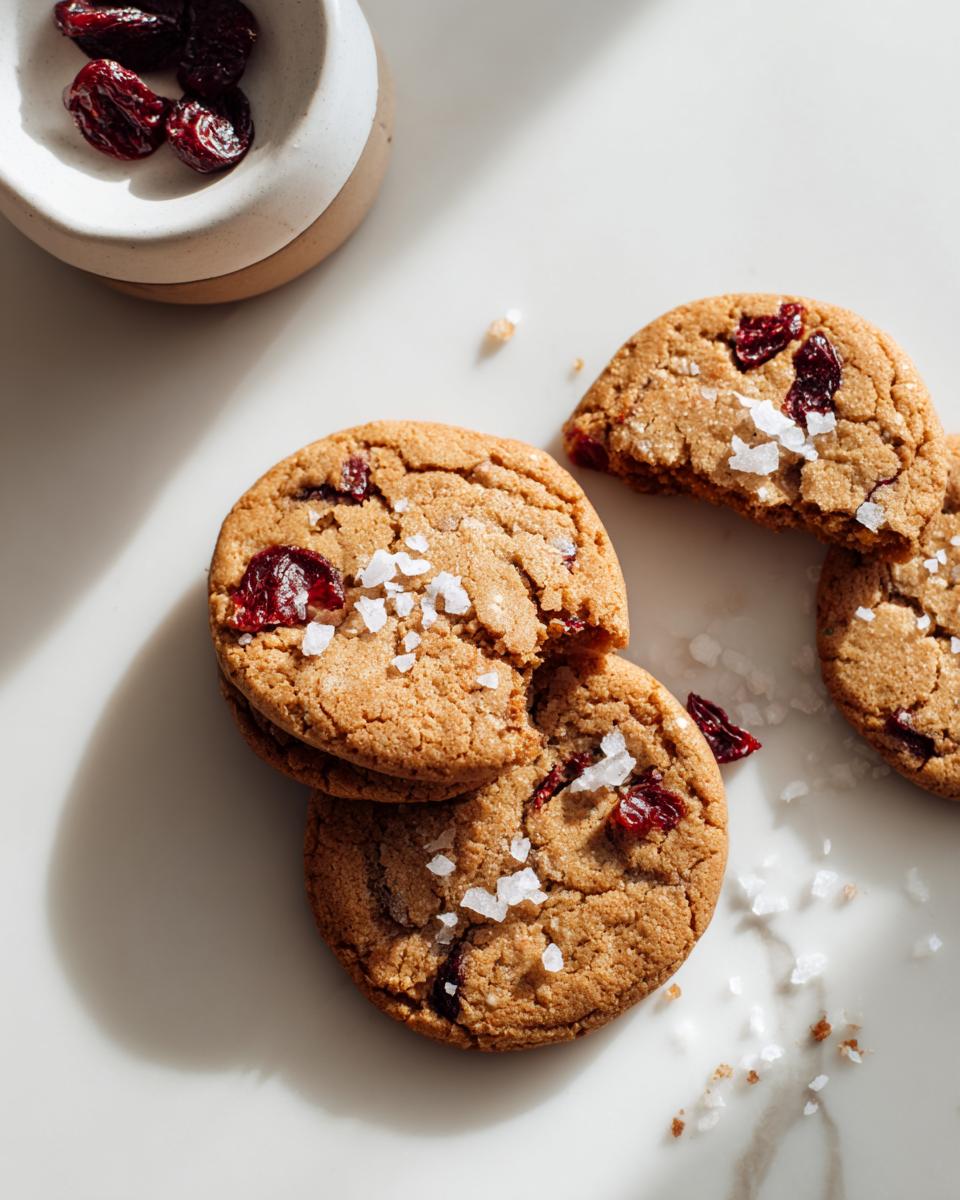
- Perfect Flavor Partnership: The tartness of the dried cherries cuts through the richness of the brown butter beautifully—it’s perfectly balanced, bringing a lovely, bright pop.
- Fantastic Texture: These are designed to be chewy in the center while offering slightly crisp, golden edges, especially right out of the oven.
- Impressive Results for Simple Effort: Seriously, browning butter sounds so technical, but I promise it only takes a few extra minutes and makes you look like a baking wizard.
- Optional White Chocolate Boost: If you happen to love white chocolate, those creamy pockets melt against the tartness for a major flavor upgrade.
It’s the way those elements come together—the nutty, the sweet, the tart—that makes this recipe stand apart from your standard cherry dessert! Trust me on this one.
Essential Equipment for Perfect Cherry Brown Butter Cookies
Before you even think about turning on the stove, just make sure you’ve got your stations set up! A good baker knows that having the right tools ready makes the whole process smoother, especially when you’re dealing with sizzling butter. Don’t worry if you don’t have professional gadgets; we are sticking to the basics here.
Here is the gear I always pull out for making a perfect batch of these nutty cookies:
- A medium saucepan is an absolute must. This is where the brown butter magic happens, so make sure it’s a light-colored one if you can—it helps you see that crucial golden color change better!
- Your trusty electric mixer (handheld or stand mixer works great) for creaming the butter mixture until it’s fluffy enough to feel like a cloud.
- A large bowl for mixing all your wet ingredients together after the butter has cooled down a bit.
- A separate bowl on standby for whisking those dry ingredients—the flour, baking soda, and salt—so they are nicely aerated.
- Baking sheets! You’ll need a couple ready to line up, depending on how many batches you plan to bake (and trust me, you’ll want more than one).
- Parchment paper is your friend! This prevents sticking better than anything else and ensures those beautiful round cookies don’t fracture when you try to move them.
- And finally, a wire rack, because you need a place for those freshly baked cherry cookies to cool completely without getting soggy bottoms.
Ingredients for Making Rich Brown Butter Cherry Cookies
Okay, gathering your supplies is half the battle! When you are working with brown butter, the quality of the ingredients really shines through, so try to use the best butter you can get your hands on. We are keeping this list simple, focusing on what elevates these Cherry Brown Butter Cookies from good to absolutely unforgettable.
Here’s what you’ll need to pull together this amazing batch of nutty cookies:
- One cup of unsalted butter—that’s two full sticks! This is what we will brown for that incredible flavor base.
- One cup of light brown sugar, and make sure it’s *packed* tightly into your measuring cup.
- Half a cup of regular white granulated sugar.
- Two large eggs, just plain old room temperature, please!
- Two teaspoons of pure vanilla extract—don’t skimp on the good stuff here.
- Two and three-quarter cups of all-purpose flour.
- One teaspoon of baking soda and half a teaspoon of salt. When choosing salt, you can use standard table salt, but if you want to experiment with texture, check out how different salts affect the final bite!
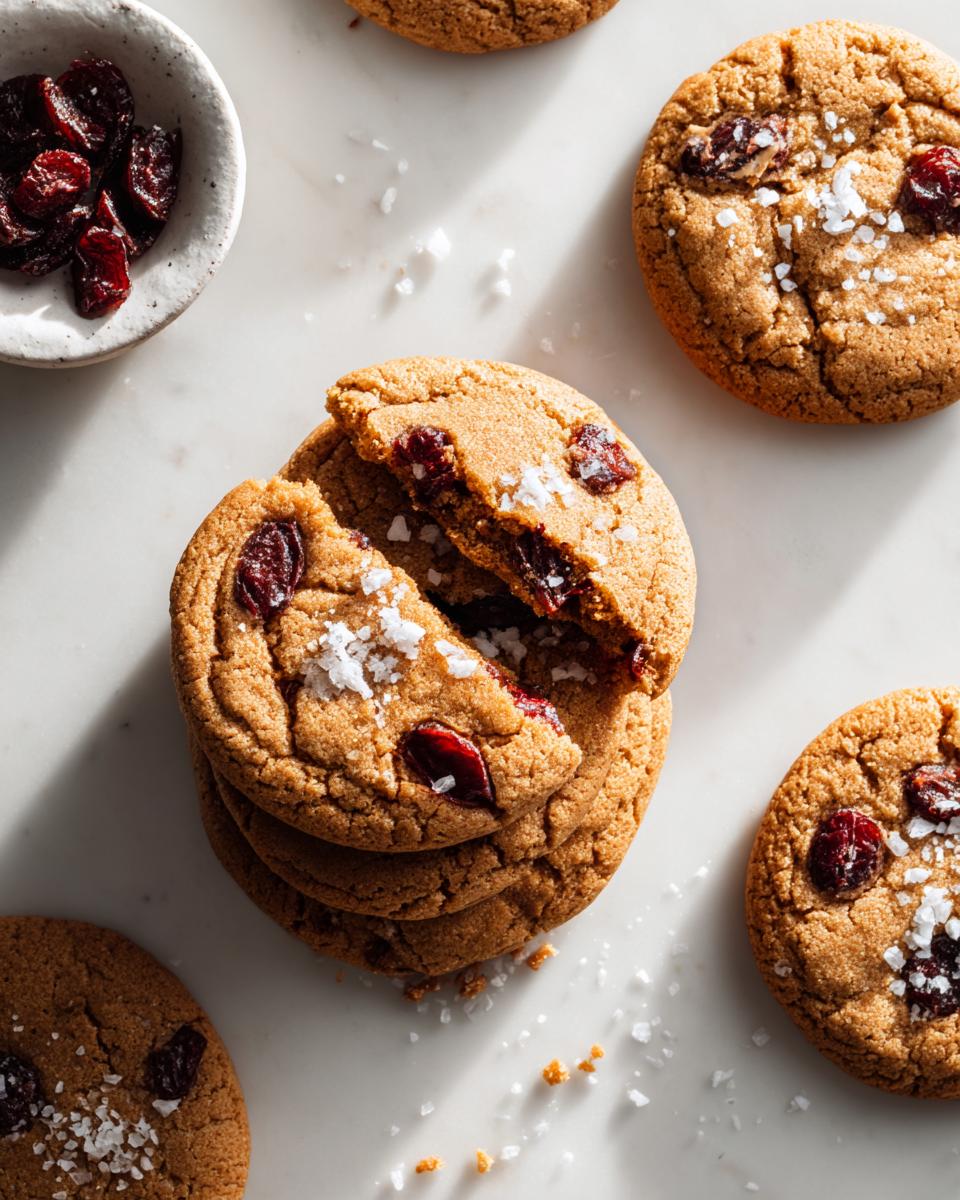
- One and a half cups of dried cherries, which you must chop up before adding them in.
- One cup of white chocolate chips—these are optional, but I almost always throw them in!
- Don’t forget a little pinch of flaky sea salt for topping once they come out of the oven; it just wakes everything up!
Mastering the Brown Butter Technique for Your Cherry Brown Butter Cookies
This brown butter step is the entire reason these cookies taste like they came from a fancy bakery! Browning the butter cooks off the water content and toasts the milk solids. That’s what gives you that incredible, deep, nutty aroma and flavor that pairs so well with the fruit in these cookies. You need to watch it like a hawk once it starts foaming! Keep stirring constantly until you see those tiny brown specks forming at the bottom of the pan and you smell that gorgeous scent—it smells like toasted hazelnuts everywhere!
It’s vital to respect the process here; rushing it means you just get melted butter, but taking your time gives you the depth that defines these brown butter cookies.
Cooling the Brown Butter Properly
Once the butter looks perfect—golden brown and nutty—you must get it out of that hot pan immediately and pour it into your large mixing bowl. This is where people sometimes mess up the texture! If you add the sugar while the butter is scorching hot, you’ll melt the sugar instead of creaming it, which ruins the structure. Let that gorgeous brown butter sit on the counter for about 15 minutes until it has cooled down significantly. You want it warm, not hot, before you introduce the eggs and sugar next.
Step-by-Step Instructions for Cherry Brown Butter Cookies
Alright, we’ve mastered the nutty flavor, now let’s get this dough mixed! Remember, these Cherry Brown Butter Cookies have a very specific order to follow to ensure the texture comes out chewy and perfect, not flat and crispy. Once we mix, we’re locking in that texture with a crucial chill time, so don’t try to skip it!
First things first, after your brown butter has cooled down for that 15 minutes, get your electric mixer ready. Beat in the two sugars until they are thoroughly combined with the now-cooled butter. Then, add those two eggs one at a time—make sure the first one is totally incorporated before you add the second one. Finish the wet side with your vanilla extract until everything looks smooth.
Mixing the Dough Components
While the wet ingredients look good, whisk your flour, baking soda, and salt together in that separate bowl—this just makes sure everything gets mixed evenly. Now, gradually fold the dry ingredients into your wet ones, and I mean fold! Don’t beat or mix aggressively here. We are only mixing until the flour streaks are almost gone. Then, gently fold in those chopped dried cherries and any white chocolate chips you are using. Overmixing the flour is how you end up with tough cookies, and we want soft, chewy ones! If you are curious about getting mixing right, I wrote down some of my favorite tips for getting perfect textures in baked goods.
Now for the non-negotiable part: cover that beautiful dough and pop it in the fridge for at least 30 minutes. Honestly, longer is better! This chilling time lets the brown butter solidify again and keeps your cookies from spreading too thin when they bake.
Baking and Cooling the Nutty Cookies
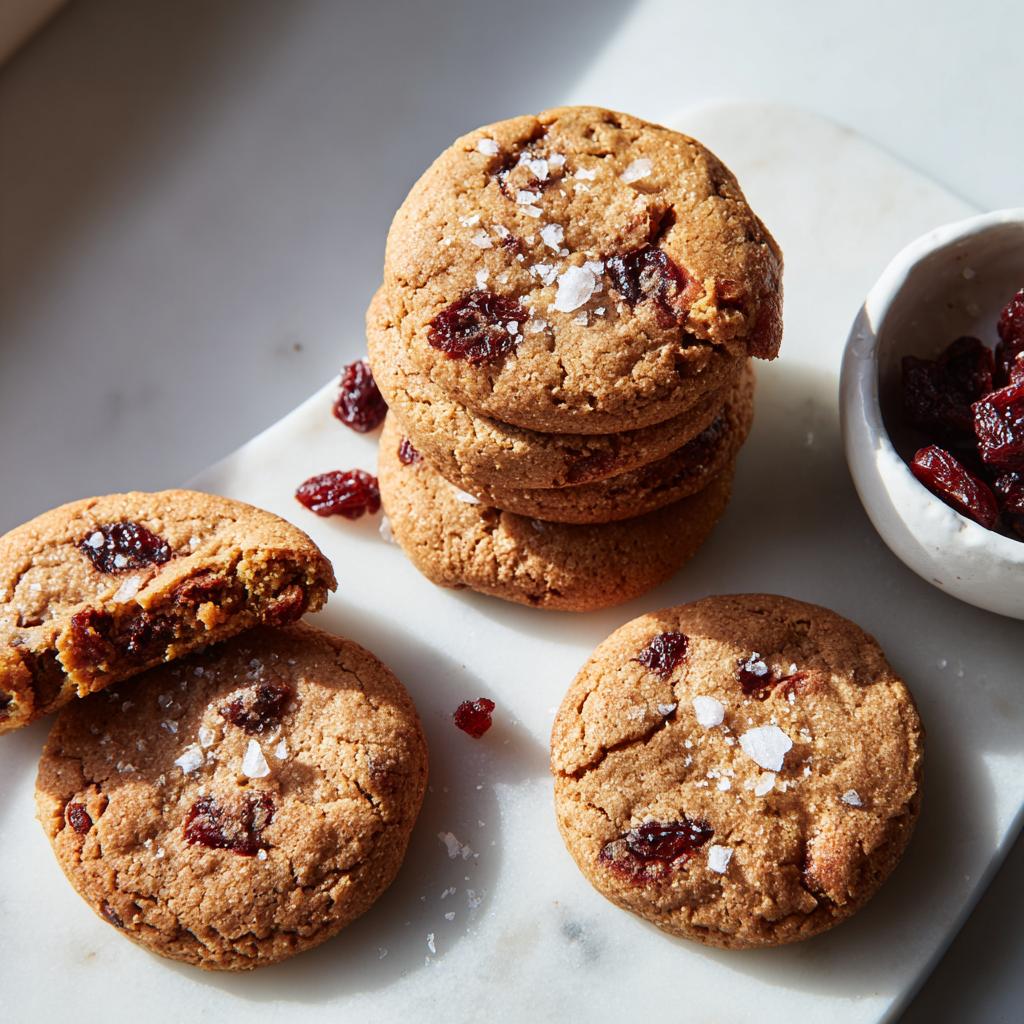
Once chilled, preheat your oven to 350°F (175°C). Line your baking sheets with parchment paper—it saves such a headache later! Scoop the dough into 2-tablespoon-sized portions and place them about 2 inches apart. I like to sprinkle just a little flaky sea salt on top right before they go in the oven for that final pop of flavor.
Bake for 11 to 13 minutes. You are looking for the edges to be golden brown, but seriously, the center should still look a little soft or underdone when you pull them out. They will keep setting up on the hot pan, so let every one of these delicious nutty cookies rest on the sheet for a full 5 minutes before transferring them carefully to a wire rack to cool completely. This rest time is key to preventing them from falling apart!
Tips for Success with Brown Butter Cherry Cookies
Even following the instructions perfectly, sometimes you need that little extra nudge to make a recipe truly sing! These Cherry Brown Butter Cookies rely on a few subtle details to go from great to the absolute best version of a cherry dessert you’ve ever made. Don’t skip these tricks; they are what serious bakers use!
First tip: Embrace the chill time! I already told you to chill the dough for 30 minutes, but if you can manage it, let it sit for 3 to 4 hours, or even overnight. This solidifies the fat, meaning the cookies spread less, bake thicker, and the flavor of the toasted butter really melds into the dough, making every bite richer.
Secondly, when you’re scooping the dough, try to make sure the dried cherries and white chocolate chips are relatively evenly distributed in each ball. If one scoop is pure dough and the next is loaded with cherries, they won’t bake the same way. Aim for consistency! We want every cookie to be a winner.
My third piece of advice focuses on handling the dough after baking. While they cool on the sheet for 5 minutes, you can gently bang the empty baking sheet lightly on the counter—just once or twice. This little shock helps the still-warm cookie centers deflate just enough to encourage that perfect chewy texture. Don’t smash it, just a gentle tap!
Also, speaking of texture, if you find your dough seems a little too soft even after chilling, try adding just one extra tablespoon of flour when you fold in the dry ingredients. Sometimes humidity gets in the way, but a slightly firmer dough is always easier to manage for thick, nutty cookies. For more general advice on ensuring your baked goods don’t dry out, check out my piece on preventing dryness in baking.
Ingredient Notes and Substitutions for Cherry Brown Butter Cookies
I get so many questions about tweaking recipes, and that’s okay! Baking is personal, and sometimes you just don’t have exactly what the recipe calls for. Since these Cherry Brown Butter Cookies rely so much on that rich butter background, you can definitely swap out some of the mix-ins without ruining the flavor profile we worked so hard to achieve.
The dried cherries are pretty crucial because they are concentrated in flavor and don’t blast the dough with excess liquid, but let’s chat about those white chocolate chips. If white chocolate isn’t your jam, or you are simply out, you have great options! Chopped pecans or walnuts are fantastic—they only enhance that nutty character from the brown butter. Butterscotch chips also work wonderfully if you prefer a different kind of sweetness alongside the cherries. If you are wondering what to substitute for other baking needs, I wrote a little guide on common ingredient swaps!
Now, let’s talk about the cherries again—specifically, fresh versus dried. Using dried cherries (like the recipe calls for) is best because they don’t introduce a ton of water into the cookie dough. Water means more spread and a flatter cookie. If you absolutely must use fresh or frozen cherries, you need to take extra steps, or they will turn your brown butter cookies into puddles.
If you are dead-set on using those juicy fresh cherries, you should definitely toss them lightly in a teaspoon of flour before folding them into the dough. This thin coating helps absorb some of their released moisture during baking. Frozen cherries need to be chopped or roughly pureed with the flour coating, and you probably need to add an extra 10 minutes to your chilling time to compensate for that incoming liquid!
Storage and Reheating Instructions for Your Cherry Cookies
Whew! You’ve made it through the hardest part—baking! Now we need to make sure these amazing Cherry Brown Butter Cookies stay perfect until you’re ready for the second batch. Luckily, because we used brown butter and they baked up nice and chewy, they hold up really well. You don’t want to cover that rich, nutty flavor with stale air!
For simple shelf life at room temperature, you just need an airtight container. Seriously, that’s it! Store them on the counter, not in the fridge. Keeping them cold can actually make cookies taste drier faster, which we absolutely want to avoid after all that work browning the butter.
Keeping Them Fresh at Room Temperature
Place your cooled cherry cookies into a sturdy container with a tight-fitting lid. I usually layer them with a piece of parchment paper between the layers just to make sure nothing sticks together if they soften up a tiny bit in a warm room. Stored this way, they stay wonderfully chewy and delicious for about 4 to 5 days. After that, they are still safe, but they start losing some of that fresh-from-the-oven magic. Don’t let them sit around too long, though; these always disappear fast in my house!
Freezing Baked Cookies
If you realize you made way too big of a batch (which is a genuine possibility with cookies this good!), you can totally freeze them! Just make sure they are completely cool before you wrap them up. I recommend wrapping the cooled cookies tightly together in plastic wrap first—like a little log—and then slipping that log into an airtight, freezer-safe zip-top bag. This double wrapping protects them from freezer burn.
They freeze beautifully for up to three months. If you’re planning ahead, this is a great way to have these brown butter cookies ready for any unexpected guests or sudden cravings!
The Best Way to Reheat Your Cherry Cookies
If you’ve had some cookies chilling in the container for a couple of days and you want that “just baked” gooey texture back, skip the microwave! The microwave turns cookies hard and quick.
Instead, preheat your oven or toaster oven to a low temperature, maybe 300°F (150°C). Lay the cookies directly on a baking sheet and pop them in for just 3 to 5 minutes. You want them warm through, and you’ll notice the butter softens up again, making them gooey and soft all over again. Perfection in minutes!
Frequently Asked Questions About Cherry Brown Butter Cookies
It’s totally normal to have questions when you start messing around with a technique like browning butter! Don’t worry if something seems tricky; we just need to make sure your brown butter cookies turn out exactly how you want them. I’ve pulled together the things folks ask me most often about these nutty cookies!
Can I use fresh cherries instead of dried cherries in this recipe?
This is a great question, because fresh cherries are gorgeous! The short answer is yes, you can, but you absolutely have to make adjustments because fresh fruit has so much more water content than dried fruit. Water equals spread in cookies, and we want thickness! If you switch to fresh cherries, you need to roughly chop them up and toss them with maybe a teaspoon of your measured flour before folding them into the dough. This helps absorb that extra juice. Also, you should definitely bump that chilling time up to a minimum of 2 hours after mixing because the dough will be softer.
Why did my brown butter curdle when I added the sugar?
Oh goodness, that can be a worrying sight! What you are seeing is usually a temperature issue when adding dry ingredients—or the sugars—to butter that’s still too hot. If the butter is too hot, it melts the sugar instantly instead of letting the mixture cream properly. Remember how I stressed letting the butter cool for those full 15 minutes? If your butter is still sizzling hot, the sugar melts right into a syrup rather than whipping air into the mixture. Always let that brown butter cool until it’s just pleasantly warm to the touch before mixing in the sugars!
How long can I chill the dough for the best nutty cookies?
This is my favorite question! The minimum chilling time is 30 minutes, which is totally fine if you need a quick bake. But to get the absolute deepest flavor in these nutty cookies, I really encourage you to let that dough sit. I’ve gone up to 24 hours, and honestly, the dough tastes deeper and richer the next day. The flavor just has more time to mature together. If you have the patience, chilling for at least 4 hours makes these brown butter cookies taste like they took days to prepare!
If you’re interested in other baking science topics, you can read some of my musings over here on the science behind pastry structure!
Cherry Brown Butter Cookies
Equipment
- Medium saucepan
- Electric mixer
- Large bowl
- Separate bowl
- Baking sheets
- Parchment paper
- Wire Rack
Ingredients
For the Cookies
- 1 cup unsalted butter 2 sticks
- 1 cup packed light brown sugar
- 1/2 cup granulated sugar
- 2 large eggs
- 2 teaspoons vanilla extract
- 2 3/4 cups all-purpose flour
- 1 teaspoon baking soda
- 1/2 teaspoon salt
- 1 1/2 cups dried cherries chopped
- 1 cup white chocolate chips optional
- Flaky sea salt for topping
Instructions
- Brown the butter in a medium saucepan over medium heat. Stir constantly until the butter turns golden brown and smells nutty, which takes about 5 to 7 minutes. Pour the browned butter into a large bowl and let it cool for 15 minutes.
- Add both sugars to the cooled brown butter. Beat with an electric mixer until the mixture is well combined, about 2 minutes.
- Beat in the eggs one at a time. Add the vanilla extract and mix until the batter is smooth.
- In a separate bowl, whisk together the flour, baking soda, and salt.
- Gradually fold the dry ingredients into the wet ingredients until they are just combined. Fold in the chopped dried cherries and the white chocolate chips, if you are using them.
- Cover the dough and refrigerate it for a minimum of 30 minutes. You can chill it for up to 24 hours for a deeper flavor.
- Preheat your oven to 350°F (175°C) and line your baking sheets with parchment paper.
- Scoop the dough into 2-tablespoon portions. Place the dough portions 2 inches apart on the prepared baking sheets. Sprinkle the tops with flaky sea salt.
- Bake for 11 to 13 minutes. The edges should be golden, but the centers should still look slightly underdone.
- Let the cookies cool on the baking sheet for 5 minutes before moving them to a wire rack to cool completely.