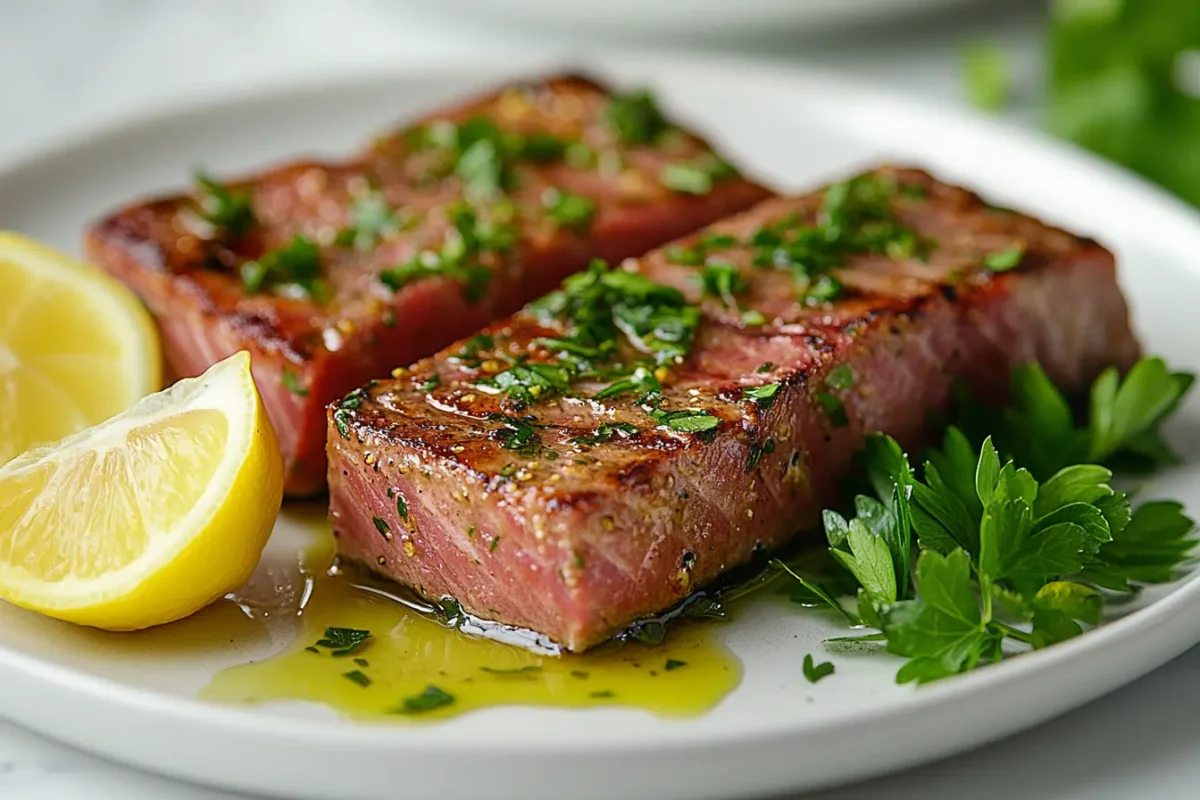
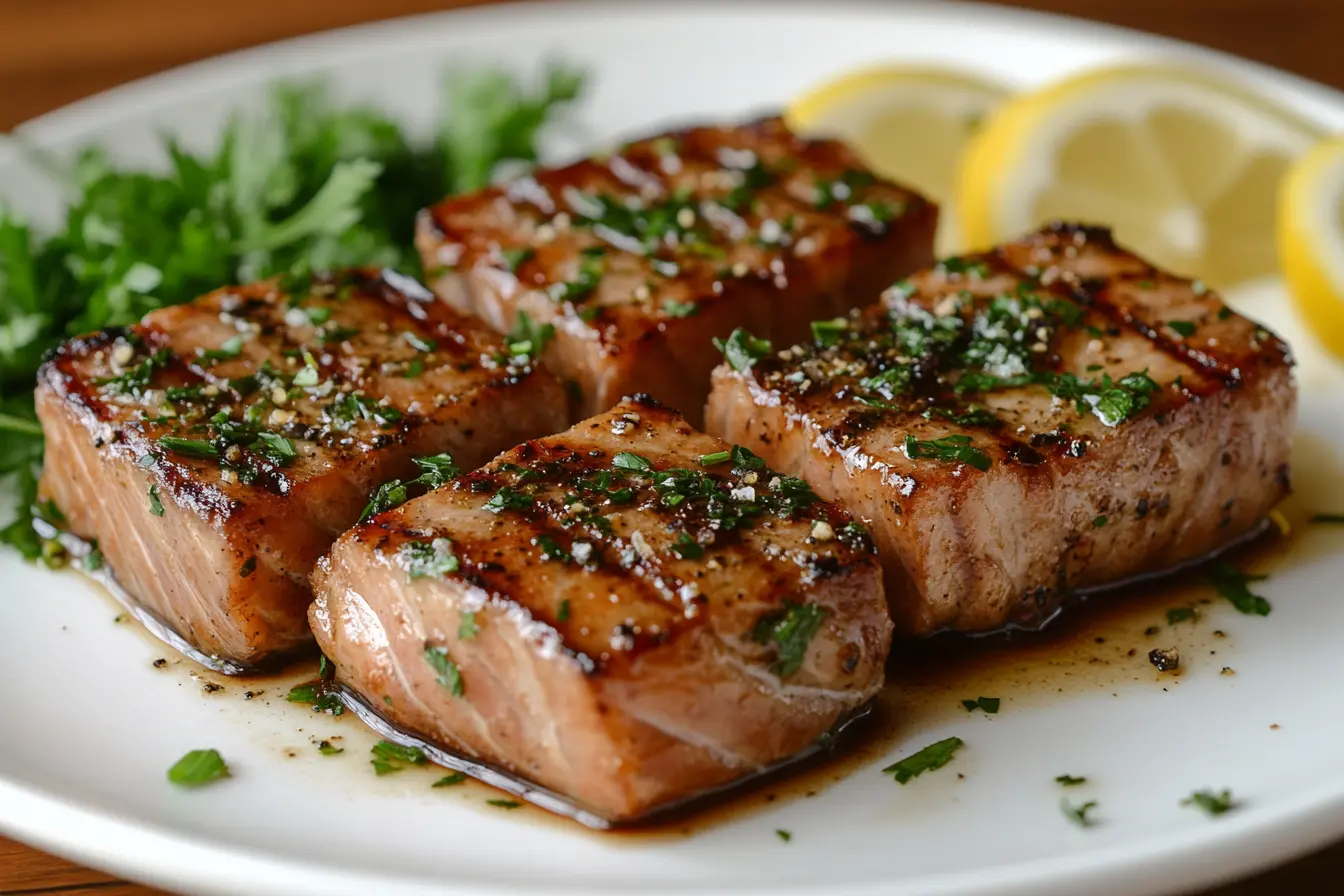
Tuna steaks are a popular and healthy option for seafood lovers, but preparing them can be tricky. One of the most common questions among home cooks and chefs alike is, “Should you brine tuna steaks?” This article explores the topic in detail, covering what brining is, its benefits, how to brine properly, and some useful alternatives. Whether you’re a seasoned cook or a beginner, this guide will help you make the most out of your tuna steaks.
Introduction
If you’ve ever struggled with dry or flavorless tuna steaks, you’re not alone. Tuna, like most fish, can easily become overcooked or bland without proper preparation. This is where brining comes in. Brining is a simple yet effective technique that helps lock in moisture and infuse flavor into the meat.
But is brining always necessary? What are the best practices for brining tuna steaks? And are there any pitfalls you should avoid? By the end of this article, you’ll have all the information you need to decide if brining tuna steaks is right for you—and how to do it like a pro.
Let’s dive into the details.
Table of Contents
What Is Brining?
Brining is a cooking technique that involves soaking food in a solution of water and salt, often with added seasonings or sugar. This process allows the salt to penetrate the food, enhancing its flavor, texture, and moisture. While brining is most commonly associated with poultry or pork, it can also work wonders for seafood like tuna steaks.
The Science Behind Brining
When tuna steaks are placed in a brine, the saltwater solution begins a process called osmosis. The salt is absorbed into the cells of the fish, where it helps proteins retain water. This keeps the tuna juicy and prevents it from drying out during cooking. Additionally, the salt changes the protein structure, making the texture more tender.
Types of Brining Solutions
Brines can be tailored to your preference, but they generally fall into two categories:
- Wet Brine: This involves submerging the tuna in a liquid solution of water, salt, and optional seasonings like garlic, herbs, or citrus.
- Dry Brine: Instead of soaking in liquid, the tuna is coated with salt and allowed to sit before cooking. This method is less common for seafood but can be effective for a quick seasoning.
Benefits of Brining Tuna Steaks
Now that we’ve covered what brining is, let’s explore why you should consider brining your tuna steaks. Here are some key benefits that can elevate your dish to the next level.
Improved Flavor
One of the biggest advantages of brining is that it infuses the tuna with flavor. The salt in the brine enhances the natural taste of the fish, while additional seasonings like lemon, garlic, or dill can add depth. This eliminates the need for heavy sauces or marinades, allowing the tuna’s delicate flavor to shine.
Enhanced Texture
Tuna steaks are known for their firm, meaty texture, but improper cooking can make them tough or rubbery. Brining breaks down some of the muscle fibers, making the fish more tender. This ensures a buttery, melt-in-your-mouth experience, even if you cook the tuna to medium or well-done.
Moisture Retention
There’s nothing worse than dry tuna steaks. Because fish cooks quickly, it’s easy to lose moisture during the cooking process. Brining creates a moisture barrier, helping the fish stay juicy and succulent. Whether you’re grilling, pan-searing, or baking, brining can make a significant difference.
How to Brine Tuna Steaks
Brining tuna steaks is a straightforward process that doesn’t require any fancy tools or hard-to-find ingredients. Whether you’re preparing a quick weeknight meal or a special occasion dish, following these steps will ensure your tuna steaks are flavorful, moist, and tender.

Ingredients Needed
To start, gather the following ingredients:
- Water: The base of your brine, typically room temperature or slightly warm.
- Salt: Kosher salt works best due to its larger crystals, which dissolve easily in water.
- Sugar: Optional but recommended for balance. It enhances the flavor and creates a slight caramelization when cooking.
- Seasonings (Optional): Fresh herbs (like thyme or dill), citrus zest, garlic, peppercorns, or chili flakes can add extra flavor to your brine.
- Tuna Steaks: Ensure the tuna is fresh or properly thawed if frozen.
Step-by-Step Guide
Follow this simple guide to brine your tuna steaks perfectly every time.
1. Preparing the Brine
- In a mixing bowl, combine 4 cups of water with 1/4 cup of kosher salt. Stir until the salt is completely dissolved. If desired, add 2 tablespoons of sugar for a touch of sweetness.
- Add your chosen seasonings, such as a handful of fresh dill, the zest of one lemon, or a few smashed garlic cloves. Stir well.
2. Submerging the Tuna
- Place the tuna steaks in a shallow dish or a resealable plastic bag.
- Pour the brine over the fish, ensuring it is fully submerged. If the tuna floats, place a small plate on top to weigh it down.
3. Brining Time: How Long Is Enough?
- For tuna steaks, the brining time should be short compared to other proteins. The fish is delicate and doesn’t need long to absorb the brine.
- Ideal Time: Brine the tuna for 15 to 30 minutes. Over-brining can make the fish too salty or break down its texture.
- If you’re in a rush, even a quick 10-minute brine can make a noticeable difference.
4. Rinsing and Drying
- After brining, remove the tuna steaks and rinse them thoroughly under cold water. This step is crucial to remove excess salt.
- Pat the tuna dry with paper towels. A dry surface ensures better browning during cooking.
Cooking Tips After Brining
Once your tuna steaks are brined, you’re ready to cook them! Here are a few tips to get the best results:
- Grilling: Lightly oil the tuna and grill over high heat for a smoky, charred flavor.
- Pan-Searing: Heat a skillet with a small amount of oil and sear the tuna for 1-2 minutes on each side for a crispy exterior.
- Baking: Wrap the tuna in foil with a drizzle of olive oil and bake at 375°F for about 10-12 minutes.
With these steps, your brined tuna steaks will turn out juicy, tender, and packed with flavor every time.
Common Mistakes to Avoid When Brining
While brining is a relatively simple process, there are a few pitfalls to watch out for. Avoid these common mistakes to ensure your tuna steaks turn out perfectly every time.
1. Over-Brining
One of the most common mistakes is leaving the tuna in the brine for too long. Unlike larger proteins like chicken or pork, tuna is delicate and can easily become overly salty or mushy if brined for too long. Stick to the recommended time of 15 to 30 minutes, and set a timer to avoid forgetting.
2. Using Too Much Salt
The concentration of salt in the brine is crucial. If your brine is too salty, it can overpower the natural flavor of the tuna and make it unpleasant to eat. Always measure your salt carefully—about 1/4 cup of kosher salt per 4 cups of water is the standard ratio.
3. Forgetting to Rinse
After brining, some people skip the rinsing step. This can leave excess salt and seasonings on the surface of the tuna, resulting in an overly salty bite. Be sure to rinse the fish thoroughly under cold water before cooking.
4. Not Drying the Tuna
Patting the tuna dry with paper towels after rinsing is essential for proper cooking. If the surface of the fish is too wet, it won’t brown or sear properly, leaving you with a less appealing texture and appearance.
5. Brining Frozen Tuna Without Thawing
If you’re using frozen tuna steaks, always thaw them completely before brining. Brining frozen tuna can lead to uneven absorption of the brine, leaving some parts overly salty and others under-seasoned.
Alternatives to Brining Tuna Steaks
If you’re short on time or prefer not to brine, there are several other ways to enhance the flavor and texture of your tuna steaks. Here are some popular alternatives:
1. Marinating
Marinating is a common method for flavoring tuna steaks without the use of saltwater. A marinade typically includes a mix of oil, acid (like lemon juice or vinegar), and seasonings. Here’s a simple marinade recipe:
- 1/4 cup olive oil
- 2 tablespoons soy sauce
- 1 tablespoon lemon juice
- 1 teaspoon minced garlic
Let the tuna sit in the marinade for 20-30 minutes before cooking. This method not only adds flavor but also tenderizes the fish.
2. Dry Brining
Dry brining is a faster alternative to traditional brining. Instead of soaking the tuna in liquid, you rub it with kosher salt and let it rest for 10-15 minutes. The salt draws out some moisture, which then dissolves and reabsorbs into the fish, creating a similar effect to wet brining. Be sure to rinse and dry the tuna after dry brining.
3. Herb and Spice Rubs
For a quick seasoning option, coat the tuna steaks with a dry rub made from your favorite spices and herbs. Popular options include paprika, black pepper, cumin, and garlic powder. This method enhances the outer crust of the tuna while preserving its natural flavor.
4. Using High-Quality Tuna
Sometimes, the best way to enjoy tuna is to let its natural flavor shine. If you’re working with high-quality, fresh tuna steaks, you might not need brining or marinades at all. A simple sprinkle of salt and pepper before cooking can be enough.
Each of these methods has its own benefits, so you can experiment to find what works best for you. Whether you choose to brine, marinate, or use a spice rub, the goal is the same: flavorful, tender, and juicy tuna steaks.
FAQs About Brining Tuna Steaks
Brining tuna steaks can raise several questions for home cooks who are new to this technique. Here are some of the most frequently asked questions, along with clear and concise answers to help you understand the process better.

1. Does Brining Remove the “Fishy” Taste?
Yes, brining can help reduce the “fishy” taste that some people find unpleasant in tuna. The salt in the brine neutralizes strong odors and flavors, leaving the tuna with a fresher and cleaner taste. Adding lemon zest, garlic, or fresh herbs to the brine can further mask the fishiness while enhancing the flavor. For additional tips, check out this guide to marinated tuna steak recipes for even more ways to improve flavor.
2. Can You Brine Frozen Tuna Steaks?
Yes, but it’s important to thaw the tuna steaks completely before brining. Frozen tuna doesn’t absorb the brine evenly, which can lead to uneven seasoning. To thaw, place the tuna in the refrigerator overnight or submerge it in a sealed plastic bag in cold water for about 30 minutes. Once thawed, proceed with the brining process. Learn more about pairing flavors with tuna in the article on good seasonings for tuna.
3. Is Brining Necessary for All Tuna Dishes?
Not always. The need for brining depends on the dish you’re preparing and the quality of the tuna. For grilled or seared tuna steaks, brining can enhance flavor and moisture retention. However, for dishes like tuna tartare or poke, brining isn’t necessary as these are served raw and rely on the natural flavor of the fish. For inspiration on other seafood dishes, check out the best seafood pasta recipes.
4. Can You Over-Brine Tuna?
Yes, over-brining tuna can make it too salty and affect its texture. Because tuna is more delicate than other proteins, it requires a shorter brining time—typically 15 to 30 minutes. Leaving tuna in the brine for too long can result in a mushy texture, so always set a timer and stick to the recommended time. For tips on cooking with precision, explore our section on marinated tuna recipes.
5. What Is the Best Salt to Use for Brining Tuna?
Kosher salt is the best choice for brining tuna. Its coarse texture dissolves easily in water and distributes evenly. Avoid using table salt, as it can be too fine and lead to over-salting. Sea salt can also be used, but you may need to adjust the quantity depending on its coarseness.
6. Can You Brine Tuna Without Sugar?
Yes, sugar is optional in a brine. While sugar adds a touch of sweetness and helps with browning during cooking, it’s not essential. If you prefer a savory profile, you can skip the sugar and stick to salt and seasonings.
7. What Happens If You Don’t Rinse the Tuna After Brining?
If you don’t rinse the tuna after brining, the surface may retain too much salt, which can result in an overly salty dish. Rinsing also removes any residue from seasonings in the brine that might burn during cooking. Always rinse the tuna thoroughly under cold water and pat it dry with paper towels before cooking.
8. How Does Brining Compare to Marinating?
Both brining and marinating add flavor to tuna, but they serve slightly different purposes. Brining primarily enhances moisture and texture while adding a subtle seasoning. Marinating, on the other hand, focuses on flavor infusion, especially when acidic ingredients like lemon juice or vinegar are used. For best results, you can combine the two techniques by brining first and marinating afterward for extra flavor. Explore good seasonings for tuna to find the perfect balance.
Conclusion
Brining tuna steaks is an easy way to boost their flavor, texture, and moisture. With just 15–30 minutes in a saltwater solution, your tuna can turn from ordinary to deliciously tender and juicy. While not always necessary, brining is an excellent tool for those looking to elevate their tuna dishes. Whether you brine, marinate, or simply season, the key is to handle your tuna with care and cook it properly for the best results.

