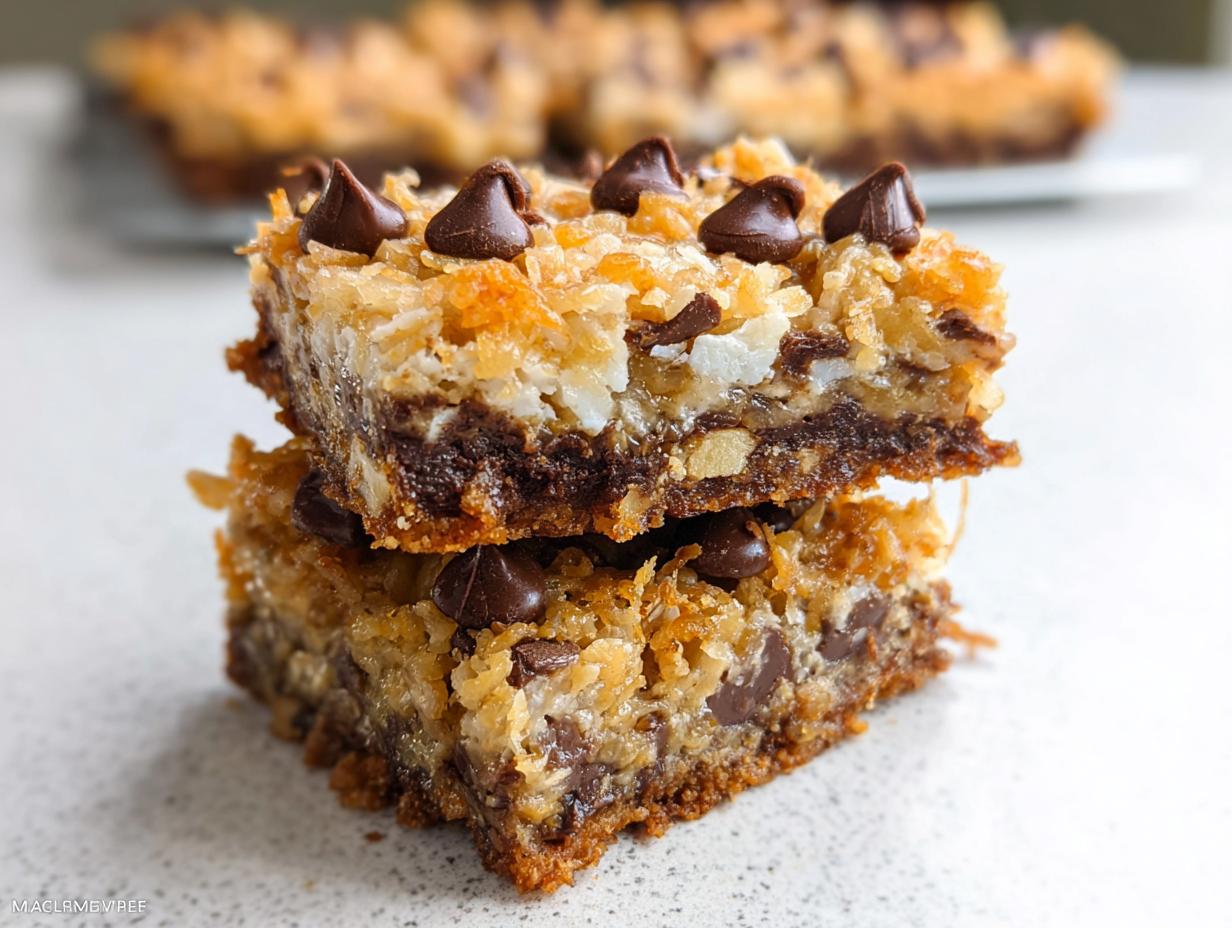
There’s just something about a truly decadent dessert, especially when you can see every beautiful, sweet component stacked up high! If you love richness but hate fuss, then I have found your new favorite go-to recipe. These 7-Layer Bars are the definition of easy-yet-impressive; they are simple to build right in a pan, yet every single bite is packed with satisfying, contrasting texture.
Every time I make these, I think about how each layer tells part of the story — from that buttery, firm crust all the way up to the gooey melted topping. It truly is one of those desserts that feels just as satisfying to build as it is to eat. Seriously, assembling these 7-Layer Bars is therapeutic!
Because this recipe has been around forever, you know it’s a classic for a reason. We’re talking true homemade desserts here that always win at potlucks and holiday tables. Forget complicated cookie recipes; this is pure, layered sweetness!
Why You Will Love These 7-Layer Bars
Honestly, you are going to wonder why you haven’t made these sooner. They fly off the plate at every gathering I take them to. They are true winners!
- They are perfect examples of Simple Desserts because you don’t even need an electric mixer—everything just gets layered!
- We are talking maximum flavor payoff with minimal effort. It’s one of my favorite Easy Treats for a busy weekend.
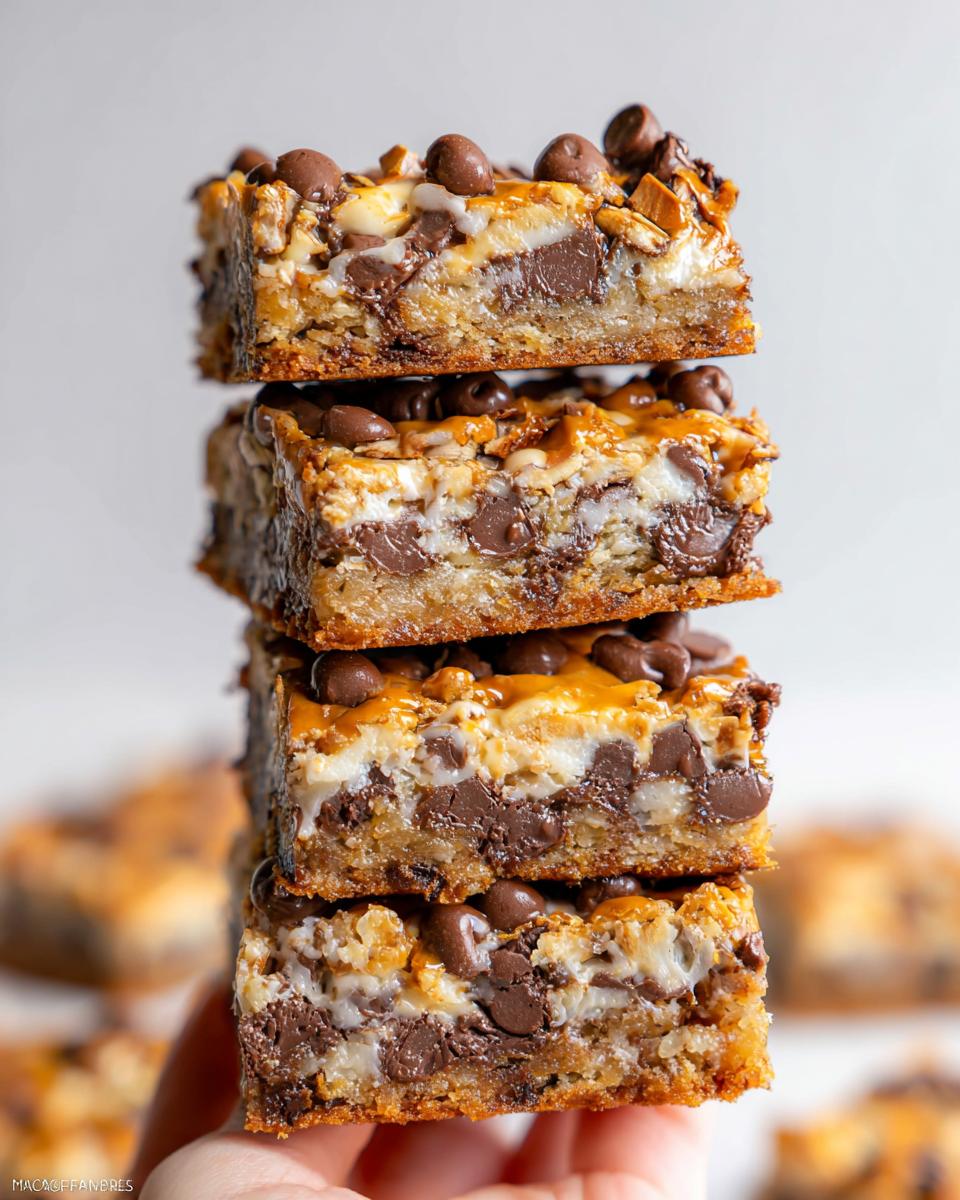
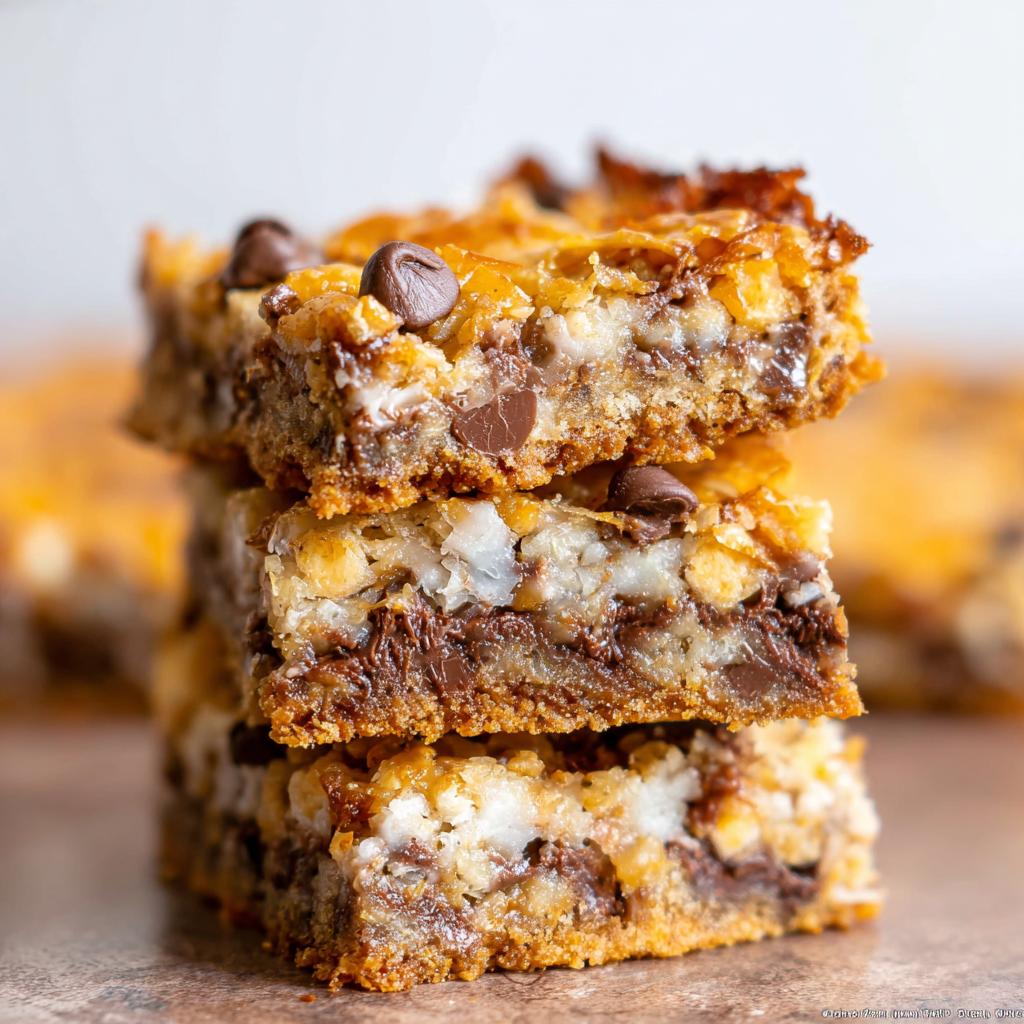
- The texture contrast is unbelievable: crunchy crust, smooth milk, pools of gooey chocolate, and chewy coconut. Wow!
- These are fantastic as Easy Desserts For A Crowd because you bake it all once in a big pan.
- They don’t require any weird chilling time (other than cooling down so you can slice them, of course).
- If you are looking for quick Baking Ideas, this one takes less than 15 minutes of active prep time.
- You can check out some other no-bake treats if you’re looking for even faster options, but these are worth turning the oven on for!
Essential Ingredients for Perfect 7-Layer Bars
Okay, trust me on this one—when you use good ingredients for these bars, they sing! Since this recipe is so simple, every single component really shows up in the final product. You have to be precise, especially on getting that crust just right, because it holds up all the goodness on top.
For the Crust
We need 200 grams of graham cracker crumbs, and make sure you really pack them down! Then, mix those crumbs with 120 grams of butter that you’ve melted nice and slow. It needs to be a dense, buttery foundation for everything else we stack on top.
For the Layers of the 7-Layer Bars
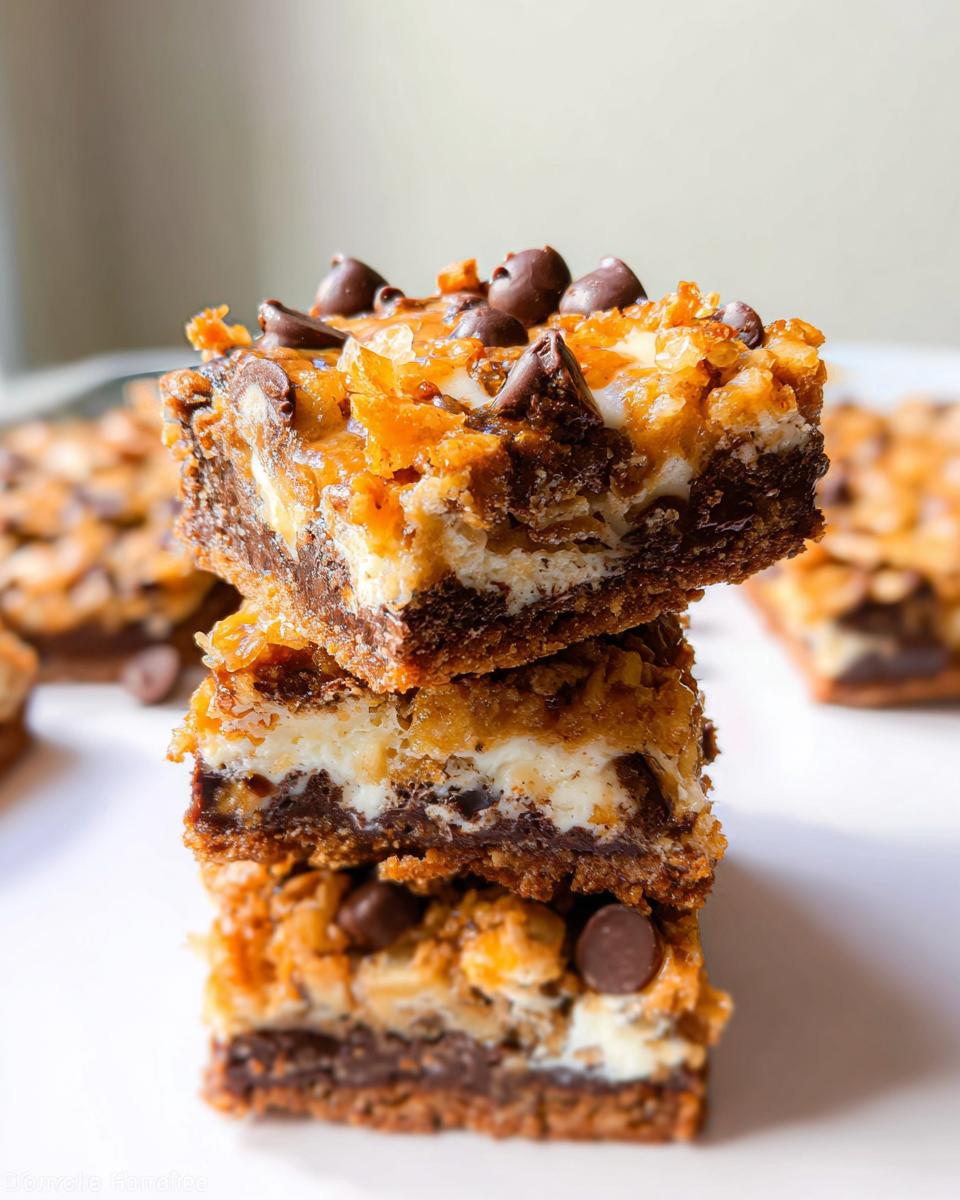
This is where the magic happens! After the crust, we pour over the entire can—that’s 400 grams—of sweetened condensed milk. Then, we layer everything else evenly: 150 grams of chocolate chips, 150 grams of butterscotch chips, 100 grams of shredded coconut, and finally, 80 grams of chopped walnuts. These 7-Layer Bars are incredibly rewarding to assemble!
Step-by-Step Instructions to Make 7-Layer Bars
Putting these amazing bars together is so fast; you’ll be amazed how quickly you go from a pile of stuff in bowls to a gorgeous, thick dessert ready for the oven! Remember that pan prep we talked about? It’s key here. Since these bars stack so high and gooey, we really need that solid base. For reference, a standard 9×13 inch pan works perfectly for this recipe. Honestly, building these treats is almost as fun as eating them, and they come together so wonderfully fast—it’s the definition of an Easy Dessert Idea!
If you want to see how others bake these beauties, this classic recipe is a great reference point! Now, let’s get into the exact steps for making sure your 7-Layer Bars set up just right.
Preparing the Crust Layer for Your 7-Layer Bars
First things first: get your oven preheated to 175°C. Now grab your graham cracker crumbs—that 200 grams—and toss them with the 120 grams of melted butter. Mix it up until it looks nice and rain-soaked. Press this mixture down, down, down into the bottom of your prepared pan. Use the bottom of a measuring cup or just your knuckles to make sure it’s packed firmly and evenly. That hard crust is what keeps our 7-Layer Bars from turning into a sloppy wreck!
Building the Sweet Layers
This is where the magic happens! Take that can of sweetened condensed milk and slowly pour it over your crust. Try to get it to spread out as evenly as possible; we don’t want one side getting all the goo! Next, work quickly but gently. Sprinkle on the chocolate chips first, then the butterscotch chips right over those. Finish the top by scattering the shredded coconut and the chopped walnuts evenly across the entire surface. Try not to disturb the milk layer too much when you sprinkle the toppings!
Baking and Cooling the 7-Layer Bars
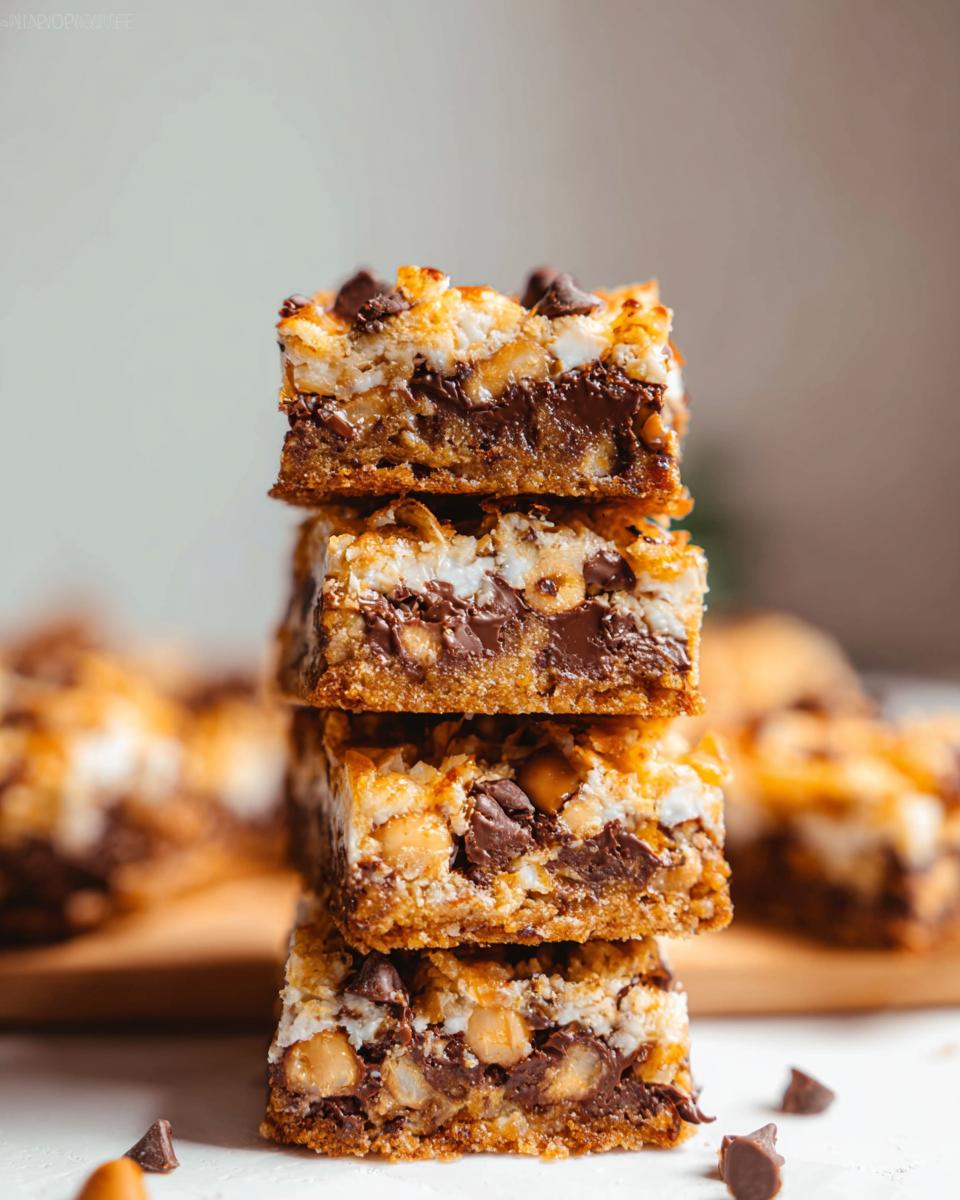
Pop the pan into the preheated oven. You’re looking for about 28 to 30 minutes of baking time. You want the edges to look golden brown and bubbly—that’s how you know the milk has caramelized properly. Once they come out, this is the hardest part! Set them on a wire rack and let them cool completely. I mean it—fully cool! If you try to slice these 7-Layer Bars while they are warm, they will weep and crumble everywhere. Patience will reward you with perfect squares, I promise!
Tips for Success Making 7-Layer Bars
These bars are so forgiving, which is why they are an eternally popular go-to for busy bakers. But, if you’re aiming for those picture-perfect edges and the super gooey center, I have a few secrets that always work for me—these are the things I learned perfecting this recipe over the years. It elevates them from a simple treat to something truly special!
For instance, make sure those butterscotch chips are added toward the end of the topping process. They tend to melt faster than the chocolate chips. If you put them on too early, they might sink right into that sweet condensed milk layer before the bake even starts, and we kind of want to see all seven layers!
Also, don’t skimp on the coconut! A lot of people think shredded coconut is optional in these types of Unique Cookie Recipes, but it’s not. The coconut actually helps absorb a little of that intense wetness from the milk while it bakes, giving you a chewier, better final texture. These little tricks make such a difference between a good bar and an absolutely dynamite bar!
Speaking of texture, I always reserve about 10% of the walnuts and sprinkle those on right after the bars come out of the oven. This is a great little trick because those top ones stay crunchy instead of getting soft underneath the other ingredients. It adds such a lovely little *snap* when you bite into them. It’s one of my favorite little Baking Ideas!
Finally, when you’re pressing down that crust—really put your back into it! A loose crust means the entire square of 7-Layer Bars will fall apart when you cut them later. It needs to be dense enough to counteract all that gooey topping we are adding later. Feel free to check out some more expert baking tips here if you want to up your game across the board!
Ingredient Notes and Substitutions for 7-Layer Bars
So, what if you’re missing one little thing? Don’t panic! While these 7-Layer Bars are famous for using a specific lineup, I’m a firm believer that you should bake with what you have on hand, provided you respect the structure. The most crucial part of this entire recipe, hands down, is that sweetened condensed milk. You absolutely cannot swap that out for evaporated milk or regular cream.
The condensed milk is what carries all the sugar and moisture throughout the layers and acts like a secret gooey glue holding everything together as it bakes. If you skip it, you’ll end up with a dry, crumbly mess rather than the decadent bar we are aiming for!
As for the mix-ins, you definitely have more freedom there. If you aren’t a fan of butterscotch chips, just use more chocolate chips—or even peanut butter chips! Peanut butter is amazing with coconut, trust me on that one.
Nuts are another easy area to customize. If walnuts are off the table, pecans work wonderfully and give the 7-Layer Bars a slightly different, rich flavor. Honestly, if you wanted to kick it up, you could swap the walnuts for mini marshmallows, though that technically makes it an 8-Layer Bar, oops!
Coconut is the ingredient people argue about most. If you hate it, you can leave it out, but then you lose a little bit of that classic structure and chewiness. The coconut helps balance the heavy sweetness of the chips and the milk base. If you decide to skip it, just make sure you’re happy knowing you’re deviating slightly from the traditional bar!
Serving Suggestions for Easy Desserts For A Crowd
Since these bars are so rich and dense, you don’t need a whole lot served up for folks to feel satisfied. They really pack a punch, which makes them such an economical and easy dessert idea when you’re feeding a big group!
When I take these to a potluck or a holiday party, presentation really makes them look special, even though they’re so easy. I always make sure they are completely cool and then use a very sharp, thin knife—dipping it in hot water between slices works miracles!—to get clean, neat squares.
I try to arrange them on a big white platter so the different colors of the layers really pop. It looks gorgeous when you slice them into perfect 2×2 inch squares. That way, people can easily grab one without needing a fork, which is always a win when you’re setting up a buffet line.
For pairings, you can’t go wrong keeping it simple. These are amazing served alongside a strong, hot cup of coffee—the bitterness cuts through the sweetness perfectly. If you’re serving them slightly warm (which I only do if I’m testing them right out of the oven, shh!), a scoop of vanilla bean ice cream is absolutely divine. But honestly, for a big crowd, just putting them out on a platter is all the fanfare these fantastic, rich bars need!
If you’re planning a bigger bash or holiday event, I always save some of my favorite planning tips over in my holiday party recipes section. It really helps keep the chaos down when you’re serving dozens of people!
Storing Your Homemade Desserts: 7-Layer Bars Care
This is one of those questions I get all the time, especially because if you bring these to a party, there are usually leftovers—which is great news! Since the 7-Layer Bars are so rich and fudgy once they cool down completely, you want to keep them stored correctly so they don’t get too soft or dry out.
The good news is that these aren’t like delicate cookies that need special attention. Because of all that sugar and fat from the condensed milk and the chips, these bars are actually quite stable! They are perfect for making ahead of time, which is why they are such a go-to for me when I know I have a busy schedule leading up to an event.
For room temperature storage, just make sure you are cutting them *after* they are totally cool—I mean room temperature cool, maybe even slightly chilled. Place the squares in an airtight container. If you have parchment paper leftover, you can use that to separate the layers so they don’t stick together in a big messy stack. At room temperature, the 7-Layer Bars should be perfectly delicious for about three full days. Keep them out of direct sunlight so the chocolate doesn’t get greasy.
If you need them to last longer, the fridge is your friend! Pop that airtight container right into the refrigerator. They will firm up even more in the cold, which some people actually prefer—it makes them extra chewy and fudgy! They last beautifully for up to a week stored this way. Just let them sit on the counter for about 15 minutes before serving so they aren’t rock hard.
And yes, you can freeze these! Honestly, I think these 7-Layer Bars freeze better than almost any other bar recipe I know. Once they are completely cooled and sliced, layer them between sheets of wax or parchment paper. Tuck them into a heavy-duty freezer bag or container. They’ll hang out perfectly fine in the freezer for up to three months. When you want some, just thaw them slowly in the fridge! Super easy storage for a delicious batch ready whenever you need them.
Frequently Asked Questions About 7-Layer Bars
I always get a few questions about this classic recipe, especially from folks trying them out for the first time. It’s totally normal! As one of my go-to Easy Dessert Ideas, I want to make sure you get that perfect gooey texture every single time. If you have other questions, feel free to drop them in the comments below, or check out some other popular dessert recipes on the site!
Can I make 7-Layer Bars without baking?
That’s a tricky one! For this specific recipe, absolutely not, and here is why. While this dessert seems like it might be a hidden gem in the Dump Cake Recipes category because everything just gets layered in, you really need that small amount of time in the oven. The baking does two major things: it firms up that graham cracker crust so it holds everything together, and it toasts the coconut and nuts just slightly. More importantly, it allows the sweetened condensed milk to caramelize just enough. If you just try to chill them, the milk stays too liquidy and you’ll end up with a very sweet, sticky puddle instead of solid 7-Layer Bars!
What is the difference between these and Magic Cookie Bars?
Oh, honey, this is the best kept secret in dessert land: there usually isn’t one! For all intents and purposes, 7-Layer Bars and Magic Cookie Bars are the exact same thing. The ingredient list, the layering method, the time in the oven—it’s identical! People just got creative with the name depending on which ingredient was featured most prominently in their childhood. Whether you call them Magic or you call them 7-Layer Bars, you’re getting that amazing, decadent square. I stick with 7-Layer Bars because I love shouting out all of those perfect components stacked on top of each other!
How do I get clean slices when cutting 7-Layer Bars?
This is my number one tip that separates the messy eater from the neat server! You must let them cool completely. I mean, you have to practically leave them overnight, or at least chill them in the fridge for a few hours. A warm 7-Layer Bar will squish when the knife hits it. Once they are nice and cold, grab a very sharp knife. Here’s the trick: run that sharp knife under very hot water for about 10 seconds, wipe it dry quickly, and then make your cut. Wipe the blade clean and reheat it for every single cut. This slight heat melts just the topping layer enough to slice cleanly through the gooey center without dragging the layers apart. You’ll get professional-looking squares every time!
Estimated Nutritional Data for 7-Layer Bars
Now, let’s be real for a minute. If you are making these 7-Layer Bars, you are doing it for the intense, sugary, chocolatey flavor explosion, not for a light snack! These bars are rich, decadent, and use ingredients like sweetened condensed milk, so the numbers reflect that glorious indulgence. Every single layer adds something heavy and delicious to the mix!
I always feel a little awkward posting nutrition facts because these homemade desserts are meant to be enjoyed as a treat, not tracked daily. But, because I want you to see everything clearly, here is what you can generally expect for one single bar, based on cutting the batch into 12 generous servings.
Just remember this disclaimer: as with all my recipes, these estimates are based on standard ingredient measurements and brands, so your final count might swing a little bit. For my official site disclaimer regarding nutrition, you can read more right here.
- Calories: Approximately 350–400 per bar (Depending on the exact brand of chips used).
- Fat: About 20g (Remember, we have butter in the crust and chips scattered throughout!).
- Carbohydrates: Around 45g (Mostly from the sugar in the condensed milk and the graham crackers).
- Protein: Roughly 4g (The nuts and milk give us a little boost!).
See? They are hefty bars! But they are worth every single calorie when you break into that gooey center. Enjoying one of these 7-Layer Bars with a cup of coffee is the best way to end any meal!
Share Your Success with These 7-Layer Bars
Now that you’ve gone through the steps and built these incredible towers of sweetness, I’m dying to know how they turned out! Seriously, there is nothing better for me than hearing from you folks about a recipe that worked perfectly in your kitchen.
Did you serve these 7-Layer Bars at a big summer cookout? Did they disappear instantly at your next family gathering? Sometimes I think these are the ultimate Easy Treats because everyone digs in without any fuss.
If you loved these buttery, gooey, crunchy squares, please do me a huge favor and leave a rating right here on the recipe card—give it those five gold stars if you think it deserves them! And while you’re down there, tell me something specific in the comments.
What was your absolute favorite part of these 7-Layer Bars? Was it the surprising chewiness from the coconut, or maybe the way the butterscotch melted? Did you stick to the classic seven layers, or did you throw in some fun extras? I always read every single comment, and your feedback helps other bakers feel confident trying it out!
If you ran into any trouble or have a super clever serving trick I haven’t thought of, don’t hesitate to reach out! You can always send me a quick message through my contact page too. Happy baking, and enjoy every single decadent square of those amazing 7-Layer Bars!
7-Layer Bars
Equipment
- Baking Pan
Ingredients
Crust
- 200 g graham cracker crumbs
- 120 g melted butter
Layers
- 400 g sweetened condensed milk
- 150 g chocolate chips
- 150 g butterscotch chips
- 100 g shredded coconut
- 80 g chopped walnuts
Instructions
- Mix the graham cracker crumbs and melted butter together. Press this mixture firmly into the bottom of your baking pan to form the crust.
- Pour the sweetened condensed milk evenly over the prepared crust layer.
- Layer the remaining ingredients over the milk: sprinkle the chocolate chips, butterscotch chips, shredded coconut, and chopped walnuts on top in order.
- Bake the bars at 175°C for 28 to 30 minutes.
- Allow the bars to cool completely before you slice them into individual bars.