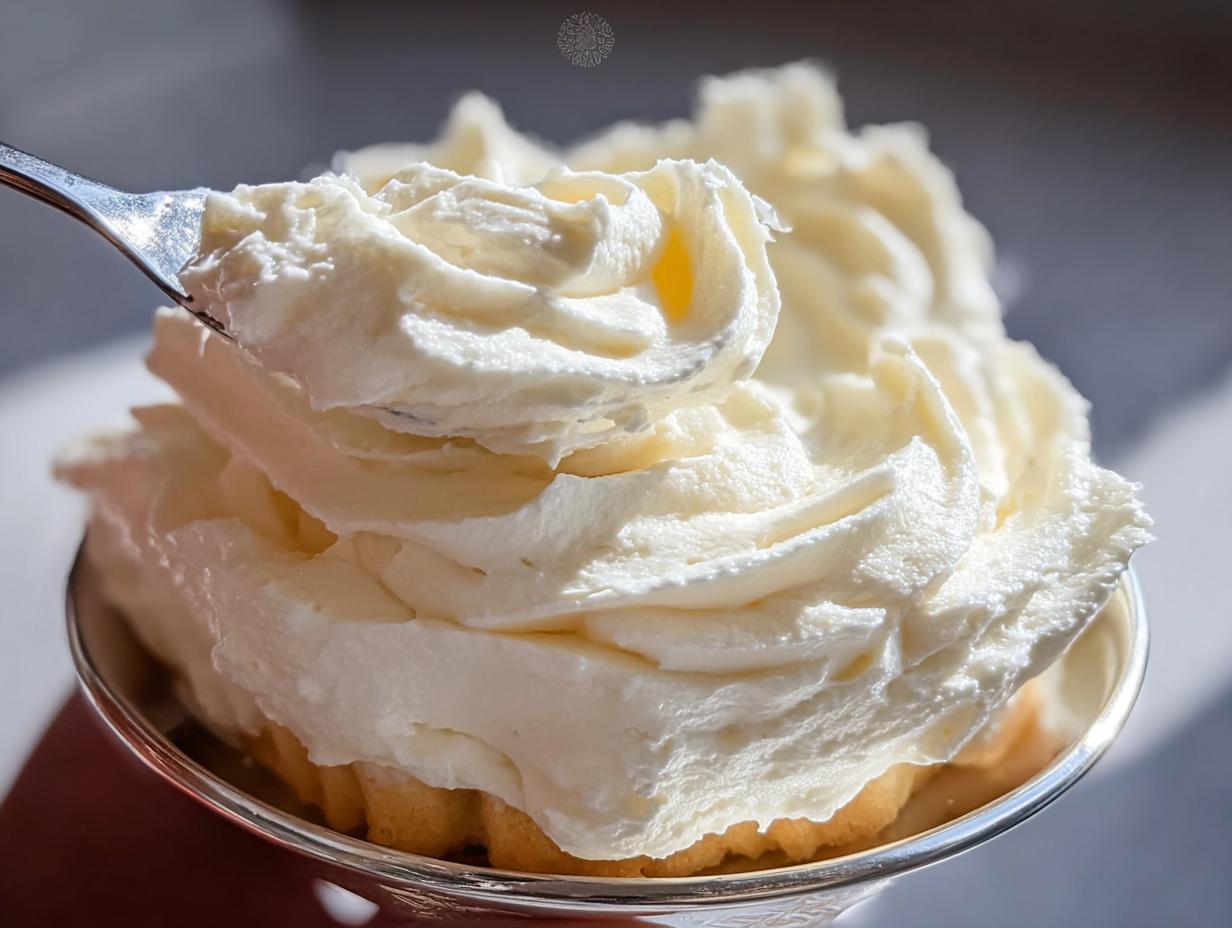
Let me tell you about the first time I made this 300 Dollar Frosting Recipe – it was like discovering the holy grail of icing. I was testing frostings for my niece’s wedding cake and stumbled upon this gem that’s so luxurious, it should come with a velvet rope. The moment that silky, buttercream goodness hit my tongue, I understood why people call it “the frosting that outshines the cake.” This isn’t just any frosting – it’s velvet in a bowl, with a rich, buttery flavor that makes sugar cookies and cakes taste like they came from a fancy bakery. Trust me, once you try this recipe, you’ll never go back to store-bought tubs. It’s worth every imaginary penny of that $300 name!
Why You’ll Love This 300 Dollar Frosting Recipe
Oh honey, let me count the ways this frosting will steal your heart! It’s not just a topping—it’s a full-blown love affair with every bite. Here’s why you’ll be obsessed:
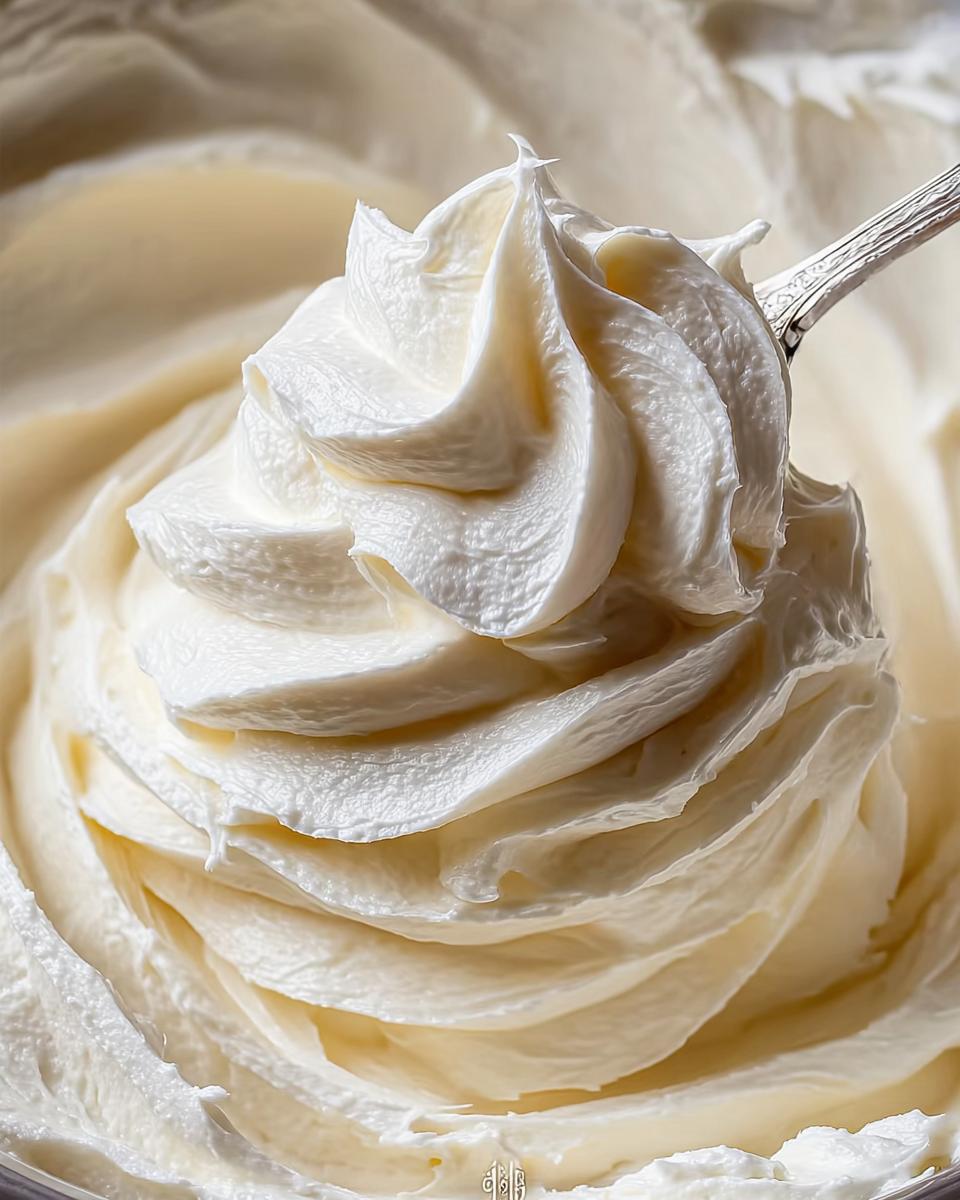
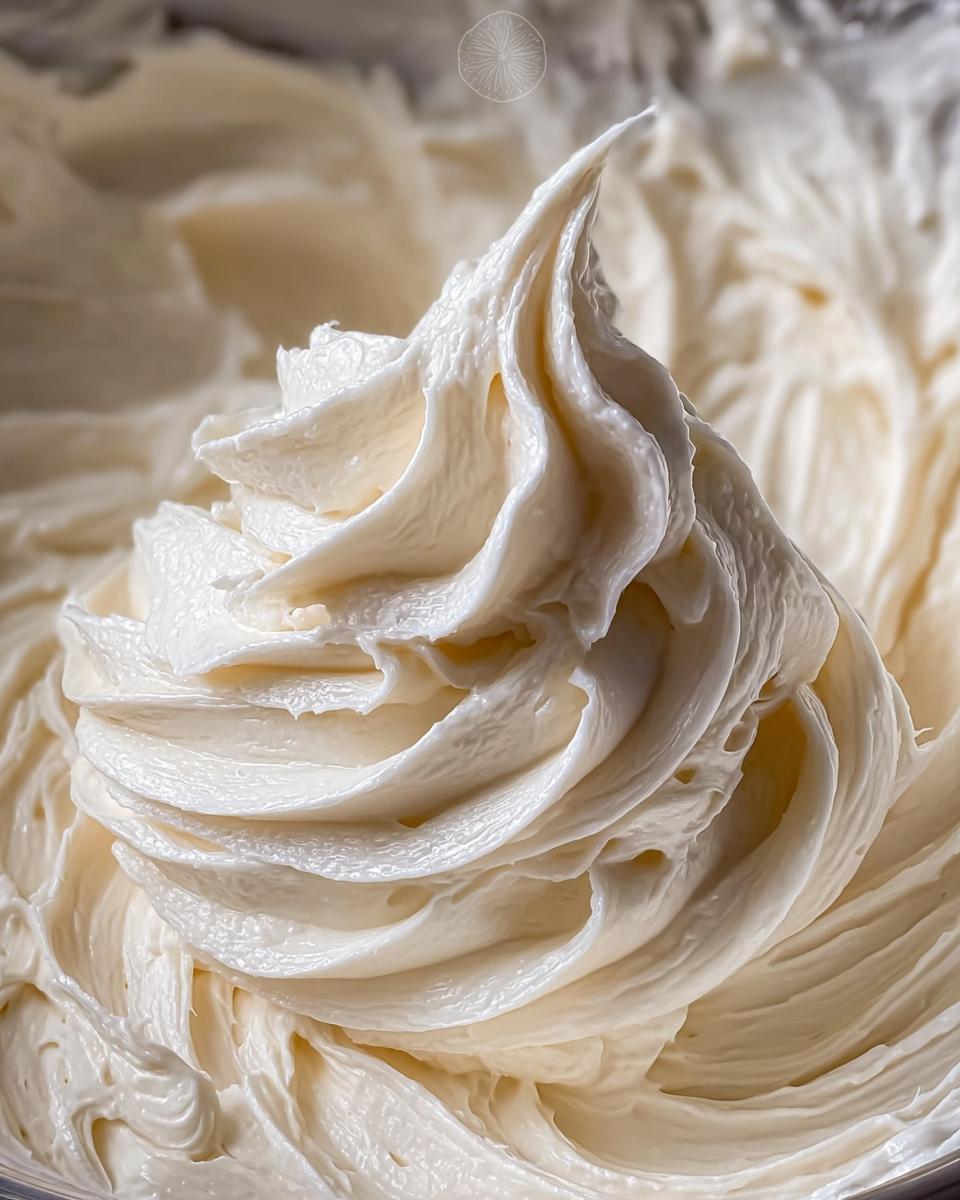
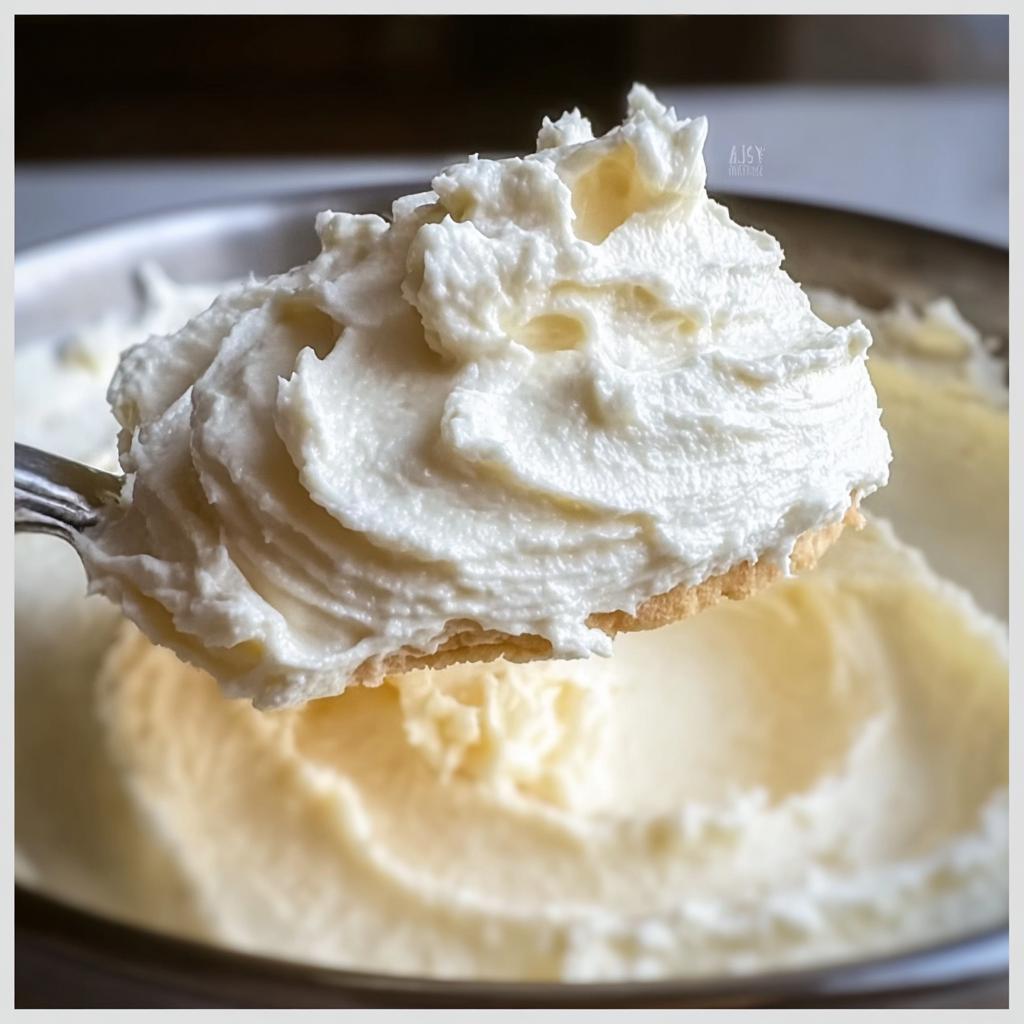
- Silky smooth texture that spreads like a dream – no lumps, no grit, just pure velvet on your spoon
- Foolproof to make with simple ingredients you probably already have in your pantry (no fancy equipment needed!)
- Versatile as your favorite little black dress – perfect for sugar cookies, cakes, or even eating straight from the bowl (no judgment here)
- Tastes like it came from a high-end bakery but costs pennies compared to store-bought frosting
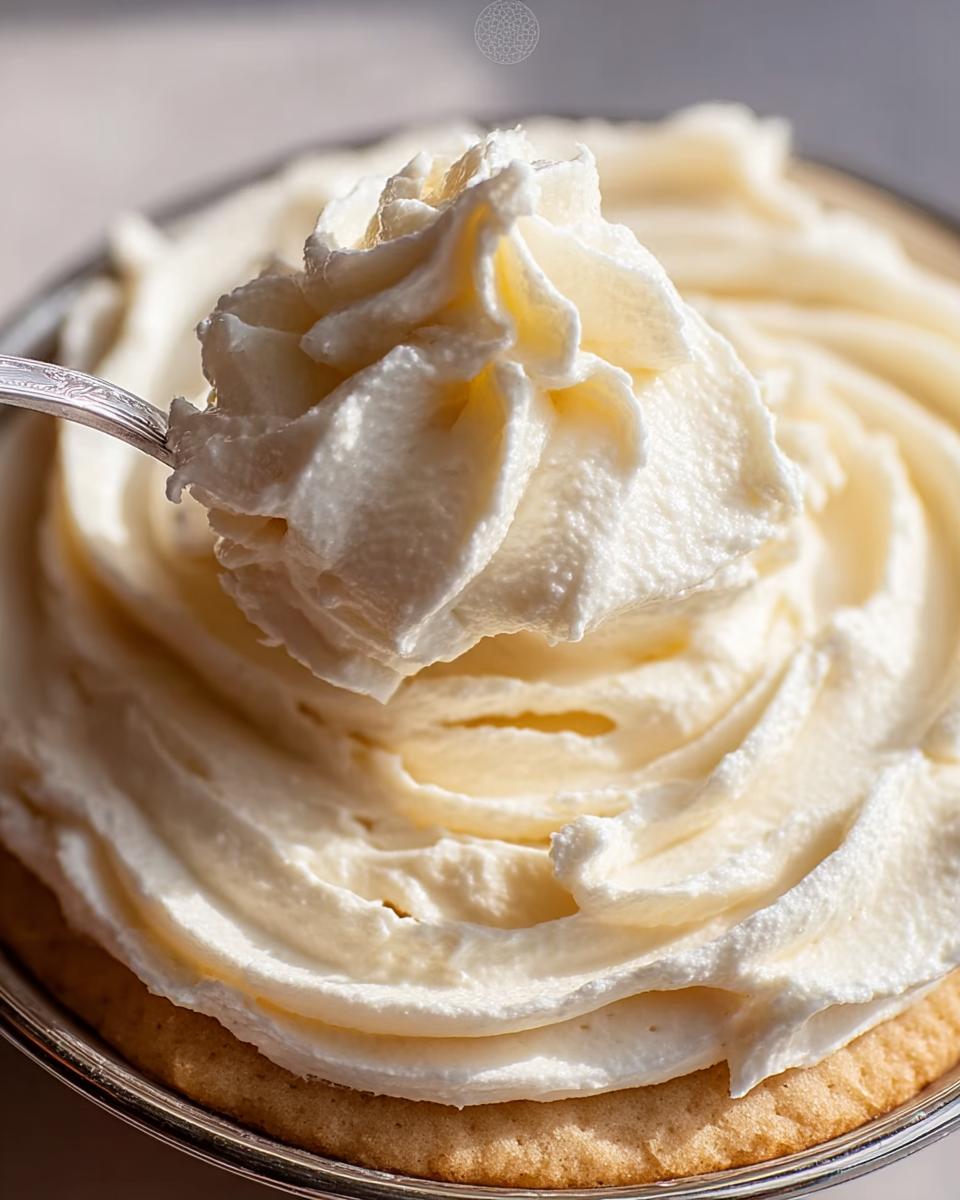
- Holds its shape beautifully for piping gorgeous swirls and decorations that’ll make your desserts look professional
Seriously, this frosting turns basic baked goods into “wow, did you make this?!” masterpieces. It’s the secret weapon in my recipe box, and now it can be in yours too!
Ingredients for the 300 Dollar Frosting Recipe
Okay, let’s gather our treasures! The magic of this frosting comes from just five simple ingredients – but quality matters here, folks. Here’s what you’ll need to create that velvety dream:
- 1 cup whole milk – none of that skim stuff, we need the full fat for maximum creaminess
- 5 tbsp all-purpose flour – just regular flour, nothing fancy
- 1 cup unsalted butter (room temperature) – this is KEY! Cold butter won’t cream properly
- 1 cup granulated sugar – plain white sugar works perfectly here
- 1 tsp vanilla extract – splurge on the good stuff if you can
See? Nothing weird or hard to find. Just make sure that butter is truly at room temp (I leave mine out overnight) and that milk-flour mixture cools completely – patience pays off with this recipe!
How to Make the 300 Dollar Frosting Recipe
Alright, let’s get mixing! This frosting comes together like magic, but there are a few key steps you don’t want to rush. I’ve made this dozens of times, and here’s exactly how I get that perfect, velvety texture every single time.
First, grab your saucepan and whisk together the milk and flour over medium heat. Now, here’s where patience comes in – keep whisking until it thickens to a pudding-like consistency. I’m talking thick enough that when you drag your whisk through it, the trail stays put for a second. This usually takes about 3-5 minutes. Once it’s there, take it off the heat and let it cool completely. I mean completely – warm mixture will melt your butter later, and we can’t have that!
While that’s cooling, let’s cream the butter and sugar. Use your electric mixer (or strong arms and a wooden spoon if you’re feeling old-school) to beat them together until they’re light and fluffy. This isn’t just mixing – we’re incorporating air here, so give it a good 2-3 minutes. The mixture should turn pale yellow and look almost like whipped cream.
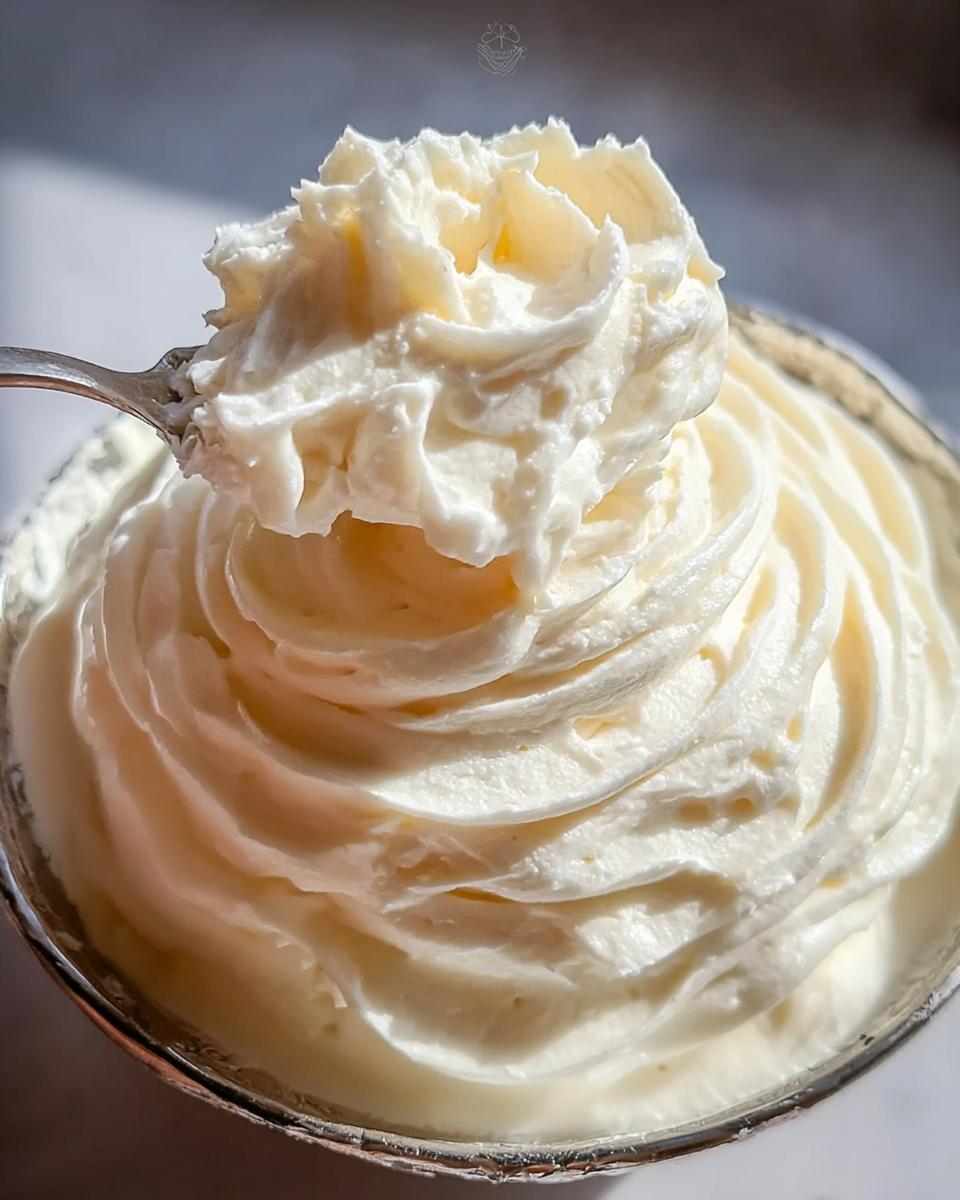
Now, here’s the fun part! Gradually add your cooled milk mixture to the butter and sugar. I do this about a tablespoon at a time, beating well after each addition. This slow incorporation is what gives us that ultra-smooth texture. Once it’s all in, add the vanilla and then comes the magic moment – whip it for a full 7-8 minutes. I know that sounds like forever, but trust me, this transforms it from good to “holy cow, this is amazing!” The frosting will become incredibly light and fluffy, almost like a cloud.
Pro tip from my baking experiments: If it seems too soft after whipping, pop it in the fridge for 15 minutes to firm up slightly before using. And if you want to see how this compares to other frostings, check out this classic buttercream recipe – though I think you’ll agree this one’s in a league of its own!
Tips for Perfect 300 Dollar Frosting Every Time
Listen, I’ve made every frosting mistake in the book so you don’t have to! Here are my hard-earned secrets for getting this 300 Dollar Frosting perfect every single time:
Cool that milk mixture completely – I mean cold enough to make a penguin happy. Warm mixture = melted butter = sad, runny frosting. I usually make it first thing and let it cool while I prep other ingredients.
Use the good butter – none of that margarine nonsense. Real, high-quality unsalted butter makes all the difference in flavor and texture. And please, for the love of baking, make sure it’s truly at room temp!
Whip it good – that 7-8 minute whipping time isn’t a suggestion. Set a timer and let that mixer work its magic. The frosting should triple in volume and get so fluffy you’ll want to dive right in.
Watch your heat – when cooking the milk mixture, medium heat is your friend. Too hot and it’ll scorch, too low and it’ll take forever. Stir constantly until it coats the back of a spoon.
Follow these tips, and you’ll have frosting so perfect, you’ll swear you paid $300 for it at some fancy bakery!
Serving Suggestions for Your 300 Dollar Frosting
Oh, the places this frosting can go! My absolute favorite is slathering it on soft sugar cookies – it’s like they were made for each other. But don’t stop there! This frosting transforms humble cupcakes into bakery-worthy treats, and between cake layers? Pure magic. Get creative with piping bags for gorgeous swirls, or use an offset spatula for that smooth, professional finish. It even makes graham crackers taste fancy – just ask my kids who sneak spoonfuls when they think I’m not looking!
Storage and Reheating Instructions
Here’s the good news – this frosting keeps like a dream! Just pop any leftovers in an airtight container (I love using mason jars for this) and it’ll stay fresh in the fridge for up to a week. If it firms up too much, let it sit at room temp for 30 minutes, then give it a quick whip with your mixer to bring back that fluffy texture. Pro tip: I don’t recommend freezing it – the texture just isn’t the same after thawing. But honestly, in my house, we rarely have leftovers to store!
300 Dollar Frosting Recipe FAQs
I get so many questions about this magical frosting – let me answer the ones that pop up most often!
Can I use salted butter instead of unsalted?
Oh honey, I don’t recommend it. The salt in salted butter can throw off the perfect balance of this buttercream frosting for sugar cookies. If that’s all you’ve got, reduce any added salt in your cookie recipe by half. But trust me, unsalted is the way to go for that pure, sweet flavor.
How long can I store this frosting?
In an airtight container, it keeps beautifully in the fridge for up to a week! Just let it come to room temp and give it a quick whip before using. It makes the perfect easy sugar cookie frosting for when you need a last-minute treat.
Why does my frosting look curdled?
Don’t panic! This usually means your milk mixture wasn’t completely cooled before adding. Pop the whole bowl in the fridge for 15 minutes, then whip it again – it’ll come together beautifully. I’ve saved many a batch this way!
Can I make this frosting ahead for decorating?
Absolutely! This is my go-to sugar cookie buttercream frosting for holiday baking marathons. Make it up to 3 days before, keep it chilled, then let it soften slightly before piping those perfect swirls.
Is this the same as royal icing?
Nope! Royal icing dries hard – this stays soft and luscious. If you need a sugar cookie frosting that hardens, you’ll want a different recipe. But for that melt-in-your-mouth experience? This is pure gold.
Nutritional Information
Just so you know, the nutritional info for this 300 Dollar Frosting Recipe can vary depending on the specific ingredients and brands you use. While I don’t track exact numbers (because life’s too short to count calories when frosting this good exists!), it’s definitely an indulgent treat best enjoyed in happy moderation. After all, something this delicious is meant to be savored!
300 Dollar Frosting Recipe
Equipment
- Saucepan
- Electric mixer
Ingredients
- 1 cup whole milk
- 5 tbsp all-purpose flour
- 1 cup unsalted butter room temperature
- 1 cup granulated sugar
- 1 tsp vanilla extract
Instructions
- In a saucepan, whisk milk and flour over medium heat until thickened to a pudding-like consistency. Let cool completely.
- Cream butter and sugar together until light and fluffy.
- Add the cooled milk mixture gradually and beat until smooth.
- Mix in vanilla and whip for 7-8 minutes until fluffy.